How to configure Quick Access for Global Secure Access
With Global Secure Access, you can define specific fully qualified domain names (FQDNs) or IP addresses of private resources to include in the traffic for Microsoft Entra Private Access. Your organization's employees can then access the apps and sites that you specify. This article describes how to configure Quick Access for Microsoft Entra Private Access.
Prerequisites
To configure Quick Access, you must have:
- The Global Secure Access Administrator and Application Administrator roles in Microsoft Entra ID.
- The product requires licensing. For details, see the licensing section of What is Global Secure Access. If needed, you can purchase licenses or get trial licenses.
To manage Microsoft Entra private network connector groups, which is required for Quick Access, you must have:
- An Application Administrator role in Microsoft Entra ID
- Microsoft Entra ID P1 or P2 licenses
Known limitations
Avoid overlapping app segments between Quick Access and per-app access.
Tunneling traffic to Private Access destinations by IP address is supported only for IP ranges outside of the end-user device local subnet.
At this time, Private access traffic can only be acquired with the Global Secure Access client. Remote networks can't be assigned to the Private access traffic forwarding profile.
High level steps
Configuring your Quick Access settings is a major component to utilizing Microsoft Entra Private Access. When you configure Quick Access for the first time, Private Access creates a new enterprise application. The properties of this new app are automatically configured to work with Private Access.
To configure Quick Access, you need to have a connector group with at least one active Microsoft Entra application proxy connector. The connector group handles the traffic to this new application. Once you have Quick Access and a private network connector group configured, you need to grant access to the app.
To summarize, the overall process is as follows:
Create a connector group with at least one active private network connector.
- If you already have a connector group, make sure you're on the latest version.
Create a private network connector group
To configure Quick Access, you must have a connector group with at least one active private network connector.
If you don't already have a connector group set up, see Configure connectors for Quick Access.
Note
If you've previously installed a connector, reinstall it to get the latest version. When upgrading, uninstall the existing connector and delete any related folders.
The minimum version of connector required for Private Access is 1.5.3417.0.
Configure Quick Access
On the Quick Access page, you provide a name for the Quick Access app, select a connector group, and add application segments, which include FQDNs and IP addresses. You can complete all three steps at the same time, or you can add the application segments after the initial setup is complete.
Name and connector group
Sign in to the Microsoft Entra admin center with the appropriate roles.
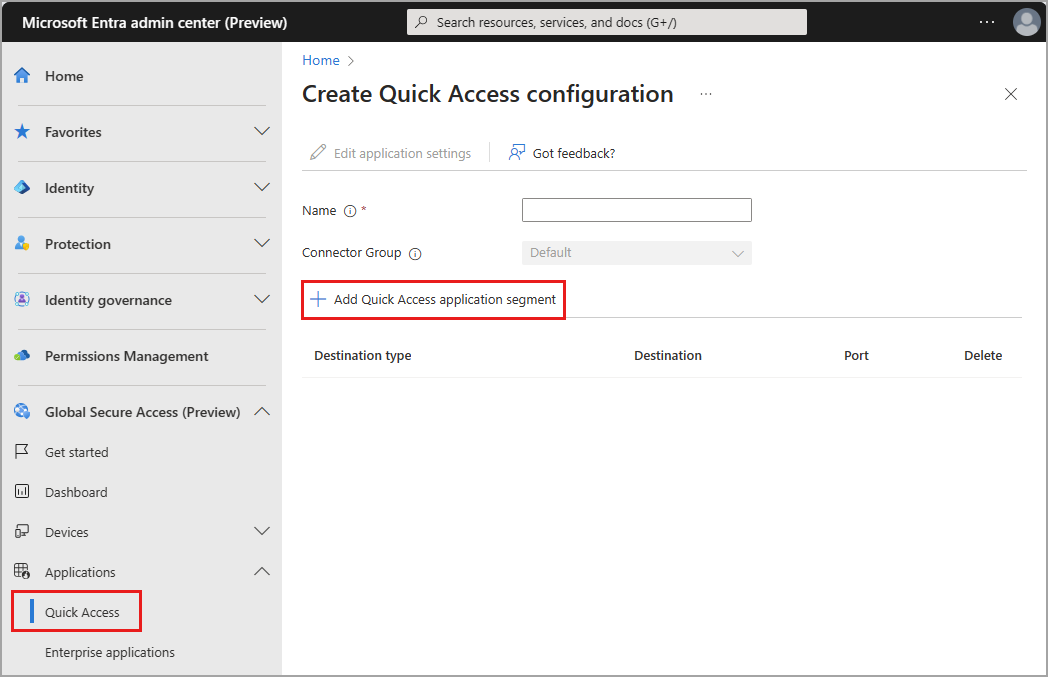
Browse to Global Secure Access > Applications > Quick access.
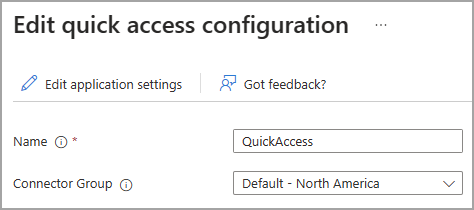
Enter a name. We recommend using the name Quick Access.
Select a Connector group from the dropdown menu. Existing connector groups appear in the dropdown menu.
Select the Save button at the bottom of the page to create your "Quick Access" app without FQDNs, IP addresses, and private DNS suffixes.
Add Quick Access application segment
The Add Quick Access application segment portion of this process is where you define the FQDNs and IP addresses that you want to include in the traffic for Microsoft Entra Private Access. You can add these resources when you create the Quick Access app or return to add more or edit them later.
You can add fully qualified domain names (FQDN), IP addresses, and IP address ranges. Within each application segment, you can add multiple ports and port ranges.
Sign in to the Microsoft Entra admin center.
Browse to Global Secure Access > Applications > Quick Access.
Select Add Quick Access application segment.
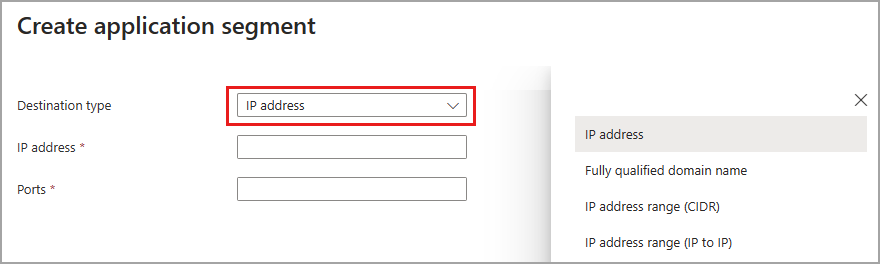
In the Create application segment panel that opens, select a Destination type.
Enter the appropriate details for the selected destination type. Depending on what you select, the subsequent fields change accordingly.
- IP address:
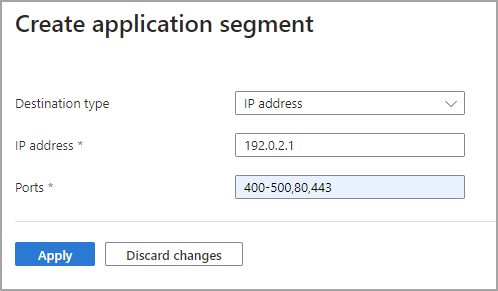
- Internet Protocol version 4 (IPv4) address, such as 192.0.2.1, that identifies a device on the network.
- Provide the ports that you want to include.
- Fully qualified domain name (including wildcard FQDNs):
- Domain name that specifies the exact location of a computer or a host in the Domain Name System (DNS).
- Provide the ports to include.
- NetBIOS isn't supported. For example, use
contoso.local/app1instead ofcontoso/app1.
- IP address range (CIDR):
- Classless Inter-Domain Routing (CIDR) represents a range of IP addresses. An IP address is followed by a suffix indicating the number of network bits in the subnet mask.
- For example, 192.0.2.0/24 indicates that the first 24 bits of the IP address represent the network address, while the remaining 8 bits represents the host address.
- Provide the starting address, network mask, and ports.
- IP address range (IP to IP):
- Range of IP addresses from start IP (such as 192.0.2.1) to end IP (such as 192.0.2.10).
- Provide the IP address start, end, and ports.
- IP address:
Enter the ports and select the Apply button.
- Separate multiple ports with a comma.
- Specify port ranges with a hyphen.
- Spaces between values are removed when you apply the changes.
- For example,
400-500, 80, 443.
The following table provides the most commonly used ports and their associated networking protocols:
Port Protocol 22 Secure Shell (SSH) 80 Hypertext Transfer Protocol (HTTP) 443 Hypertext Transfer Protocol Secure (HTTPS) 445 Server Message Block (SMB) file sharing 3389 Remote Desktop Protocol (RDP) Select the Save button when you're finished.
Note
You can add up to 500 application segments to your Quick Access app.
Do not overlap FQDNs, IP addresses, and IP ranges between your Quick Access app and any Private Access apps.
Add private DNS suffixes
Add a DNS suffix to use for private DNS.
- Select Private DNS tab.
- Select the checkbox to enable private DNS.
- Select Add DNS suffix.
- Enter the DNS suffix and then select Add.
Update Quick Access application segments
You can add or edit application segments after the initial setup is complete.
From Global Secure Access > Applications > Quick Access:
- Select Add Quick Access application segment to add an FQDN or IP address.
- Select the application segment you wish to edit from the Destination type column.
Assign users and groups
When you configure Quick Access, a new enterprise app is created on your behalf. You need to grant access to the Quick Access app you created by assigning users and/or groups to the app.
You can view the properties from Quick Access or navigate to Enterprise applications and search for your Quick Access app.
Select the Edit application settings button from Quick Access.
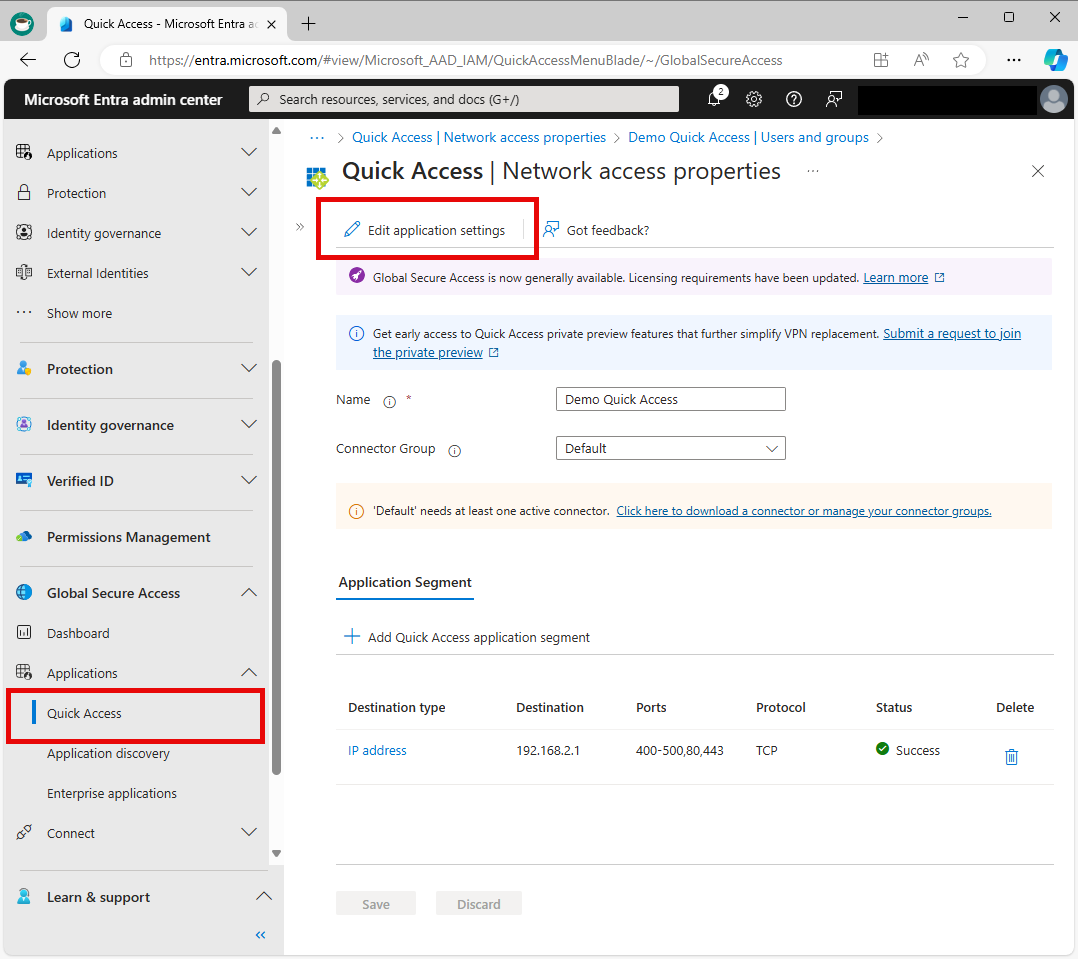
Select Users and groups from the side menu.
Add users and groups as needed.
- For more information, see Assign users and groups to an application.
Note
Users must be directly assigned to the app or to the group assigned to the app. Nested groups are not supported.
Link Conditional Access policies
Conditional Access policies can be applied to your Quick Access app. Applying Conditional Access policies provides more options for managing access to applications, sites, and services.
Creating a Conditional Access policy is covered in detail in How to create a Conditional Access policy for Private Access apps.
Enable Microsoft Entra Private Access
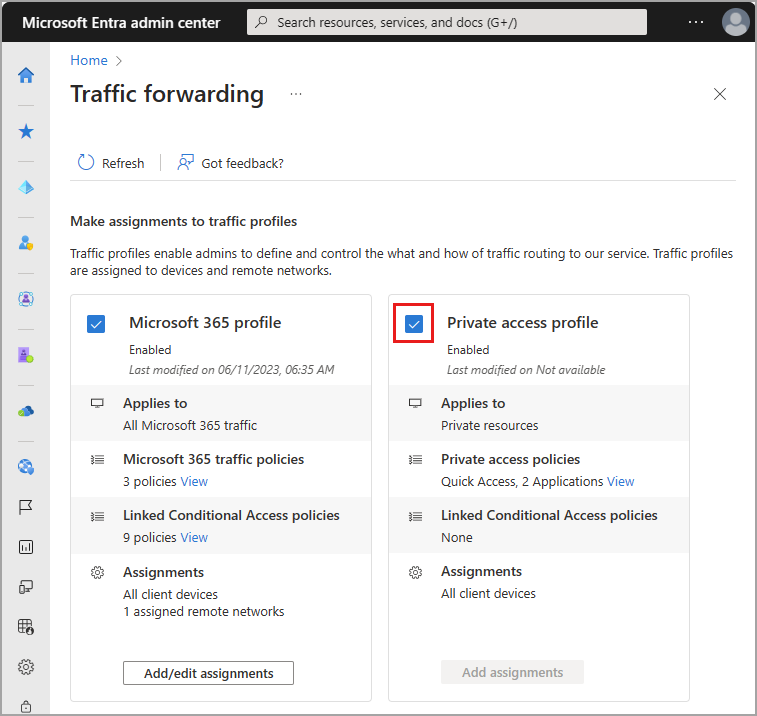
Once you have your Quick Access app configured, your private resources added, users assigned to the app, you can enable the Private access profile from the Traffic forwarding area of Global Secure Access. You can enable the profile before configuring Quick Access, but without the app and profile configured, there's no traffic to forward.
- Sign in to the Microsoft Entra admin center.
- Browse to Global Secure Access > Connect > Traffic forwarding.
- Select the checkbox for Private access profile.
Next steps
The next step for getting started with Microsoft Entra Private Access is to enable the Private Access traffic forwarding profile.
For more information about Private Access, see the following articles:
Phản hồi
Sắp ra mắt: Trong năm 2024, chúng tôi sẽ dần gỡ bỏ Sự cố với GitHub dưới dạng cơ chế phản hồi cho nội dung và thay thế bằng hệ thống phản hồi mới. Để biết thêm thông tin, hãy xem: https://aka.ms/ContentUserFeedback.
Gửi và xem ý kiến phản hồi dành cho