Transform data by running a notebook
The Notebook activity in pipeline allows you to run Notebook created in Microsoft Fabric. You can create a Notebook activity directly through the Fabric user interface. This article provides a step-by-step walkthrough that describes how to create a Notebook activity using the Data Factory user interface.
Add a Notebook activity to a pipeline
This section describes how to use a Notebook activity in a pipeline.
Prerequisites
To get started, you must complete the following prerequisites:
- A tenant account with an active subscription. Create an account for free.
- A workspace is created.
- A notebook is created in your workspace. To create a new notebook, refer to How to create Microsoft Fabric notebooks.
Creating the activity
Create a new pipeline in your workspace.
Search for Notebook in the pipeline Activities pane, and select it to add it to the pipeline canvas.

Select the new Notebook activity on the canvas if it isn't already selected.
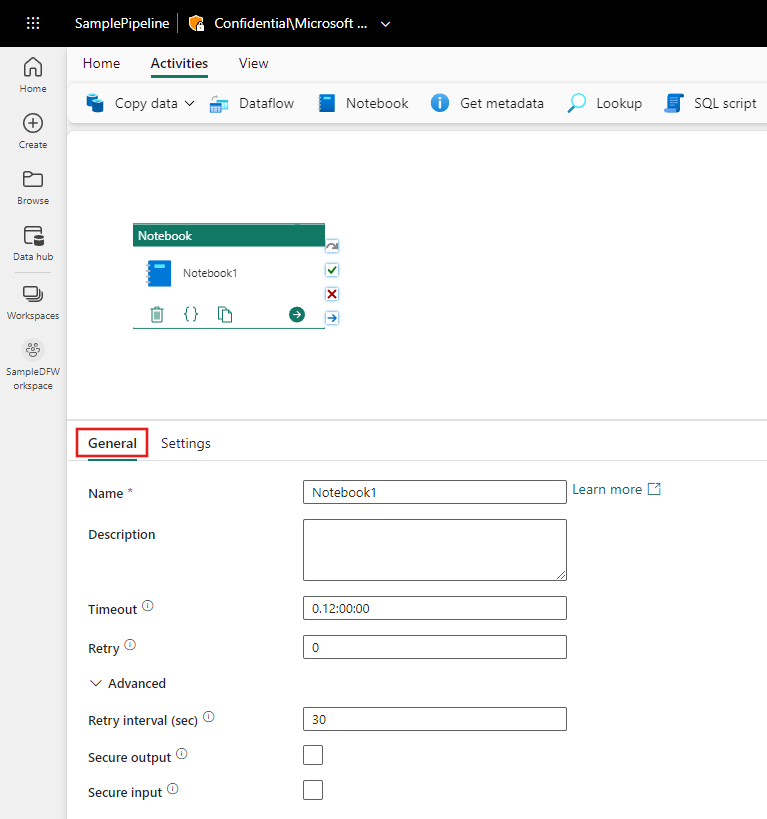
Refer to the General settings guidance to configure the General settings tab.
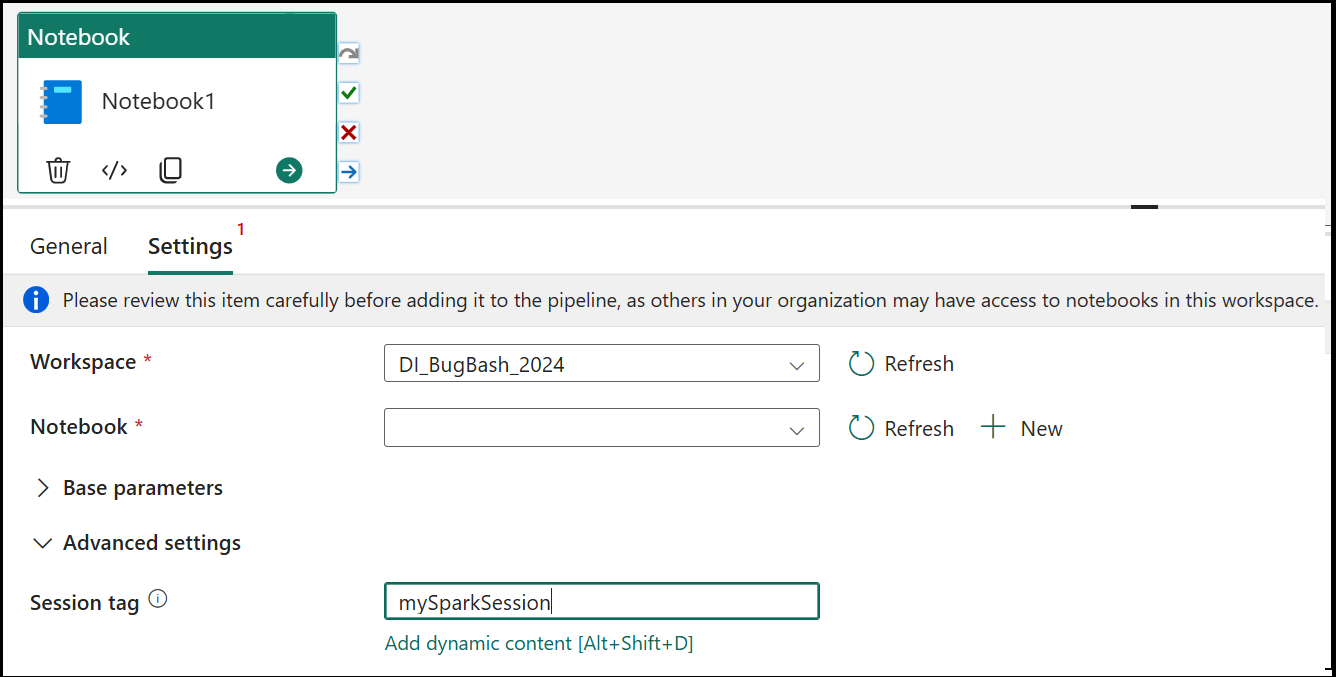
Notebook settings
Select the Settings tab, select an existing notebook from the Notebook dropdown, and optionally specify any parameters to pass to the notebook.

Session tag
In order to minimize the amount of time it takes to execute your notebook job, you could optionally set a session tag. Setting the session tag will instruct Spark to reuse any existing Spark session thereby minimizing the startup time. Any arbitrary string value can be used for the session tag. If no session exists a new one would be created using the tag value.
Note
To be able to use the session tag, High concurrency mode for pipeline running multiple notebooks option must be turned on. This option can be found under the High concurrency mode for Spark settings under the Workspace settings

Save and run or schedule the pipeline
Switch to the Home tab at the top of the pipeline editor, and select the save button to save your pipeline. Select Run to run it directly, or Schedule to schedule it. You can also view the run history here or configure other settings.
