Add a custom endpoint or custom app source to an eventstream
If you want to connect your own application with an eventstream, you can add a custom endpoint or a custom app as a source. Then you can send real-time events to the eventstream from your own application with the connection endpoint exposed on the custom endpoint or custom app. Also, with the Apache Kafka protocol available as an option for custom endpoints or custom apps, you can send real-time events by using the Apache Kafka protocol.
This article shows you how to add a custom endpoint source or a custom app source to an eventstream in Microsoft Fabric event streams.
Note
If you want to use enhanced capabilities that are in preview, select Enhanced capabilities at the top. Otherwise, select Standard capabilities. For information about enhanced capabilities that are in preview, see Introduction to Fabric event streams.
Prerequisites
Before you start, you must get access to the Fabric premium workspace with Contributor or higher permissions.
Note
The maximum number of sources and destinations for one eventstream is 11.
Add custom endpoint data as a source
Create a new eventstream:
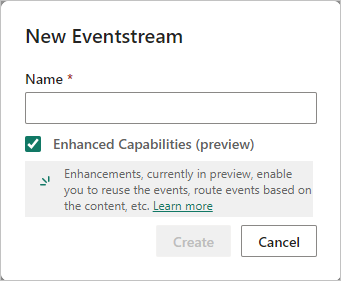
On the Home page, select Eventstream.
In the New Eventstream dialog, enter a name, make sure the Enhanced Capabilities (preview) option is selected, and then select Create.
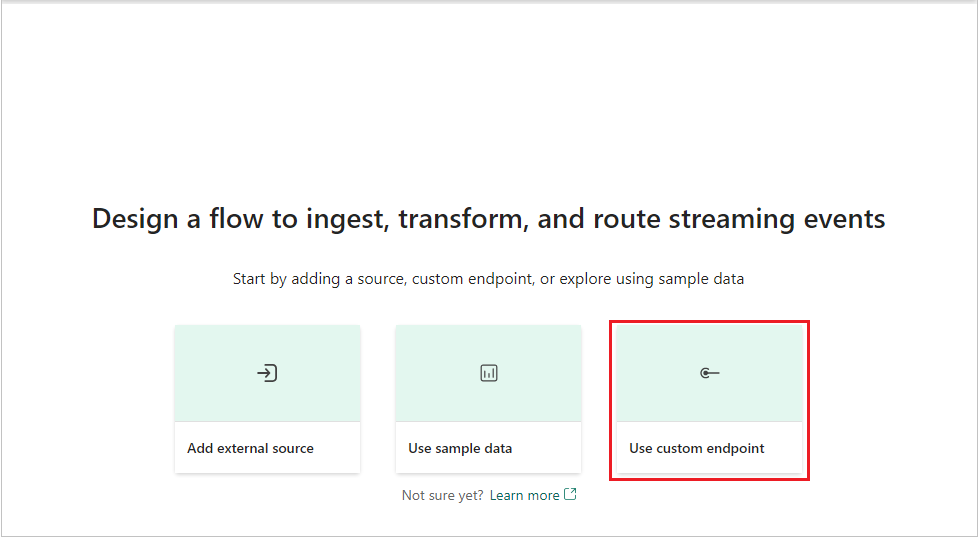
To add a custom endpoint source, on the get-started page, select Use custom endpoint.
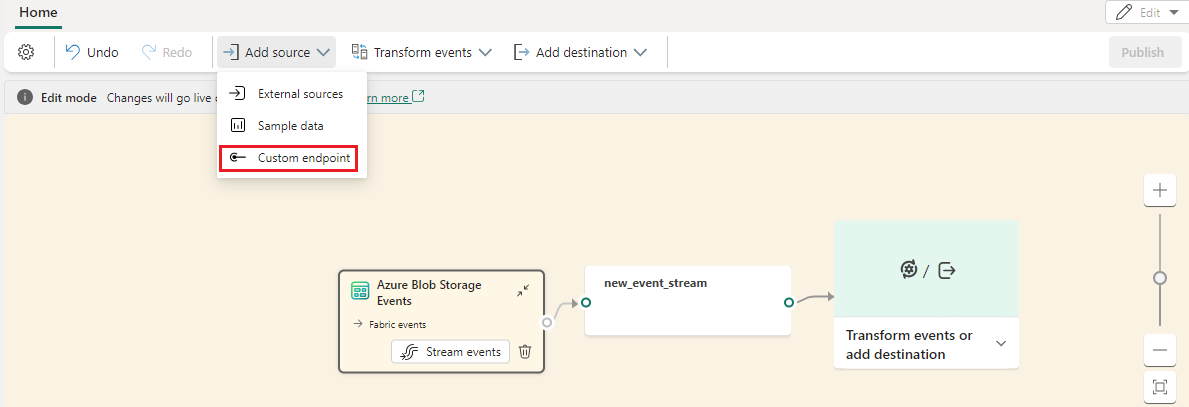
Or, if you already have a published eventstream and you want to add custom endpoint data as a source, switch to edit mode. On the ribbon, select Add source > Custom endpoint.
In the Custom endpoint dialog, enter a name for the custom source under Source name, and then select Add.
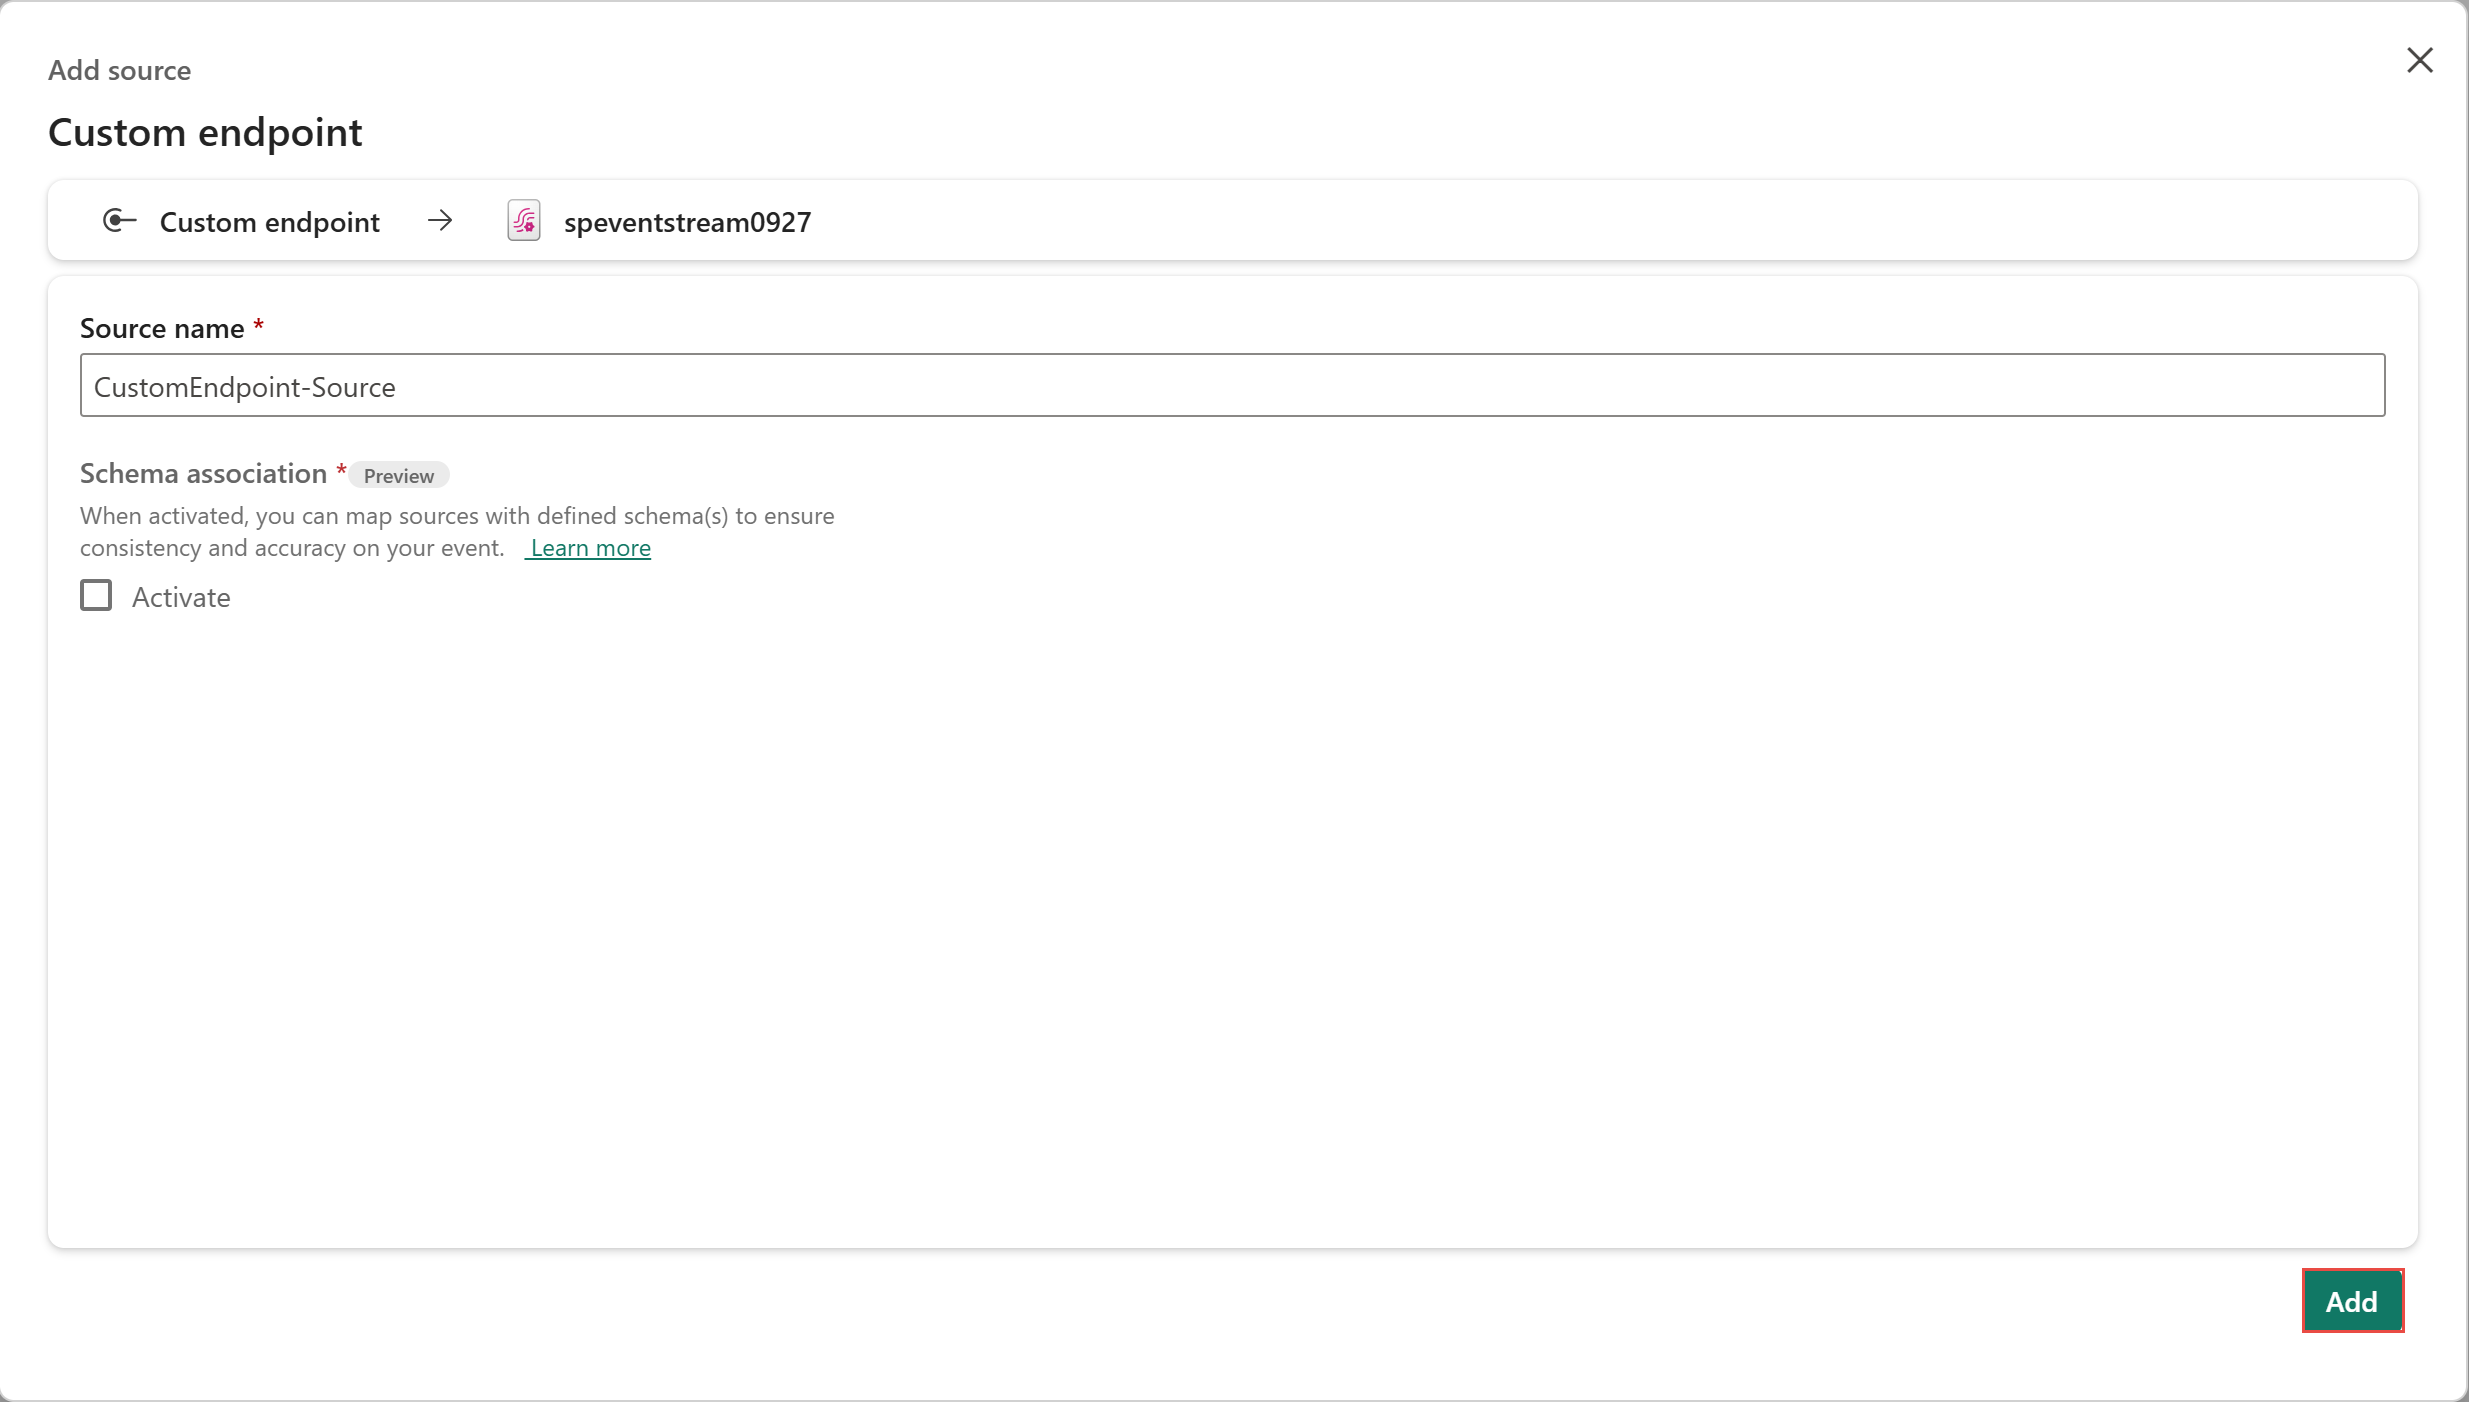
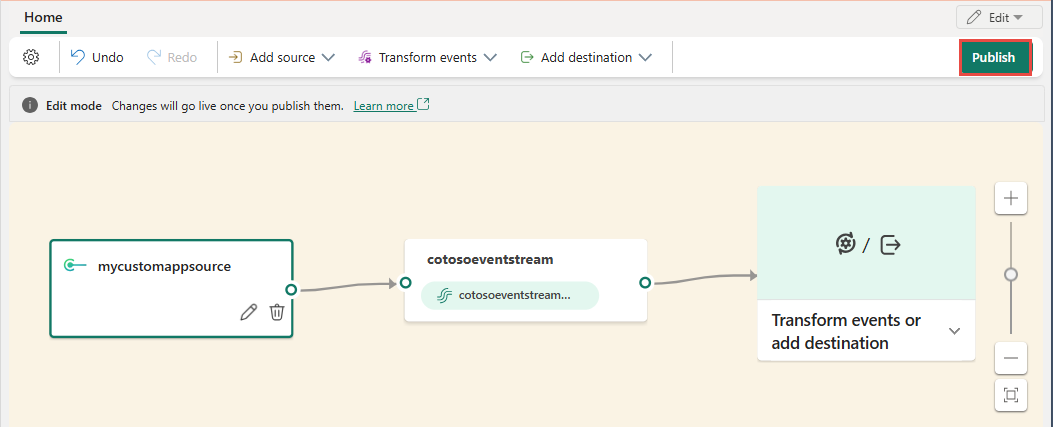
After you create the custom endpoint source, it's added to your eventstream on the canvas in edit mode. To implement the newly added data from the custom app source, select Publish.
Get endpoint details on the Details pane to send events
After you create a custom endpoint source, its data is available for visualization in the live view.
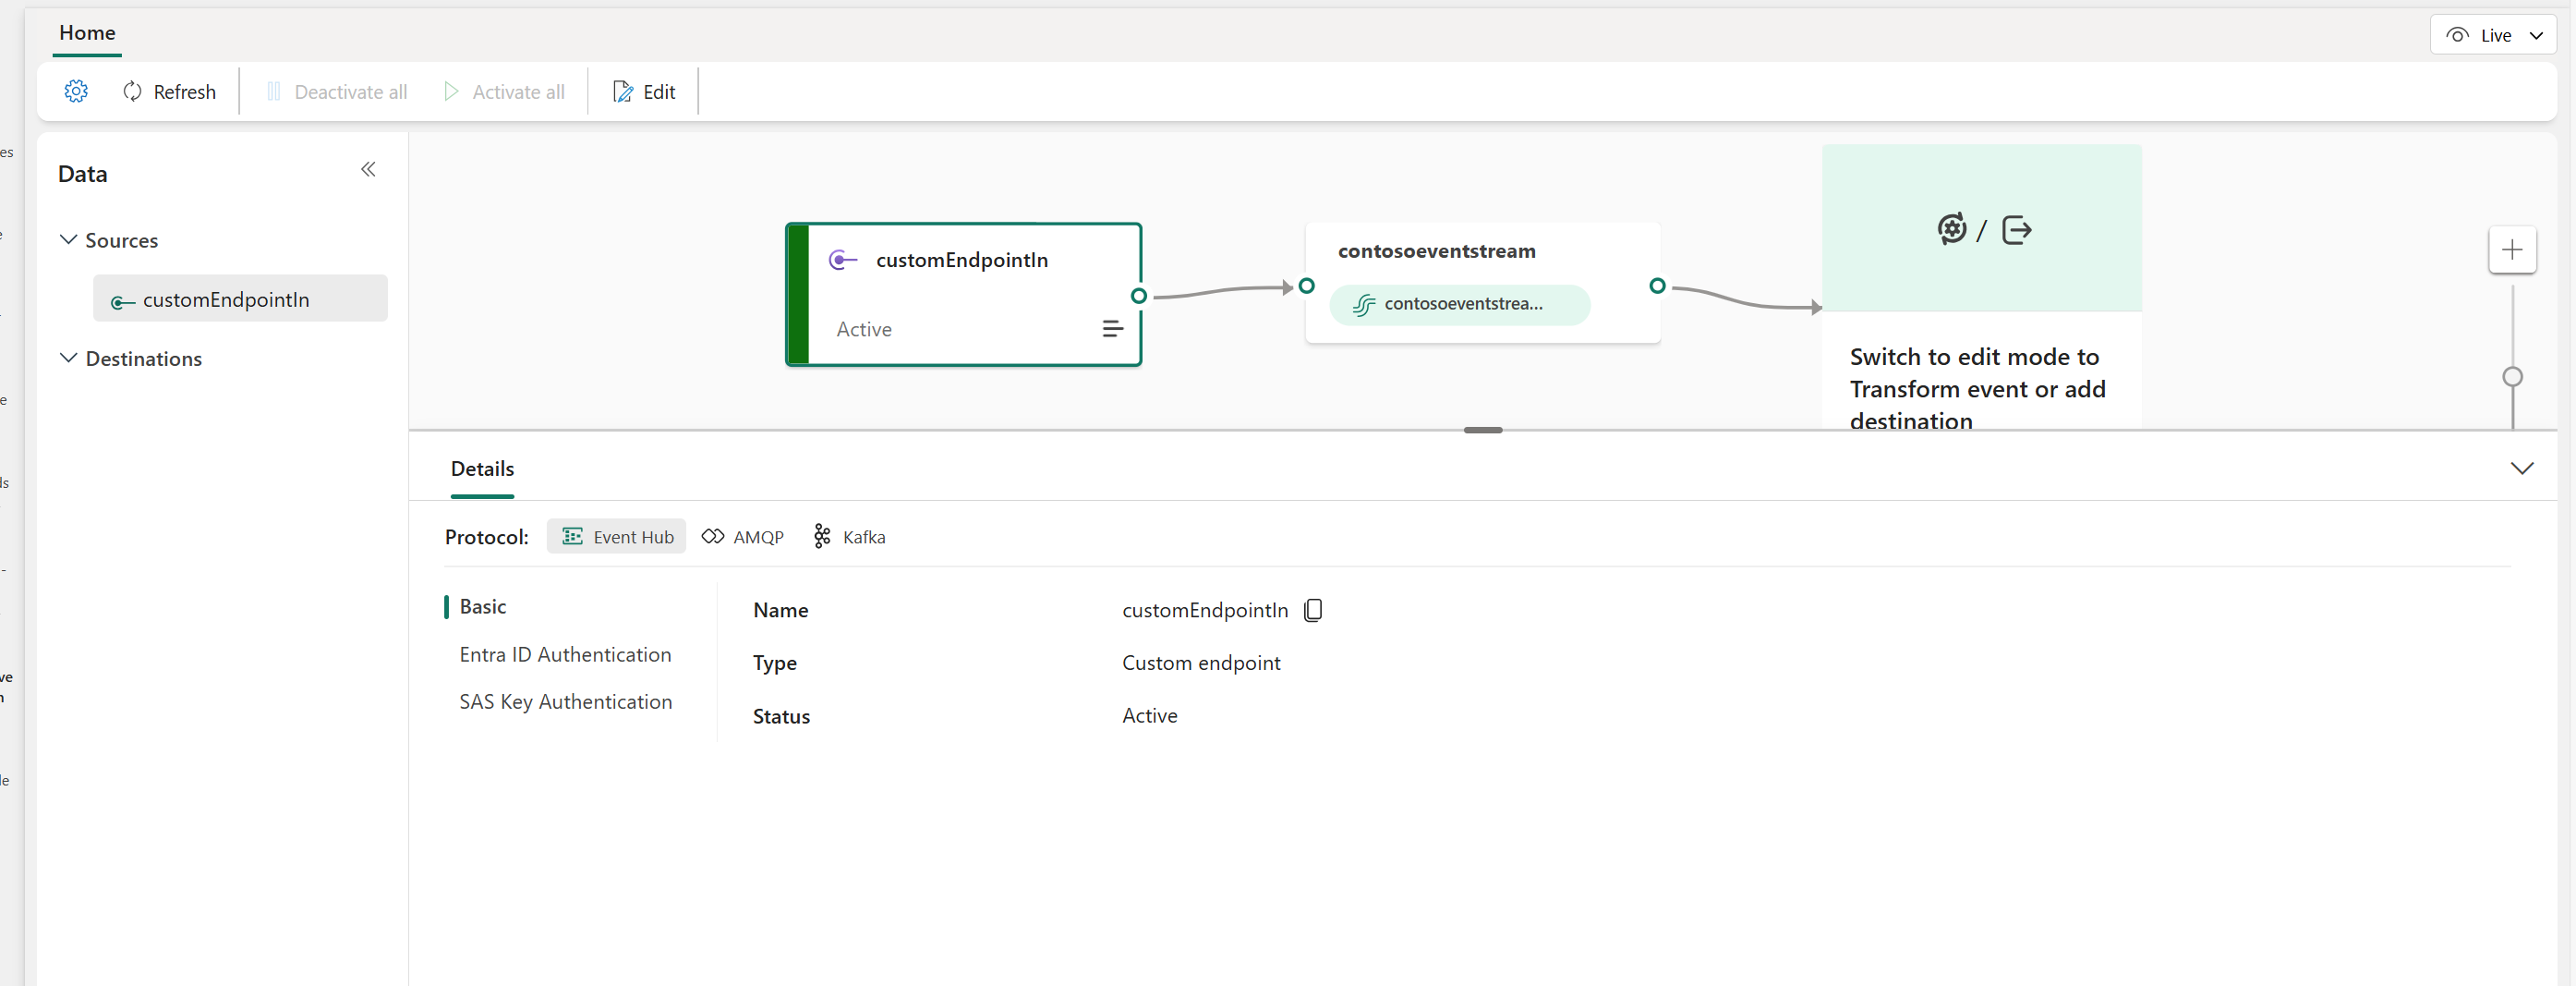
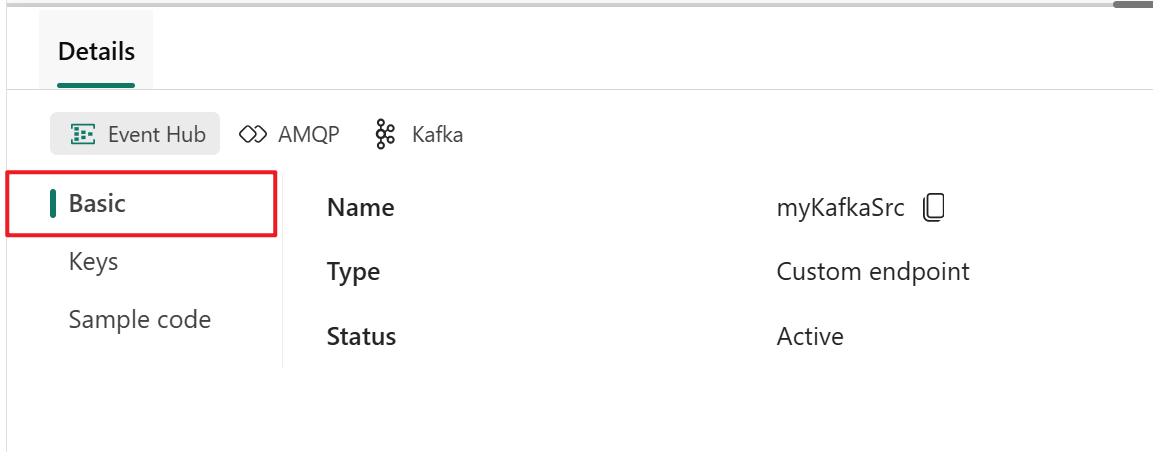
The Details pane has three protocol tabs: Event Hub, AMQP, and Kafka. Each protocol tab has three pages: Basics, Keys, and Sample code. These pages offer the endpoint details with the corresponding protocol for connecting.
Basic shows the name, type, and status of your custom endpoint.
Keys provides information about connection keys. Sample code provides the sample code, with the corresponding keys embedded, that you can use to stream the events to your eventstream. The information on these pages varies by protocol.
Event hub
The Keys page on the Event Hub tab contains information related to an event hub's connection string. The information includes Event hub name, Shared access key name, Primary key, and Connection string-primary key.

The event hub format is the default for the connection string, and it works with the Azure Event Hubs SDK. This format allows you to connect to your eventstream via the Event Hubs protocol.
The following example shows what the connection string looks like in event hub format:
Endpoint=sb://eventstream-xxxxxxxx.servicebus.windows.net/;SharedAccessKeyName=key_xxxxxxxx;SharedAccessKey=xxxxxxxx;EntityPath=es_xxxxxxx
The Sample code page on the Event Hub tab offers ready-to-use code that includes the required information about connection keys in the event hub. Simply copy and paste it into your application for use.

Kafka
The Kafka format is compatible with the Apache Kafka protocol, which is a popular distributed streaming platform that supports high-throughput and low-latency data processing. You can use the Keys and Sample code information for the Kafka protocol format to connect to your eventstream and stream the events.

The Sample code page on the Kafka tab provides ready-made code, including the necessary connection keys in Kafka format. Simply copy it for your use.

AMQP
The AMQP format is compatible with the AMQP 1.0 protocol, which is a standard messaging protocol that supports interoperability between various platforms and languages. You can use this format to connect to your eventstream by using the AMQP protocol.

The Sample code page on the AMQP tab provides ready-to-use code with connection key information in AMQP format.

You can choose the protocol format that suits your application needs and preferences, and then copy and paste the connection string into your application. You can also refer to or copy the sample code on the Sample code page, which shows how to send or receive events by using various protocols.
Related content
To learn how to add other sources to an eventstream, see the following articles:
Prerequisites
Before you start, you must get access to a premium workspace with Contributor or higher permissions where your eventstream is located.
Note
The maximum number of sources and destinations for one eventstream is 11.
Add a custom app as a source
If you want to connect your own application with an eventstream, you can add a custom app source. Then, send data to the eventstream from your own application with the connection endpoint exposed in the custom app.
To add a custom app source:
Select New source on the ribbon or the plus sign (+) in the main editor canvas, and then select Custom App.
On the Custom App pane, enter a source name for the custom app, and then select Add.


Get endpoint details on the Details pane to send events
After you successfully create the custom application as a source, you can view the information on the Details pane.
The Details pane has three protocol tabs: Event Hub, AMQP, and Kafka. Each protocol tab has three pages: Basics, Keys, and Sample code. These pages offer the endpoint details with the corresponding protocol for connecting.

Basic shows the name, type, and status of your custom app.

Keys provides information about connection keys. Sample code provides the sample code, with the corresponding keys embedded, that you can use to stream the events to your eventstream. The information on these pages varies by protocol.
Event hub
The Keys page on the Event Hub tab contains information related to an event hub's connection string. The information includes Event hub name, Shared access key name, Primary key, and Connection string-primary key.
The event hub format is the default for the connection string, and it works with the Azure Event Hubs SDK. This format allows you to connect to your eventstream via the Event Hubs protocol.
The following example shows what the connection string looks like in event hub format:
Endpoint=sb://eventstream-xxxxxxxx.servicebus.windows.net/;SharedAccessKeyName=key_xxxxxxxx;SharedAccessKey=xxxxxxxx;EntityPath=es_xxxxxxx
The Sample code page on the Event Hub tab offers ready-to-use code that includes the required information about connection keys in the event hub. Simply copy and paste it into your application for use.
Kafka
The Kafka format is compatible with the Apache Kafka protocol, which is a popular distributed streaming platform that supports high-throughput and low-latency data processing. You can use the Keys and Sample code information for the Kafka protocol format to connect to your eventstream and stream the events.
The Sample code page on the Kafka tab provides ready-made code, including the necessary connection keys in Kafka format. Simply copy it for your use.
AMQP
The AMQP format is compatible with the AMQP 1.0 protocol, which is a standard messaging protocol that supports interoperability between various platforms and languages. You can use this format to connect to your eventstream by using the AMQP protocol.
The Sample code page on the AMQP tab provides ready-to-use code with connection key information in AMQP format.
You can choose the protocol format that suits your application needs and preferences, and then copy and paste the connection string into your application. You can also refer to or copy the sample code on the Sample code page, which shows how to send or receive events by using various protocols.
Related content
To learn how to add other sources to an eventstream, see the following articles: