对于新的 Web 应用开发,建议最小 API
建议使用最安全的身份验证选项。 有关部署到 Azure 的 .NET 应用,请参阅:
- 适用于 .NET 的 Azure Key Vault 库
- .NET Aspire Azure Key Vault 集成
Azure Key Vault 和 .NET Aspire 提供了存储和检索机密的最安全方法。 Azure Key Vault 是一种云服务,用于保护加密密钥和机密,例如证书、连接字符串和密码。 有关 .NET Aspire,请参阅 托管与客户端集成之间的安全通信。
避免资源所有者密码凭据授予,因为这:
- 向客户端公开用户的密码。
- 存在重大安全风险。
- 仅当其他身份验证流不可用时,才应使用。
将应用部署到测试服务器时,可以使用环境变量将连接字符串设置为测试数据库服务器。 环境变量通常以纯文本、未加密的文本形式存储。 如果计算机或进程遭到入侵,则不受信任的参与方可以访问环境变量。 建议不要使用环境变量来存储生产连接字符串,因为它不是最安全的方法。
配置数据准则:
- 切勿将密码或其他敏感数据存储在配置提供程序代码或纯文本配置文件中。
- 请勿在开发或测试环境中使用生产机密。
- 指定项目外部的机密,以便无法意外将其提交到源代码存储库。
Visual Studio 2017 和 ASP.NET 4.7.2 扩展了 单页应用程序(SPA)和 Web API 服务的安全选项,以与外部身份验证服务集成,其中包括多个 OAuth/OpenID 和社交媒体身份验证服务:Microsoft 帐户、Twitter、Facebook 和 Google。
在此演练中
先决条件
若要遵循本演练中的示例,需要具备以下内容:
Visual Studio 2017
具有以下社交媒体身份验证服务之一的应用程序标识符和密钥的开发人员帐户:
- Microsoft帐户(https://go.microsoft.com/fwlink/?LinkID=144070)
- 推特 (https://dev.twitter.com/)
- Facebook(https://developers.facebook.com/)
- 谷歌 (https://developers.google.com/)
使用外部身份验证服务
目前可供 Web 开发人员使用的大量外部身份验证服务有助于缩短创建新 Web 应用程序时的开发时间。 Web 用户通常有多个常用 Web 服务和社交媒体网站的现有帐户,因此,当 Web 应用程序从外部 Web 服务或社交媒体网站实现身份验证服务时,它将节省创建身份验证实现所花费的开发时间。 使用外部身份验证服务可保存最终用户不必为 Web 应用程序创建另一个帐户,也无需记住其他用户名和密码。
过去,开发人员有两种选择:创建自己的身份验证实现,或了解如何将外部身份验证服务集成到其应用程序中。 在最基本的级别,下图演示了用户代理(Web 浏览器)的简单请求流,该流从配置为使用外部身份验证服务的 Web 应用程序请求信息:
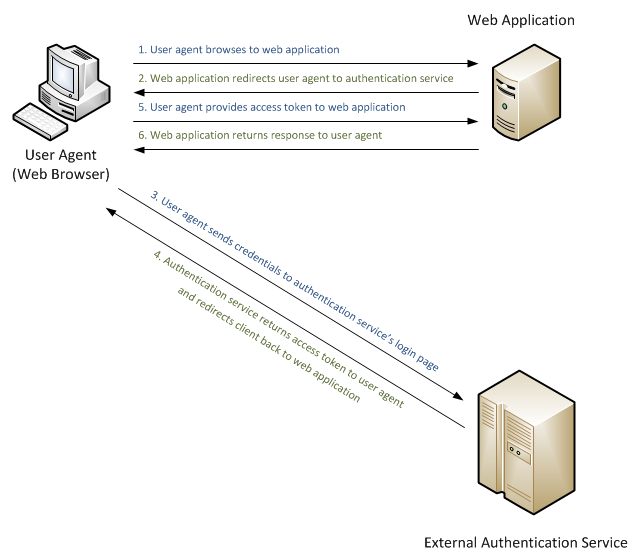
在上图中,用户代理(或此示例中的 Web 浏览器)向 Web 应用程序发出请求,该应用程序将 Web 浏览器重定向到外部身份验证服务。 用户代理将其凭据发送到外部身份验证服务,如果用户代理已成功进行身份验证,外部身份验证服务将使用用户代理发送到 Web 应用程序的某种形式的令牌将用户代理重定向到原始 Web 应用程序。 Web 应用程序将使用令牌来验证用户代理是否已由外部身份验证服务成功进行身份验证,并且 Web 应用程序可以使用令牌收集有关用户代理的详细信息。 应用程序处理完用户代理的信息后,Web 应用程序会根据其授权设置将相应的响应返回到用户代理。
在此第二个示例中,用户代理与 Web 应用程序和外部授权服务器协商,Web 应用程序执行与外部授权服务器的其他通信以检索有关用户代理的其他信息:
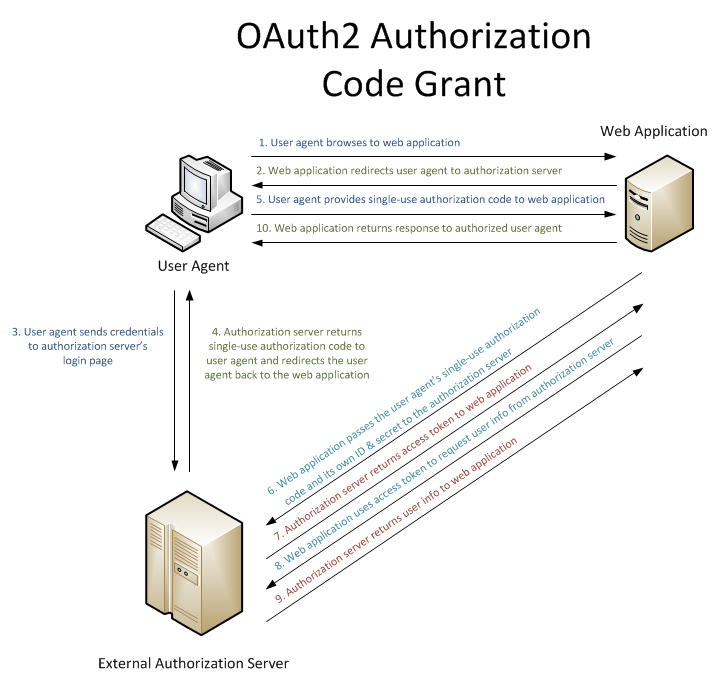
Visual Studio 2017 和 ASP.NET 4.7.2 通过为以下身份验证服务提供内置集成,使与外部身份验证服务的集成更易于开发人员:
- 谷歌
- Microsoft帐户(Windows Live ID 帐户)
- 推特
本演练中的示例演示如何使用 Visual Studio 2017 附带的新 ASP.NET Web 应用程序模板配置每个受支持的外部身份验证服务。
注意
如有必要,您可能需要将全称域名(FQDN)添加到您的外部身份验证服务设置中。 此要求基于某些外部身份验证服务的安全约束,这些服务要求应用程序设置中的 FQDN 与客户端使用的 FQDN 匹配。 (对于每个外部身份验证服务,这些步骤将有很大的不同;你需要查阅每个外部身份验证服务的文档,以查看是否需要此操作以及如何配置这些设置。如果需要将 IIS Express 配置为使用 FQDN 测试此环境,请参阅本演练后面的 配置 IIS Express 以使用完全限定的域名 部分。
创建示例 Web 应用程序
以下步骤将引导你使用 ASP.NET Web 应用程序模板创建示例应用程序,并将此示例应用程序用于本演练后面的每个外部身份验证服务。
启动 Visual Studio 2017,并从“开始”页中选择“新建项目”
显示“新建项目”对话框时,选择“已安装”,然后展开“Visual C#”。 在 Visual C#下,选择 Web。 在项目模板列表中,选择 ASP.NET Web 应用程序(.Net Framework)。 输入项目的名称,然后单击“确定”。
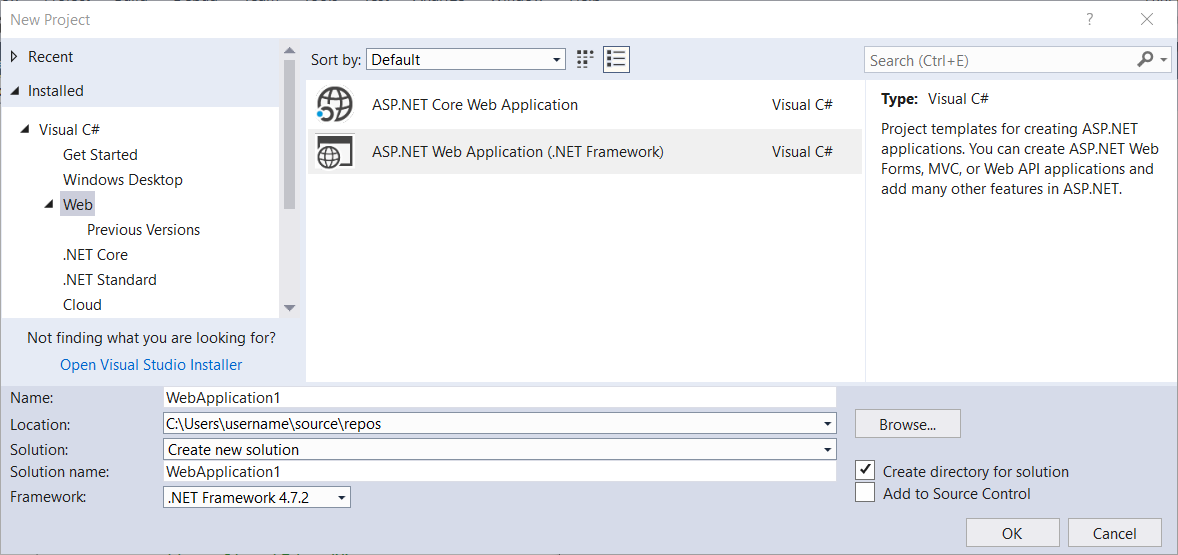
当显示 新 ASP.NET 项目 时,选择 单页应用程序 模板,然后单击 “创建项目”。
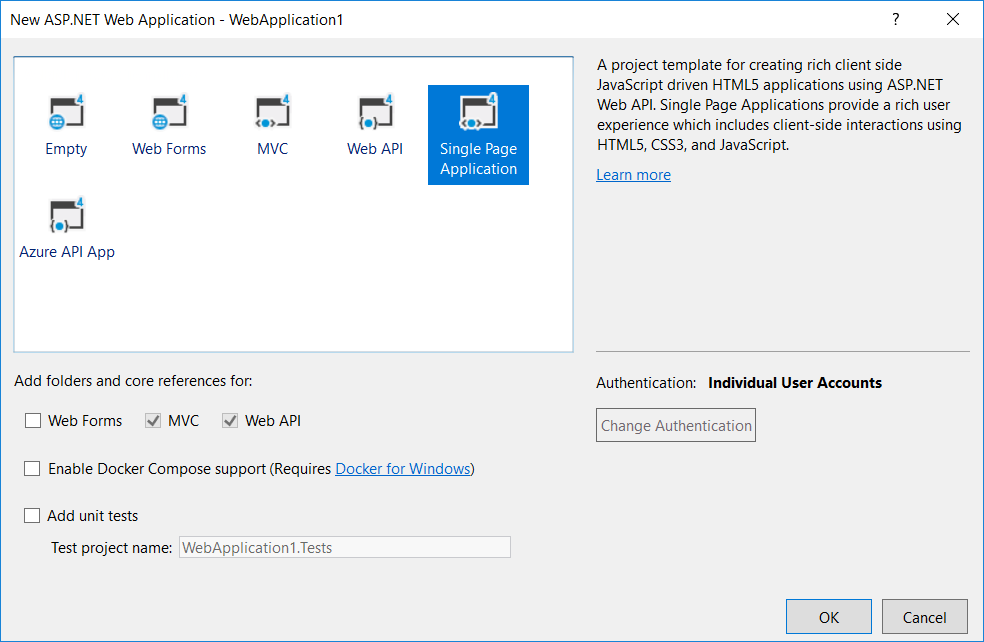
等待 Visual Studio 2017 创建项目。
Visual Studio 2017 创建完项目后,打开位于 App_Start 文件夹中的 Startup.Auth.cs 文件。
首次创建项目时,Startup.Auth.cs 文件中未启用任何外部身份验证服务;下面说明了代码可能是什么,其中突出显示了启用外部身份验证服务和任何相关设置的部分,以便对 ASP.NET 应用程序使用 Microsoft 帐户、Twitter、Facebook 或 Google 身份验证:
using System;
using Microsoft.AspNet.Identity;
using Microsoft.AspNet.Identity.EntityFramework;
using Microsoft.AspNet.Identity.Owin;
using Microsoft.Owin;
using Microsoft.Owin.Security.Cookies;
using Microsoft.Owin.Security.DataProtection;
using Microsoft.Owin.Security.Google;
using Microsoft.Owin.Security.OAuth;
using Owin;
using WebApplication1.Models;
using WebApplication1.Providers;

namespace WebApplication1
{
    public partial class Startup
    {
        // Enable the application to use OAuthAuthorization. You can then secure your Web APIs
        static Startup()
        {
            PublicClientId = "web";

            OAuthOptions = new OAuthAuthorizationServerOptions
            {
                TokenEndpointPath = new PathString("/Token"),
                AuthorizeEndpointPath = new PathString("/Account/Authorize"),
                Provider = new ApplicationOAuthProvider(PublicClientId),
                AccessTokenExpireTimeSpan = TimeSpan.FromDays(14),
                AllowInsecureHttp = true
            };
        }

        public static OAuthAuthorizationServerOptions OAuthOptions { get; private set; }

        public static string PublicClientId { get; private set; }

        // For more information on configuring authentication, please visit https://go.microsoft.com/fwlink/?LinkId=301864
        public void ConfigureAuth(IAppBuilder app)
        {
            // Configure the db context, user manager and signin manager to use a single instance per request
            app.CreatePerOwinContext(ApplicationDbContext.Create);
            app.CreatePerOwinContext<ApplicationUserManager>(ApplicationUserManager.Create);
            app.CreatePerOwinContext<ApplicationSignInManager>(ApplicationSignInManager.Create);

            // Enable the application to use a cookie to store information for the signed in user
            app.UseCookieAuthentication(new CookieAuthenticationOptions
            {
                AuthenticationType = DefaultAuthenticationTypes.ApplicationCookie,
                LoginPath = new PathString("/Account/Login"),
                Provider = new CookieAuthenticationProvider
                {
                    // Enables the application to validate the security stamp when the user logs in.
                    // This is a security feature which is used when you change a password or add an external login to your account.
                    OnValidateIdentity = SecurityStampValidator.OnValidateIdentity<ApplicationUserManager, ApplicationUser>(
                        validateInterval: TimeSpan.FromMinutes(20),
                        regenerateIdentity: (manager, user) => user.GenerateUserIdentityAsync(manager))
                }
            });
            // Use a cookie to temporarily store information about a user logging in with a third party login provider
            app.UseExternalSignInCookie(DefaultAuthenticationTypes.ExternalCookie);

            // Enables the application to temporarily store user information when they are verifying the second factor in the two-factor authentication process.
            app.UseTwoFactorSignInCookie(DefaultAuthenticationTypes.TwoFactorCookie, TimeSpan.FromMinutes(5));

            // Enables the application to remember the second login verification factor such as phone or email.
            // Once you check this option, your second step of verification during the login process will be remembered on the device where you logged in from.
            // This is similar to the RememberMe option when you log in.
            app.UseTwoFactorRememberBrowserCookie(DefaultAuthenticationTypes.TwoFactorRememberBrowserCookie);

            // Enable the application to use bearer tokens to authenticate users
            app.UseOAuthBearerTokens(OAuthOptions);

            // Uncomment the following lines to enable logging in with third party login providers
            //app.UseMicrosoftAccountAuthentication(
            //    clientId: "",
            //    clientSecret: "");

            //app.UseTwitterAuthentication(
            //    consumerKey: "",
            //    consumerSecret: "");

            //app.UseFacebookAuthentication(
            //    appId: "",
            //    appSecret: "");

            //app.UseGoogleAuthentication(new GoogleOAuth2AuthenticationOptions()
            //{
            //    ClientId = "",
            //    ClientSecret = ""
            //});
        }
    }
}
按 F5 生成和调试 Web 应用程序时,将显示一个登录屏幕,你将看到未定义任何外部身份验证服务。
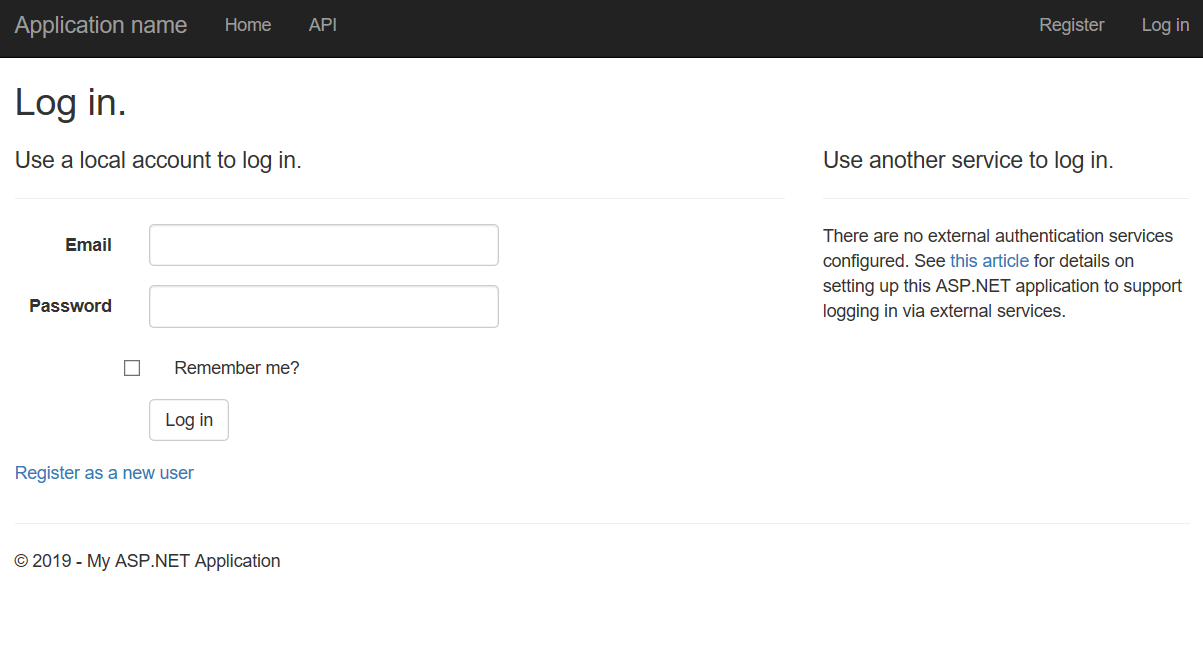
在以下部分中,你将了解如何启用 Visual Studio 2017 中 ASP.NET 提供的每个外部身份验证服务。
启用 Facebook 身份验证
使用 Facebook 身份验证需要创建 Facebook 开发人员帐户,并且项目需要 Facebook 中的应用程序 ID 和密钥才能正常运行。 有关创建 Facebook 开发人员帐户并获取应用程序 ID 和密钥的信息,请参阅 https://go.microsoft.com/fwlink/?LinkID=252166。
获取应用程序 ID 和密钥后,使用以下步骤为 Web 应用程序启用 Facebook 身份验证:
在 Visual Studio 2017 中打开项目时,打开 Startup.Auth.cs 文件。
在代码中找到 Facebook 身份验证部分:
// Uncomment the following lines to enable logging in with third party login providers
//app.UseMicrosoftAccountAuthentication(
//    clientId: "",
//    clientSecret: "");

//app.UseTwitterAuthentication(
//    consumerKey: "",
//    consumerSecret: "");

//app.UseFacebookAuthentication(
//    appId: "",
//    appSecret: "");

//app.UseGoogleAuthentication(new GoogleOAuth2AuthenticationOptions()
//{
//    ClientId = "",
//    ClientSecret = ""
//});
移除“//”字符以取消注释突出显示的代码行,然后添加应用程序 ID 和密钥。 添加这些参数后,可以重新编译项目:
// Uncomment the following lines to enable logging in with third party login providers
//app.UseMicrosoftAccountAuthentication(
//    clientId: "",
//    clientSecret: "");

//app.UseTwitterAuthentication(
//   consumerKey: "",
//   consumerSecret: "");

//app.UseFacebookAuthentication(
//   appId: "426f62526f636b73",
//   appSecret: "");

//app.UseGoogleAuthentication();
按 F5 在 Web 浏览器中打开 Web 应用程序时,会看到 Facebook 已定义为外部身份验证服务:
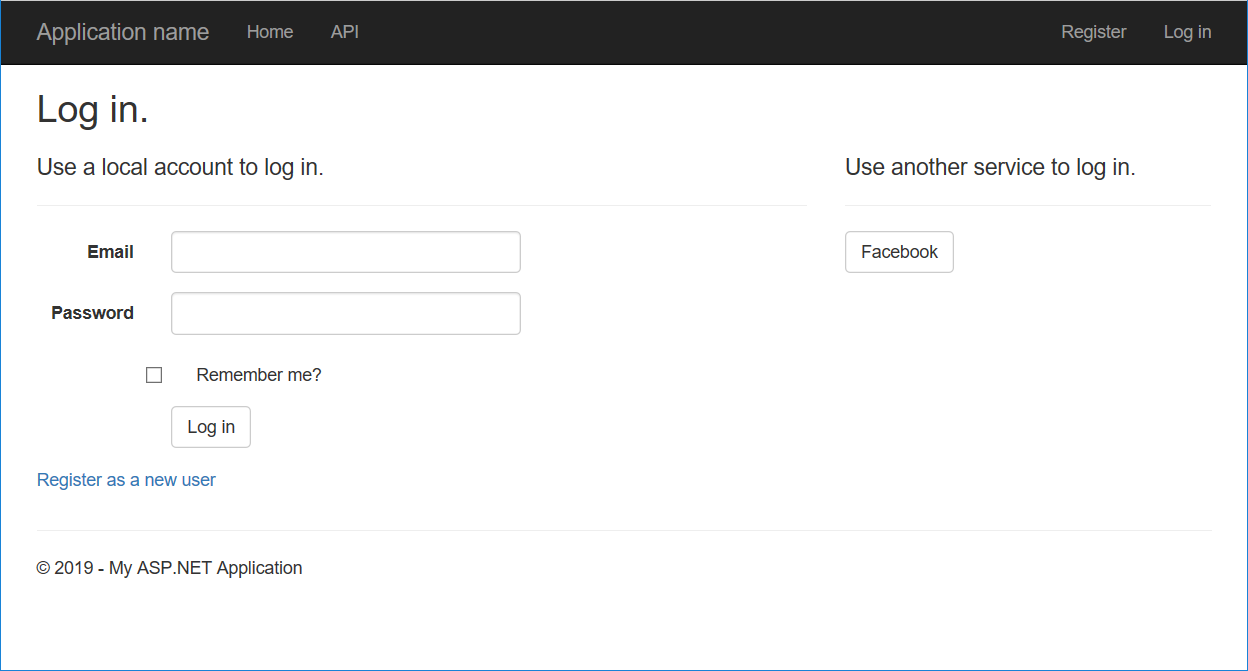
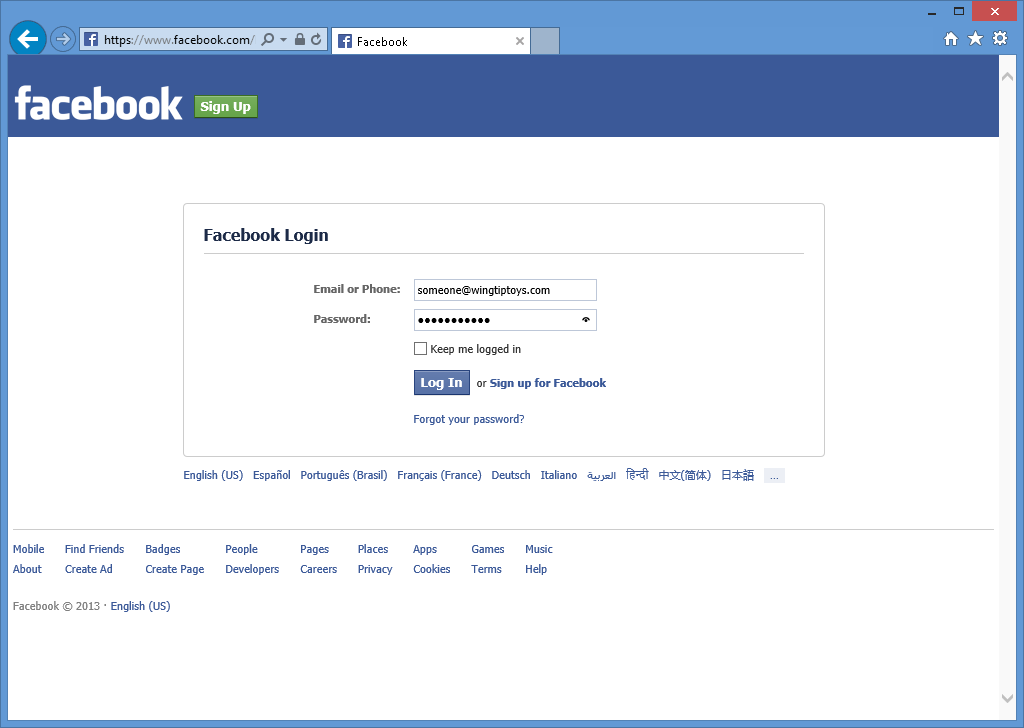
单击“Facebook”按钮时,浏览器将重定向到 Facebook 登录页:
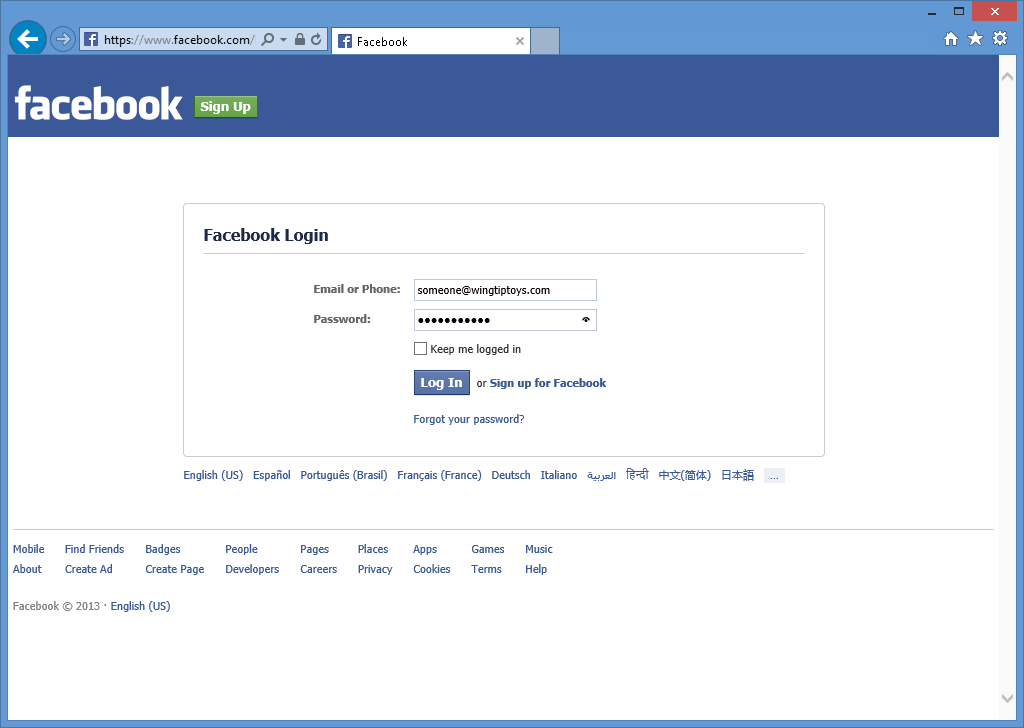
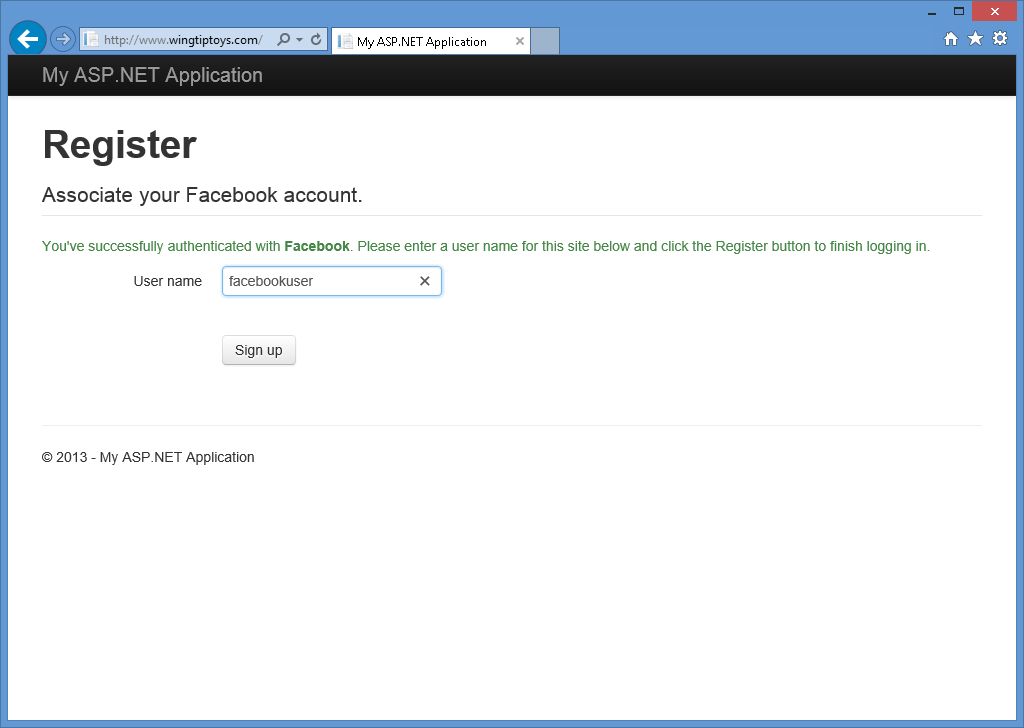
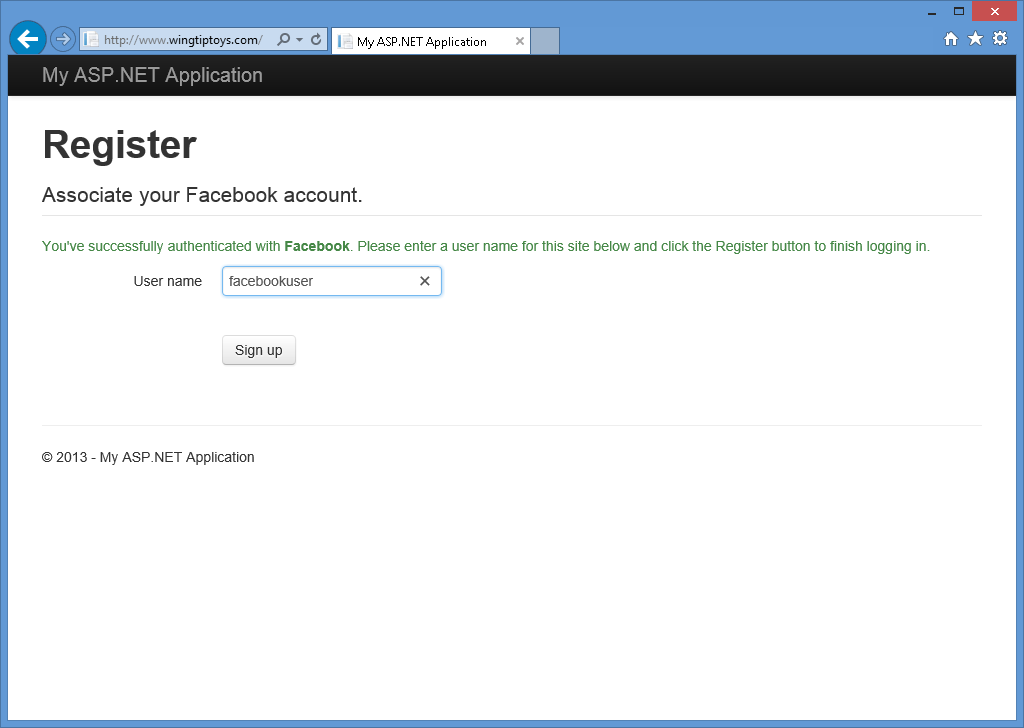
输入 Facebook 凭据并单击 登录后,Web 浏览器将重定向回 Web 应用程序,这会提示你输入要与 Facebook 帐户关联的 用户名:
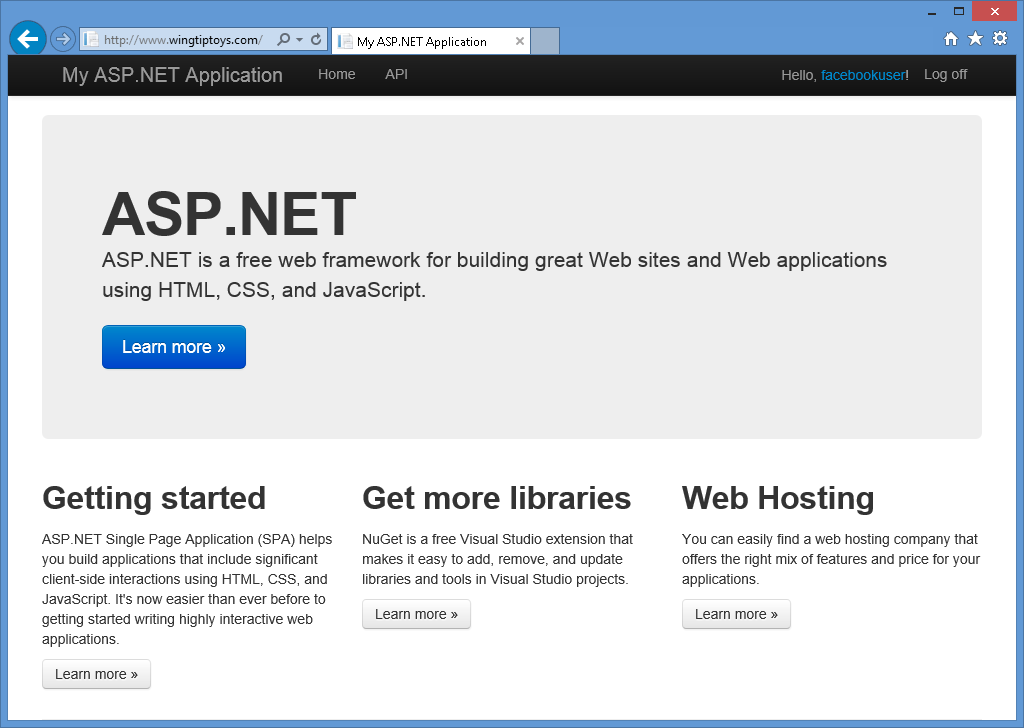
输入用户名并单击“注册”按钮后,Web 应用程序将显示 Facebook 帐户的默认 主页:
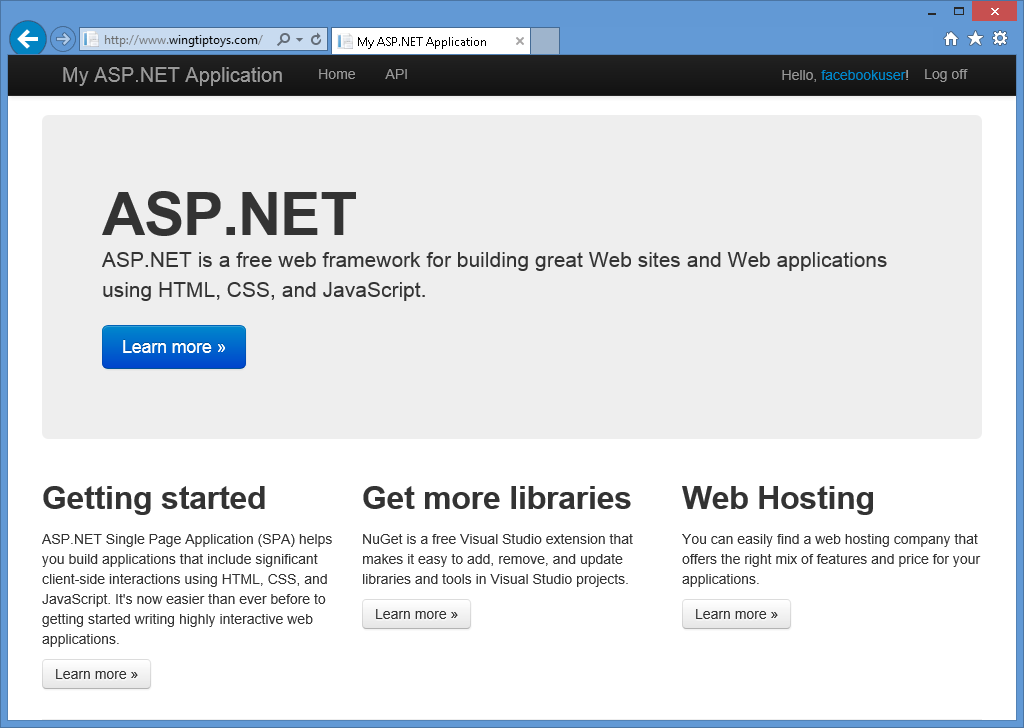
启用 Google 身份验证
使用 Google 身份验证需要创建 Google 开发人员帐户,项目需要 Google 的应用程序 ID 和密钥才能正常运行。 有关创建 Google 开发人员帐户并获取应用程序 ID 和密钥的信息,请参阅 https://developers.google.com。
若要为 Web 应用程序启用 Google 身份验证,请使用以下步骤:
在 Visual Studio 2017 中打开项目时,打开 Startup.Auth.cs 文件。
找到代码的 Google 身份验证部分:
// Uncomment the following lines to enable logging in with third party login providers
//app.UseMicrosoftAccountAuthentication(
//    clientId: "",
//    clientSecret: "");

//app.UseTwitterAuthentication(
//    consumerKey: "",
//    consumerSecret: "");

//app.UseFacebookAuthentication(
//    appId: "",
//    appSecret: "");

//app.UseGoogleAuthentication(new GoogleOAuth2AuthenticationOptions()
//{
//    ClientId = "",
//    ClientSecret = ""
//});
移除“//”字符以取消注释突出显示的代码行,然后添加应用程序 ID 和密钥。 添加这些参数后,可以重新编译项目:
// Uncomment the following lines to enable logging in with third party login providers
//app.UseMicrosoftAccountAuthentication(
//    clientId: "",
//    clientSecret: "");

//app.UseTwitterAuthentication(
//   consumerKey: "",
//   consumerSecret: "");

//app.UseFacebookAuthentication(
//   appId: "",
//   appSecret: "");

app.UseGoogleAuthentication(new GoogleOAuth2AuthenticationOptions()
{
    ClientId = "477522346600.apps.googleusercontent.com",
    ClientSecret = "gobkdpbocikdfbnfahjladnetpdkvmic"
});
按 F5 在 Web 浏览器中打开 Web 应用程序时,会看到 Google 已定义为外部身份验证服务:
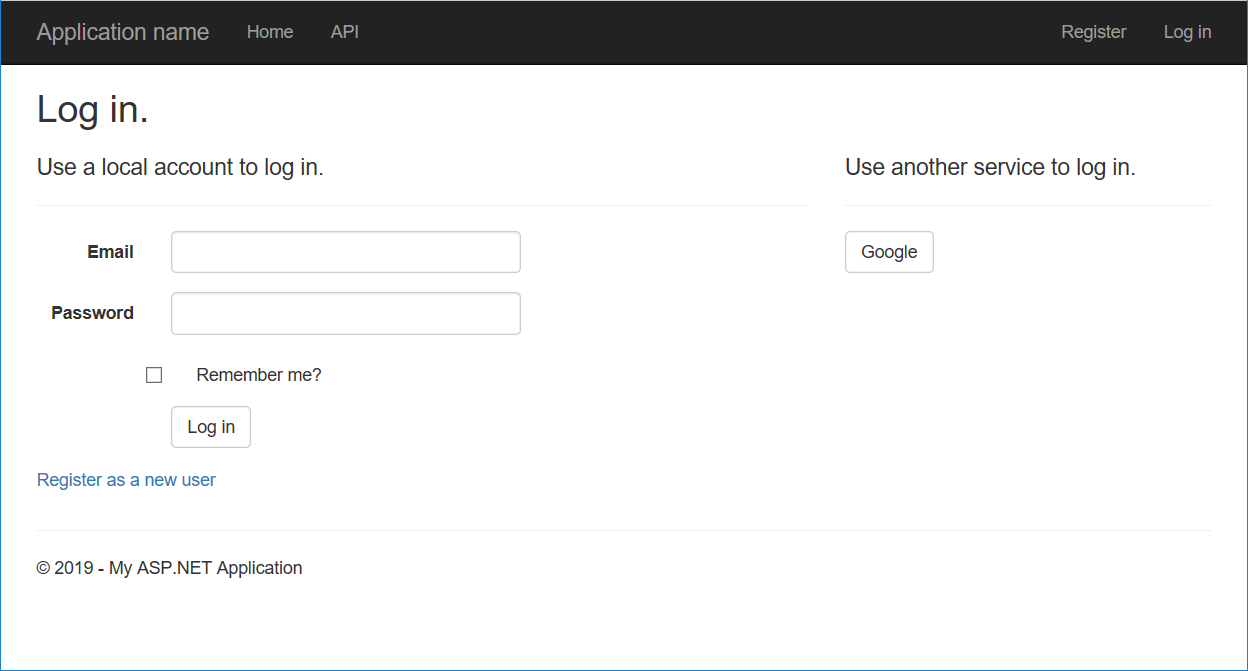
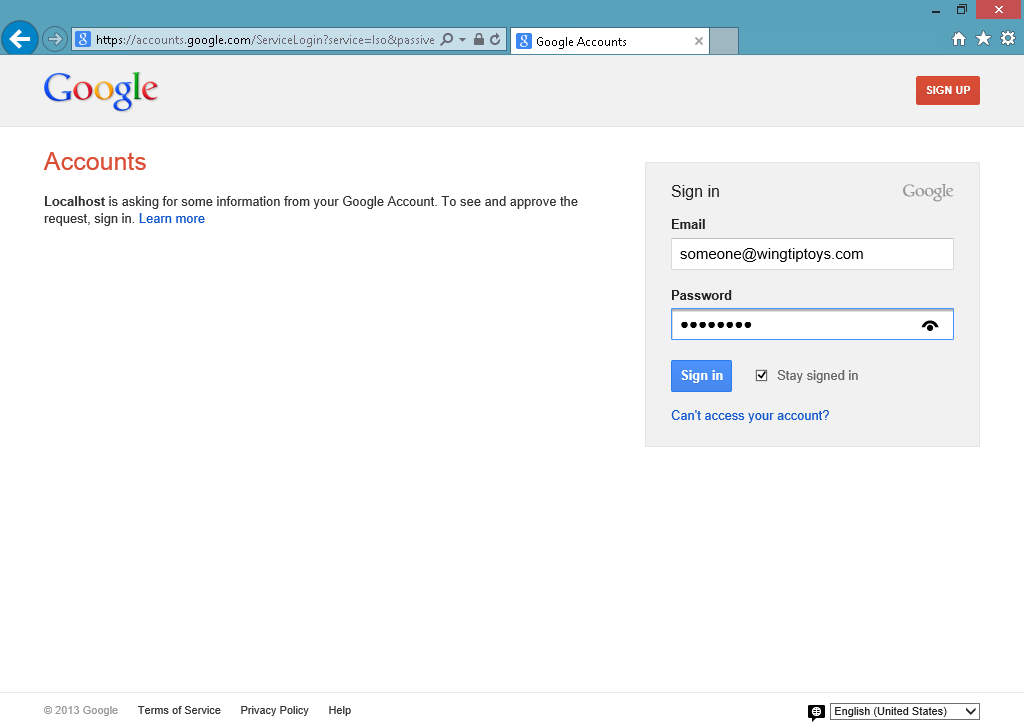
单击 Google 按钮时,浏览器将重定向到 Google 登录页:
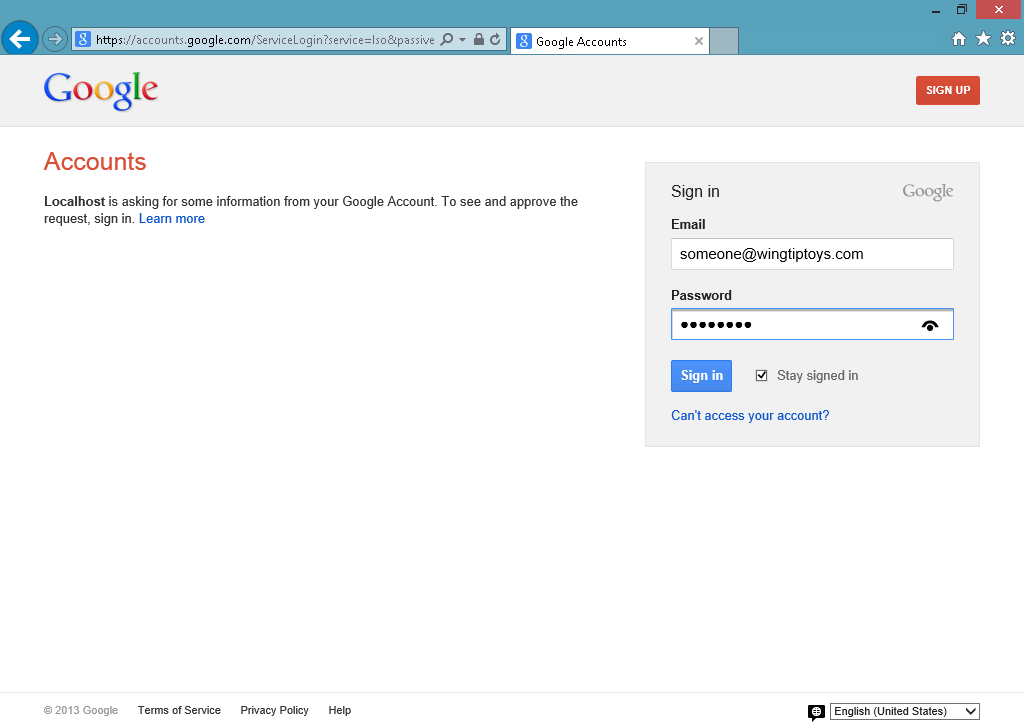
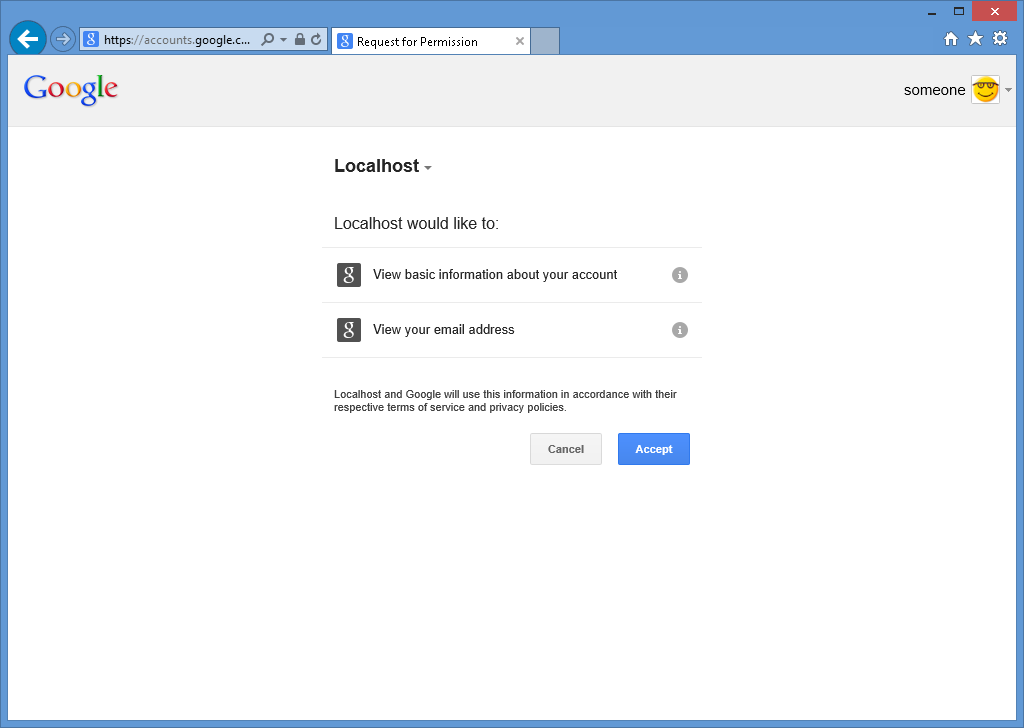
输入 Google 凭据并单击 登录后,Google 将提示你验证 Web 应用程序是否有权访问 Google 帐户:
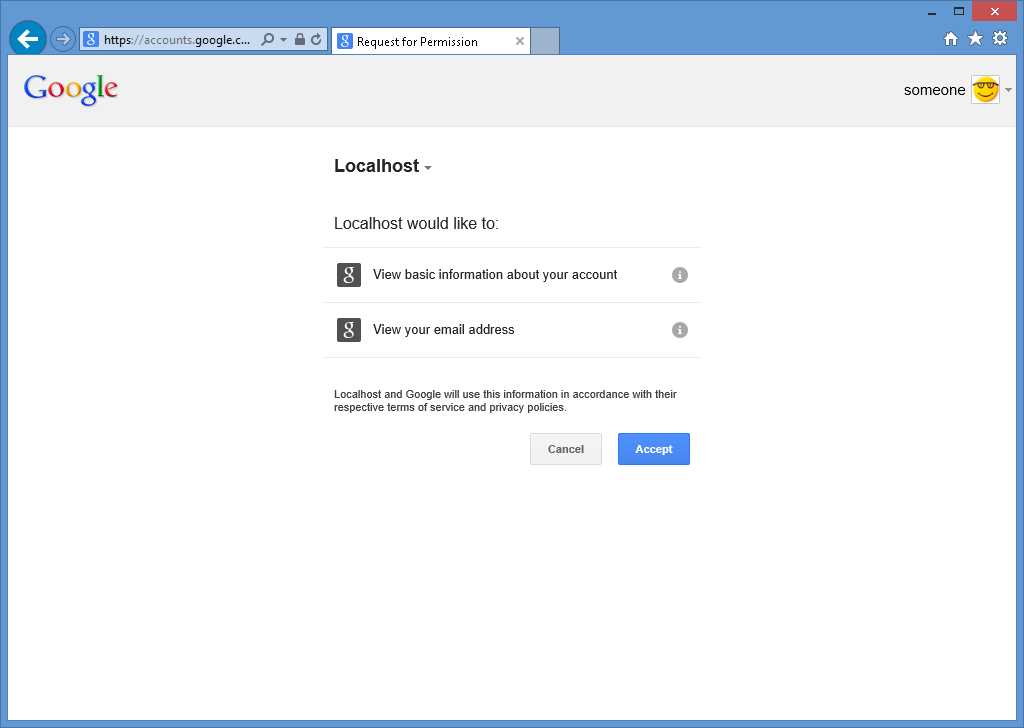
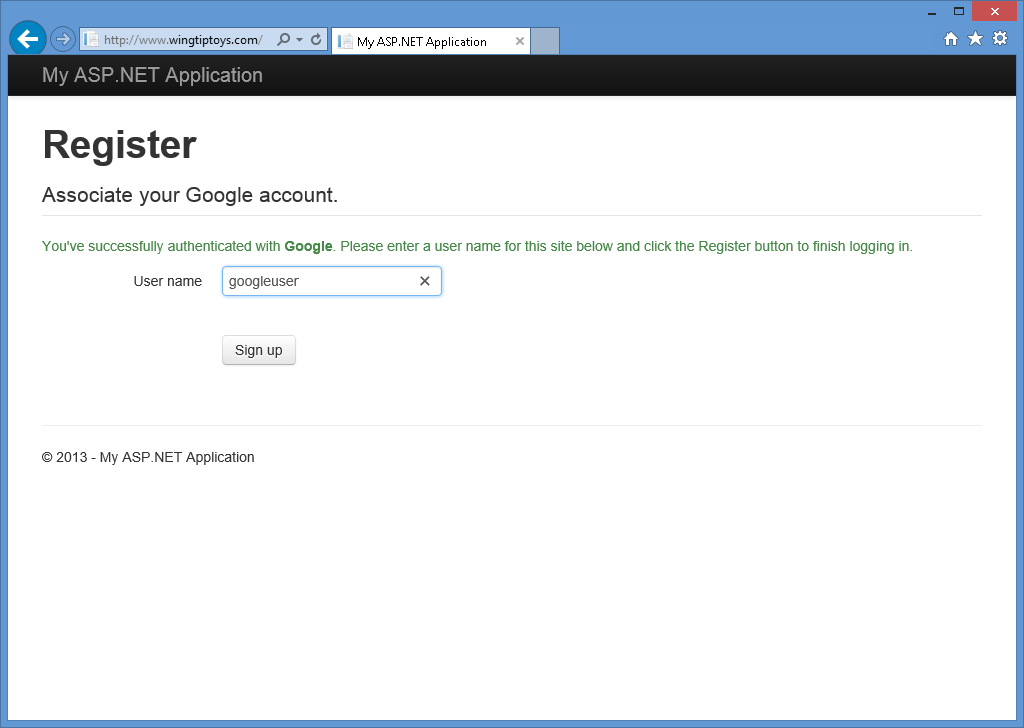
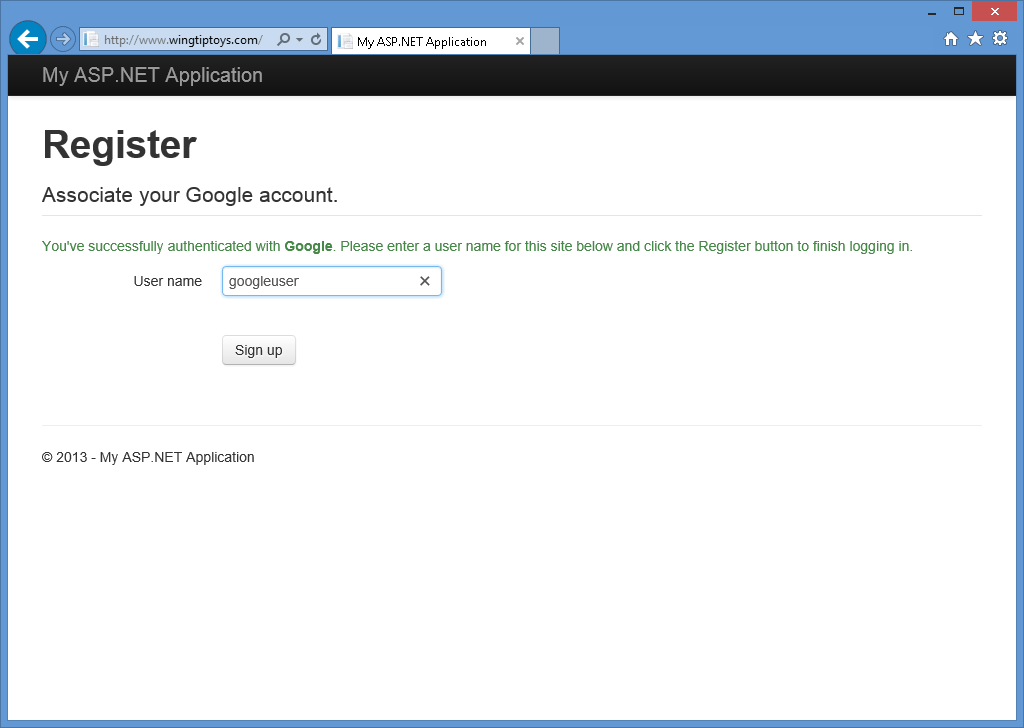
当你单击 接受时,Web 浏览器会重定向回你的 Web 应用程序,届时会提示你输入要与 Google 帐户关联的 用户名:
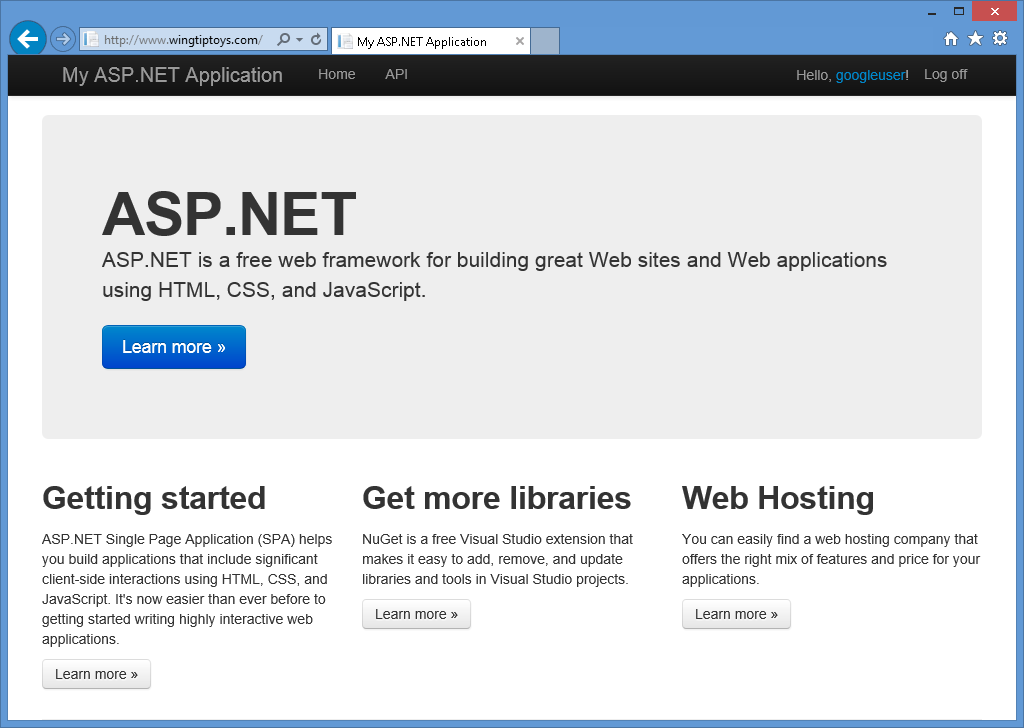
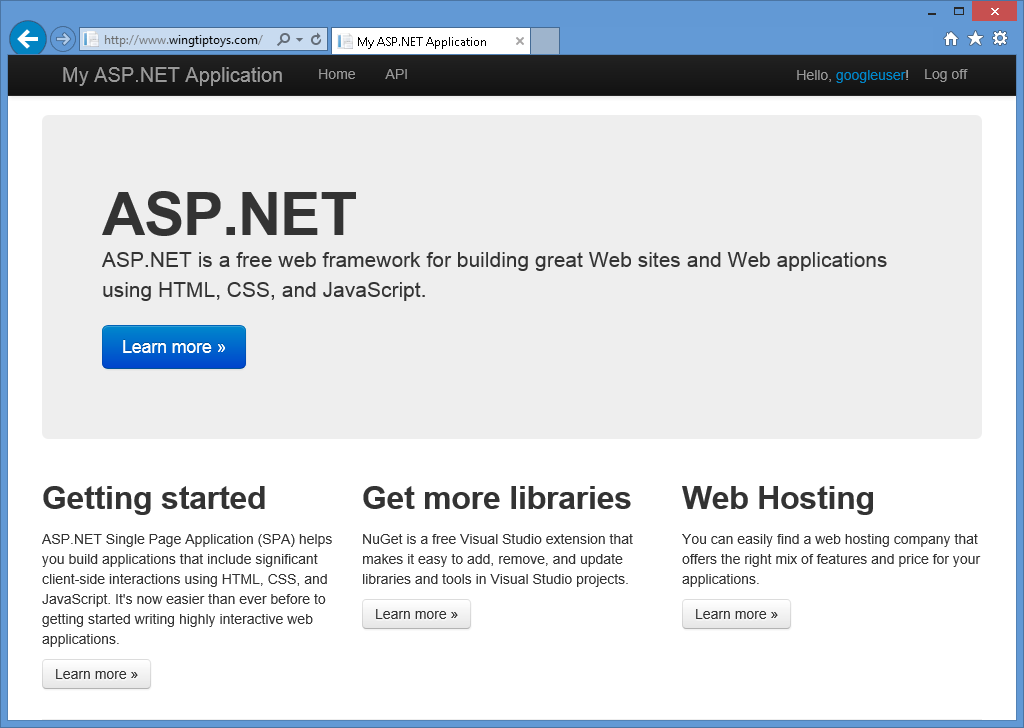
输入用户名并单击 注册 按钮后,Web 应用程序将显示 Google 帐户的默认 主页:
启用Microsoft身份验证
Microsoft身份验证要求你创建开发人员帐户,并且需要客户端 ID 和客户端密码才能正常运行。 有关创建Microsoft开发人员帐户并获取客户端 ID 和客户端密码的信息,请参阅 https://go.microsoft.com/fwlink/?LinkID=144070。
获取使用者密钥和使用者密码后,请使用以下步骤为 Web 应用程序启用Microsoft身份验证:
在 Visual Studio 2017 中打开项目时,打开 Startup.Auth.cs 文件。
找到代码中的Microsoft身份验证部分:
// Uncomment the following lines to enable logging in with third party login providers
//app.UseMicrosoftAccountAuthentication(
//    clientId: "",
//    clientSecret: "");

//app.UseTwitterAuthentication(
//   consumerKey: "",
//   consumerSecret: "");

//app.UseFacebookAuthentication(
//   appId: "",
//   appSecret: "");

//app.UseGoogleAuthentication(new GoogleOAuth2AuthenticationOptions()
//{
//    ClientId = "",
//    ClientSecret = ""
//});
移除“//”字符以取消注释突出显示的代码行,然后添加客户端 ID 和客户端密码。 添加这些参数后,可以重新编译项目:
// Uncomment the following lines to enable logging in with third party login providers
app.UseMicrosoftAccountAuthentication(
    clientId: "426f62526f636b73",
    clientSecret: "57686f6120447564652c2049495320526f636b73");

//app.UseTwitterAuthentication(
//   consumerKey: "",
//   consumerSecret: "");

//app.UseFacebookAuthentication(
//   appId: "",
//   appSecret: "");

//app.UseGoogleAuthentication(new GoogleOAuth2AuthenticationOptions()
//{
//    ClientId = "",
//    ClientSecret = ""
//});
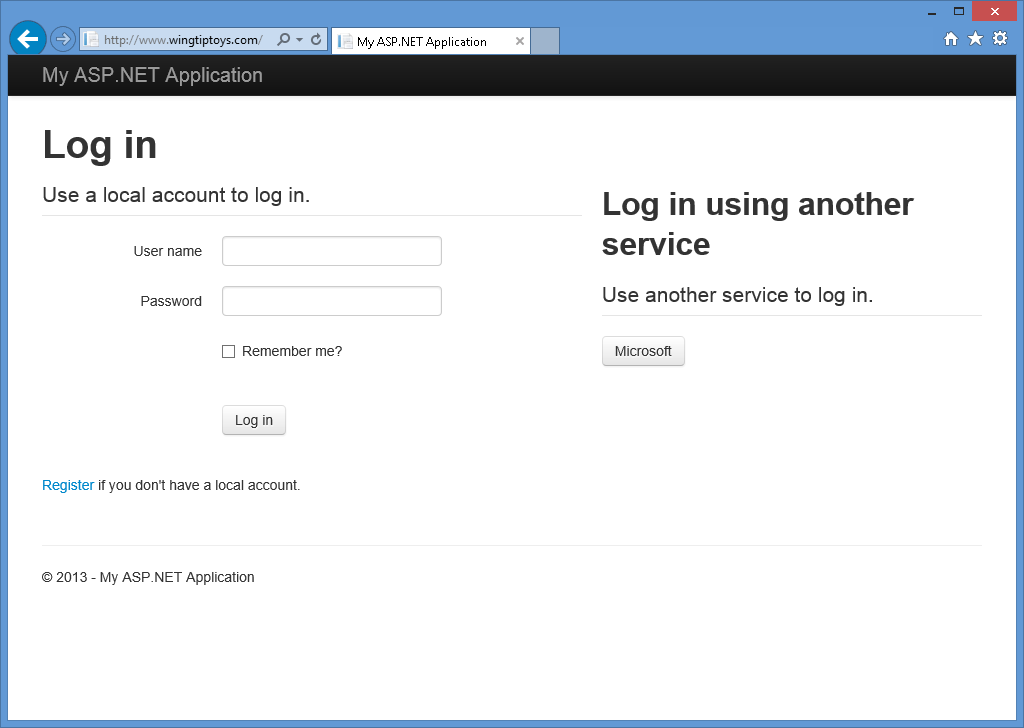
按 F5 在 Web 浏览器中打开 Web 应用程序时,会看到Microsoft已定义为外部身份验证服务:
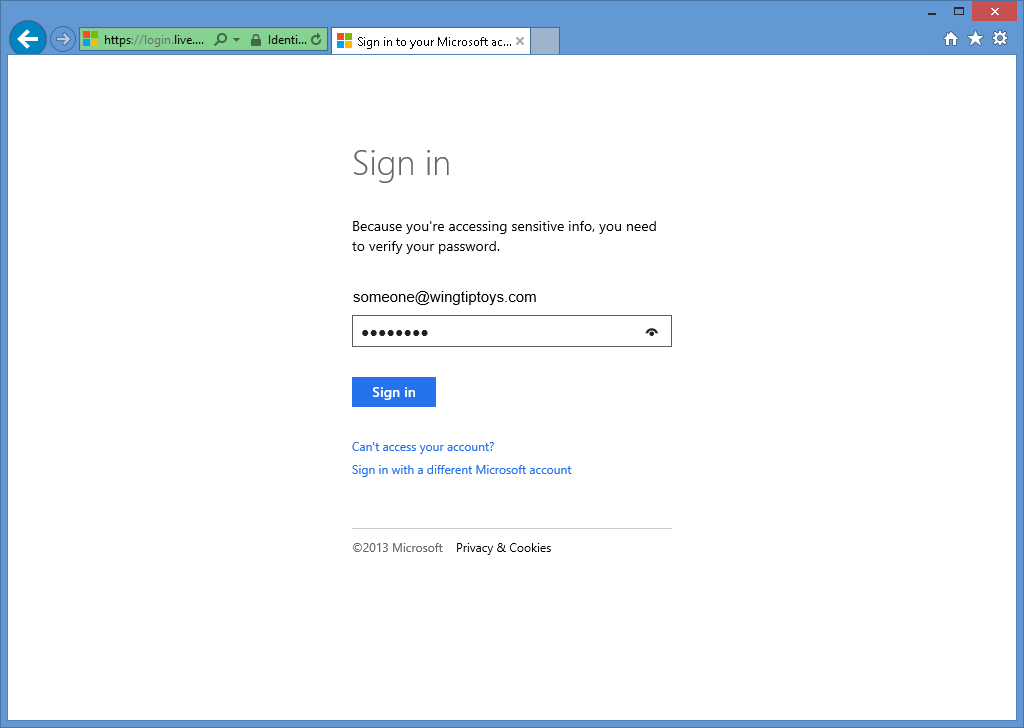
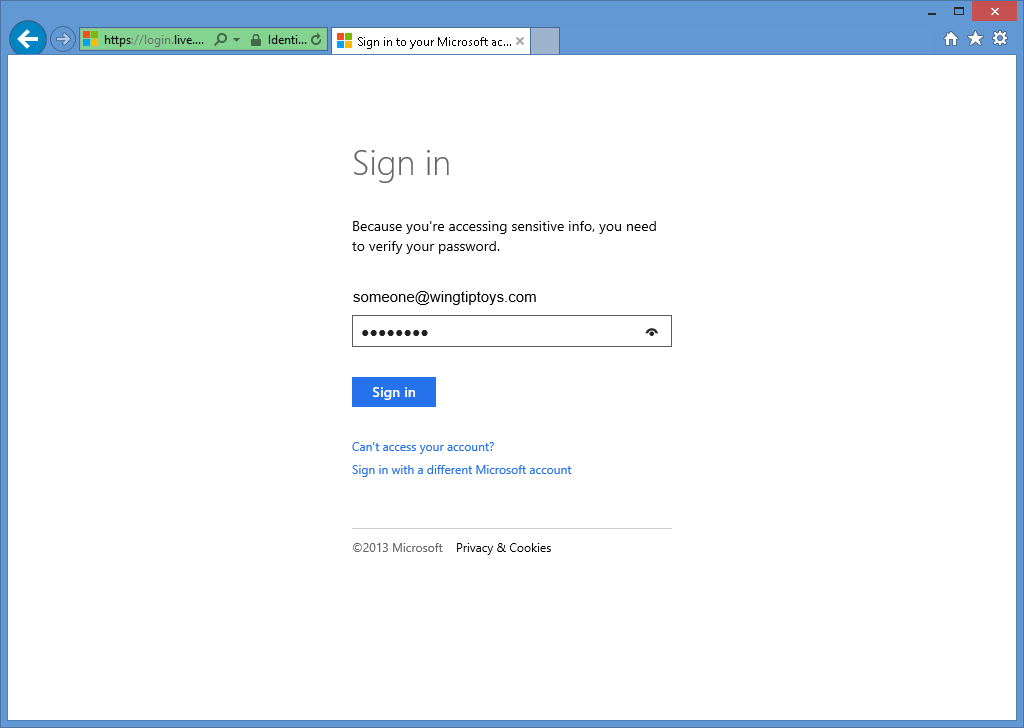
单击 Microsoft 按钮时,浏览器将重定向到Microsoft登录页:
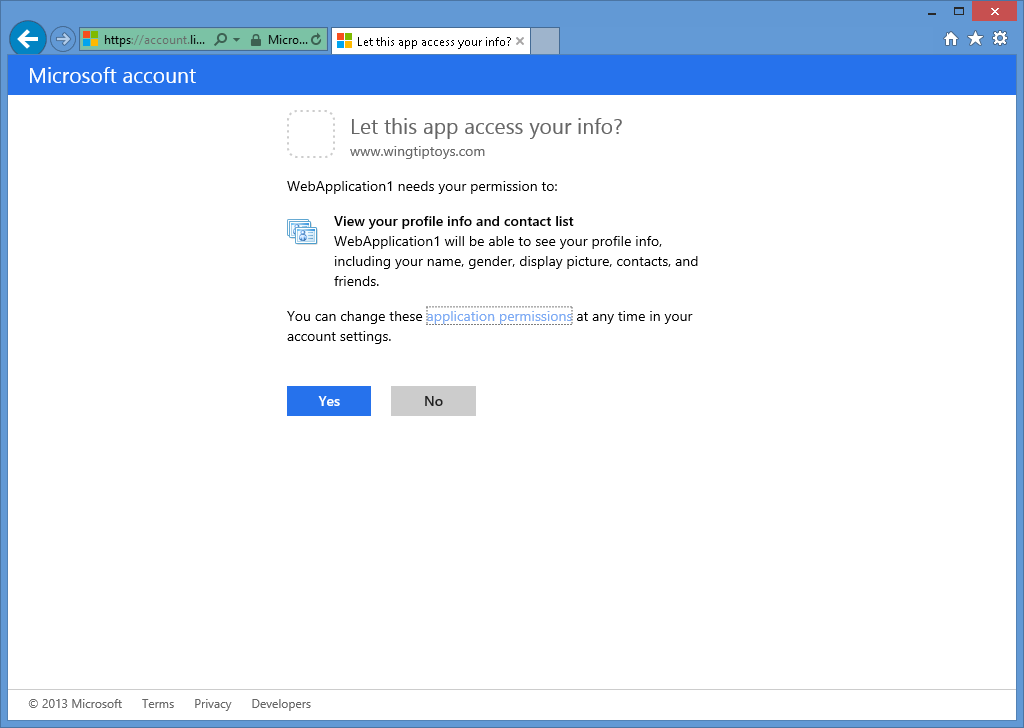
在输入你的Microsoft凭据并单击 登录之后,系统会提示你确认Web应用是否有权限访问你的Microsoft帐户:
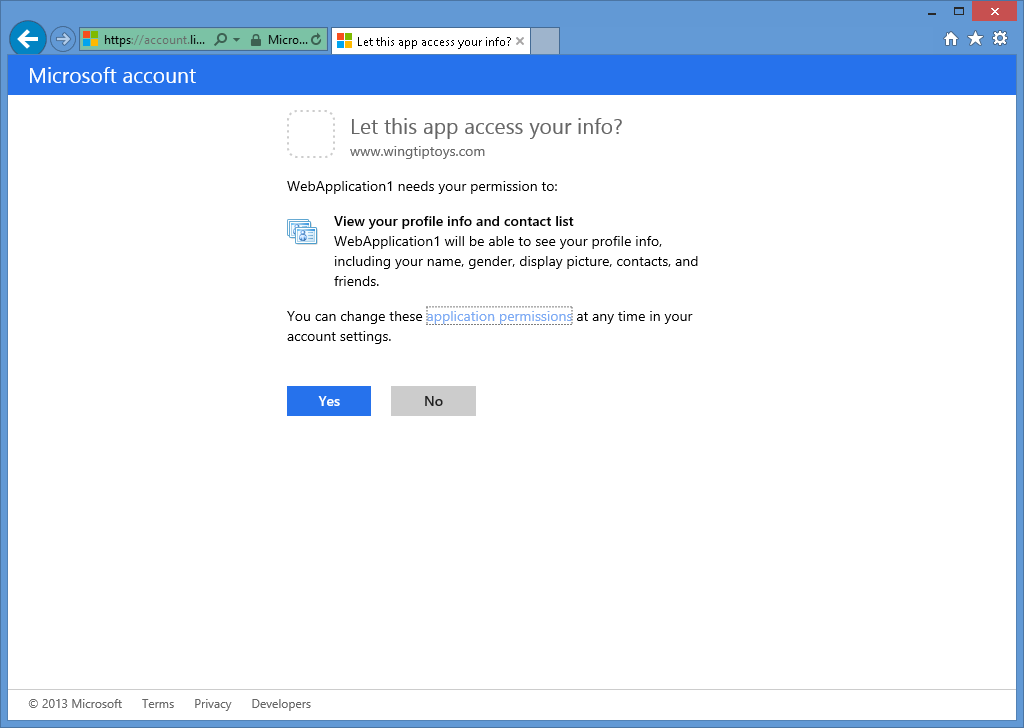
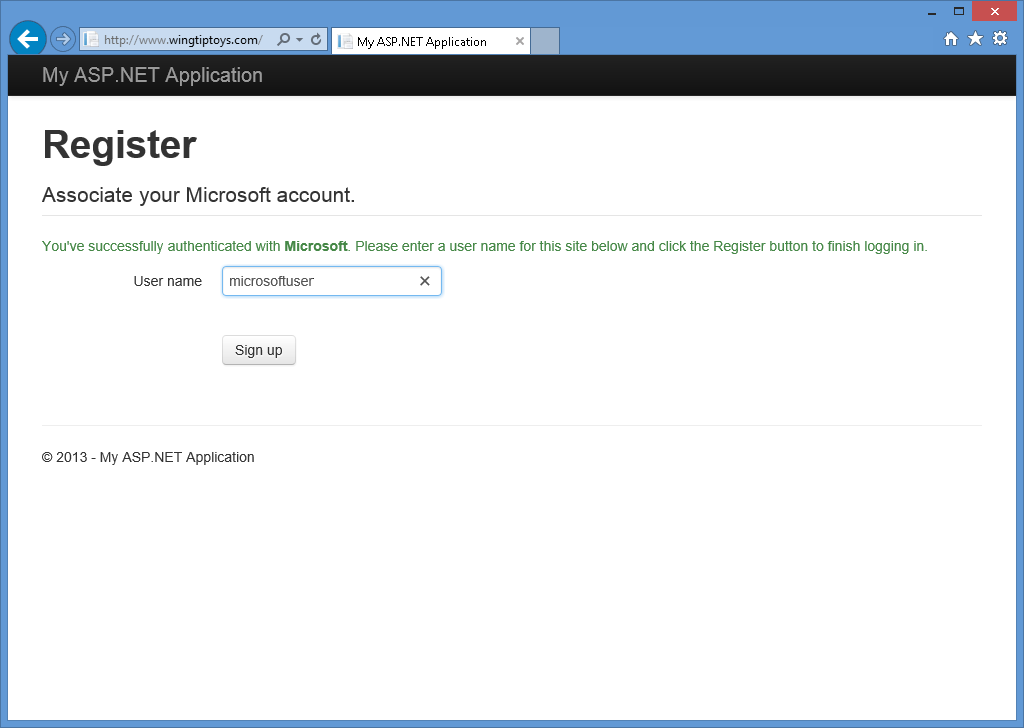
单击“是”时,Web 浏览器将重定向回 Web 应用程序,此时系统会提示输入要与 Microsoft 帐户关联的“用户名”:
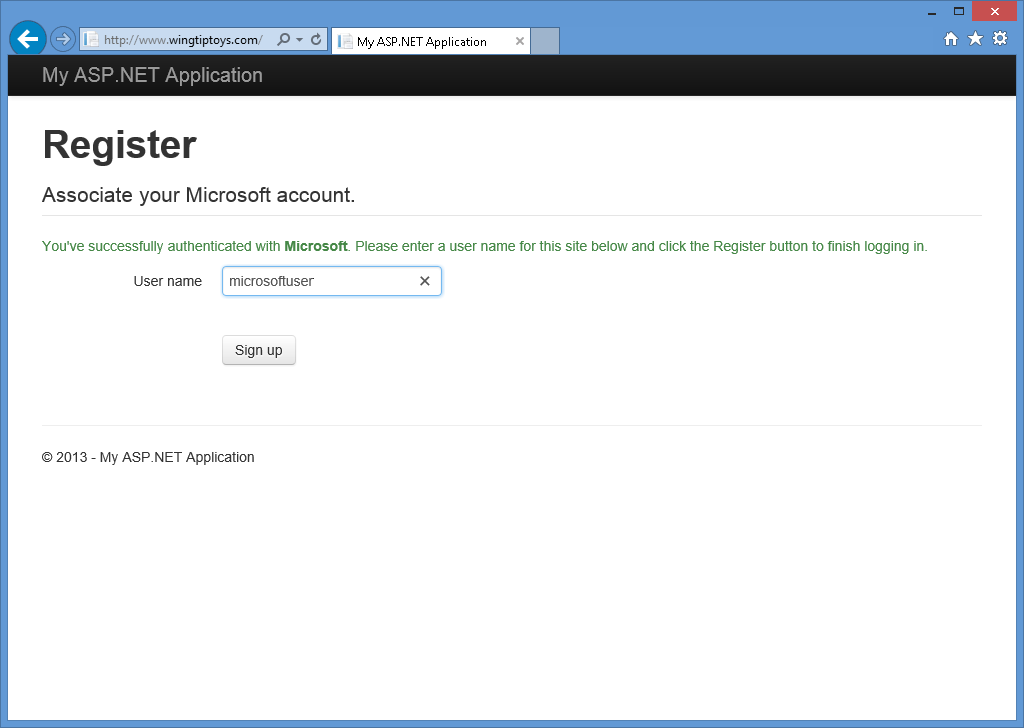
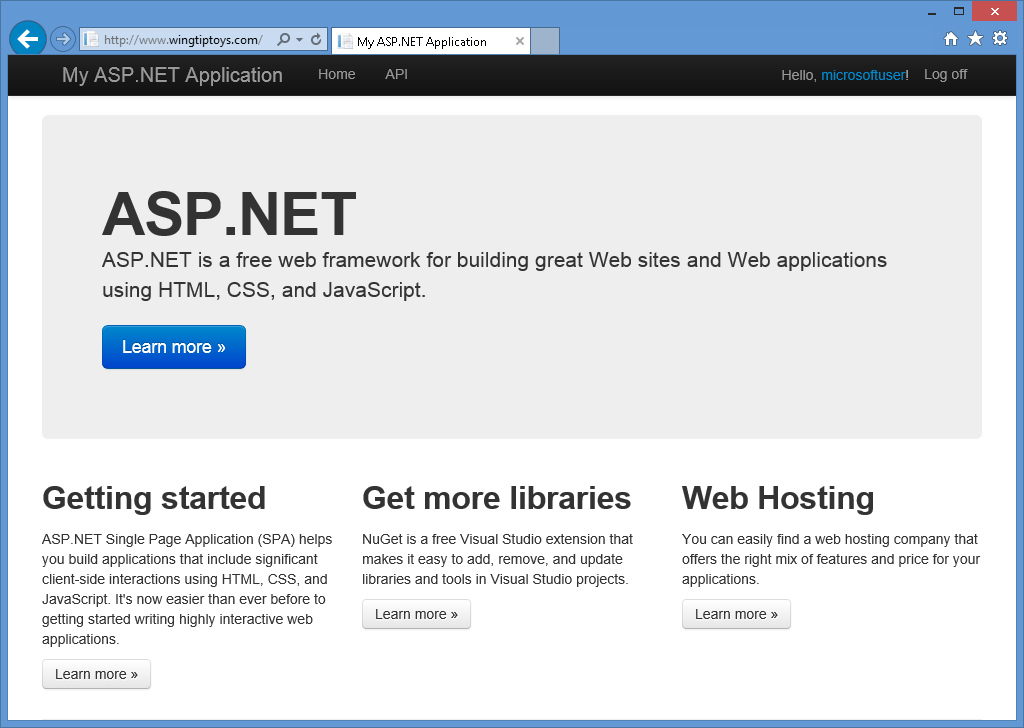
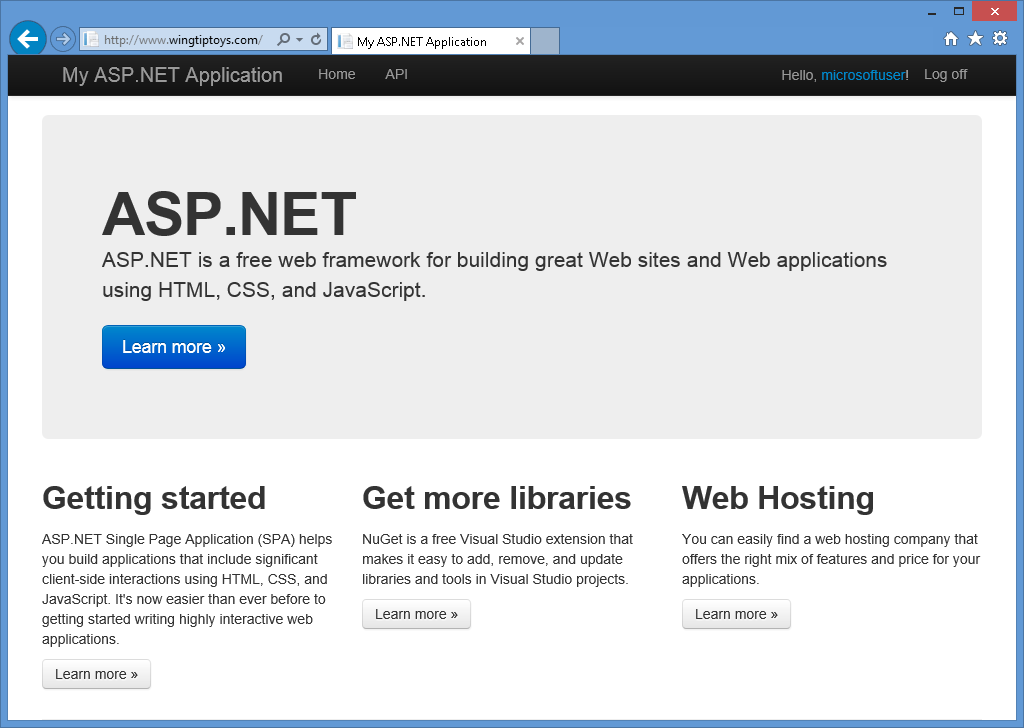
输入用户名并单击 注册 按钮后,Web 应用程序将显示Microsoft帐户的默认 主页:
启用 Twitter 身份验证
Twitter 身份验证要求你创建开发人员帐户,并且它需要使用者密钥和使用者机密才能正常运行。 有关创建 Twitter 开发人员帐户并获取使用者密钥和使用者机密的信息,请参阅 https://go.microsoft.com/fwlink/?LinkID=252166。
获取使用者密钥和使用者密码后,使用以下步骤为 Web 应用程序启用 Twitter 身份验证:
在 Visual Studio 2017 中打开项目时,打开 Startup.Auth.cs 文件。
定位代码中的 Twitter 身份验证部分:
// Uncomment the following lines to enable logging in with third party login providers
//app.UseMicrosoftAccountAuthentication(
//    clientId: "",
//    clientSecret: "");

//app.UseTwitterAuthentication(
//   consumerKey: "",
//   consumerSecret: "");

//app.UseFacebookAuthentication(
//   appId: "",
//   appSecret: "");

//app.UseGoogleAuthentication(new GoogleOAuth2AuthenticationOptions()
//{
//    ClientId = "",
//    ClientSecret = ""
//});
移除“//”字符以取消注释突出显示的代码行,然后添加使用者密钥和使用者密码。 添加这些参数后,可以重新编译项目:
// Uncomment the following lines to enable logging in with third party login providers
//app.UseMicrosoftAccountAuthentication(
//    clientId: "",
//    clientSecret: "");

app.UseTwitterAuthentication(
   consumerKey: "426f62526f636b73",
   consumerSecret: "57686f6120447564652c2049495320526f636b73");

//app.UseFacebookAuthentication(
//   appId: "",
//   appSecret: "");

//app.UseGoogleAuthentication(new GoogleOAuth2AuthenticationOptions()
//{
//    ClientId = "",
//    ClientSecret = ""
//});
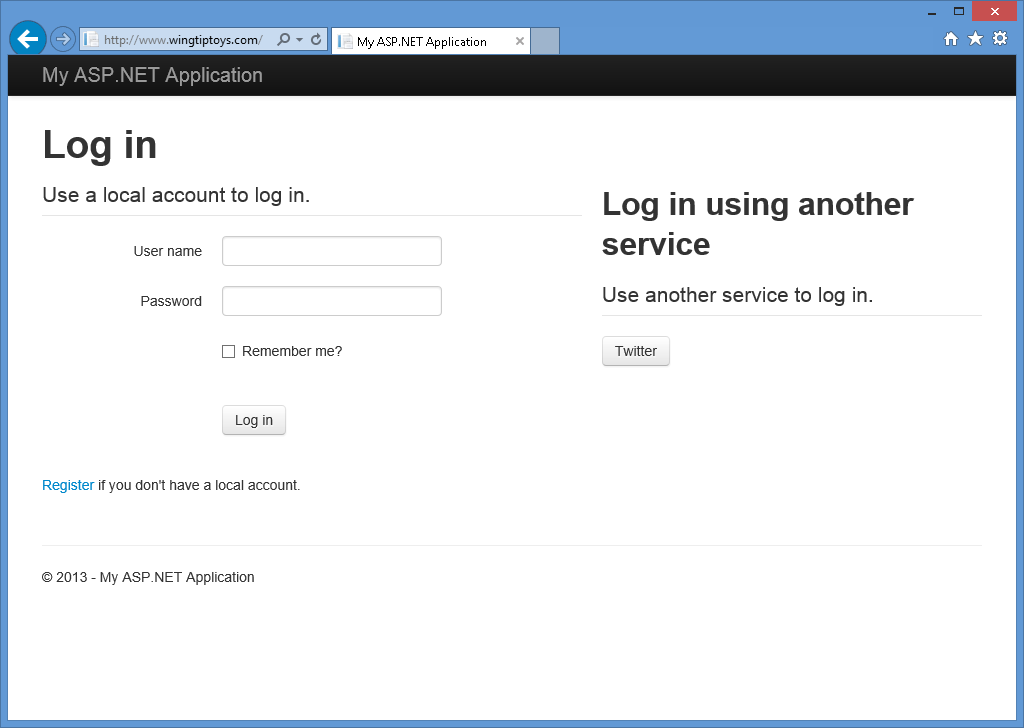
按 F5 在 Web 浏览器中打开 Web 应用程序时,你将看到 Twitter 已定义为外部身份验证服务:
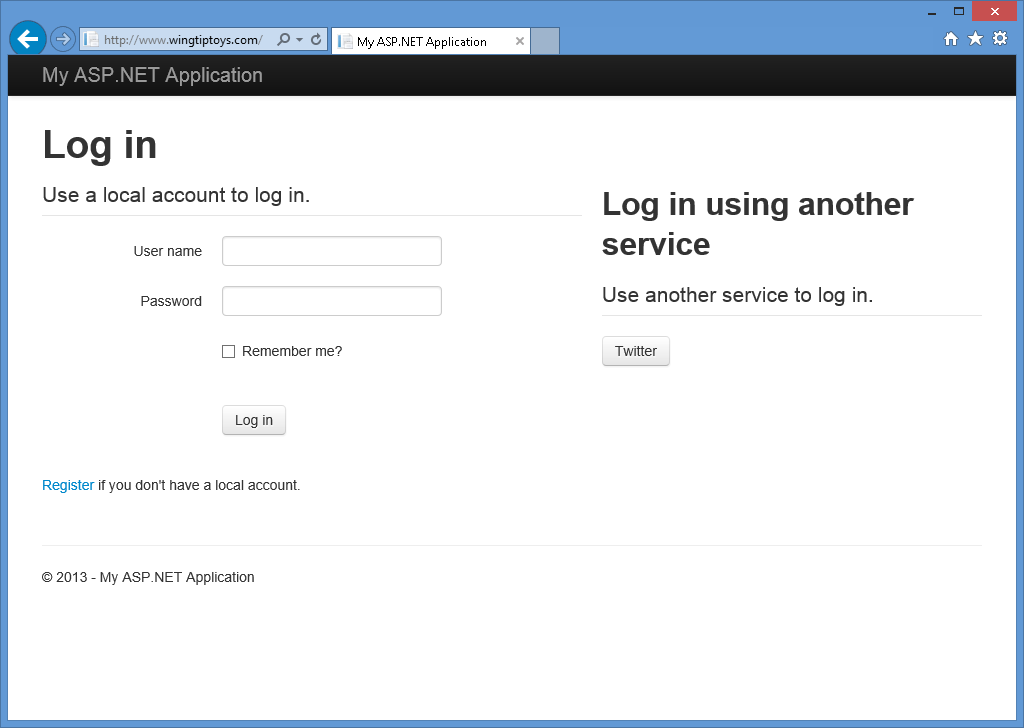
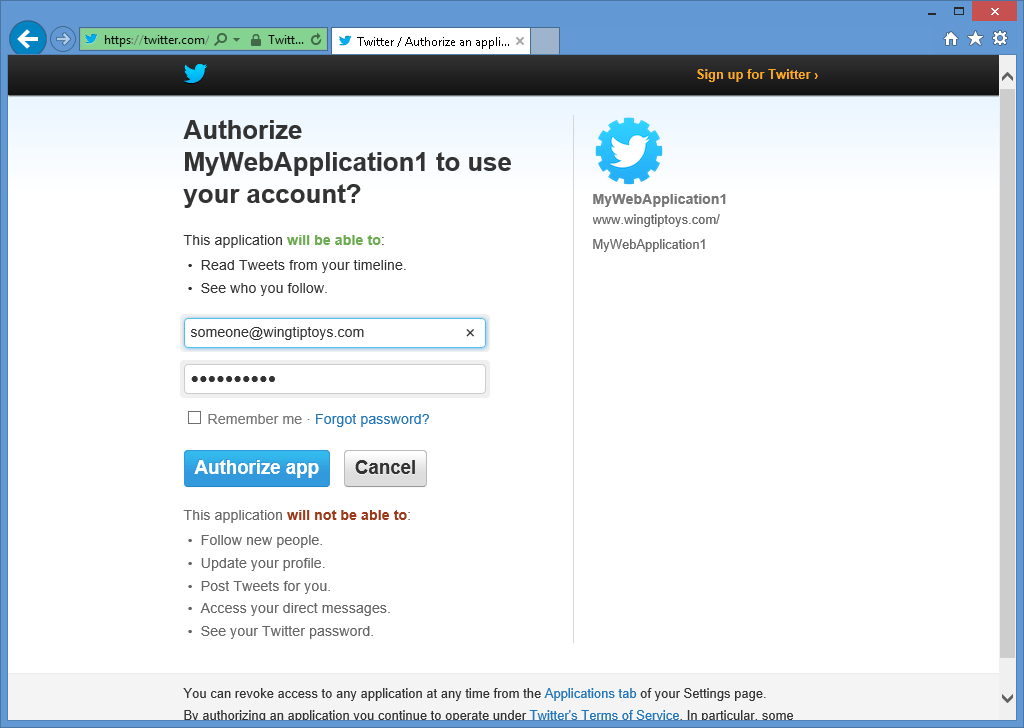
单击 Twitter 按钮时,浏览器将重定向到 Twitter 登录页:
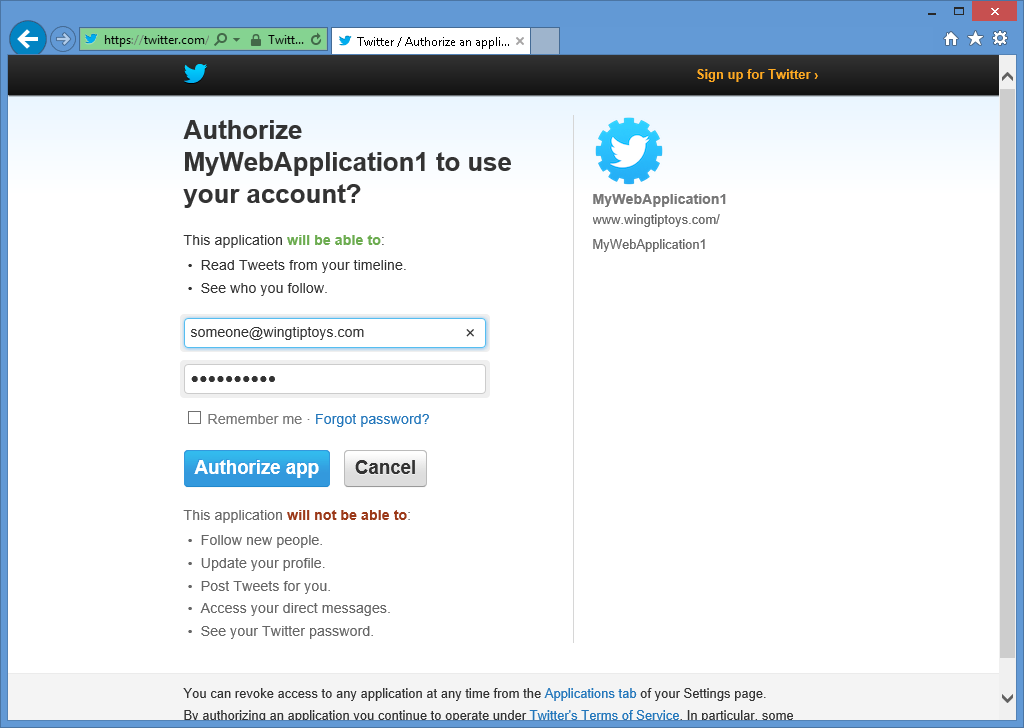
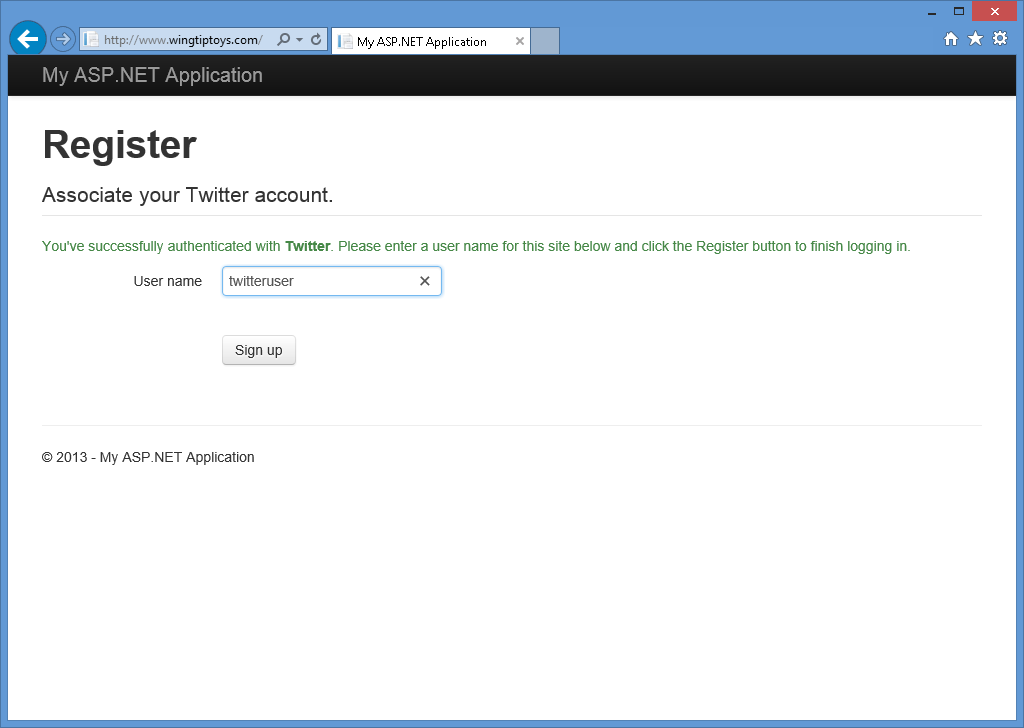
输入 Twitter 凭据并单击 授权应用后,Web 浏览器将重定向回 Web 应用程序,这会提示你输入要与 Twitter 帐户关联的 用户名:
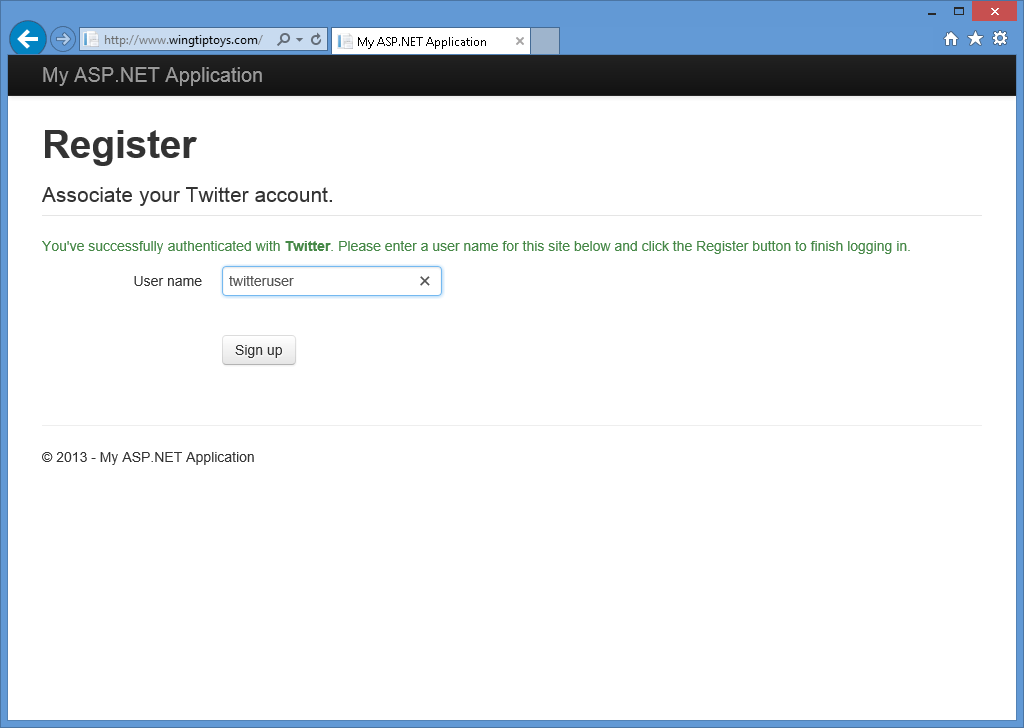
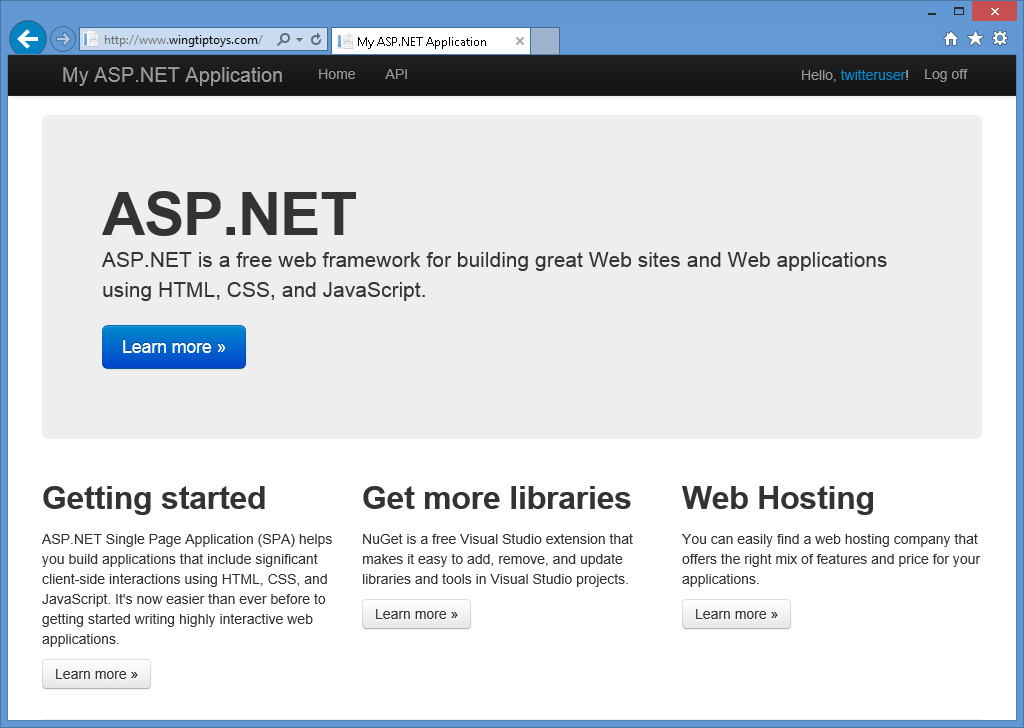
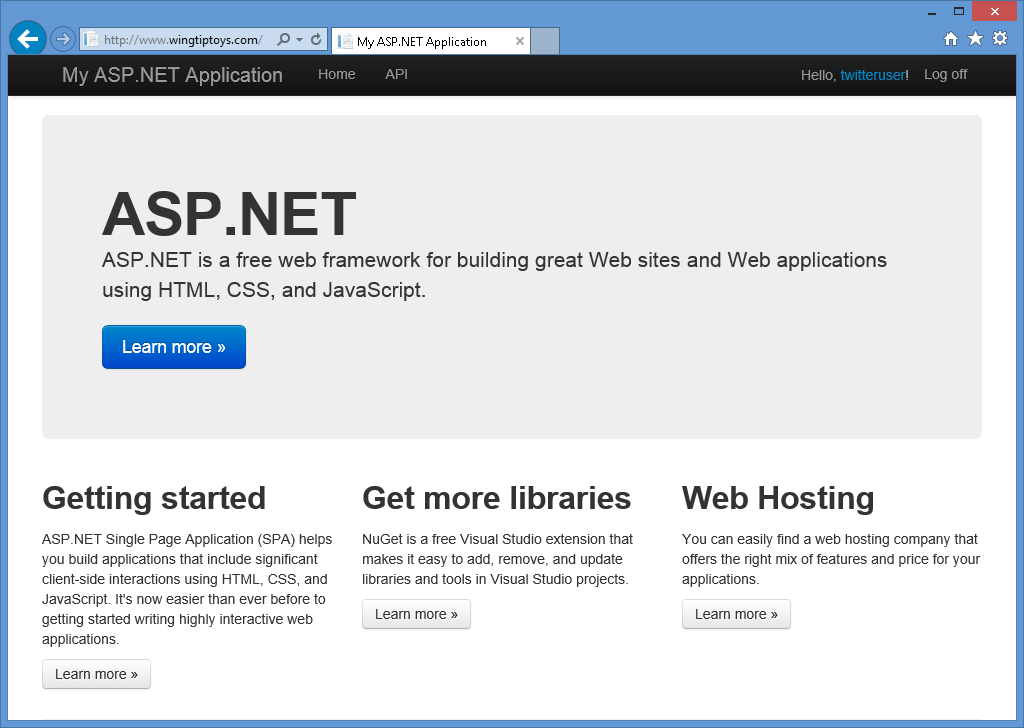
输入用户名并单击“注册”按钮后,Web 应用程序将显示 Twitter 帐户的默认 主页:
其他信息
有关创建使用 OAuth 和 OpenID 的应用程序的其他信息,请参阅以下 URL:
组合外部身份验证服务
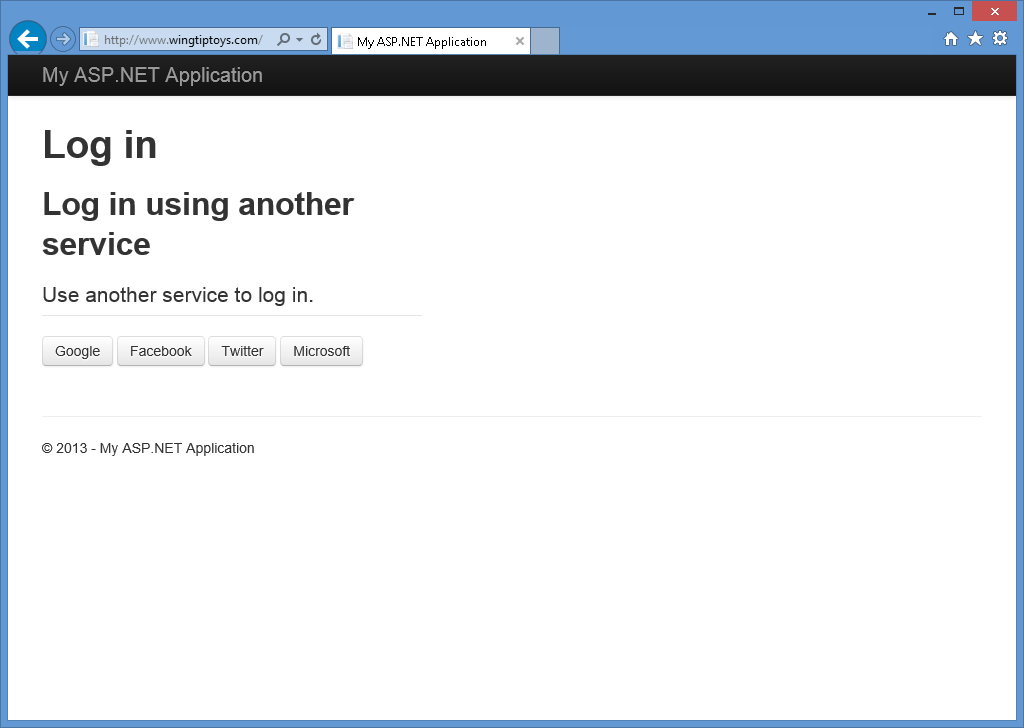
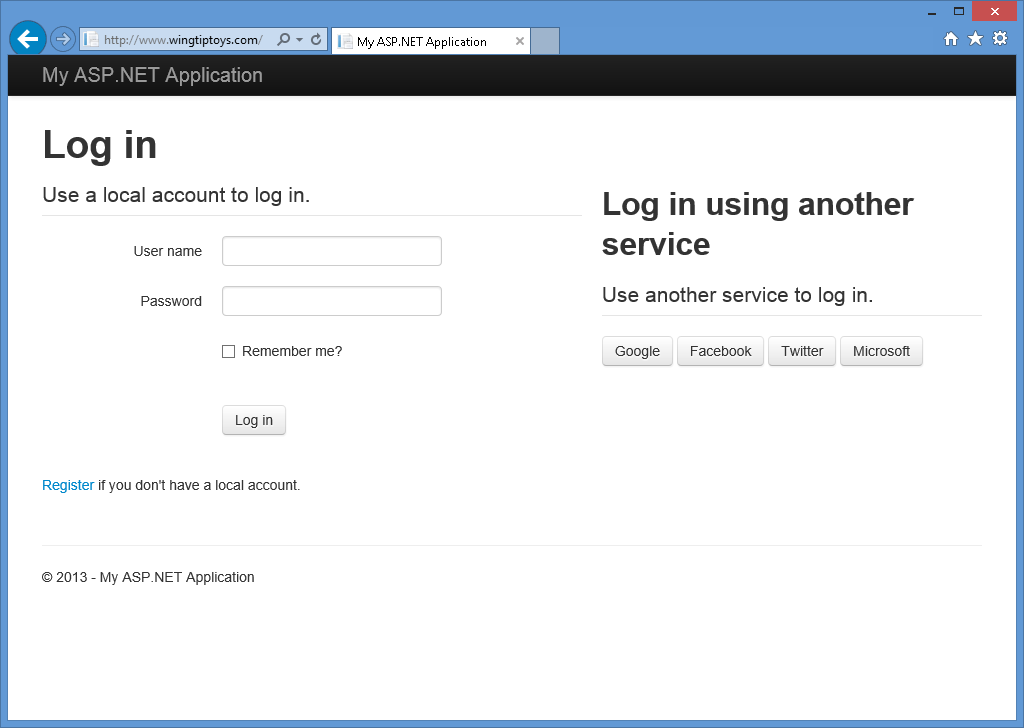
为了获得更大的灵活性,可以同时定义多个外部身份验证服务 - 这允许 Web 应用程序的用户使用任何已启用的外部身份验证服务的帐户:
将 IIS Express 配置为使用完全限定的域名
某些外部身份验证提供程序不支持使用 HTTP 地址(如 http://localhost:port/)测试应用程序。 若要解决此问题,可以添加静态完全限定域名(FQDN)映射到 HOSTS 文件,并在 Visual Studio 2017 中配置项目选项,以使用 FQDN 进行测试/调试。 为此,请使用以下步骤:
添加映射 HOSTS 文件的静态 FQDN:
以提升的权限打开 Windows 中的命令提示符。
键入以下命令:
记事本 %WinDir%\system32\drivers\etc\hosts
将如下所示的条目添加到 HOSTS 文件:
127.0.0.1 www.wingtiptoys.com
保存壁并关闭 HOSTS 文件。
将 Visual Studio 项目配置为使用 FQDN:
- 在 Visual Studio 2017 中打开项目时,单击 项目 菜单,然后选择项目的属性。 例如,可以选择“WebApplication1 属性”。
- 选择 Web 选项卡。
- 输入项目 URL 的 FQDN。 例如,如果这是添加到 HOSTS 文件的 FQDN 映射,则输入 http://www.wingtiptoys.com。
将 IIS Express 配置为将 FQDN 用于应用程序:
以提升的权限打开 Windows 中的命令提示符。
键入以下命令以更改为 IIS Express 文件夹:
cd /d “%ProgramFiles%\IIS Express”
键入以下命令,将 FQDN 添加到应用程序:
appcmd.exe 设置 config -section:system.applicationHost/sites /+“[name='WebApplication1'].bindings。[protocol='http',bindingInformation='*:80:www.wingtiptoys.com']“ /commit:apphost
其中 WebApplication1 是项目的名称,bindingInformation 包含要用于测试的端口号和 FQDN。
如何获取适合于 Microsoft 身份验证的应用程序设置
将应用程序链接到 Windows Live 进行Microsoft身份验证是一个简单的过程。 如果尚未将应用程序链接到 Windows Live,可以使用以下步骤:
浏览到 https://go.microsoft.com/fwlink/?LinkID=144070 并在出现提示时输入Microsoft帐户名和密码,然后单击 登录:
选择“添加应用,并在出现提示时输入应用程序的名称,然后单击 创建:
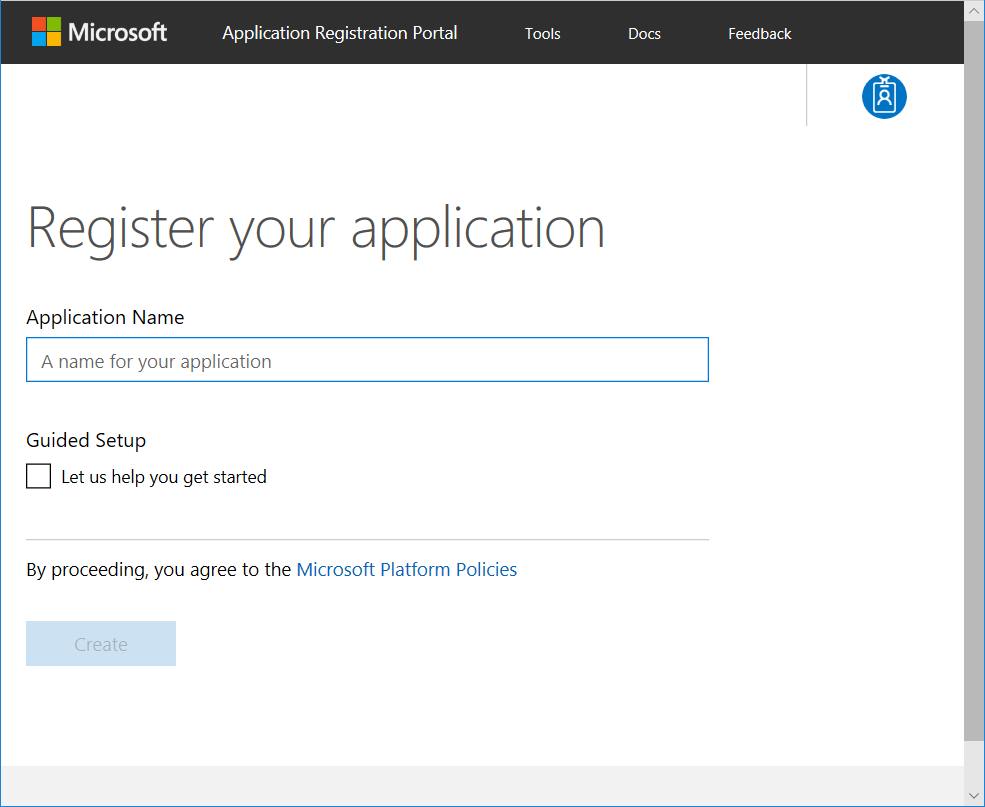
在 名称 下选择您的应用程序,随后其应用程序属性页将出现。
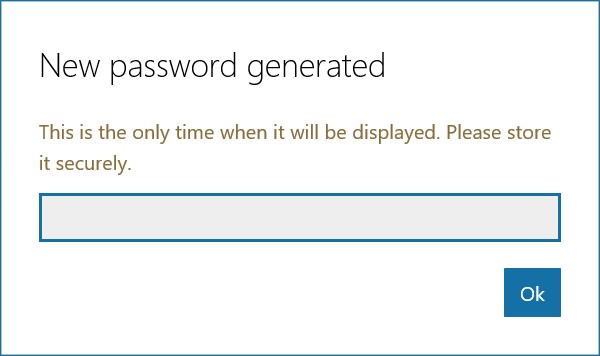
输入应用程序的重定向域。 复制 应用程序 ID,然后在 应用程序机密中选择 生成密码。 复制显示的密码。 应用程序 ID 和密码是客户端 ID 和客户端密码。 选择 “确定”,然后 保存。
可选:禁用本地注册
当前 ASP.NET 本地注册功能不会阻止自动化程序(机器人)创建成员帐户;例如,通过使用机器人预防和验证技术(如 CAPTCHA)。 因此,应在登录页上删除本地登录表单和注册链接。 为此,请在项目中打开 _Login.cshtml 页,然后注释掉本地登录面板和注册链接的行。 生成的页面应类似于以下代码示例:
<!-- ko with: login -->
<hgroup class="title">
    <h1>Log in</h1>
</hgroup>
<div class="row-fluid">
    @*<section class="span7">
        <form>
            <fieldset class="form-horizontal">
                <legend>Use a local account to log in.</legend>
                <ul class="text-error" data-bind="foreach: errors">
                    <li data-bind="text: $data"></li>
                </ul>
                <div class="control-group">
                    <label for="UserName" class="control-label">User name</label>
                    <div class="controls">
                        <input type="text" name="UserName" data-bind="value: userName, hasFocus: true" />
                        <span class="text-error" data-bind="visible: userName.hasError, text: userName.errorMessage"></span>
                    </div>
                </div>
                <div class="control-group">
                    <label for="Password" class="control-label">Password</label>
                    <div class="controls">
                        <input type="password" name="Password" data-bind="value: password" />
                        <span class="text-error" data-bind="visible: password.hasError, text: password.errorMessage"></span>
                    </div>
                </div>
                <div class="control-group">
                    <div class="controls">
                        <label class="checkbox">
                            <input type="checkbox" name="RememberMe" data-bind="checked: rememberMe" />
                            <label for="RememberMe">Remember me?</label>
                        </label>
                    </div>
                </div>
                <div class="form-actions no-color">
                    <button type="submit" class="btn" data-bind="click: login, disable: loggingIn">Log in</button>
                </div>
                <p><a href="#" data-bind="click: register">Register</a> if you don't have a local account.</p>
            </fieldset>
        </form>
    </section>*@
    <section class="span5">
        <h2>Log in using another service</h2>
        <div data-bind="visible: loadingExternalLogin">Loading...</div>
        <div data-bind="visible: !loadingExternalLogin()">
            <div class="message-info" data-bind="visible: !hasExternalLogin()">
                <p>
                    There are no external authentication services configured. See <a href="https://go.microsoft.com/fwlink/?LinkId=252166">this article</a>
                    for details on setting up this ASP.NET application to support logging in via external services.
                </p>
            </div>
            <form data-bind="visible: hasExternalLogin">
                <fieldset class="form-horizontal">
                    <legend>Use another service to log in.</legend>
                    <p data-bind="foreach: externalLoginProviders">
                        <button type="submit" class="btn" data-bind="text: name, attr: { title: 'Log in using your ' + name() + ' account' }, click: login"></button>
                    </p>
                </fieldset>
            </form>
        </div>
    </section>
</div>
<!-- /ko -->
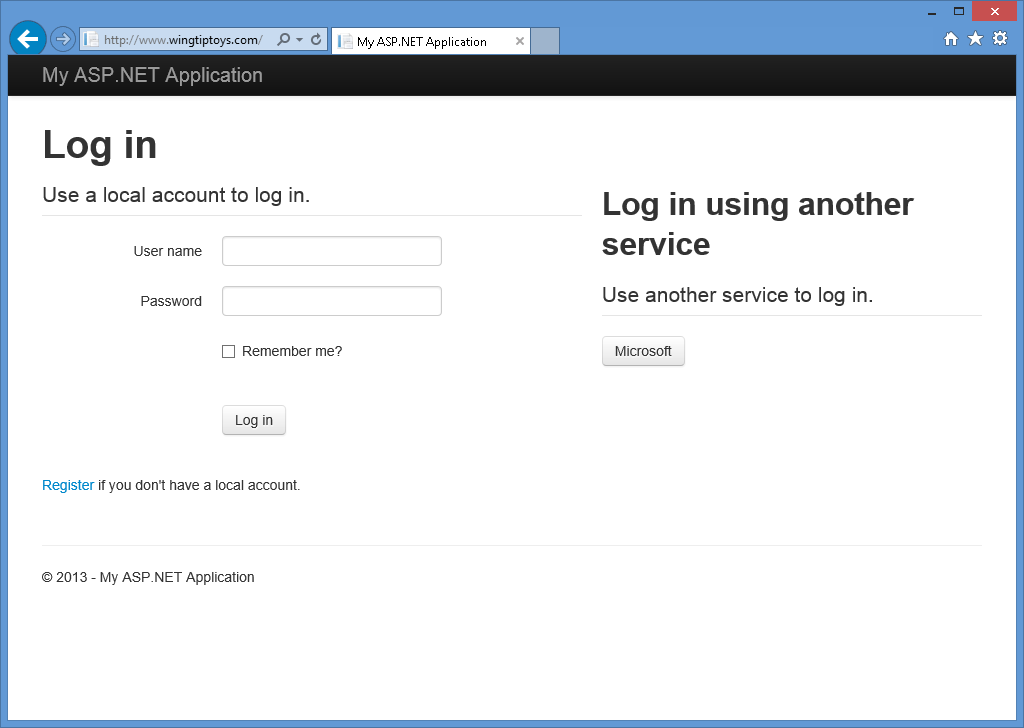
禁用本地登录面板和注册链接后,登录页将仅显示已启用的外部身份验证提供程序: