你当前正在访问 Microsoft Azure Global Edition 技术文档网站。 如果需要访问由世纪互联运营的 Microsoft Azure 中国技术文档网站,请访问 https://docs.azure.cn。
注意
2027 年 9 月 30 日,Azure Automanage Best Practices 服务将停用。 因此,尝试创建新的配置文件或将新订阅加入服务将导致错误。 在此处详细了解如何在此日期之前迁移到 Azure Policy。
注意
从 2025 年 2 月 1 日起,Azure Automanage 将开始推出更改,以停止对依赖于已弃用的 Microsoft Monitoring Agent (MMA) 的所有服务的支持和强制执行。 若要继续使用更改跟踪和管理、VM 见解、更新管理和 Azure 自动化,请迁移到新的 Azure Monitor 代理 (AMA)。
在本教程中,你将创建资源组和虚拟机。 然后,将使用 Python SDK 为新计算机分配 Automanage 最佳做法配置文件。
先决条件
创建资源
登录 Azure
使用以下命令登录到 Azure:
az login
创建资源组
创建资源组:
az group create --name "test-rg" --location "eastus"
创建虚拟机
创建 Windows 虚拟机:
az vm create `
    --resource-group "test-rg" `
    --name "testvm" `
    --location "eastus" `
    --image win2016datacenter `
    --admin-username testUser `
    --size Standard_D2s_v3 `
    --storage-sku Standard_LRS
将最佳做法配置文件分配给虚拟机
我们已经成功创建了资源组和虚拟机,现在可以设置 Python 项目并为将 Automanage 最佳做法配置文件分配给新创建的虚拟机。
安装 Python 包
使用 pip 安装 Azure Identity 包和 Azure Automanage 包:
pip install azure-mgmt-automanage
pip install azure-identity
导入程序包
创建 app.py 文件并在其中导入已安装的包:
from azure.identity import DefaultAzureCredential
from azure.mgmt.automanage import AutomanageClient
设置一些局部变量:
sub = "<sub ID>"
rg = "test-rg"
vm = "testvm"
向 Azure 进行身份验证并创建 Automanage 客户端
使用 azure-identity 包中的 DefaultAzureCredential 向 Azure 进行身份验证。 然后,使用凭据创建 Automanage 客户端。
credential = DefaultAzureCredential()
client = AutomanageClient(credential, sub)
创建最佳做法配置文件分配
现在,我们将在新虚拟机和最佳做法配置文件之间创建分配:
assignment = {
    "properties": {
        "configurationProfile": "/providers/Microsoft.Automanage/bestPractices/AzureBestPracticesProduction",
    }
}

# assignment name must be 'default'
client.configuration_profile_assignments.create_or_update(
    "default", rg, vm, assignment)
运行该 Python 文件:
python app.py
在门户中查看分配
导航到虚拟机并选择“Automanage”边栏选项卡: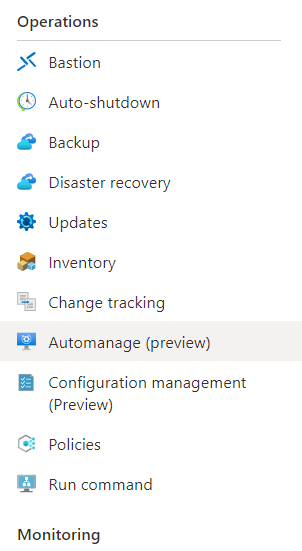
查看当前在虚拟机上启用的 Automanage 配置文件: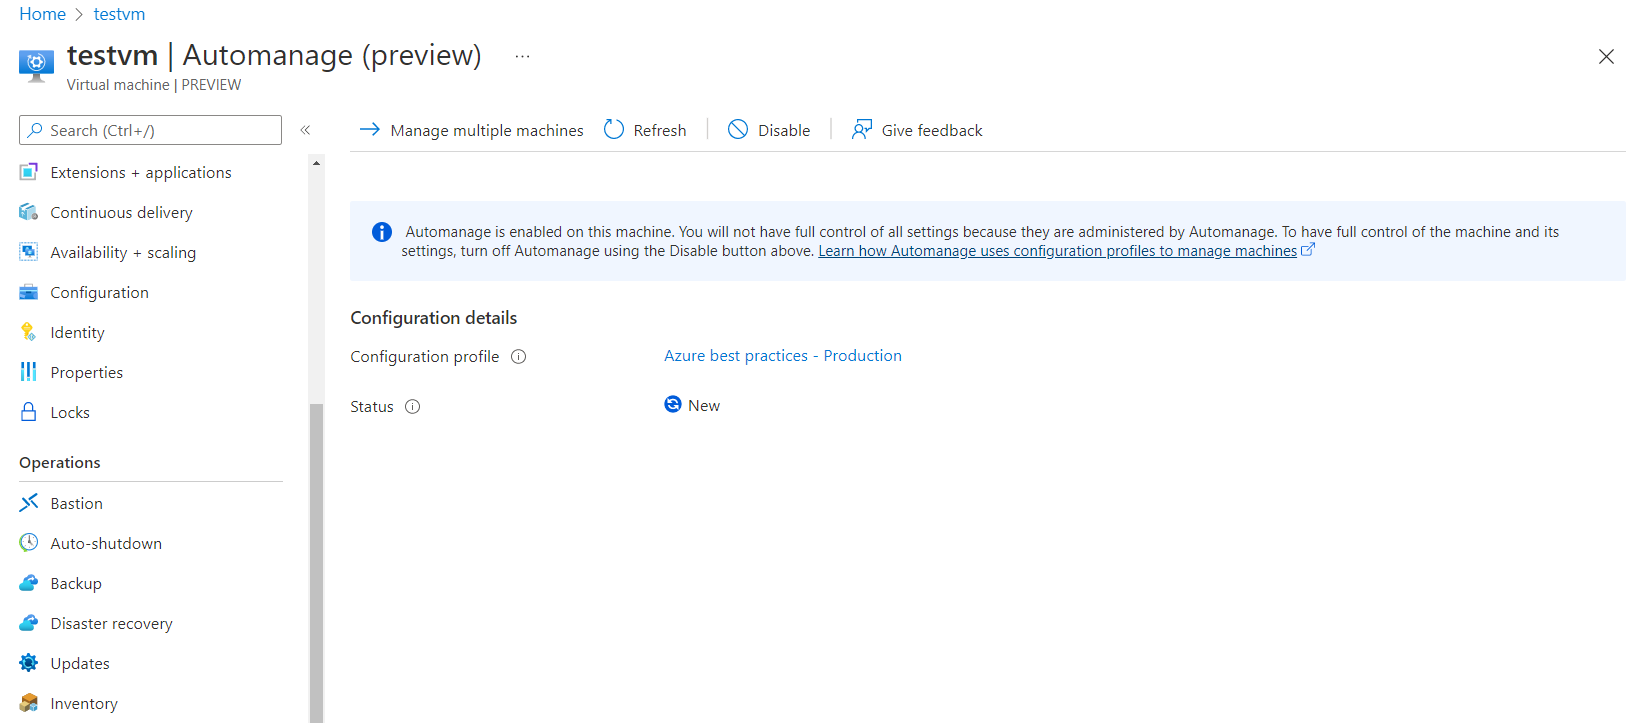
后续步骤
有关 Automanage Python SDK 的详细信息,请访问azure-samples-python-Management 存储库。