将应用程序连接到 Fabric 的 GraphQL API 使 Web、移动和后端应用程序能够使用新式高效 API 查询 Fabric 数据源。 此集成需要通过 Microsoft Entra ID 进行适当的身份验证,并配置您的应用程序,以便安全地调用 GraphQL 终结点。
本文逐步讲解如何通过以下方式将 React 应用程序连接到 Fabric GraphQL API:
- 创建和配置用于身份验证的 Microsoft Entra 应用
- 在 Fabric 中设置一个包含查询数据的示例 GraphQL API
- 从 GitHub 克隆和配置完整的 React 应用程序
- 测试经过身份验证的连接
本教程使用 React,但身份验证概念适用于任何语言。 有关 C#、Python 或其他语言的示例,请参阅 Microsoft Fabric 示例 GitHub 存储库。
谁需要连接应用程序
应用程序连接设置非常重要。
- Web 和移动开发人员 构建应用程序,这些应用程序消耗来自 Fabric 数据湖和数据仓库的数据。
- 将 Fabric 数据连接到自定义应用程序和自动化工作流的集成开发人员
- 后端开发人员 创建与 Fabric 统一分析平台集成的服务
- 数据工程师 设置自动化数据处理工作流,通过 API 使用 Fabric 数据
如果需要对应用程序进行身份验证和授权以访问 Fabric GraphQL API,请使用本指南。
先决条件
开发工具:需要在计算机上安装 Node.js (LTS 版本)和 Visual Studio Code 。
在连接应用程序之前,请确保在 Fabric 中使用 GraphQL 的 API。 有关详细信息,请参阅在 Fabric 中创建 GraphQL API 并添加数据。
GraphQL 的 API 要求应用程序使用 Microsoft Entra 进行身份验证。 注册并配置应用程序以对 Fabric 执行 API 调用。 有关详细信息,请参阅在 Azure 中创建 Microsoft Entra 应用。
调用 API 的经过身份验证的凭据(用户主体、服务主体或托管标识)需要对 GraphQL API 执行权限(添加直接访问权限时运行查询和突变选项)。 如果使用单一登录(SSO)作为 API 中的连接选项,请确保凭据在所选数据源中具有读取或写入权限。 有关详细信息,请参阅连接到数据源并构建架构。
身份验证和权限摘要
访问 GraphQL API 需要在 API 级别和基础数据源级别进行适当的身份验证和授权。 可以使用 用户主体 (表示单个用户)或服务 主体 (表示应用程序或服务)进行身份验证。 对于数据源连接,您可以使用 单点登录(SSO),将调用方的身份传递到数据源,或者使用预配置连接并使用保存的凭据。
下表总结了访问 GraphQL API 的客户端支持的不同身份验证方案和最低所需权限:
| API 调用方 | 数据源连接性 | 所需的 GraphQL API 权限 | 所需的数据源权限 | Microsoft Entra 应用范围 |
|---|---|---|---|---|
| 用户主体 (UPN) | 单一登录 (SSO) | 在 API 级别运行查询和突变 | 在数据源中向 UPN 授予的相应读取/写入权限 | GraphQLApi.Execute.All |
| 服务主体 (SPN) | 单一登录 (SSO) | 在 API 级别运行查询和突变 | 在数据源中向 SPN 授予的相应读取/写入权限 | 不適用 |
| 用户主体 (UPN) | 保存的凭据 | 在 API 级别运行查询和突变 | 在数据源中向保存的凭据(连接)授予的相应读取/写入权限 | GraphQLApi.Execute.All |
| 服务主体 (SPN) | 保存的凭据 | 在 API 级别运行查询和突变 | 在数据源中向 SPN 授予的相应读取/写入权限 | 不適用 |
创建 Microsoft Entra 应用
在应用程序调用 Fabric GraphQL API 之前,必须先在 Microsoft Entra ID 中注册您的应用程序。 此注册为应用程序创建标识,并定义它所需的权限。 注册过程生成客户端 ID(应用程序标识符),并建立应用用于获取访问令牌的身份验证流。
对于 React 应用程序,可以配置使用 PKCE 流的单页应用程序(SPA)设置,这是一种安全身份验证方法,旨在用于无法安全地存储客户端机密的基于浏览器的应用。
使用快速入门:使用 Microsoft 标识平台注册应用程序中所述的步骤注册应用程序。
Microsoft Entra 应用 应用程序(客户端)ID 和 目录(租户)ID 值显示在“摘要”框中。 记录这些值,因为在 配置 React 应用程序时需要这些值。
配置 API 权限,以便应用程序可以访问 Fabric GraphQL API。 在“管理”列表下,选择“API 权限”,然后选择“添加权限”。
添加 PowerBI 服务,选择 委派权限,然后选择 GraphQLApi.Execute.All 权限。 此权限允许应用程序代表已登录用户执行查询和突变。 确认不需要管理员同意。
返回到 “管理 ”列表,选择“ 身份验证>添加平台>单页应用程序”。
出于本地开发目的,请在“重定向 URI”下添加
http://localhost:3000,并确认应用程序是否已启用具有代码交换证明密钥 (PKCE) 的授权代码流。 选择“配置”按钮以保存所做更改。 如果应用程序遇到与跨源请求相关的错误,请使用相同的重定向 URI 在上一步中添加 移动和桌面应用程序 平台。返回到“授权”,向下滚动到“高级设置”,然后在“允许公共客户端流”下,对“启用以下移动和桌面流”选择“是”。
为应用程序访问设置示例 GraphQL API
注册Microsoft Entra 应用后,需要在 Fabric 中查询 GraphQL API。 本部分介绍如何使用 Fabric 的公共假日数据集创建示例 API。 这为你提供了一个工作 API 来测试身份验证和数据检索,而无需配置自己的数据源。
示例 API 公开 Lakehouse 表的假日数据,React 应用程序会查询此数据以显示公共假日。
在 Fabric 门户主页中,从工作负荷列表中选择“数据工程”。
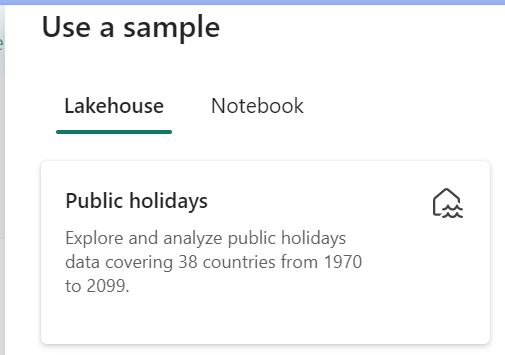
在数据工程体验中,选择“ 使用示例”,然后在 Lakehouse 下选择 “公共假日 ”,以使用公共假日数据自动创建新的 Lakehouse。
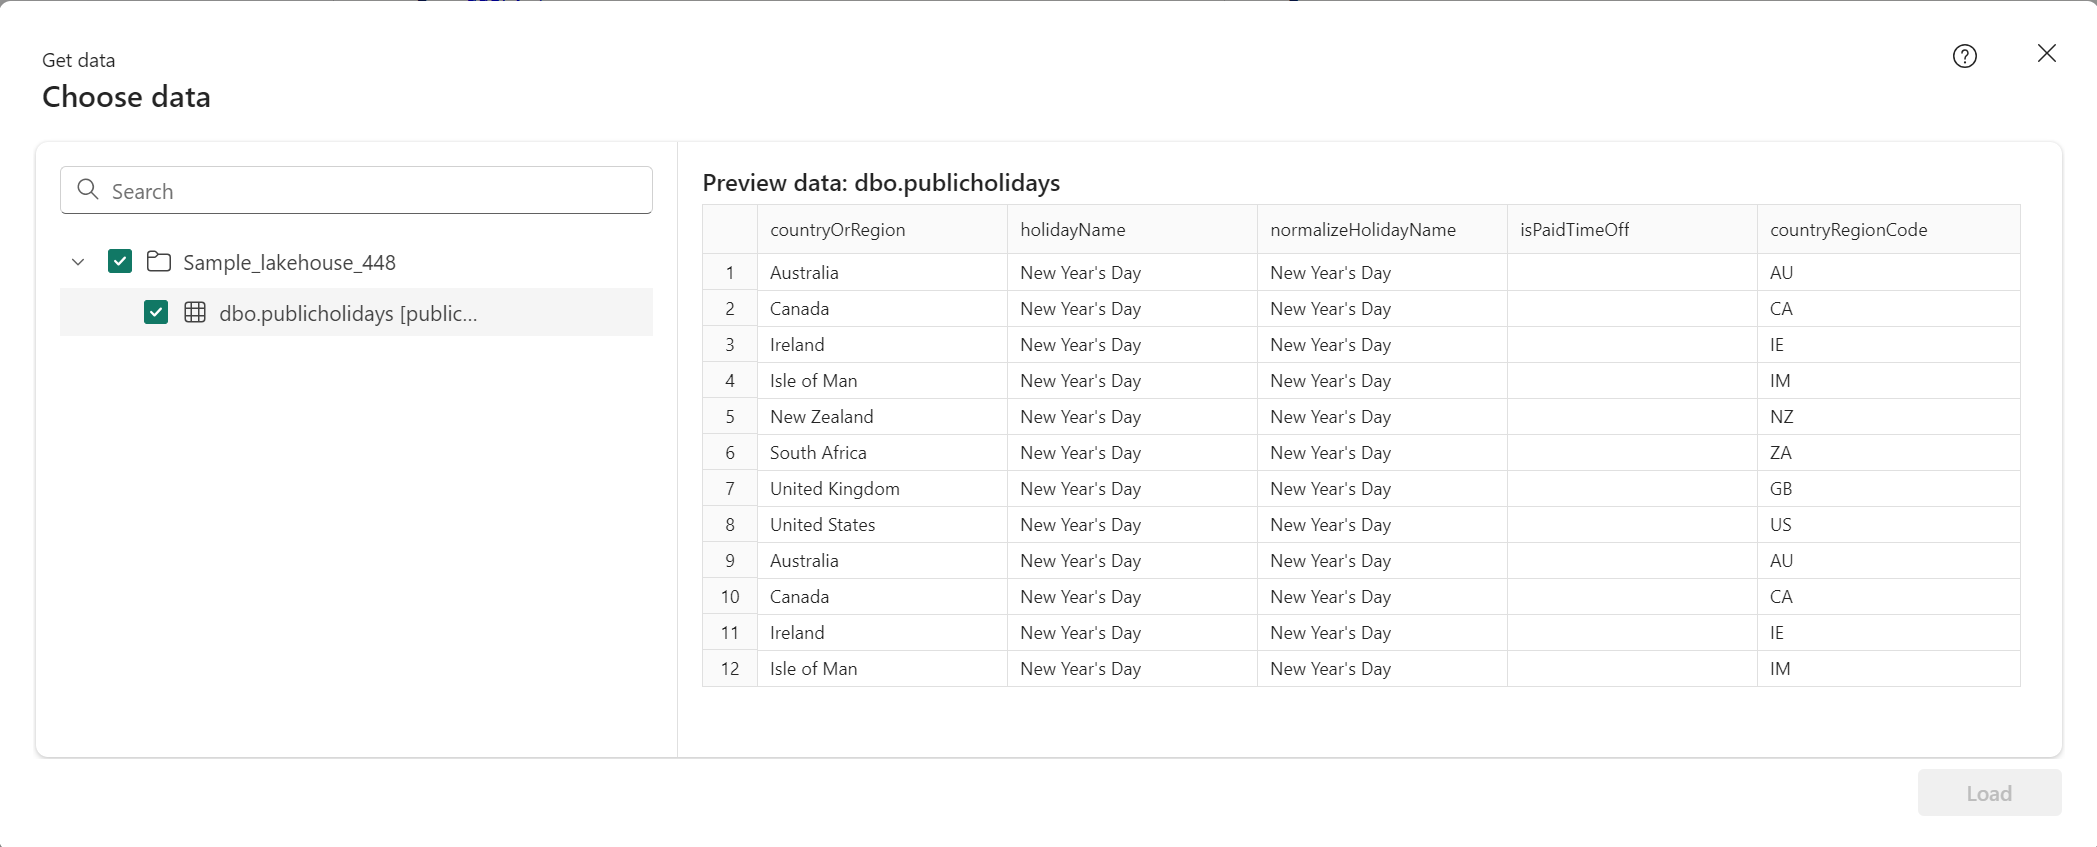
按照 “为 GraphQL 创建 API ”中的步骤创建新的 GraphQL API,然后选择创建的 Lakehouse。 添加公共假日表,以便客户端可以访问此数据。
在生成 React 应用程序之前,请通过在 API 编辑器中测试 API 来验证 API 是否正常工作。 使用以下查询 - 这是 React 应用程序稍后执行的同一查询:
 query {
 publicholidays (filter: {countryRegionCode: {eq:"US"}, date: {gte: "2024-01-01T00:00:00.000Z", lte: "2024-12-31T00:00:00.000Z"}}) {
     items {
       countryOrRegion
       holidayName
       date
     }
   }
 }
在 API 项的工具栏上选择“复制终结点”。

在“复制链接”屏幕中,选择“复制”。
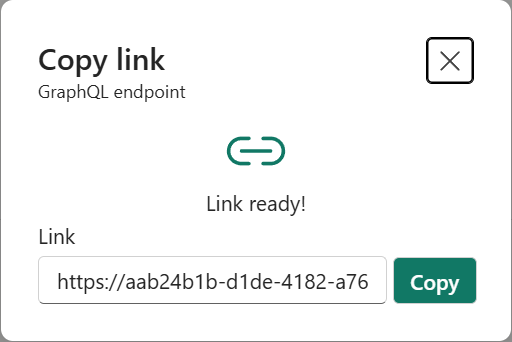
从 Microsoft Entra 应用和终结点 URI 中记录 客户端 ID 和 租户 ID 。 配置 React 应用程序时,需要这些值。


克隆并配置 React 应用程序
设置 Microsoft Entra 应用和 GraphQL API 后,可以配置 React 应用程序以连接到它们。 应用程序使用Microsoft身份验证库(MSAL)来处理身份验证,并使用持有者令牌发出 GraphQL 请求。
从 GitHub 克隆示例存储库:
git clone https://github.com/microsoft/fabric-samples.git导航到 React 应用程序文件夹:
cd fabric-samples/docs-samples/data-engineering/GraphQL/React该文件夹包含完整的 React 应用程序。 只需编辑
src/authConfig.js即可配置特定终结点和凭据。在代码编辑器中打开项目:
code .在您的编辑器中导航到
src文件夹,并打开authConfig.js。将以下占位符值替换为特定详细信息:
-
Enter_the_GraphQL_Endpoint_Here- 用您的 GraphQL API 终结点替换设置用于应用程序访问的示例 GraphQL API -
Enter_the_Application_Id_Here- 用您的应用程序(客户端)ID替换创建 Microsoft Entra 应用 -
Enter_the_Tenant_Info_Here- 使用来自创建 Microsoft Entra 应用的目录(租户)ID进行替换
重要
在同一文件中,
loginRequest常量包括范围https://analysis.windows.net/powerbi/api/GraphQLApi.Execute.All。 访问 Fabric GraphQL API 需要此确切的范围。 请勿删除或修改此范围;否则,身份验证会失败。-
保存文件。
在终端中,导航到项目根文件夹并运行:
npm install这会安装所有必需的依赖项。
测试应用程序
配置应用程序后,在本地运行它以验证一切是否正常工作:
在终端中,运行:
npm start此命令启动开发服务器,并在浏览器中打开应用程序。
在应用程序加载时完成身份验证流
http://localhost:3000。 按照教程部分中所述的登录步骤 从应用程序调用 API。成功登录后,选择 “用于 GraphQL 数据的 Query Fabric API ”按钮。 这会触发身份验证流,获取访问令牌,并针对 Fabric API 执行 GraphQL 查询。
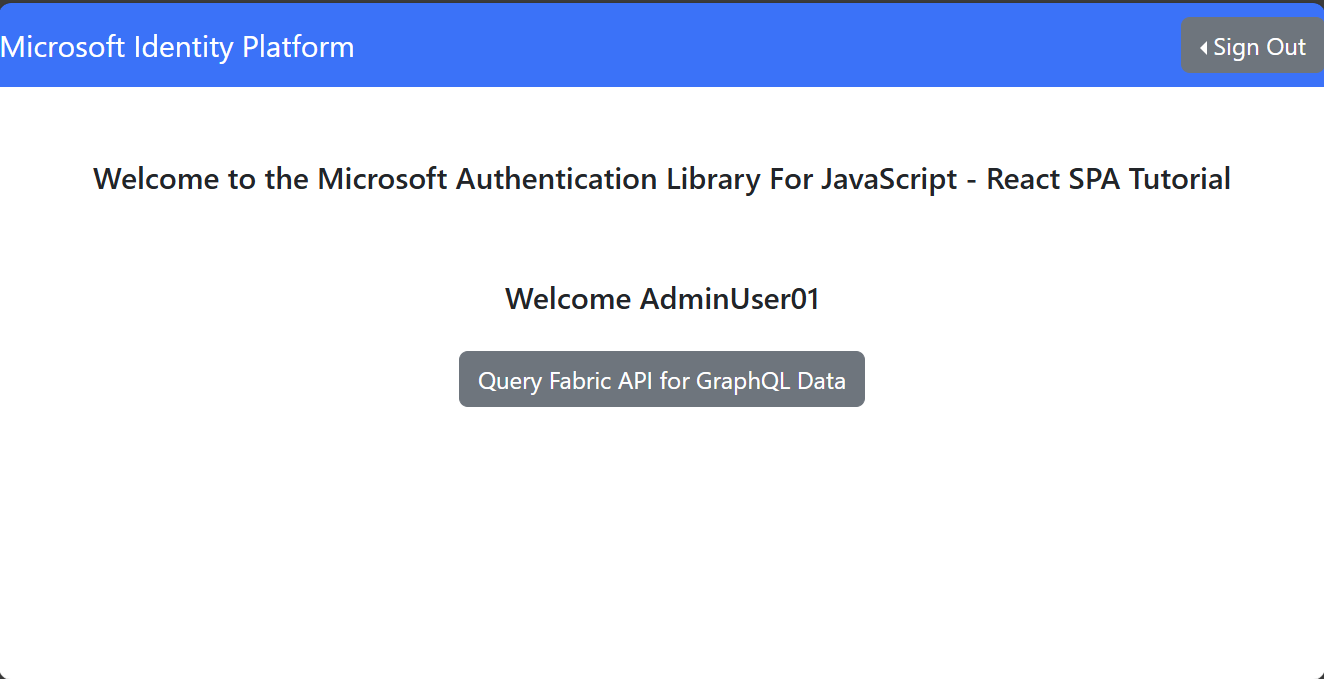
如果一切配置正确,应用程序会在表中显示公共假日。 确认 为
- 您的 Microsoft Entra 应用拥有正确的权限。
- 已成功获取访问令牌
- GraphQL API 对请求进行身份验证
- 针对 Lakehouse 数据库执行的查询


其他 npm 命令
npm start除npm install之外,您还可以将这些常见的 npm 命令用于不同开发场景:
-
npm run dev- 启动开发服务器的替代方法 -
npm run build- 创建应用程序的优化生产版本 -
npm run preview- 在部署之前在本地测试生产版本 -
npm test- 运行自动测试以验证代码是否正常工作
相关内容
现在,已将工作应用程序连接到 Fabric GraphQL API,接下来请浏览以下资源来构建更复杂的解决方案:
- 在 Fabric 中创建 GraphQL API 并添加数据 - 了解如何公开自己的数据源
- 在 Fabric API for GraphQL 中查询多个数据源 - 在单个查询中合并来自不同源的数据
- GraphQL 编辑器的构造 API - 以交互方式测试和开发查询
- 在 Azure 中创建 Microsoft Entra 应用 - 生产应用注册的详细指南
- Microsoft Fabric GraphQL 示例 - 浏览多种语言的示例