兼容性
| 版本 | 说明 |
|---|---|
| IIS 7.5 | FTP 7.5 服务作为 Windows 7 和 Windows Server 2008 R2 中 IIS 7.5 的功能提供。 |
| IIS 7.0 | FTP 7.0 和 FTP 7.5 服务是 IIS 7.0 带外提供的,需要从以下 URL 下载和安装该服务:https://www.iis.net/downloads/microsoft/ftp。 |
介绍
Microsoft 创建了一个新的 FTP 服务,该服务针对 Windows Server© 2008 完全重新编写。 此 FTP 服务包含许多新功能,使 Web 作者能够比以前更好地发布内容,并为 Web 管理员提供了更多的安全性和部署选项。
本文档将指导你使用 Windows Server 2008 文件服务器资源管理器 (FSRM) 提供的基于文件夹的配额和新 FTP 服务来创建具有固定配额大小的、可公开访问的 FTP 站点。 该结构包含:
注意
本演练包含使用本地管理员帐户登录到 FTP 站点的一系列步骤。 这些步骤只能在服务器本身上使用环回地址或通过 SSL 从远程服务器执行。 如果你偏爱使用单独的用户帐户而非管理员帐户,则必须在必要时创建合适的文件夹并为用户帐户设置正确的权限。
先决条件
必须安装以下各项才能完成本文中的过程:
必须在 Windows Server 2008 上安装 IIS 7.0,并且必须安装 Internet Information Services 管理器。
新的 FTP 服务。 可以使用以下链接之一从 https://www.iis.net/ 网站下载并安装 FTP 服务:
- FTP 7.5 for IIS 7.0 (x64)
- FTP 7.5 for IIS 7.0 (x86)
必须创建用于 FTP 发布的根文件夹:
在
C:\inetpub\ftproot处创建一个文件夹设置允许匿名访问的权限:
打开命令提示符。
输入以下命令:
ICACLS "C:\inetpub\inetpub\ftproot" /Grant IUSR:R /T关闭命令提示符。
注意
本演练中列出的设置将 C:\inetpub\ftproot 指定为 FTP 站点的路径。 你无需使用此路径;但如果你更改站点的位置,则必须更改整个演练中使用的与站点相关的路径。
创建新的 FTP 站点
在本部分,我们将创建新的 FTP 站点,匿名用户可以打开该站点进行只读访问,管理员帐户可以对该站点进行读/写访问。
步骤 1:使用 FTP 站点向导创建采用匿名身份验证的 FTP 站点
创建 FTP 站点,其中的用户可以匿名访问内容。 请使用以下步骤:
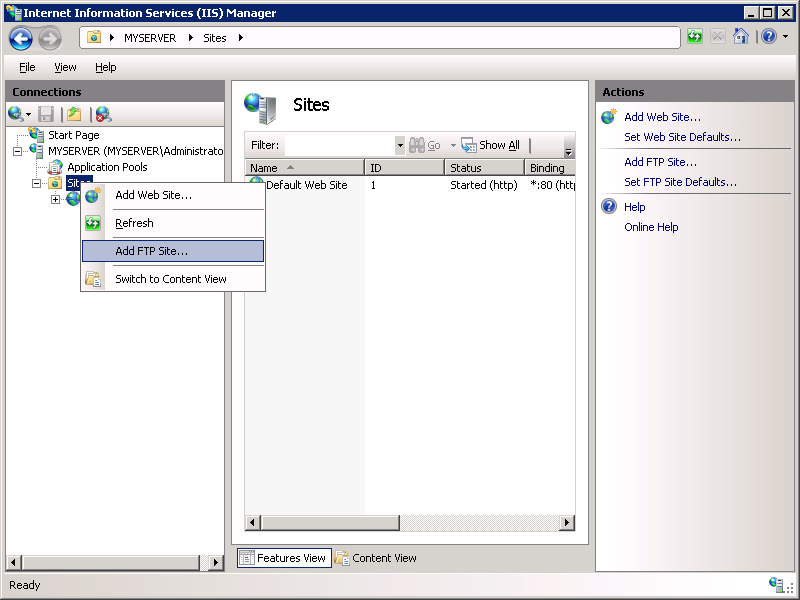
转到 IIS 7.0 管理器。 在“连接”窗格中,单击树中的“站点”节点。
右键单击树中的“站点”节点,单击“添加 FTP 站点”,或者单击“操作”窗格中的“添加 FTP 站点”。
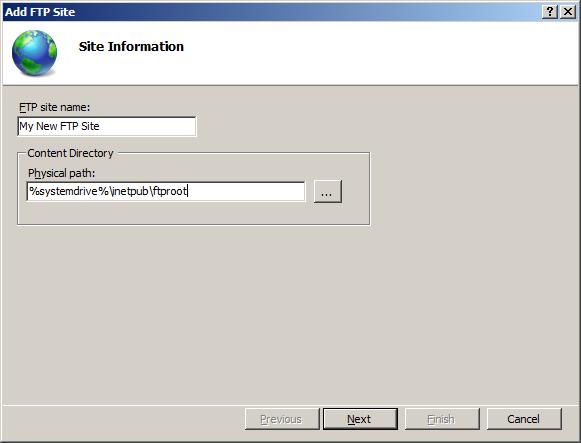
显示“添加 FTP 站点”向导时:
在“FTP 站点名称”框中输入“我的新 FTP 站点”,然后导航到在先决条件部分中创建的
C:\inetpub\ftproot文件夹。注意
如果选择键入内容文件夹的路径,可以在路径中使用环境变量;例如:
%SystemDrive%\inetpub\ftproot单击 “下一步” 。
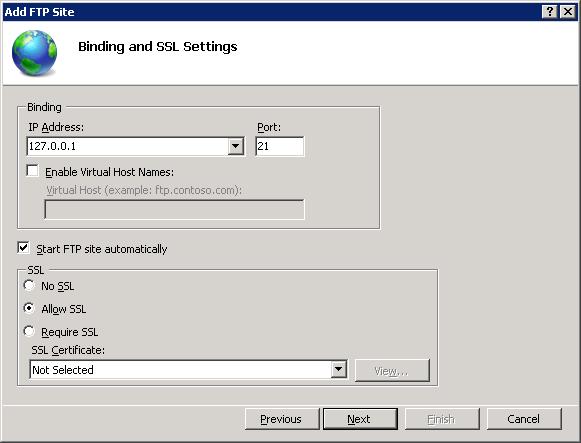
在向导的下一页:
- 从“IP 地址”下拉菜单中选择 FTP 站点的 IP 地址,或者选择接受默认选择“所有未分配”。由于你稍后将在本演练中使用管理员帐户,因此请确保限制对服务器的访问,并通过在“IP 地址”框中键入“127.0.0.1”来输入计算机的本地环回 IP 地址。
- 通常你会在“端口”框中输入 FTP 站点的 TCP/IP 端口。 对于本演练,请选择接受默认端口 21。
- 本演练不使用主机名,因此请确保“虚拟主机”框为空。
- 确保将“证书”下拉列表设置为“未选择”,并选择“允许 SSL”选项。
- 完成这些项,然后单击“下一步”。
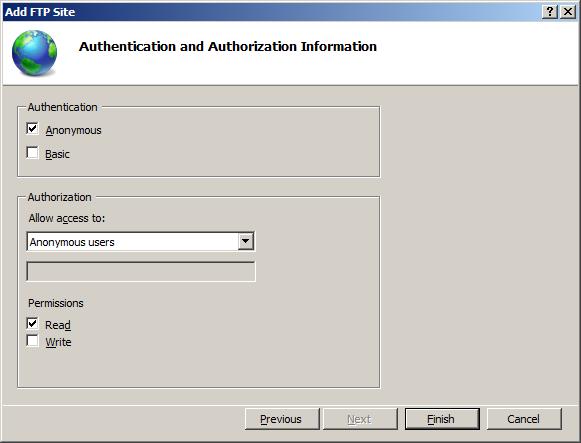
在向导的下一页:
- 为“身份验证”设置选择“匿名”。
- 对于“授权”设置,请从“允许以下对象访问”下拉列表中选择“匿名用户”,然后为“权限”选项选择“读取”。
- 完成这些项,然后单击“完成”。
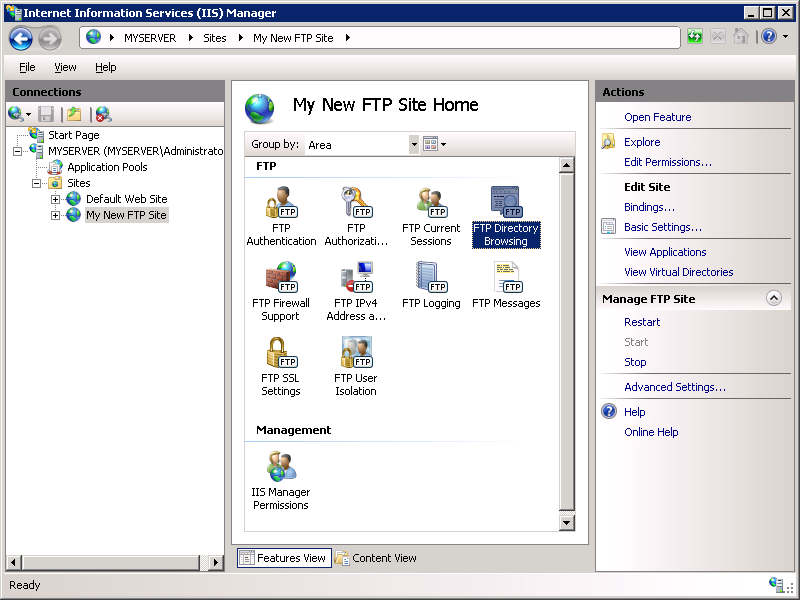
转到 IIS 7.0 管理器。 单击创建的 FTP 站点的节点。 此时会显示所有 FTP 功能的图标。
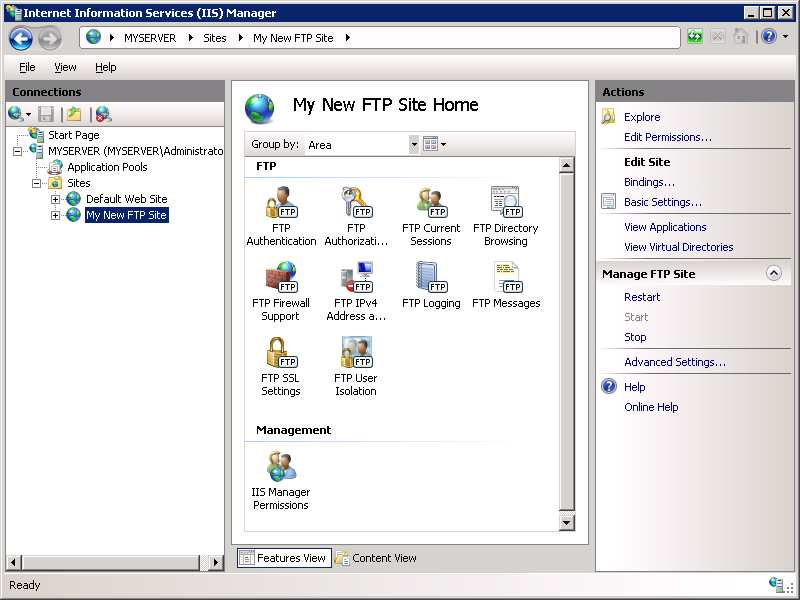
步骤 2:将基本身份验证添加到 FTP 站点
我们需要添加基本身份验证,以便用户可以登录。 为此,请按照以下步骤操作:
转到 IIS 7.0 管理器。 单击前面创建的 FTP 站点对应的节点。 双击“FTP 身份验证”图标打开 FTP 身份验证功能页。
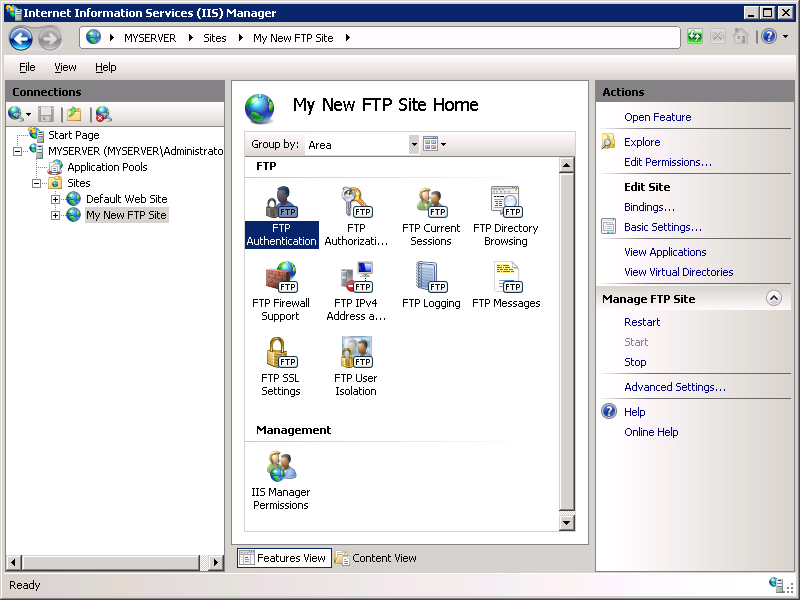
显示“FTP 身份验证”页后,请突出显示“基本身份验证”。在“操作”窗格中单击“启用”。

转到 IIS 7.0 管理器。 单击 FTP 站点对应的节点以重新显示所有 FTP 功能的图标。
我们必须添加一条授权规则,以便管理员可以登录。 双击“FTP 授权规则”图标打开 FTP 授权规则功能页。
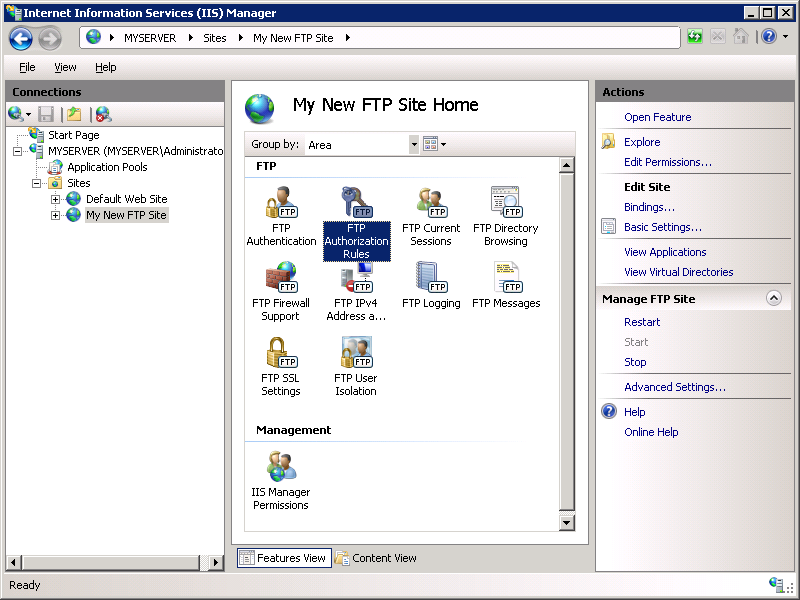
显示“FTP 授权规则”页后,单击“操作”窗格中的“添加允许规则”。
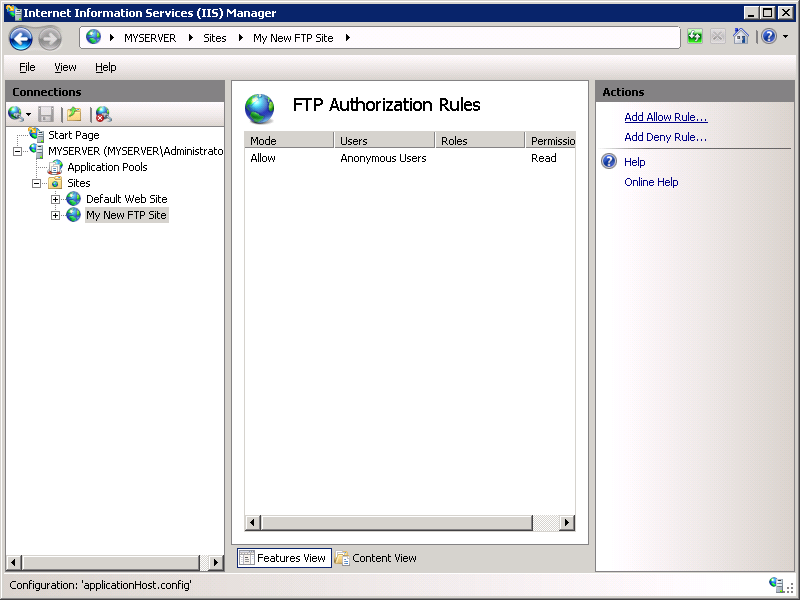
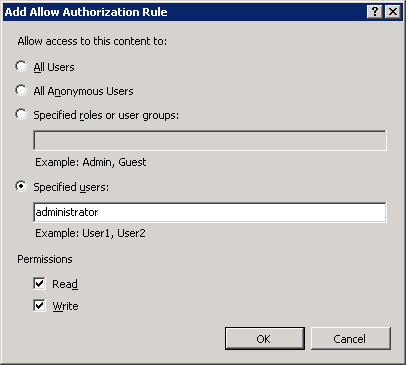
显示“添加允许授权规则”对话框后:
- 选择“指定的用户”,然后在框中键入“administrator”。
- 对于“权限”,请选择“读取”和“写入”。
- 单击“确定”。
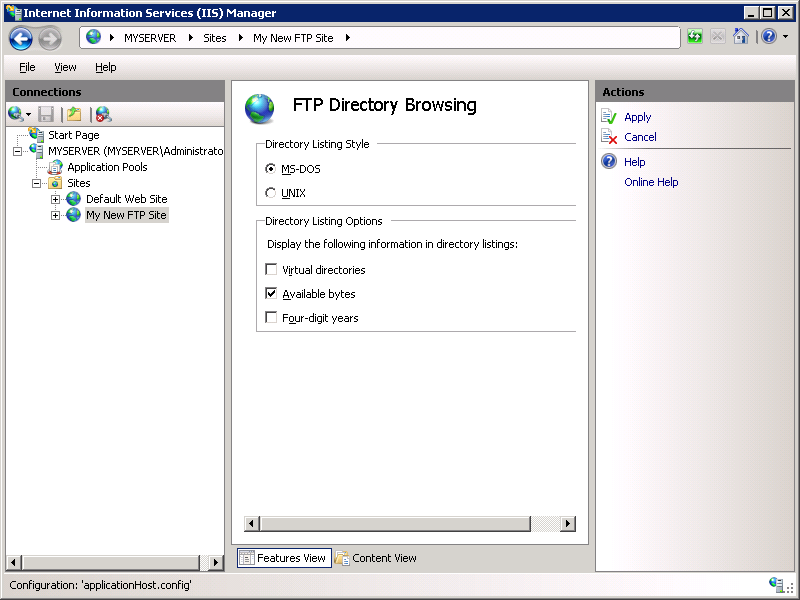
步骤 3:显示 FTP 站点的可用字节数
我们必须配置 FTP 站点,以便用户能够查看站点的可用字节数。 请使用以下步骤:
- 转到 IIS 7.0 管理器。 单击前面创建的 FTP 站点对应的节点。 双击“FTP 目录浏览”图标打开 FTP 目录浏览页。
- 选中“可用字节数”框,然后单击“操作”窗格中“应用”。
总结
回顾在此步骤中完成的项:
- 你新建了名为“我的新 FTP 站点”的新 FTP 站点,该站点的内容根目录位于
C:\inetpub\ftproot。 - 将 FTP 站点绑定到计算机端口 21 上的本地环回地址,并选择不对 FTP 站点使用安全套接字层 (SSL)。
- 你为 FTP 站点创建了一个默认规则,以允许匿名用户对文件进行“读取”访问。
- 你添加了一条授权规则,该规则向管理员帐户授予对 FTP 站点的“读取”和“写入”权限。
- 你向 FTP 站点添加了基本身份验证。
- 你已将 FTP 站点配置为向用户显示可用字节数。
安装并配置文件服务器资源管理器服务
本演练部分将指导你安装文件服务器资源管理器 (FSRM) 服务并配置文件夹配额。
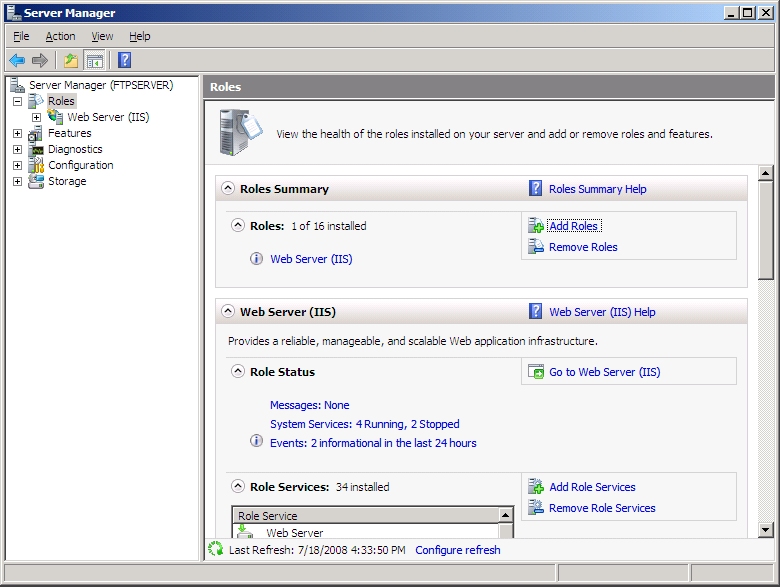
步骤 1:安装文件服务器资源管理器 (FSRM)
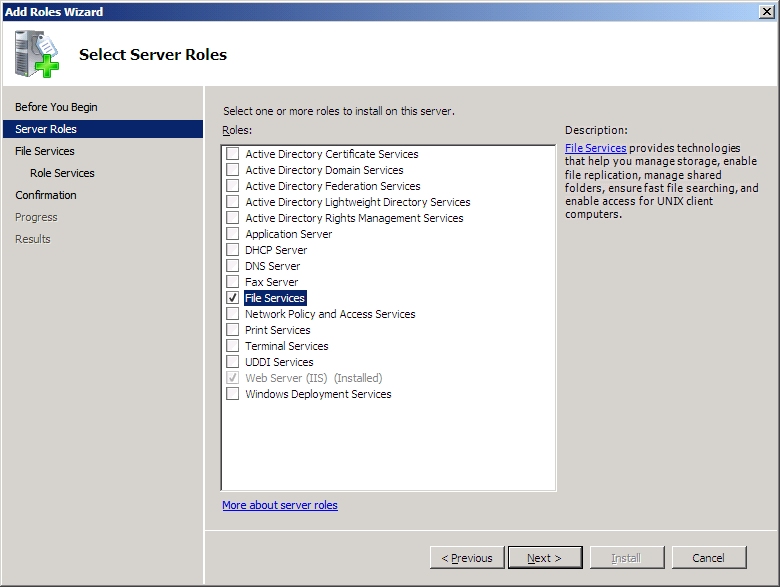
- 在“服务器管理器”中的“角色”下,单击“角色摘要”中的“添加角色”。
- 在“选择服务器角色”对话框中,选中“文件服务”。 单击 “下一步” 。
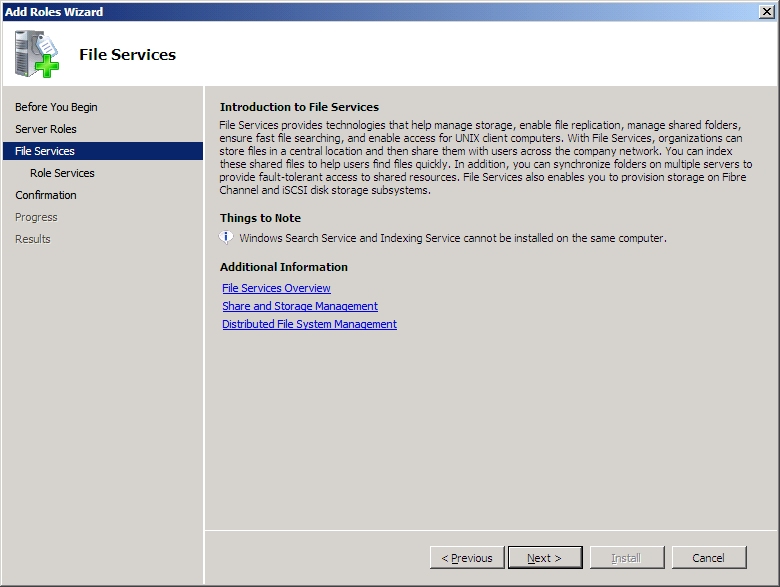
- 在“文件服务简介”页上,单击“下一步”。
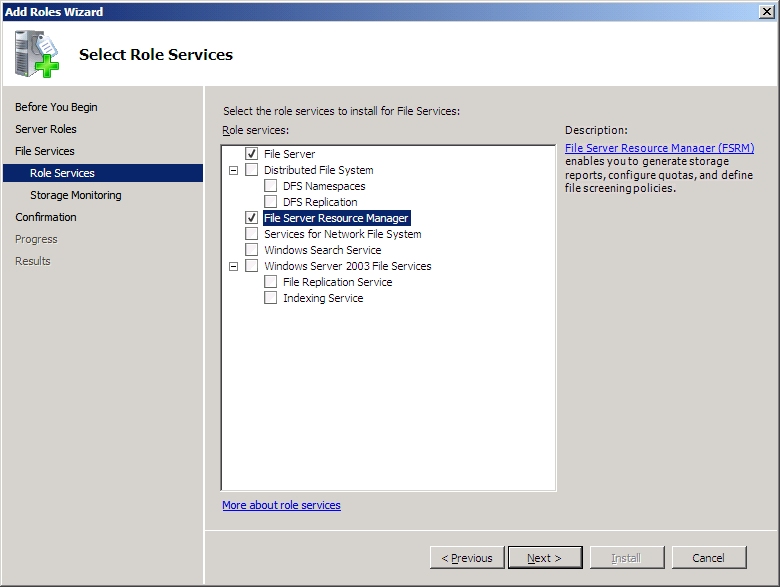
- 在“选择角色服务”页上,选中“文件服务器资源管理器”服务。 单击 “下一步” 。
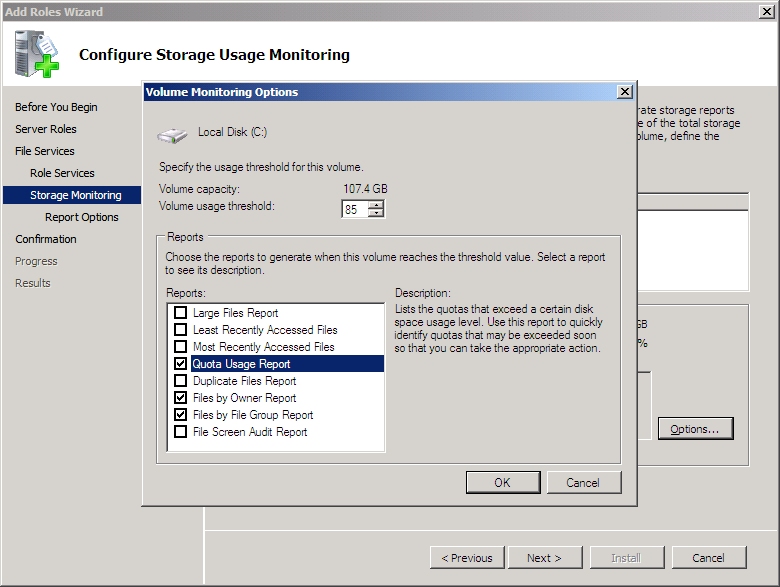
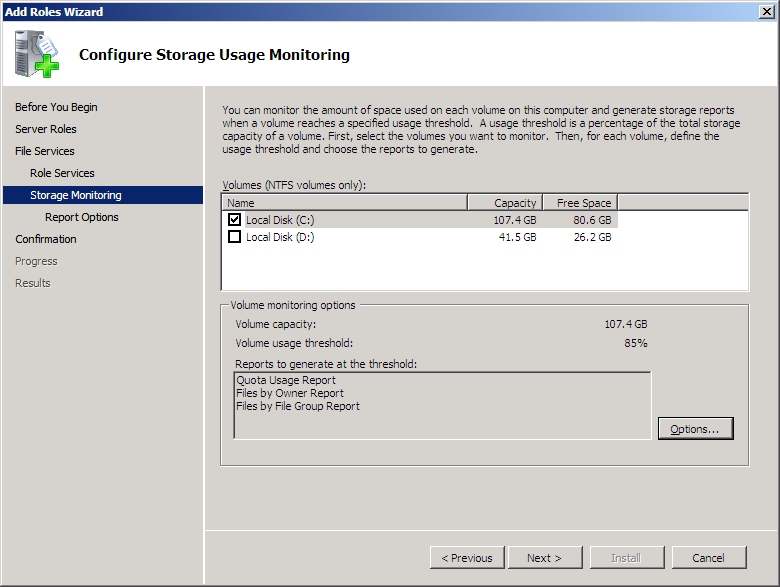
- 在“配置存储利用率监视”页上,单击“选项”按钮。
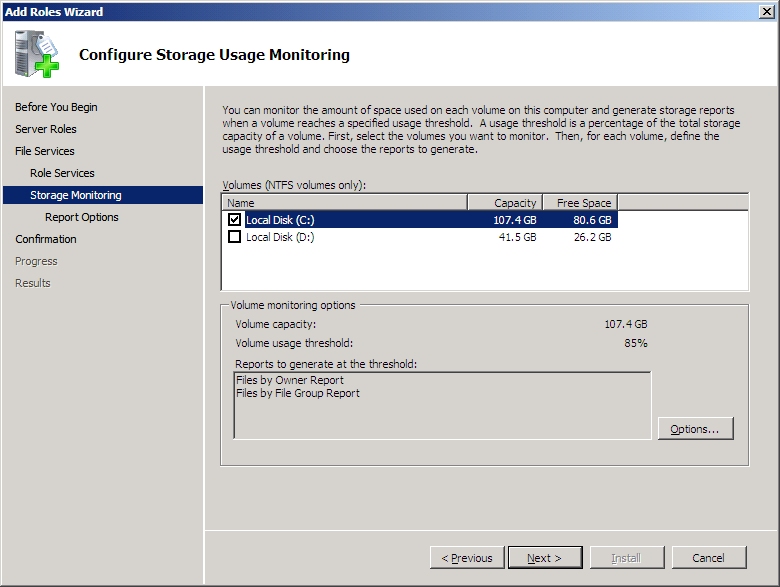
- 在“卷监视选项”对话框中,选中“配额使用情况报告”选项。 单击“确定”。
- 在“配置存储利用率监视”页上,单击“下一步”。
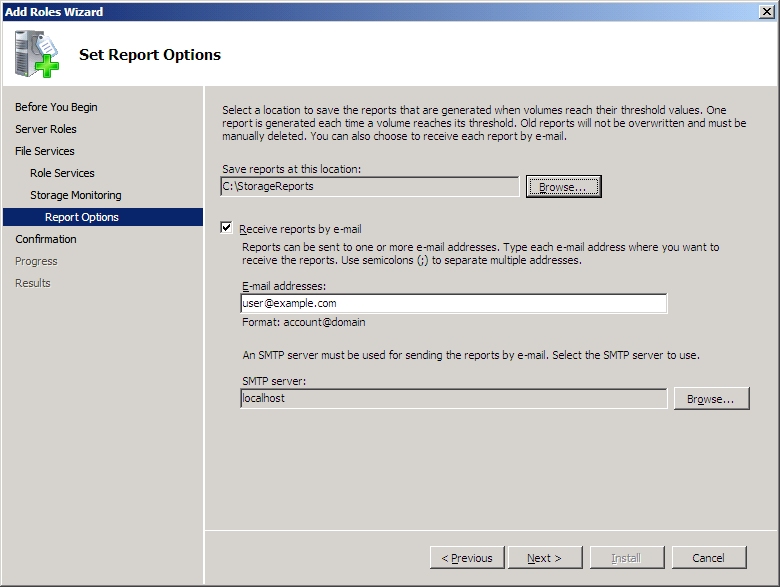
- 在“设置通知选项”页上,自定义报告和电子邮件设置的位置。 单击 “下一步” 。
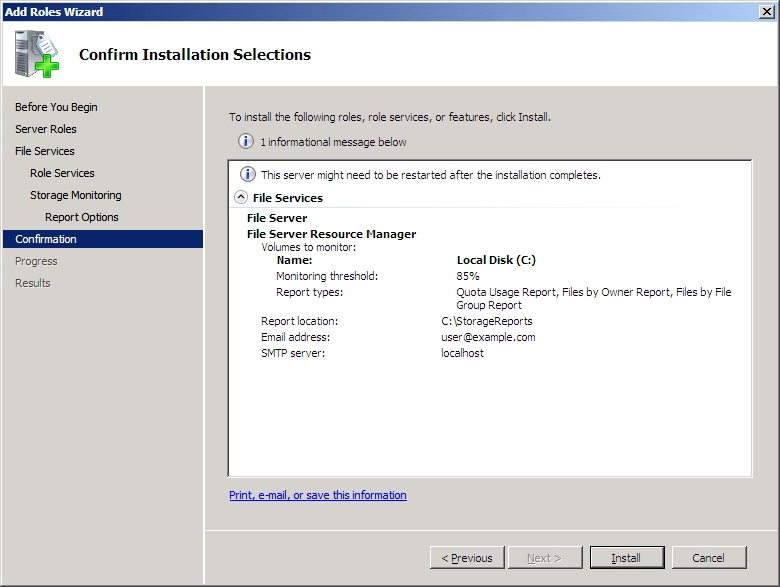
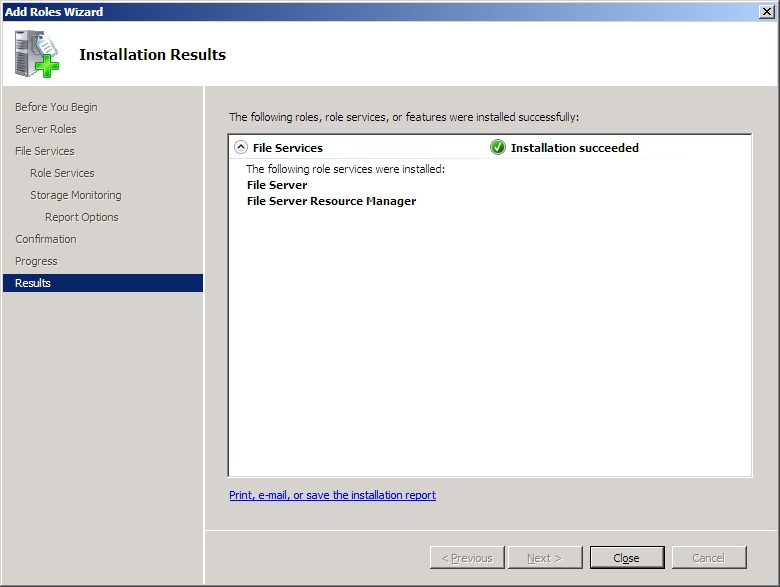
- 在“确认安装选择”页上,验证你所做的选择。 单击“安装” 。
- 安装完成后,请单击“关闭” 。
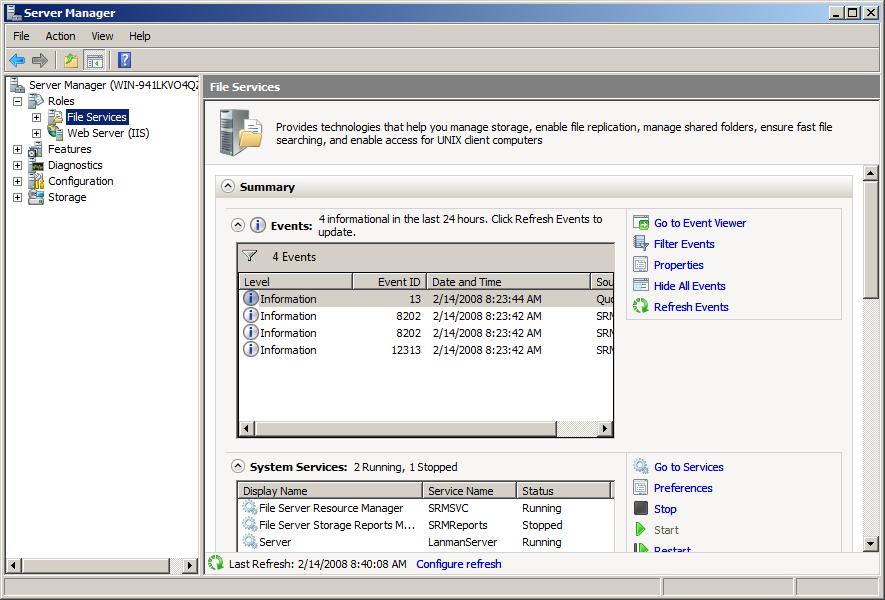
- 展开“服务器管理器”中的“角色”节点。现在你会发现,已显示“文件服务”角色及其所有相关信息。
步骤 2:创建文件夹配额
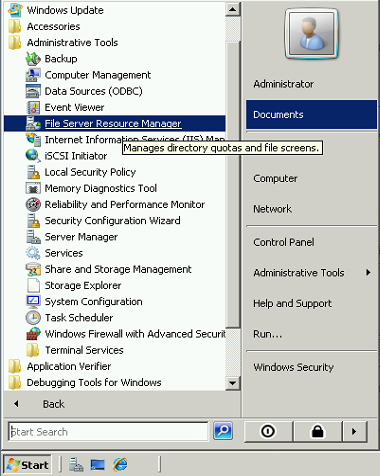
- 在 Windows“管理工具”菜单下,单击“文件服务器资源管理器”。
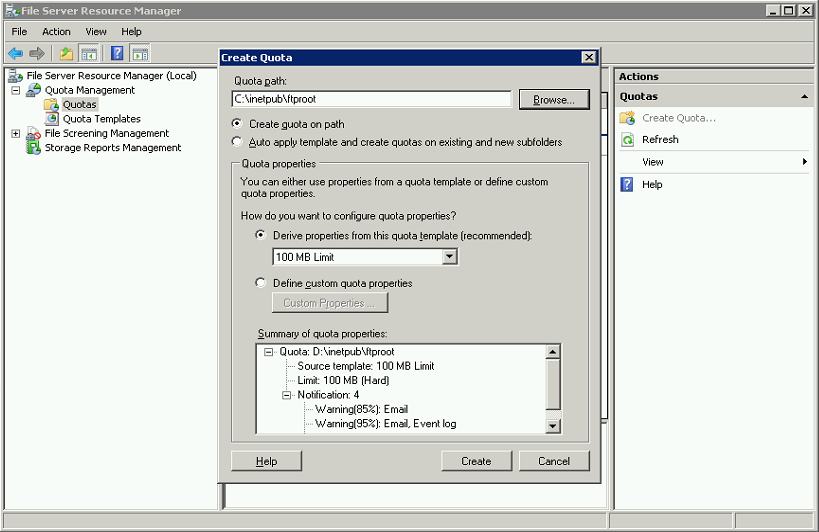
- 在“文件服务器资源管理器”中,展开树视图中的“配额管理”并单击“配额”,然后单击“操作”窗格中的“创建配额”。
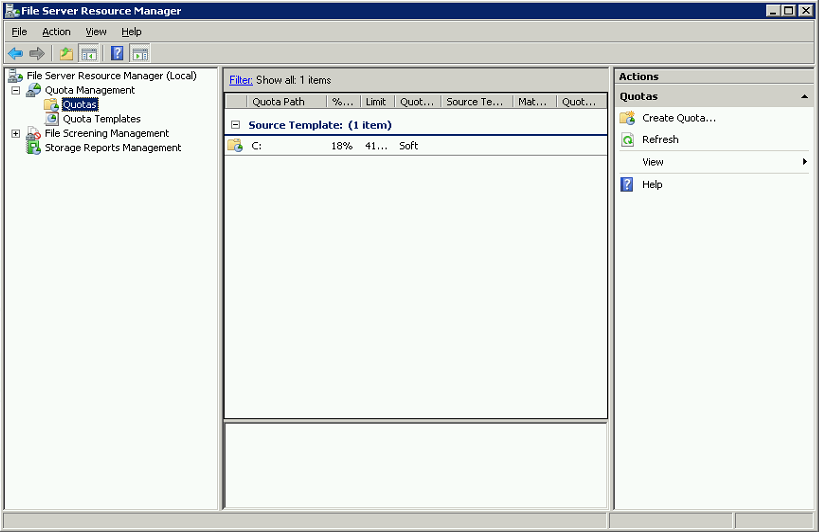
- 在“创建配额”对话框中,导航到在“先决条件”部分创建的
C:\inetpub\ftproot文件夹。 从可用模板列表中选择一个要应用于该文件夹的模板。 单击 “创建” 。
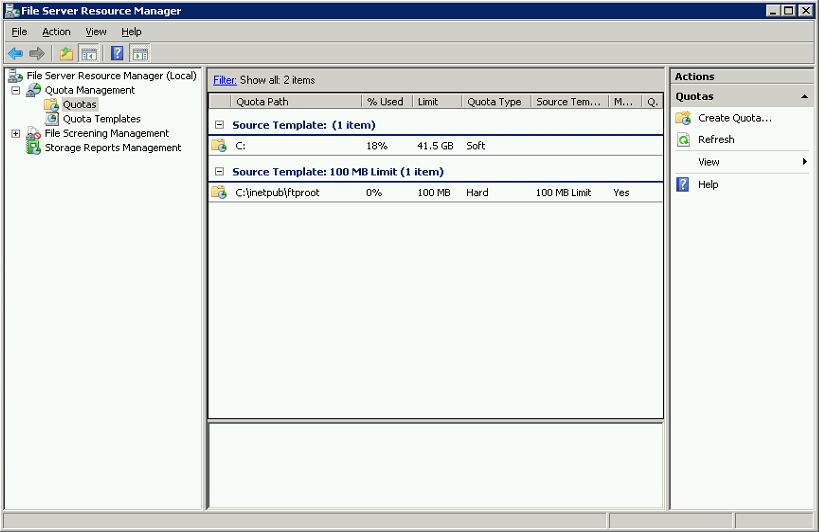
- “文件服务器资源管理器”现在应该显示 FTP 站点的配额设置。
总结
回顾在此步骤中完成的项:
- 你将文件服务角色添加到了服务器,并添加了“文件服务器资源管理器”角色服务。
- 你为 FTP 站点的内容目录添加了文件夹配额。
为 FTP 站点的内容路径启用文件夹配额并将该站点配置为显示可用字节数后,每当 FTP 客户端发送目录列出命令时,FTP 就会返回可用字节数。
注意
某些图形 FTP 客户端可能不显示此信息,除非它们支持通过某种形式查看 FTP 会话的活动日志。