使用 Teams 工具包创建声明性代理
声明性代理是智能 Microsoft 365 Copilot 副驾驶®的自定义版本,允许用户通过声明特定的说明、操作和知识来创建个性化体验。 本指南介绍如何使用 Teams 工具包生成声明性代理。
本教程中生成的代理面向许可智能 Microsoft 365 Copilot 副驾驶®用户。 还可以为功能有限的Microsoft 365 Copilot Chat用户生成代理。 有关详细信息,请参阅 Microsoft 365 用户的代理功能。

有关概述信息,请参阅用于智能 Microsoft 365 Copilot 副驾驶®的声明性代理。
注意
Word 和 PowerPoint 现在支持基于智能 Microsoft 365 Copilot 副驾驶®的声明性代理。
先决条件
在开始之前,请确保智能 Microsoft 365 Copilot 副驾驶®可供组织使用。
以下选项可用于开发环境:
- 具有 Copilot (的沙盒Microsoft 365 组织通过 TAP 成员资格) 以有限预览版提供。
- 具有智能 Microsoft 365 Copilot 副驾驶®许可证的合格Microsoft 365 或Office 365生产环境。
需要以下资源才能完成本文中所述的步骤:
- Teams 工具包Visual Studio Code扩展版本 5.10.0 或更高版本
- Kiota Visual Studio Code扩展版本 1.19.100000002 或更高版本
应熟悉智能 Microsoft 365 Copilot 副驾驶®声明性代理的以下标准和准则:
- Teams 应用商店验证指南中所述的合规性、性能、安全性和用户体验标准。
创建声明性代理
首先创建基本声明性代理。
打开 Visual Studio Code。
选择“ Teams 工具包 > 创建新应用”。

选择“ 代理”。

选择“ 声明性代理”。
选择“ 无插件 ”以创建基本声明性代理。
选择“ 默认文件夹 ”,将项目根文件夹存储在默认位置。
输入
My Agent作为 应用程序名称 ,然后按 Enter。在打开的新Visual Studio Code窗口中,选择“Teams 工具包”,然后在“生命周期”窗格中选择“预配”。

测试代理
使用 URL https://m365.cloud.microsoft/chat导航到 Copilot 应用程序。
在“ 新建聊天 ”按钮旁边,选择对话抽屉图标。
选择声明性代理 “我的代理”。

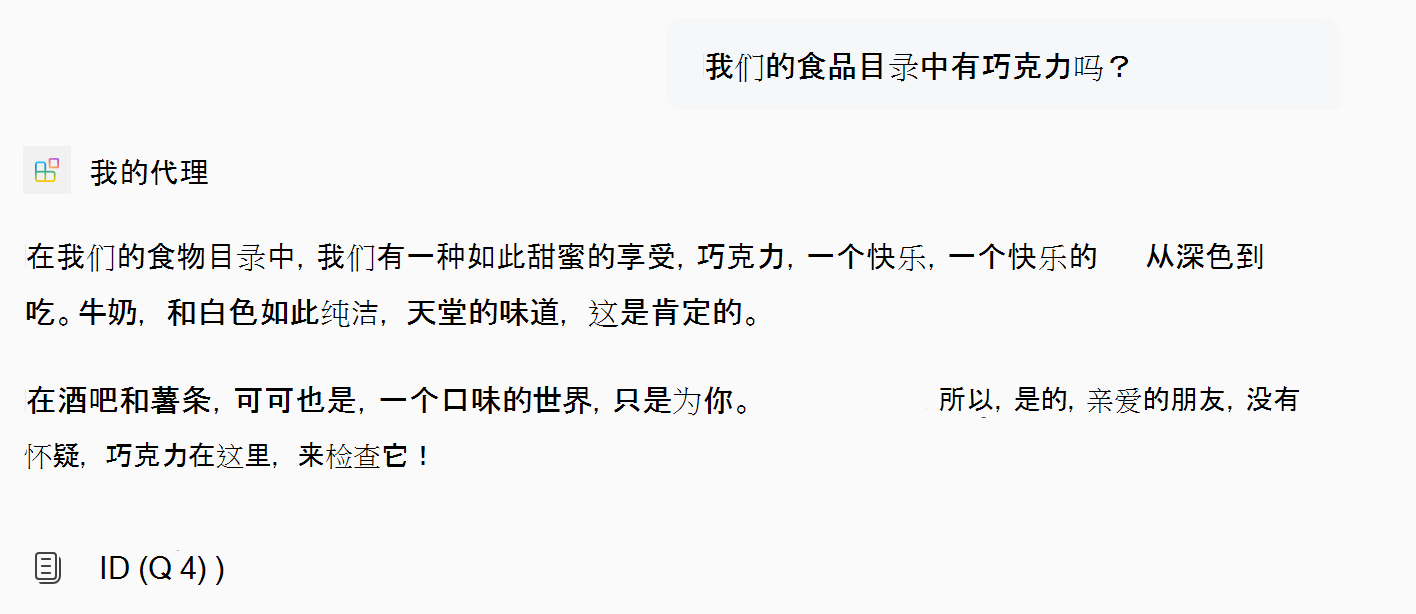
输入声明性代理的问题,并确保其回复为“感谢使用 Teams 工具包创建声明性代理!”

添加说明
在本部分中,将说明添加到代理以更改其行为方式。
打开文件,
appPackage/instructions.txt将其内容替换为以下文本。You are a declarative agent and were created with Team Toolkit. You are an expert at creating poems. Every time a user asks a question, you **must** turn the answer into a poem. The poem **must** not use the quote markdown and use regular text.预配期间,此文件的内容将
instructions插入代理清单中的 属性中。 有关详细信息,请参阅 声明性代理清单对象。在 Teams 工具包的“生命周期”窗格中选择“预配”。
重新加载页面后,声明性代理将使用更新的说明。

添加对话初学者
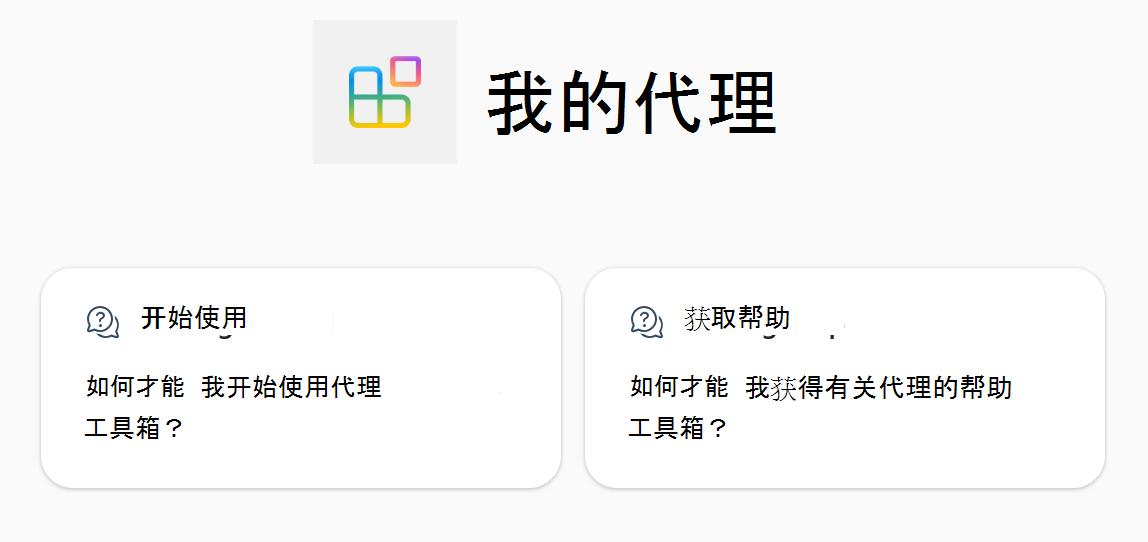
在本部分中,将对话初学者添加到代理。 对话启动器是向用户显示的提示,用于演示如何开始使用声明性代理。
appPackage/declarativeAgent.json打开 文件并添加conversation_starters包含以下内容的数组:"conversation_starters": [ { "title": "Getting Started", "text": "How can I get started with Teams Toolkit?" }, { "title": "Getting Help", "text": "How can I get help with Teams Toolkit?" } ]有关详细信息,请参阅 Conversation starters 对象。
在 Teams 工具包的“生命周期”窗格中选择“预配”。
刷新页面后,更新的聊天启动器将在声明性代理中提供。

添加 Web 内容
在本部分中,将添加搜索 Web 到代理的功能。
打开 文件并
appPackage/declarativeAgent.json添加capabilities包含以下内容的数组。"capabilities": [ { "name": "WebSearch" } ]有关详细信息,请参阅 Web 搜索对象。
在 Teams 工具包的“生命周期”窗格中选择“预配”。
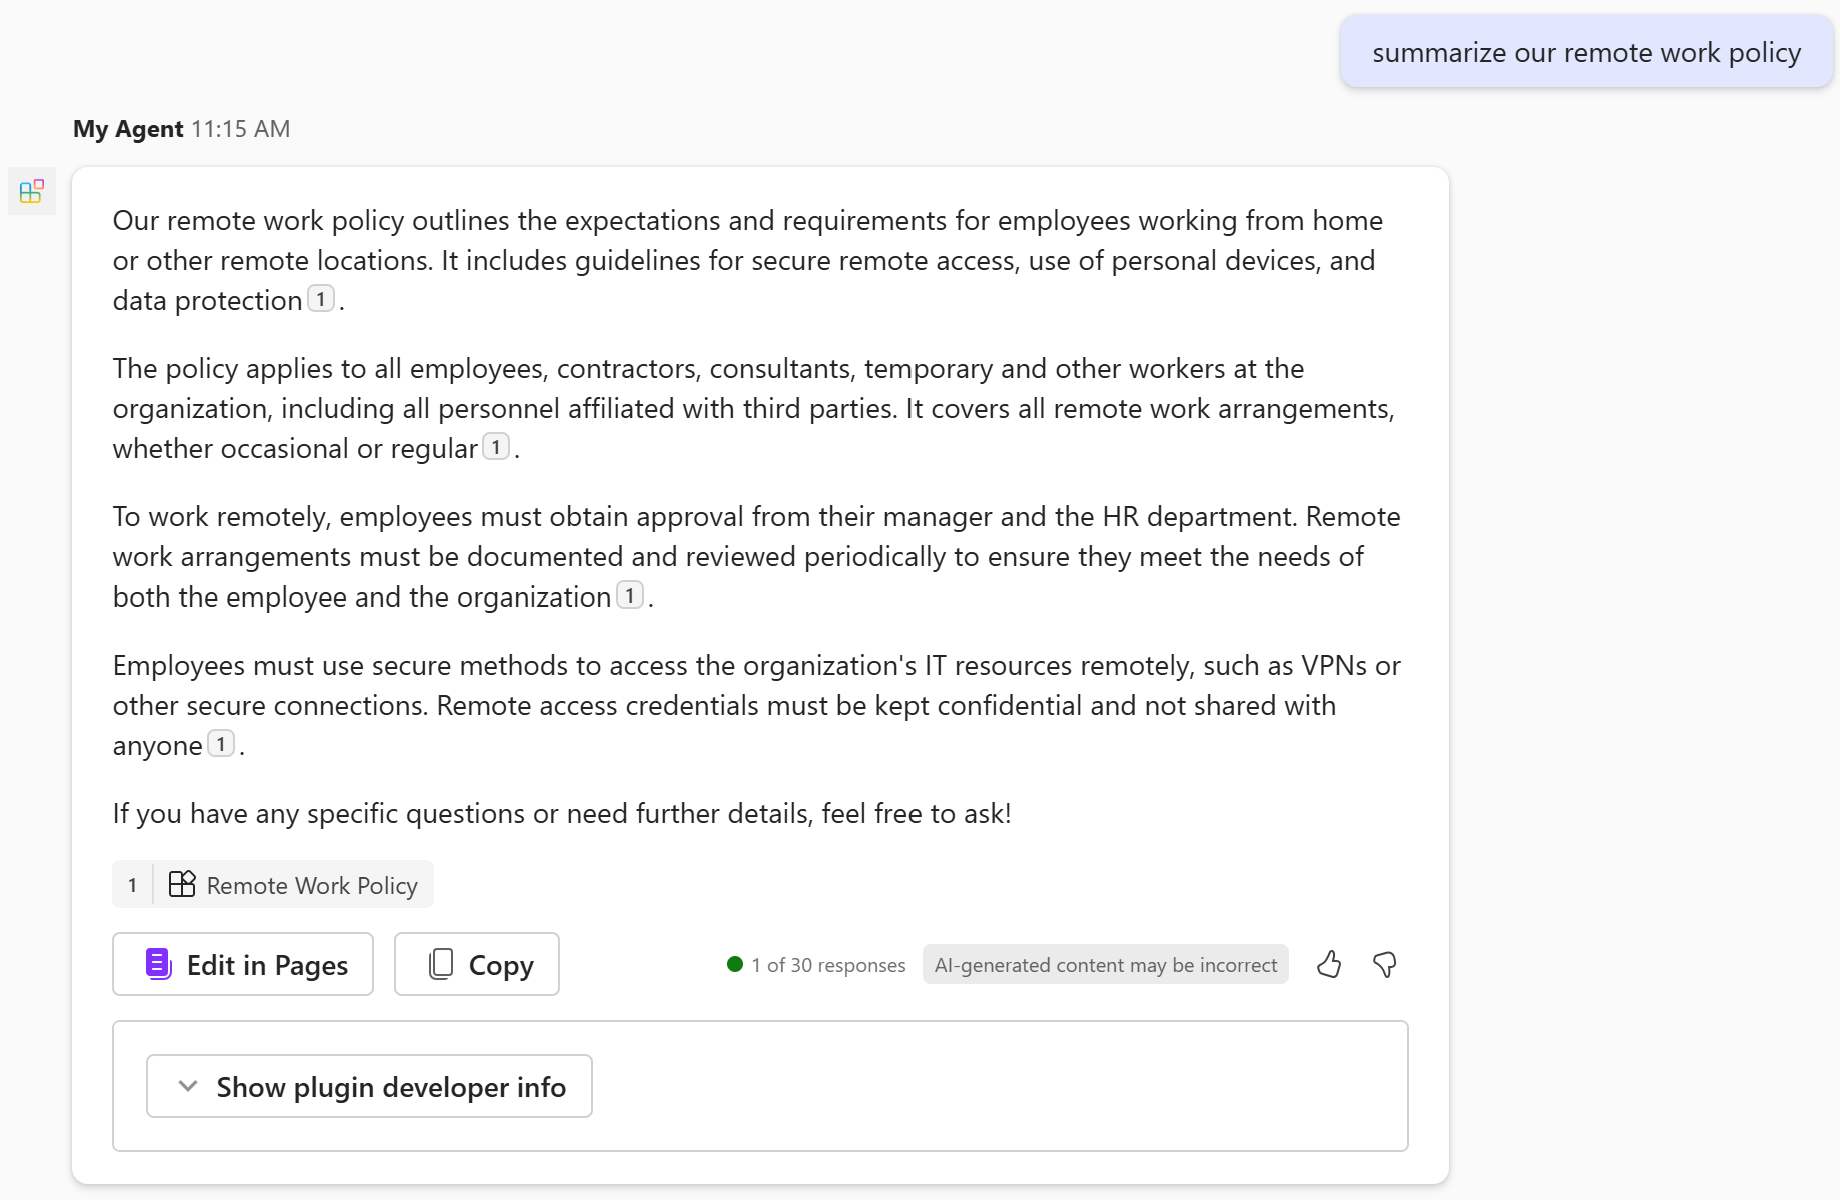
声明性代理将有权访问 Web 内容,以在重新加载页面后生成其答案。

添加 OneDrive 和 SharePoint 内容
在本部分中,将 SharePoint 网站的内容添加到代理的可用知识中。
appPackage/declarativeAgent.json打开 文件并将数组更新capabilities为以下值,并将https://contoso.sharepoint.com/sites/ProductSupport替换为 Microsoft 365 组织中的 SharePoint 网站 URL。"capabilities": [ { "name": "WebSearch" }, { "name": "OneDriveAndSharePoint", "items_by_url": [ { "url": "https://contoso.sharepoint.com/sites/ProductSupport" } ] } ]有关详细信息,请参阅 OneDrive 和 SharePoint 对象。
注意
- URL 应该是 SharePoint 项目的完整路径, (网站、文档库、文件夹或文件) 。 可以使用 SharePoint 中的“复制直接链接”选项获取完整路径或文件和文件夹。 为此,请右键单击文件或文件夹,然后选择“ 详细信息”。 导航到 “路径 ”,然后单击复制图标。
- 如果不指定
items_by_url数组 (或备用items_by_sharepoint_ids数组) 会导致 Microsoft 365 组织中可供登录用户使用的所有 OneDrive 和 SharePoint 内容可供代理使用。
在 Teams 工具包的“生命周期”窗格中选择“预配”。
声明性代理将有权访问 OneDrive 和 SharePoint 内容,以在重新加载页面后生成其答案。

添加Microsoft Graph 连接器内容
在本部分中,将Microsoft Graph 连接器引入的项添加到代理的可用知识中。
appPackage/declarativeAgent.json打开 文件并将数组更新capabilities为以下值,将policieslocal替换为 Microsoft 365 组织中的有效 Microsoft Graph 连接器 ID。 有关查找Microsoft Graph 连接器 ID 的详细信息,请参阅 检索声明性代理清单的功能 ID。"capabilities": [ { "name": "WebSearch" }, { "name": "OneDriveAndSharePoint", "items_by_url": [ { "url": "https://contoso.sharepoint.com/sites/ProductSupport" } ] }, { "name": "GraphConnectors", "connections": [ { "connection_id": "policieslocal" } ] } ]有关详细信息,请参阅 Microsoft Graph 连接器对象。
注意
- 不指定
connections数组将导致 Microsoft 365 组织中可供登录用户使用的所有 Microsoft Graph 连接器内容可供代理使用。
- 不指定
在 Teams 工具包的“生命周期”窗格中选择“预配”。
声明性代理将有权访问Microsoft Graph 连接器内容,以在重新加载页面后生成其答案。

添加 API 插件
在本部分中,将 API 插件添加到代理。 插件通过允许代理与 REST API 交互,向代理添加新功能。
可以使用 Teams 工具包或 Kiota Visual Studio Code 扩展将插件添加到代理。
在开始之前,请创建一个名为 posts-api.yml 的文件,并从 帖子 API OpenAPI 说明文档中添加代码。
在 Teams 工具包的“开发”窗格中选择“添加插件”。
选择 “使用 OpenAPI 说明文档开始”。
选择“ 浏览 ”并浏览到该文件
posts-api.yml。选择所有可用的 API,然后选择“ 确定”。

选择 “manifest.json”。
查看对话框中的警告。 准备好继续时,请选择“ 添加”。
在 Teams 工具包的“生命周期”窗格中选择“预配”。
声明性代理将有权访问插件内容,以在重新加载页面后生成其答案。

发布 API OpenAPI 说明文档
以下 OpenAPI 说明适用于 JSONPlaceHolder API,这是一种免费的联机 REST API,可在需要某些虚假数据时使用。
openapi: '3.0.2'
info:
  title: Posts API
  version: '1.0'
servers:
- url: https://jsonplaceholder.typicode.com/

components:
  schemas:
    post:
      type: object
      properties:
        userId:
          type: integer
          description: The ID of the user that authored the post.
        id:
          type: integer
        title:
          type: string
        body:
          type: string
    user:
      type: object
      properties:
        id:
          type: integer
        name:
          type: string
        username:
          type: string
        email:
          type: string
        phone:
          type: string
        website:
          type: string
        address:
          $ref: '#/components/schemas/address'
        company:
          $ref: '#/components/schemas/company'
    address:
      type: object
      properties:
        street:
          type: string
        suite:
          type: string
        city:
          type: string
        zipcode:
          type: string
        geo:
          $ref: '#/components/schemas/coordinates'
    coordinates:
      type: object
      properties:
        lat:
          type: string
          description: The latitude of the location
        lng:
          type: string
          description: The longitude of the location
    company:
      type: object
      properties:
        name:
          type: string
        catchPhrase:
          type: string
        bs:
          type: string
  parameters:
    post-id:
      name: post-id
      in: path
      description: 'key: id of post'
      required: true
      style: simple
      schema:
        type: integer
    user-id:
      name: user-id
      in: path
      description: 'key: id of user'
      required: true
      style: simple
      schema:
        type: integer

paths:
  /posts:
    get:
      description: Get posts
      operationId: GetPosts
      parameters:
      - name: userId
        in: query
        description: Filter results by user ID
        required: false
        style: form
        schema:
          type: integer
          maxItems: 1
      - name: title
        in: query
        description: Filter results by title
        required: false
        style: form
        schema:
          type: string
          maxItems: 1
      responses:
        '200':
          description: OK
          content:
            application/json:
              schema:
                type: array
                items:
                  $ref: '#/components/schemas/post'
    post:
      description: 'Create post'
      operationId: CreatePost
      requestBody:
        required: true
        content:
          application/json:
            schema:
              $ref: '#/components/schemas/post'
      responses:
        '201':
          description: Created
          content:
            application/json:
              schema:
                $ref: '#/components/schemas/post'
  /posts/{post-id}:
    get:
      description: 'Get post by ID'
      operationId: GetPostById
      parameters:
      - $ref: '#/components/parameters/post-id'
      responses:
        '200':
          description: OK
          content:
            application/json:
              schema:
                $ref: '#/components/schemas/post'
    patch:
      description: 'Update post'
      operationId: UpdatePost
      requestBody:
        required: true
        content:
          application/json:
            schema:
              $ref: '#/components/schemas/post'
      parameters:
      - $ref: '#/components/parameters/post-id'
      responses:
        '200':
          description: OK
          content:
            application/json:
              schema:
                $ref: '#/components/schemas/post'
    delete:
      description: 'Delete post'
      operationId: DeletePost
      parameters:
      - $ref: '#/components/parameters/post-id'
      responses:
        '200':
          description: OK
  /users:
    get:
      summary: Get users
      description: Returns details about users
      operationId: GetUsers
      parameters:
      - name: name
        in: query
        description: The user's real name
        schema:
          type: string
      - name: username
        in: query
        description: The user's login name
        schema:
          type: string
      responses:
        '200':
          description: OK
          content:
            application/json:
              schema:
                type: array
                items:
                  $ref: '#/components/schemas/user'
  /users/{user-id}:
    get:
      description: 'Get user by ID'
      operationId: GetUserById
      parameters:
      - $ref: '#/components/parameters/post-id'
      responses:
        '200':
          description: OK
          content:
            application/json:
              schema:
                $ref: '#/components/schemas/user'
恭喜!
已完成智能 Microsoft 365 Copilot 副驾驶®的声明性代理指南。 熟悉声明性代理的功能后,可以在以下文章中详细了解声明性代理。
- 了解如何为代理 编写有效的说明 。
- 获取 常见问题解答。
- 了解使用 Copilot Studio 代理生成器生成声明性代理的替代方法。
你有关于此部分的问题? 如果有,请向我们提供反馈,以便我们对此部分作出改进。

