先决条件
注意
- 需要创建 SharePoint Embedded 应用程序。 如果没有应用程序,则可以按照 此处的说明轻松生成示例应用程序。
- 必须在创建时指定标准容器类型。 根据用途,你可能需要(也可能不需要)提供 Azure 订阅 ID。 无法将用于试用目的的容器类型集转换为生产环境,反之亦然。
- 必须使用最新版本的 SharePoint PowerShell 来配置容器类型。 有关 SharePoint Embedded Windows PowerShell的权限和最新信息,请参阅 SharePoint Embedded 命令行管理程序简介中的文档。
- 将容器类型配置的 CopilotChatEmbeddedHosts 属性设置为
http://localhost:8080能够完成下面的快速入门,有关详细信息,请参阅 上面的 CSP 部分。 - 将容器类型配置的 DiscoverabilityDisabled 属性设置为 ,
false以便代理可以在创建的容器中查找文件。 有关详细信息,请参阅 上面的禁用发现性部分。 - 确保适用于 Microsoft 365 的 Copilot 适用于你的组织。 有两种方法可以获取 Copilot 的开发人员环境:
- 具有 M365 Copilot 的沙盒Microsoft 365 租户 (通过 TAP 成员资格) 以有限预览版提供。
SharePoint Embedded SDK 入门
1. 将 SDK 安装到 React 存储库
# Install the SDK with npm

npm install "https://download.microsoft.com/download/970802a5-2a7e-44ed-b17d-ad7dc99be312/microsoft-sharepointembedded-copilotchat-react-1.0.9.tgz"
如果要验证校验和
在 MacOS/Linux 中
version="1.0.9";

url="https://download.microsoft.com/download/970802a5-2a7e-44ed-b17d-ad7dc99be312/microsoft-sharepointembedded-copilotchat-react-1.0.9.tgz";

expected_checksum="3bdf19830ffc098b253cc809f969f50fba236ad95fe85123e7b15c7cf58ecf6b";

package_path="microsoft-sharepointembedded-copilotchat-react-$version.tgz";

curl -o $package_path $url && [ "$(sha256sum $package_path | awk '{ print $1 }')" == "$expected_checksum" ] && npm install $package_path || { echo "Checksum does not match. Aborting installation."; rm $package_path; }
在 Windows 中:
$version = "1.0.9"
$url = "https://download.microsoft.com/download/970802a5-2a7e-44ed-b17d-ad7dc99be312/microsoft-sharepointembedded-copilotchat-react-1.0.9.tgz"
$expected_checksum = "3BDF19830FFC098B253CC809F969F50FBA236AD95FE85123E7B15C7CF58ECF6B"
$package_path = "microsoft-sharepointembedded-copilotchat-react-$version.tgz"

Invoke-WebRequest -Uri $url -OutFile $package_path

$calculated_checksum = Get-FileHash -Path $package_path -Algorithm SHA256 | Select-Object -ExpandProperty Hash

if ($calculated_checksum -eq $expected_checksum) {
    Write-Output "Checksum matches. Installing the package..."
    npm install $package_path
} else {
    Write-Output "Checksum does not match. Aborting installation."
}
Remove-Item $package_path
2.创建 authProvider 对象
这是一个与此接口匹配的对象:
export interface IChatEmbeddedApiAuthProvider {
    // The hostname for your tenant. Example: https://m365x10735106.sharepoint.com
    hostname: string;
    // This function will be called when an SPO token is required
    // Scope needed: ${hostname}/Container.Selected
    getToken(): Promise<string>;
}
应用中的示例用法:
// In your app:
import { IChatEmbeddedApiAuthProvider } from '@microsoft/sharepointembedded-copilotchat-react';

const authProvider: IChatEmbeddedApiAuthProvider = {
    hostname: 'https://m365x10735106.sharepoint.com',
    getToken: requestSPOAccessToken,
};
) 自定义 (的示例实现 getToken :
//
async function requestSPOAccessToken() {
  // Use your app's actual msalConfig
  const msalConfig = {
    auth: {
      clientId: "{Your Entra client ID}", // this can likely point to process.env.REACT_APP_CLIENT_ID if you have set it in your .env file
    },
    cache: {
              // https://github.com/AzureAD/microsoft-authentication-library-for-js/blob/dev/lib/msal-browser/docs/caching.md
              /*
              Cache Location | Cleared on | Shared between windows/tabs | Redirect flow supported
              -----------------   ----------  -------------------------   ------------------------
              sessionStorage | window/tab close | No | Yes
              localStorage | browser close | Yes |   Yes
              memoryStorage | page |  refresh/navigation | No | No
              */
      cacheLocation: 'localStorage',
      storeAuthStateInCookie: false,
    },
  };

  const containerScopes = {
    scopes: [`${authProvider.hostname}/Container.Selected`],
    redirectUri: '/'
  };

  const pca = new msal.PublicClientApplication(msalConfig);
  let containerTokenResponse;

  // Consent FileStorageContainer.Selected scope
  try {
    // attempt silent acquisition first
    containerTokenResponse = await pca.acquireTokenSilent(containerScopes);
    return containerTokenResponse.accessToken;
  } catch (error) {
    if (error instanceof InteractionRequiredAuthError) {
      // fallback to interaction when silent call fails
      containerTokenResponse = await pca.acquireTokenPopup(containerScopes);
      return containerTokenResponse.accessToken;
    }
    else {
      console.log(error);
    }
  }
}
3.创建React状态以存储chatApi
const [chatApi, setChatApi] = React.useState<ChatEmbeddedAPI|null>(null);
示例:
import React from 'react';
import { ChatEmbedded, ChatEmbeddedAPI, IChatEmbeddedApiAuthProvider } from '@microsoft/sharepointembedded-copilotchat-react';

//...
async function requestSPOAccessToken() {
  //...
}

const authProvider: IChatEmbeddedApiAuthProvider = {
  hostname: 'https://m365x10735106.sharepoint.com',
  getToken: requestSPOAccessToken,
};

function App() {
  const [chatApi, setChatApi] = React.useState<ChatEmbeddedAPI|null>(null);

  return (
    //...
  );
}
4.将 ChatEmbedded 组件添加到 react 应用中
import React from 'react';
import { ChatEmbedded, ChatEmbeddedAPI, IChatEmbeddedApiAuthProvider } from '@microsoft/sharepointembedded-copilotchat-react';

//...
async function requestSPOAccessToken() {
  //...
}

const authProvider: IChatEmbeddedApiAuthProvider = {
  hostname: 'https://m365x10735106.sharepoint.com',
  getToken: requestSPOAccessToken,
};

function App() {
  const [chatApi, setChatApi] = React.useState<ChatEmbeddedAPI|null>(null);

  return (
    //...
    <ChatEmbedded
      onApiReady={setChatApi}
      authProvider={authProvider}
      containerId={container.id}
      style={{ width: 'calc(100% - 4px)', height: 'calc(100vh - 8px)' }}
    />
    //...
  );
}
5. 使用 chatApi 状态中的 对象打开聊天并运行聊天
在上面的示例中,以这种方式调用它以打开聊天。
await chatApi.openChat();
可以选择传入启动配置
import { IconName, IconStyle } from './sdk/types';

//...
const zeroQueryPrompts = {
  headerText: "This is my Starter Prompt",
  promptSuggestionList: [{
    suggestionText: 'Hello',
    iconRegular: { name: IconName.ChatBubblesQuestion, style: IconStyle.Regular },
    iconHover: { name: IconName.ChatBubblesQuestion, style: IconStyle.Filled },
  }]
};

const launchConfig: ChatLaunchConfig = {
  header: 'My Awesome Chat',
  zeroQueryPrompts,
  suggestedPrompts: ["What are my files?",],
  instruction: "Response must be in the tone of a pirate",
  locale: "en",
};

await chatApi.openChat(launchConfig);
完整示例:
import React from 'react';
import { ChatEmbedded, ChatEmbeddedAPI, IChatEmbeddedApiAuthProvider } from '@microsoft/sharepointembedded-copilotchat-react';

//...
async function requestSPOAccessToken() {
  //...
}

const authProvider: IChatEmbeddedApiAuthProvider = {
  hostname: 'https://m365x10735106.sharepoint.com',
  getToken: requestSPOAccessToken,
};

function App() {
  const [chatApi, setChatApi] = React.useState<ChatEmbeddedAPI|null>(null);

  React.useEffect(() => {
    const openChat = async () => {
      if (!chatApi) {
        return;
      }

      await chatApi.openChat();
    };

    openChat();
  }, [chatApi]);


  return (
    //...
    <ChatEmbedded
      onApiReady={(api) => setChatApi(api)}
      authProvider={authProvider}
      containerId={container.id}
      style={{ width: 'calc(100% - 4px)', height: 'calc(100vh - 8px)' }}
    />
    //...
  );
}
6. 应成功加载 AI 聊天
SharePoint Embedded Visual Studio Code扩展入门
快速入门
注意
将标准容器类型与 VS Code 扩展结合使用时,目前不支持 DisableDiscoverability 和 Grant admin consent 功能。 这需要使用 SPO 管理员 Powershell 来完成。
按照本指南作,使用 Visual Studio Code 扩展加载示例应用部分
在扩展中,右键单击拥有的应用程序,然后选择
Run sample apps -> Typescript + React + Azure Functions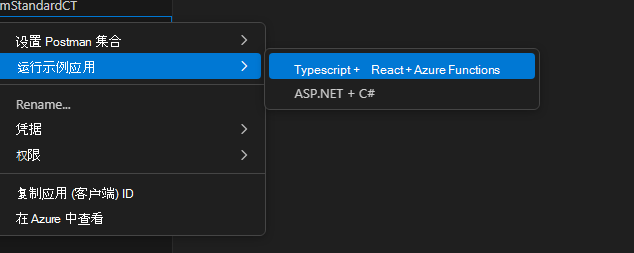
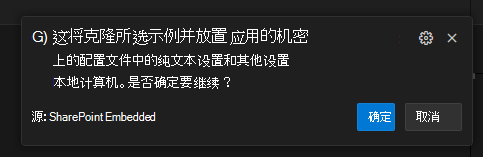
允许扩展复制和创建客户端密码
警告
对于生产环境,以纯文本形式存储机密会带来安全风险。
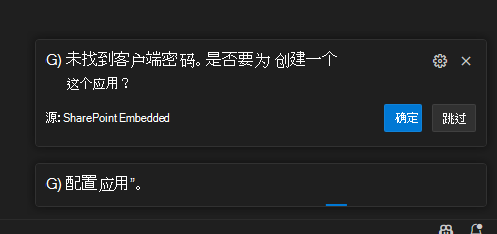
如果应用程序还没有客户端密码,扩展将要求为你创建一个。
选择一个文件夹来托管应用程序,这会将 SharePoint Embedded Samples 的以下存储库 克隆到 文件夹中
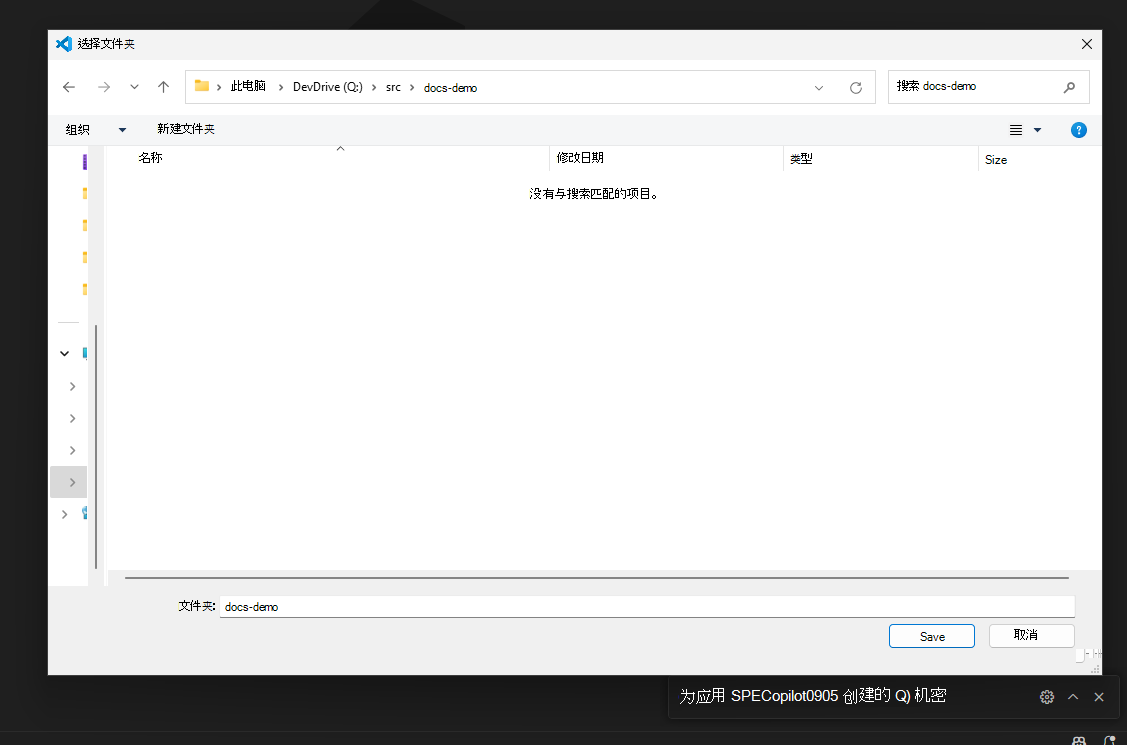
接下来,出现提示时,打开文件夹
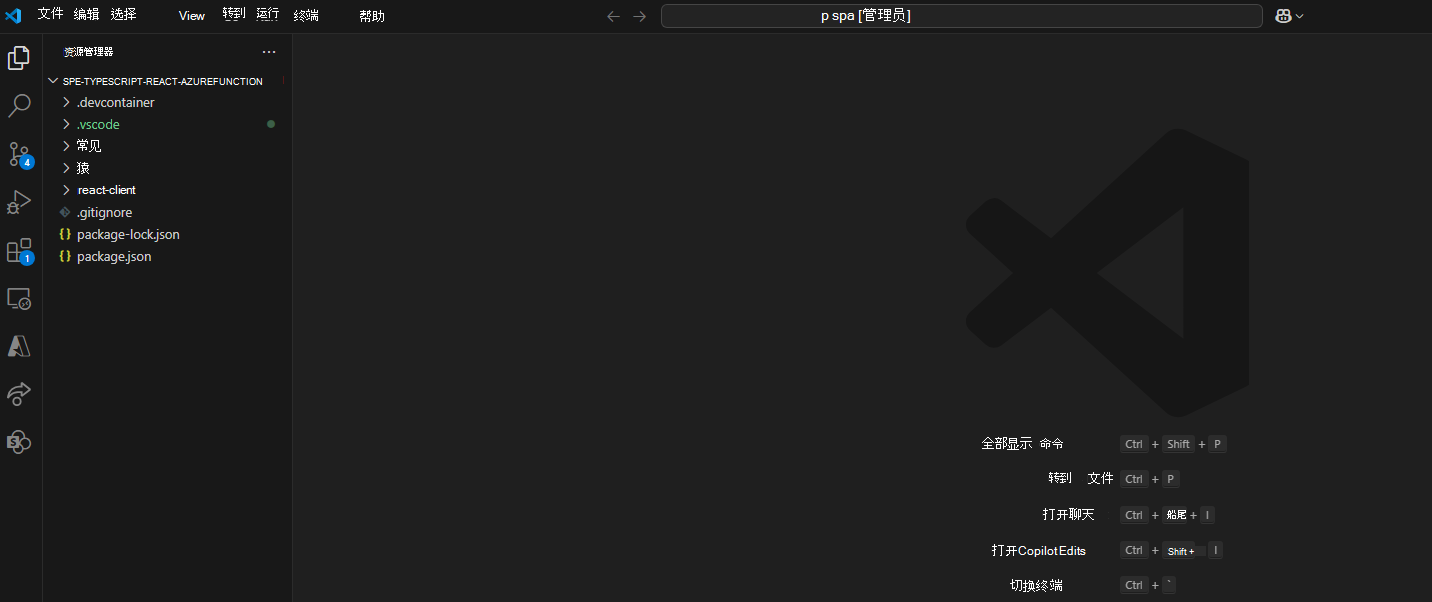
导航到
react-client\src\components\ChatSideBar.tsx并取消注释此部分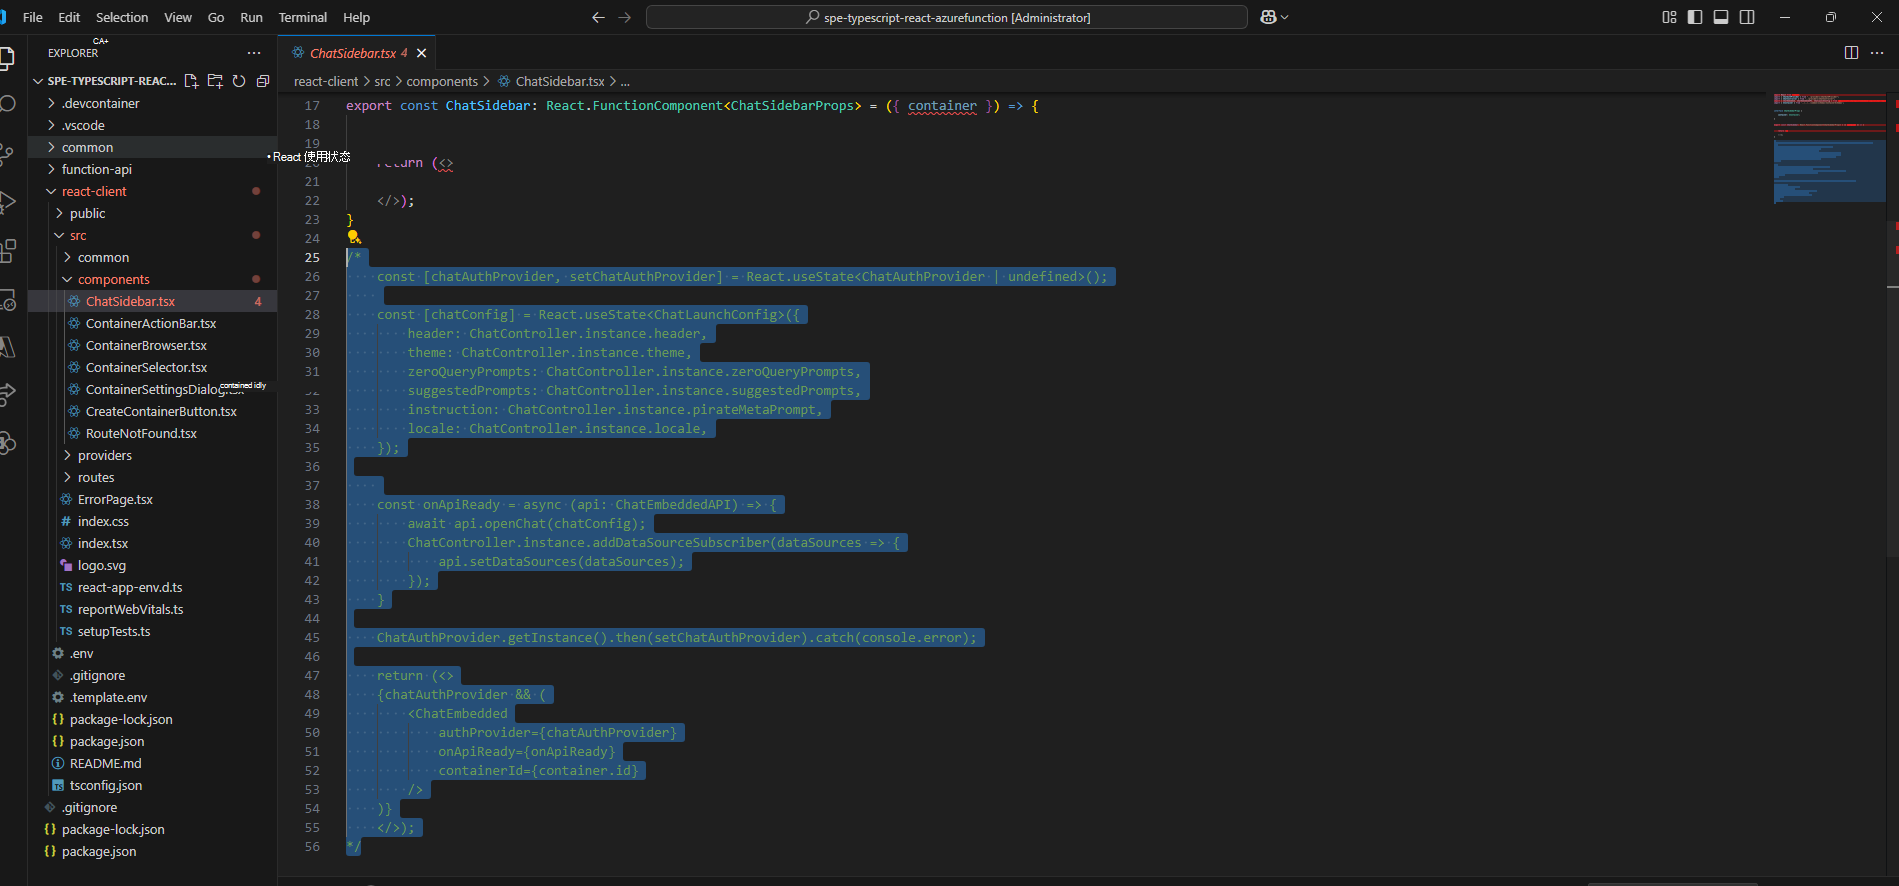
导航到
react-client\src\routes\App.tsx变量的React状态showSidebar并将其设置为true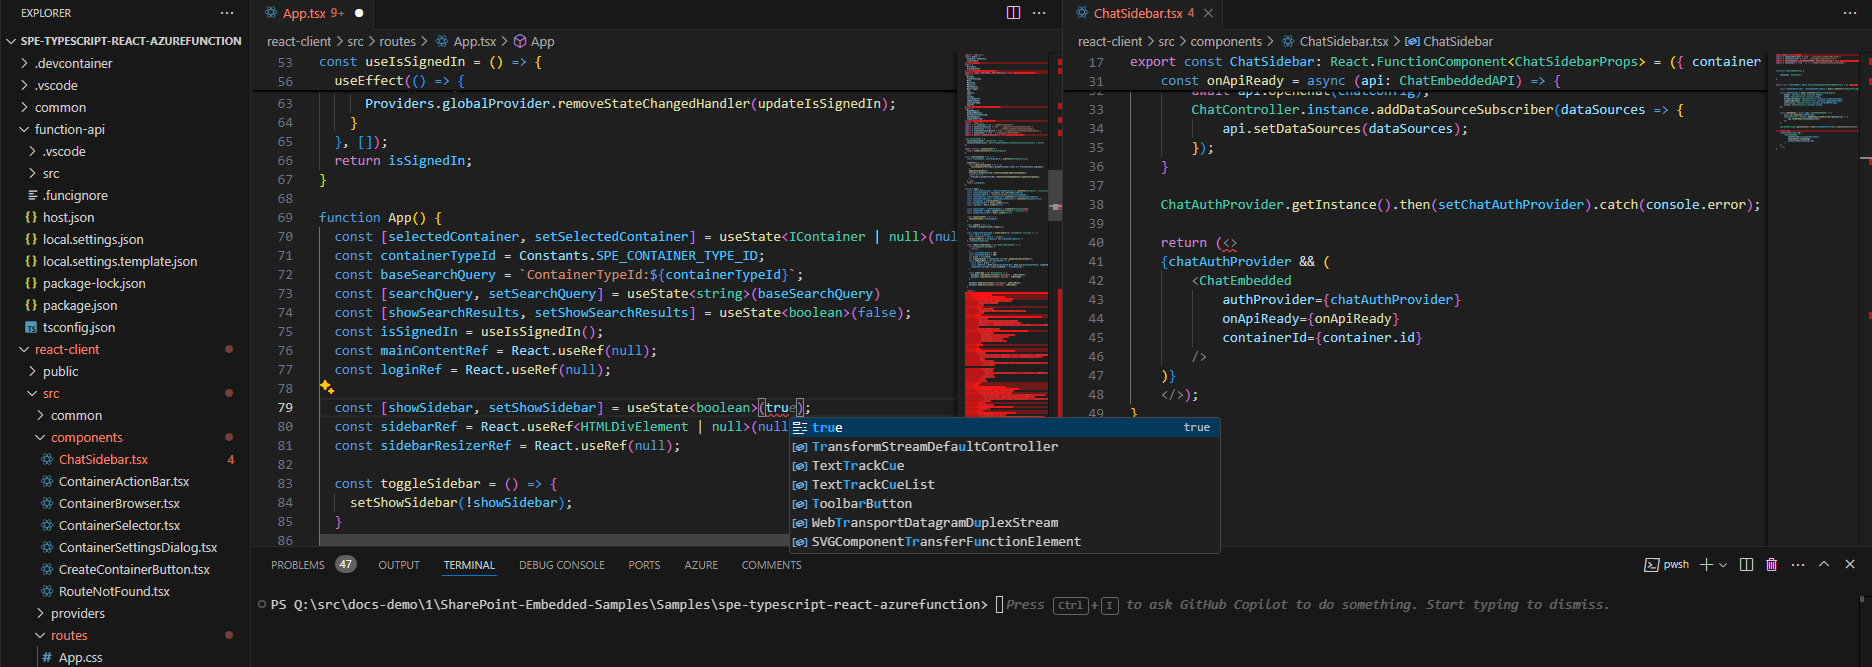
可以按照项目根目录中文件的说明
README.md执行进一步的 npm 命令。 在项目的根目录中运行npm run start,以在启用 SPE 代理功能的情况下启动应用程序。注意
npm run start应在示例项目的根文件夹中完成。\SharePoint-Embedded-Samples\Samples\spe-typescript-react-azurefunction
使用启用了 智能 Microsoft 365 Copilot 副驾驶® 许可证的用户登录。
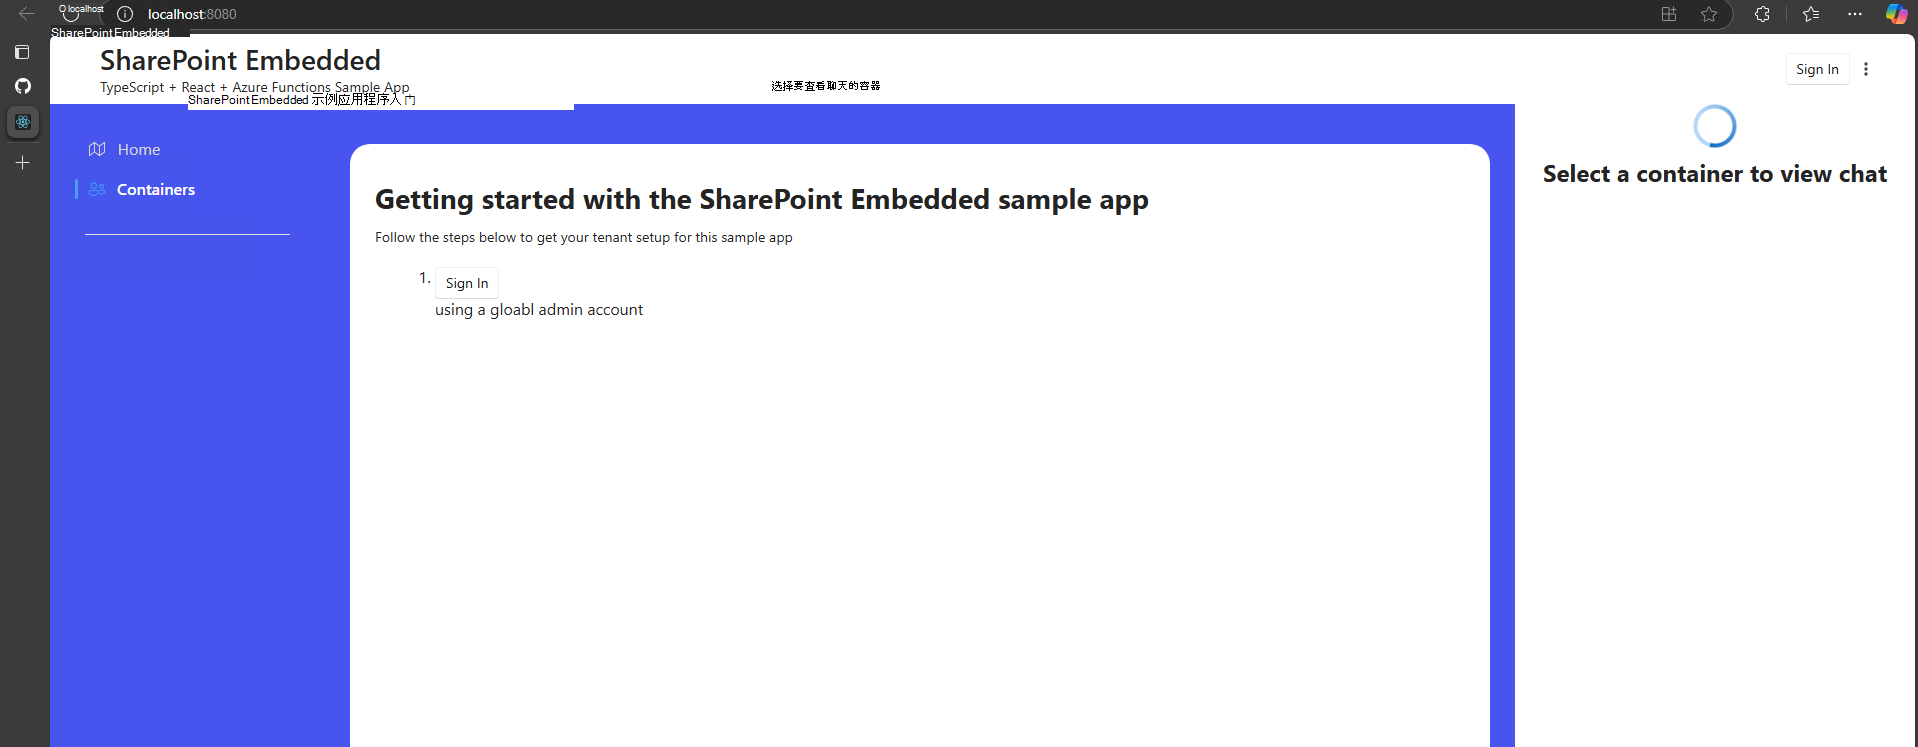
导航到页面
containers,如果还没有任何页面,请创建一个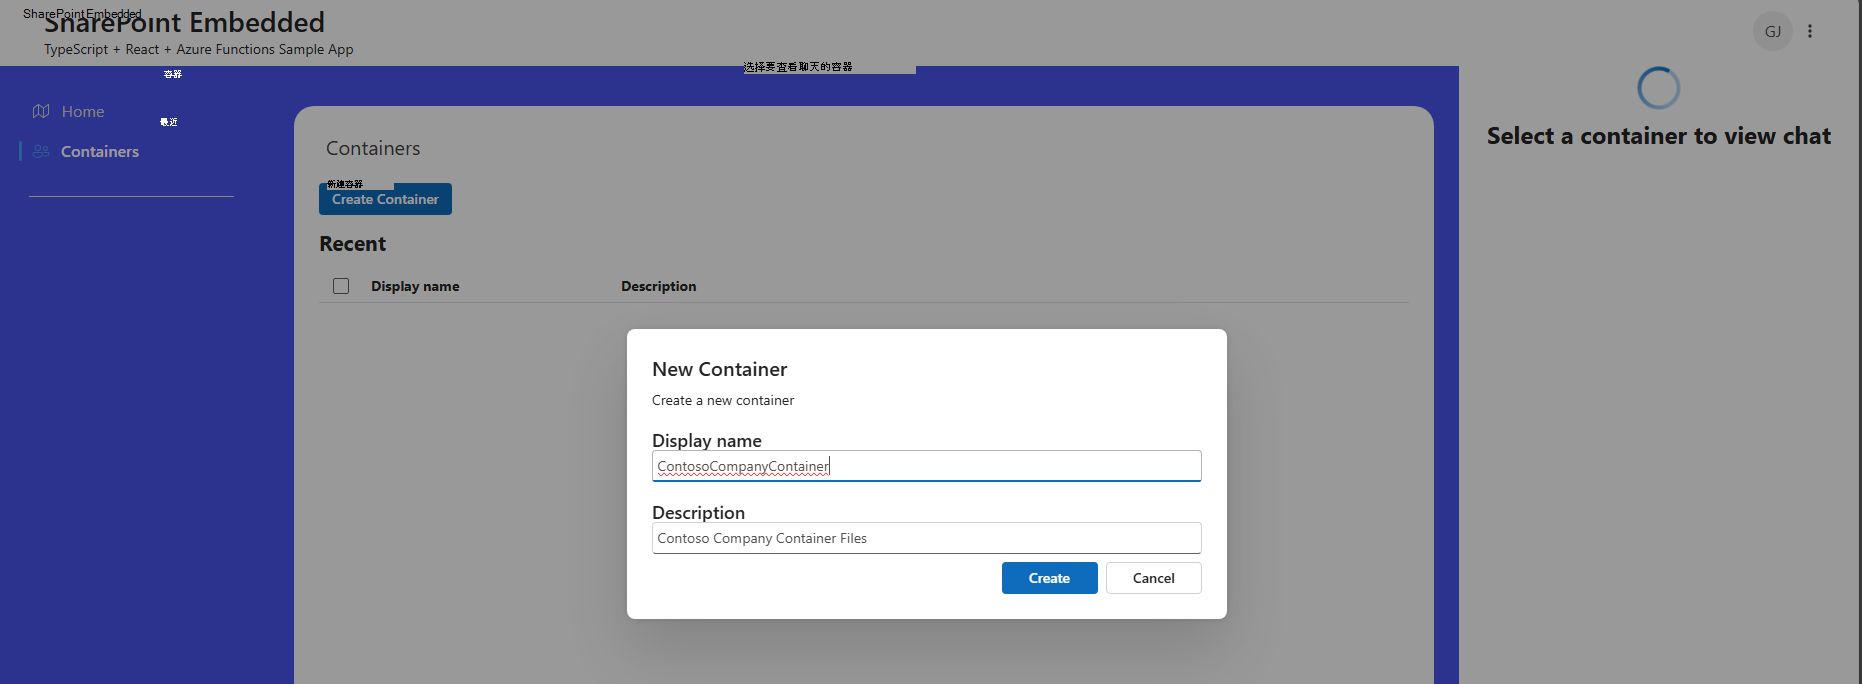
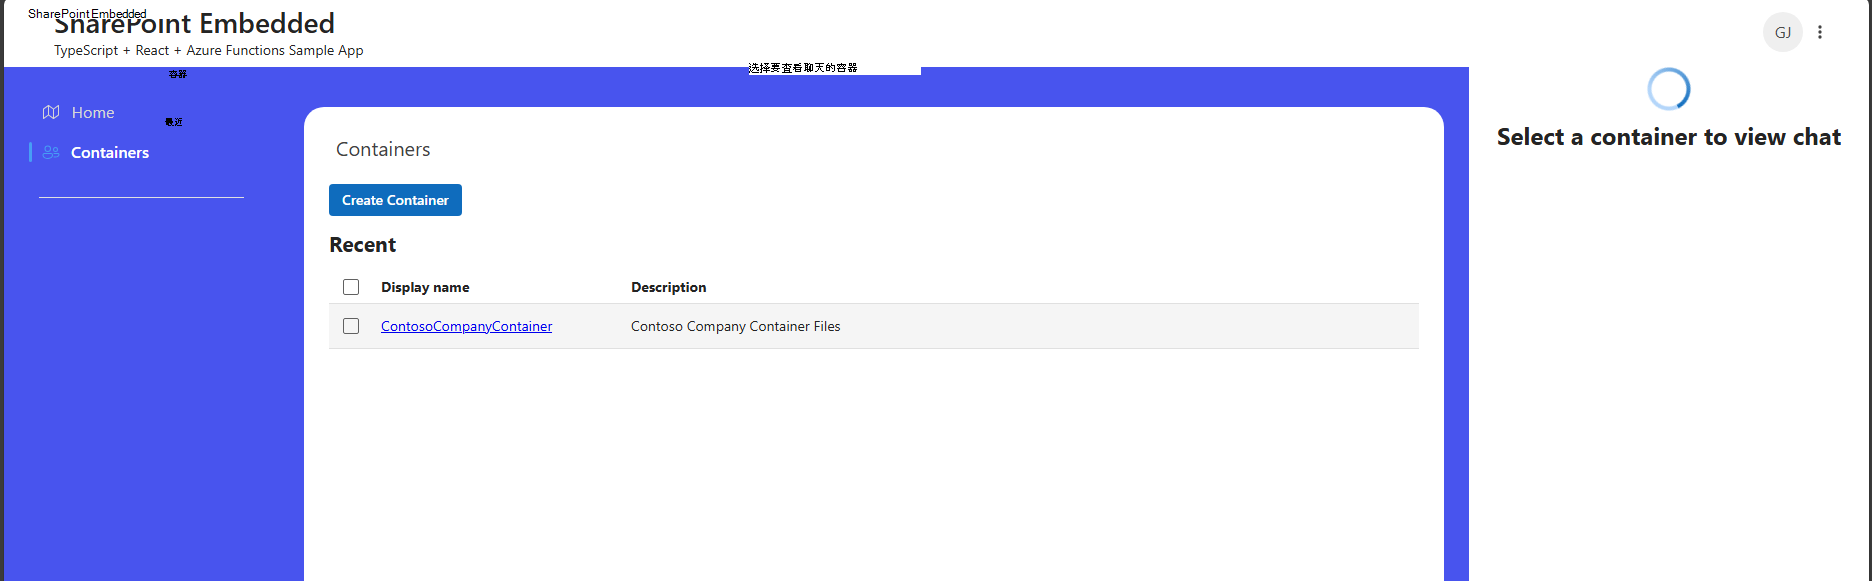
创建后,你将在此处看到它:
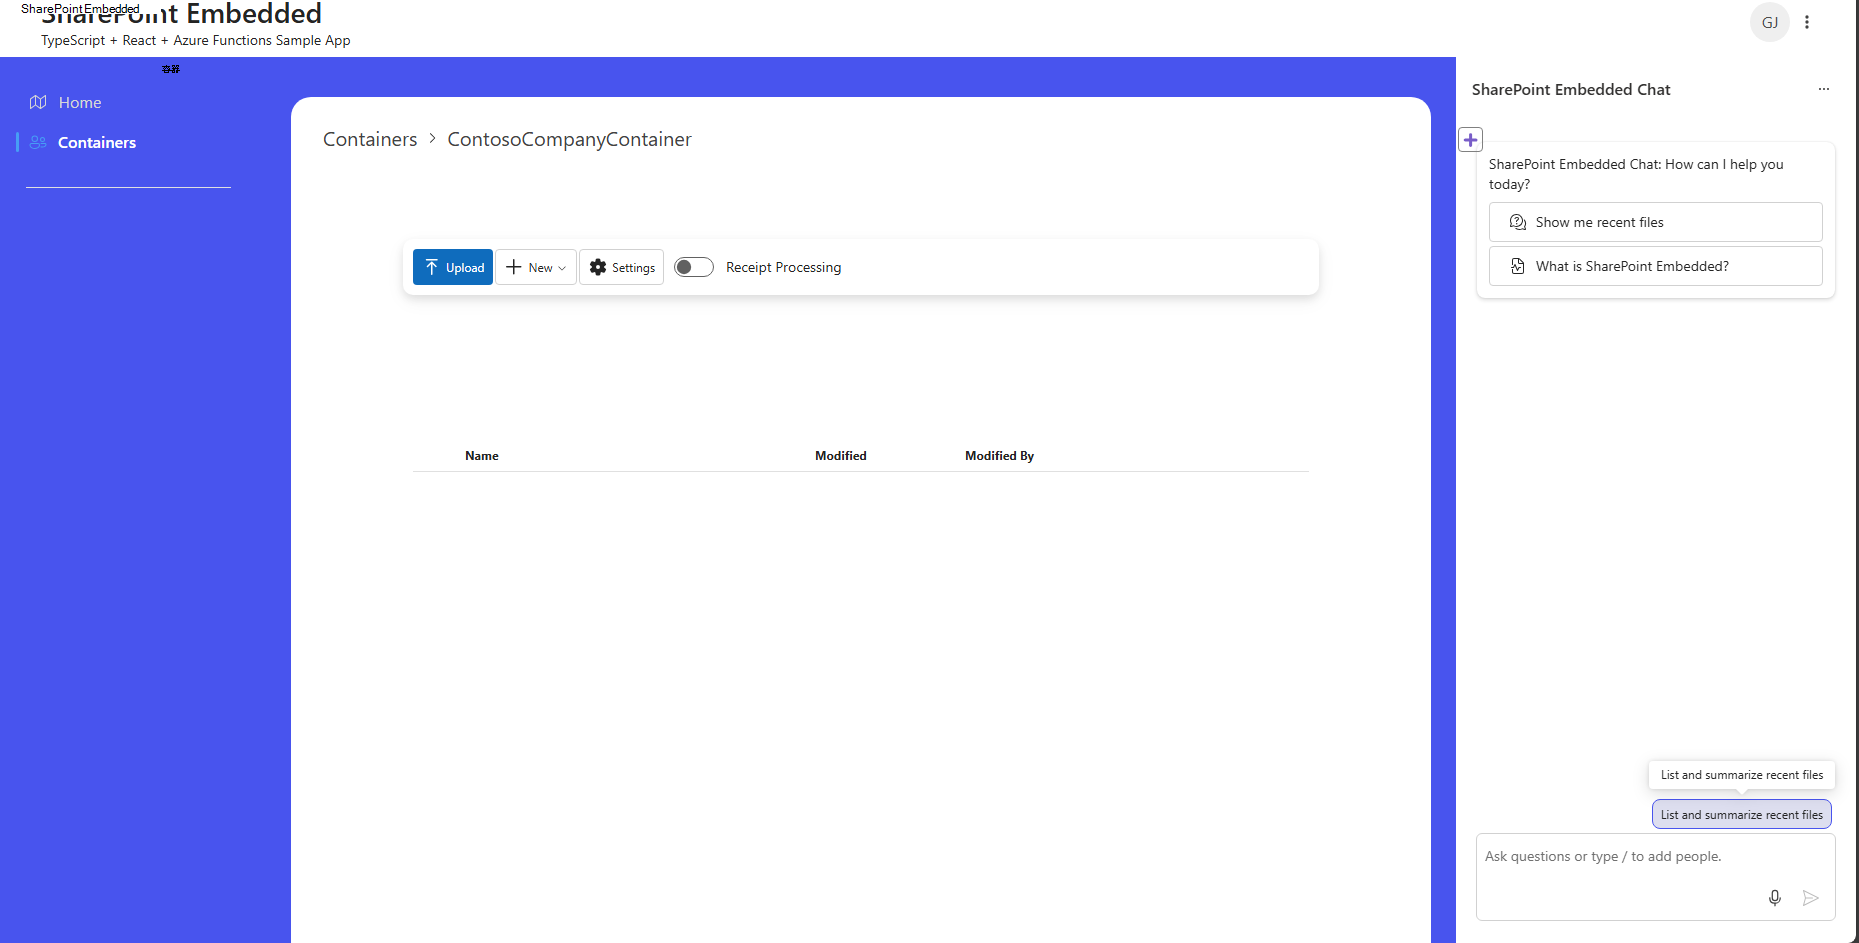
单击容器并上传文件。 创建容器并在其中导航后,代理聊天体验将变为启用状态。
示例
SharePoint Embedded 示例存储库提供了有关如何在自定义应用程序中使用 SharePoint Embedded 的示例。