生成 SharePoint 框架 (SPFx) Web 部件时可以选择使用 @pnp/sp 库。 此库提供 Fluent API,从而使 REST 查询的生成过程具备直观性,并且支持批处理和缓存。 有关详细信息,请参阅项目的主页,其中包含文档、示例及其他资源的链接,可帮助你开始使用。
注意
PnPJS 是一种开源解决方案,其中包含为其提供支持的活动社区。 没有用于 Microsoft 开放源代码工具支持的 SLA。
可以从示例网站中下载本文的完整源。
注意
执行本文中的步骤前,请务必先设置 SharePoint 客户端 Web 部件开发环境。
新建项目
使用所选的控制台为项目新建一个文件夹:
md spfx-pnp-js-example进入该文件夹:
cd spfx-pnp-js-example运行 SPFx 的 Yeoman 生成器:
yo @microsoft/sharepoint在设置新项目期间出现提示后,输入以下值:
- spfx-pnp-js-example 作为解决方案名称(保留默认值)
- spfx-pnp-js-example 说明,作为解决方案说明(保持默认)
- 仅限 SharePoint Online(最新)作为基线程序包版本
- N,以允许访问唯一 Web API
- Web 部件作为要创建的组件
- PnPJSExample 作为 Web 部件的名称
- PnPJSExample 说明,作为说明
- React,作为框架
在选择的代码编辑器中打开该项目。 此处所示的屏幕截图演示 Visual Studio Code。 要打开 Visual Studio Code 内的目录,请在控制台中输入以下命令:
code .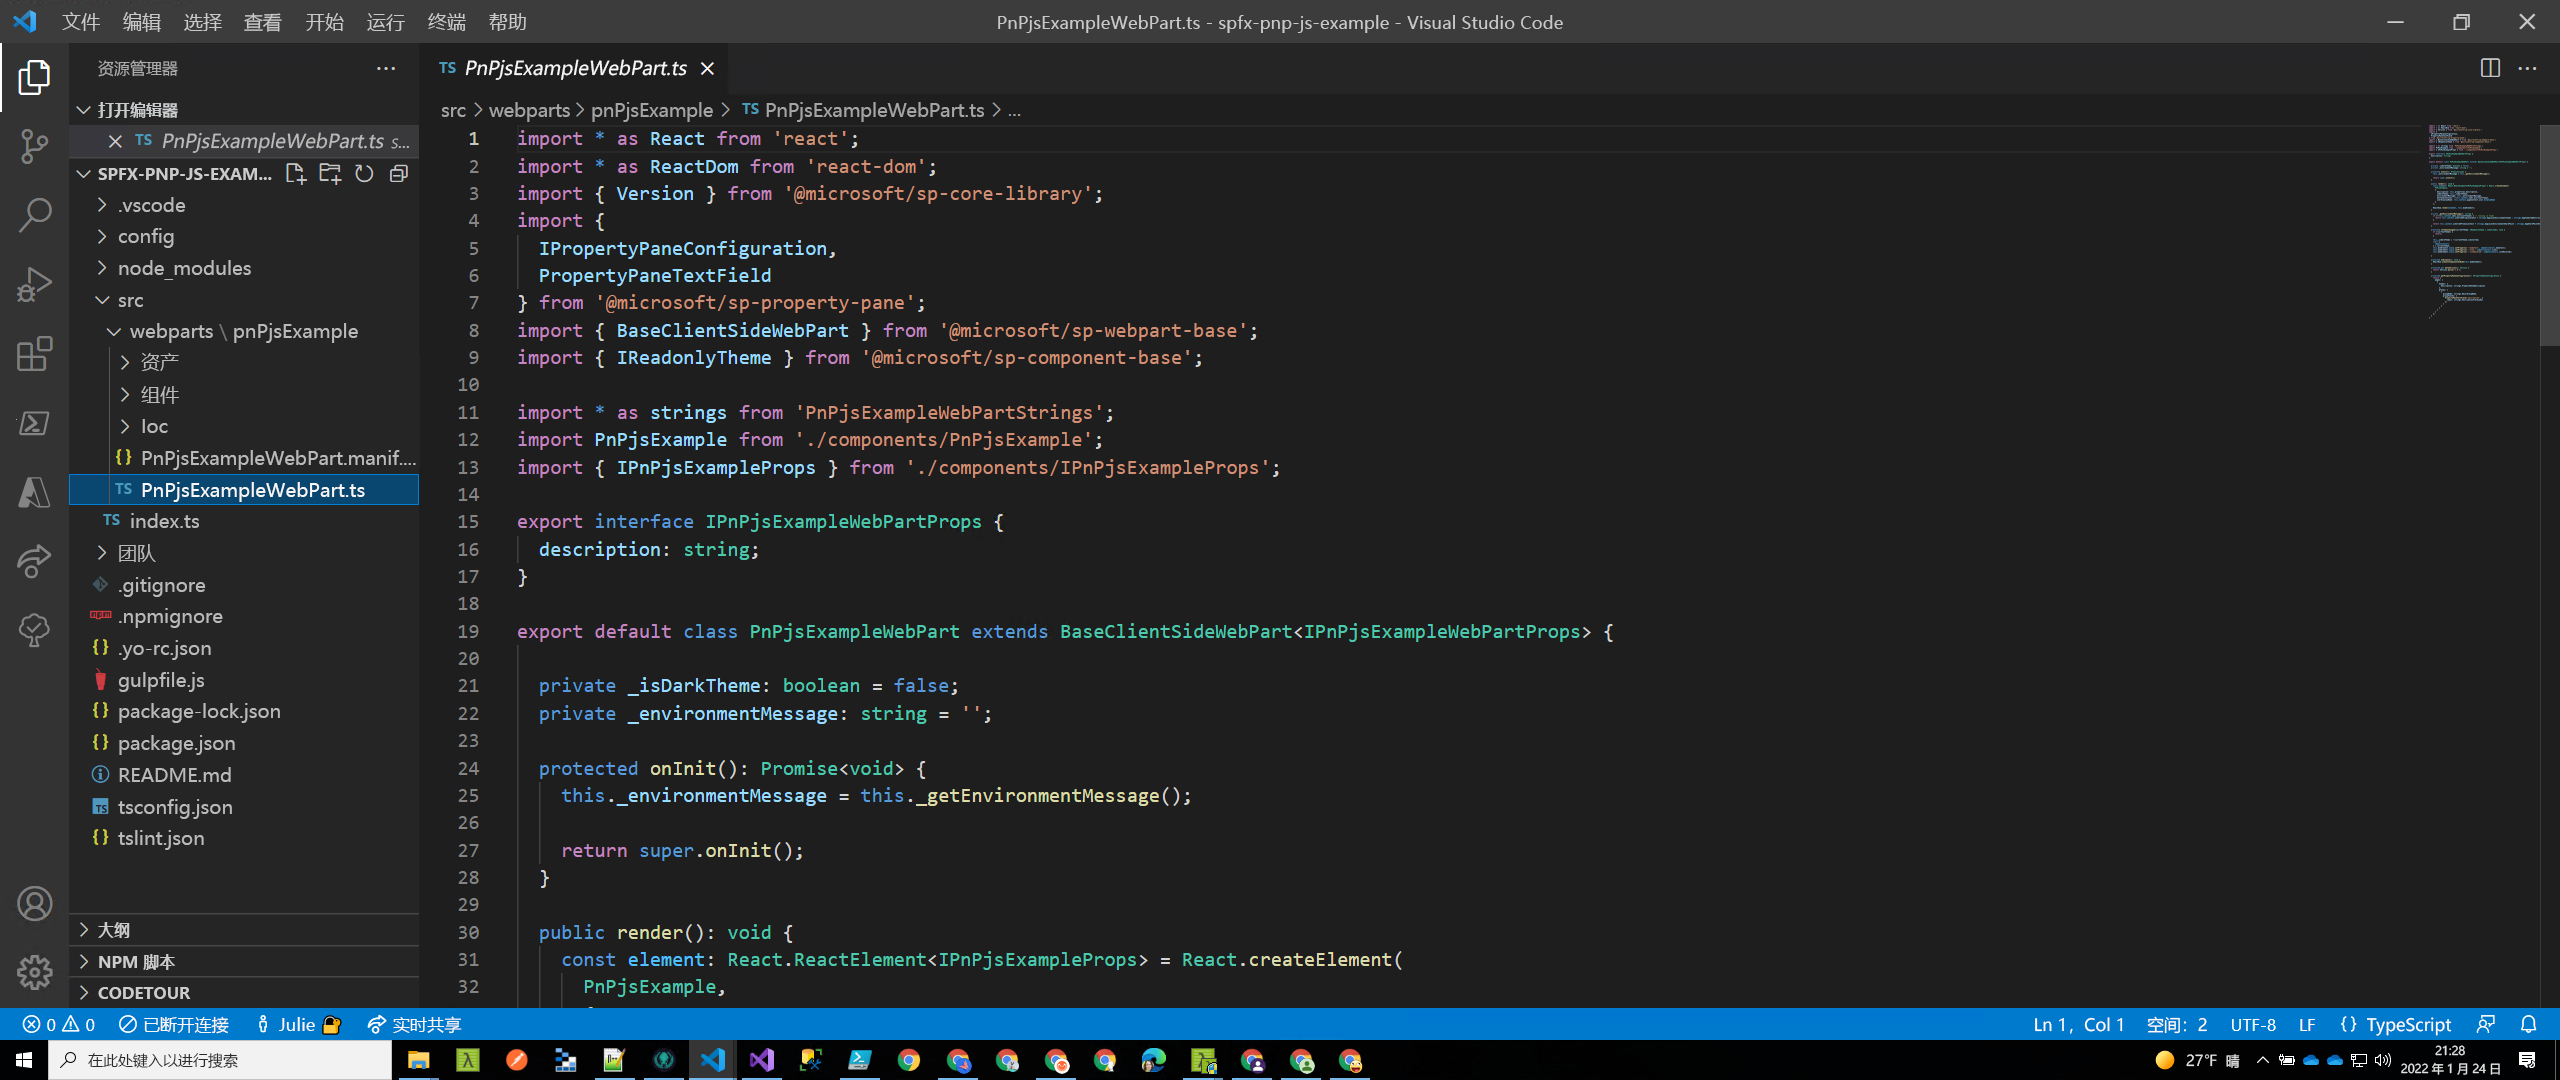
通过修改 config/serve.json 中的
initialPage值来设置 SharePoint 托管工作台位置,以指向租户/网站。
{
  "$schema": "https://developer.microsoft.com/json-schemas/core-build/serve.schema.json",
  "port": 4321,
  "https": true,
  "initialPage": "https://{your tenant name}/sites/dev/_layouts/15/workbench.aspx"
}
安装和设置 @pnp/sp
创建项目后,必须安装和设置 @pnp/sp 包。 此外,我们将使用 @pnp/logging 扩展,但这是可选的。 这些步骤适用于任何项目类型(React 等)。
npm install @pnp/logging @pnp/sp --save
对于 SPFx 版本 1.14.x 或不支持 typescript v4.x 的版本
注意:PnPjs 版本 3.x 仅在 SPFx 版本 1.14 及更高版本以及 NodeJs 版本 12.x 及更高版本中受支持。
将 rush 堆栈编译器更新为 4.2。 此项内容包含在 由 Elio 撰写的精彩文章 中,但步骤如下所示。
- 卸载现有的 rush 堆栈编译器(将 x 替换为 package.json 文件中安装的版本):
npm uninstall @microsoft/rush-stack-compiler-3.x - 安装 4.2 版本:
npm i @microsoft/rush-stack-compiler-4.2 - 更新 tsconfig.json 以扩展 4.2 配置:
"extends": "./node_modules/@microsoft/rush-stack-compiler-4.2/includes/tsconfig-web.json"
- 卸载现有的 rush 堆栈编译器(将 x 替换为 package.json 文件中安装的版本):
将 gulpfile.js 的内容替换为:
'use strict';

const build = require('@microsoft/sp-build-web');

build.addSuppression(`Warning - [sass] The local CSS class 'ms-Grid' is not camelCase and will not be type-safe.`);

var getTasks = build.rig.getTasks;
build.rig.getTasks = function () {
  var result = getTasks.call(build.rig);

  result.set('serve', result.get('serve-deprecated'));

  return result;
};

// ********* ADDED *******
// disable tslint
build.tslintCmd.enabled = false;
// ********* ADDED *******

build.initialize(require('gulp'));
在 PnPjsExampleWebPart.ts 中更新 onInit
@pnp/sp由于库构造 REST 请求,因此它需要知道 URL 才能发送这些请求。 在 SPFx 中操作时,我们需要依赖于框架提供的 上下文 对象。
有两种方法可以确保正确设置请求;在本示例中我们将使用 onInit 方法。
打开 src\webparts\spPnPjsExample\SpPnPjsExampleWebPart.ts 文件,并为 pnp 项目配置文件添加导入语句(请在下面查看有关此文件的详细信息):
import { getSP } from './pnpjsConfig';onInit()在 方法中,更新代码,如下所示。 在调用后super.onInit()添加调用以初始化项目配置。 我们在 之后super.onInit()执行此操作,以确保框架有机会初始化所需的任何内容,并在完成这些步骤后设置库。/** * Initialize the web part. */ public async onInit(): Promise<void> { this._environmentMessage = this._getEnvironmentMessage(); await super.onInit(); //Initialize our _sp object that we can then use in other packages without having to pass around the context. // Check out pnpjsConfig.ts for an example of a project setup file. getSP(this.context); }
添加项目配置文件
接下来,为 PnPjs 创建项目配置文件。 此文件允许我们设置项目所需的导入,以及初始化 sp 对象的实例,以便在任何其他组件上使用。
请注意 Web、列表、项和批处理的所有导入。 在我们的组件中,我们将进行调用以从库中获取项,因此我们需要包括这些导入以供将来参考。 此外,我们将创建一个变量,用于保存将使用工厂实例创建的 SharePoint Querable 的配置实例。 如果你记得上面的 onInit 函数,我们将使用作为属性传入的 SPFx 上下文调用导出的 getSP。 通过这样做,我们能够与 PnPjs 库建立上下文,以便后续可以调用 SharePoint API。 在没有上下文的情况下对 getSP 的后续调用将返回已配置的对象。
此示例还演示了如何向实例添加额外的 behavior,以便为所有调用启用日志记录。 这将使用默认日志记录,但我们可以展开,以包含我们自己的日志记录函数。
import { WebPartContext } from "@microsoft/sp-webpart-base";

// import pnp and pnp logging system
import { spfi, SPFI, SPFx } from "@pnp/sp";
import { LogLevel, PnPLogging } from "@pnp/logging";
import "@pnp/sp/webs";
import "@pnp/sp/lists";
import "@pnp/sp/items";
import "@pnp/sp/batching";

var _sp: SPFI = null;

export const getSP = (context?: WebPartContext): SPFI => {
  if (_sp === null && context != null) {
    //You must add the @pnp/logging package to include the PnPLogging behavior it is no longer a peer dependency
    // The LogLevel set's at what level a message will be written to the console
    _sp = spfi().using(SPFx(context)).using(PnPLogging(LogLevel.Warning));
  }
  return _sp;
};
为数据模型添加接口文件
在组件文件夹的根目录中添加名为 interfaces.ts 的新文件。 将内容替换为以下将由组件引用的定义。
// create File item to work with it internally
export interface IFile {
  Id: number;
  Title: string;
  Name: string;
  Size: number;
}

// create PnP JS response interface for File
export interface IResponseFile {
  Length: number;
}

// create PnP JS response interface for Item
export interface IResponseItem {
  Id: number;
  File: IResponseFile;
  FileLeafRef: string;
  Title: string;
}
更新默认组件
最后,我们需要进行一些清理工作,以创建基本组件。 首先将 PnPjsExample.tsx 文件的整个内容替换为以下代码。
import * as React from 'react';
import styles from './PnPjsExample.module.scss';
import { IPnPjsExampleProps } from './IPnPjsExampleProps';

// import interfaces
import { IFile, IResponseItem } from "./interfaces";

import { Caching } from "@pnp/queryable";
import { getSP } from "../pnpjsConfig";
import { SPFI, spfi } from "@pnp/sp";
import { Logger, LogLevel } from "@pnp/logging";
import { IItemUpdateResult } from "@pnp/sp/items";
import { Label, PrimaryButton } from '@microsoft/office-ui-fabric-react-bundle';

export interface IAsyncAwaitPnPJsProps {
  description: string;
}

export interface IIPnPjsExampleState {
  items: IFile[];
  errors: string[];
}

export default class PnPjsExample extends React.Component<IPnPjsExampleProps, IIPnPjsExampleState> {
  private LOG_SOURCE = "🅿PnPjsExample";
  private LIBRARY_NAME = "Documents";
  private _sp: SPFI;

  constructor(props: IPnPjsExampleProps) {
    super(props);
    // set initial state
    this.state = {
      items: [],
      errors: []
    };
    this._sp = getSP();
  }

  public componentDidMount(): void {
    // read all file sizes from Documents library
    this._readAllFilesSize();
  }

  public render(): React.ReactElement<IAsyncAwaitPnPJsProps> {
    // calculate total of file sizes
    const totalDocs: number = this.state.items.length > 0
      ? this.state.items.reduce<number>((acc: number, item: IFile) => {
        return (acc + Number(item.Size));
      }, 0)
      : 0;
    return (
      <div className={styles.pnPjsExample}>
        <Label>Welcome to PnP JS Version 3 Demo!</Label>
        <PrimaryButton onClick={this._updateTitles}>Update Item Titles</PrimaryButton>
        <Label>List of documents:</Label>
        <table width="100%">
          <tr>
            <td><strong>Title</strong></td>
            <td><strong>Name</strong></td>
            <td><strong>Size (KB)</strong></td>
          </tr>
          {this.state.items.map((item, idx) => {
            return (
              <tr key={idx}>
                <td>{item.Title}</td>
                <td>{item.Name}</td>
                <td>{(item.Size / 1024).toFixed(2)}</td>
              </tr>
            );
          })}
          <tr>
            <td></td>
            <td><strong>Total:</strong></td>
            <td><strong>{(totalDocs / 1024).toFixed(2)}</strong></td>
          </tr>
        </table>
      </div >
    );
  }

  private _readAllFilesSize = async (): Promise<void> => {
    try {
      // do PnP JS query, some notes:
      //   - .expand() method will retrive Item.File item but only Length property
      //   - .get() always returns a promise
      //   - await resolves proimises making your code act syncronous, ergo Promise<IResponseItem[]> becomes IResponse[]

      //Extending our sp object to include caching behavior, this modification will add caching to the sp object itself
      //this._sp.using(Caching({store:"session"}));

      //Creating a new sp object to include caching behavior. This way our original object is unchanged.
      const spCache = spfi(this._sp).using(Caching({store:"session"}));

      const response: IResponseItem[] = await spCache.web.lists
        .getByTitle(this.LIBRARY_NAME)
        .items
        .select("Id", "Title", "FileLeafRef", "File/Length")
        .expand("File/Length")();

      // use map to convert IResponseItem[] into our internal object IFile[]
      const items: IFile[] = response.map((item: IResponseItem) => {
        return {
          Id: item.Id,
          Title: item.Title || "Unknown",
          Size: item.File?.Length || 0,
          Name: item.FileLeafRef
        };
      });

      // Add the items to the state
      this.setState({ items });
    } catch (err) {
      Logger.write(`${this.LOG_SOURCE} (_readAllFilesSize) - ${JSON.stringify(err)} - `, LogLevel.Error);
    }
  }

  private _updateTitles = async (): Promise<void> => {
    try {
      //Will create a batch call that will update the title of each item
      //  in the library by adding `-Updated` to the end.
      const [batchedSP, execute] = this._sp.batched();

      //Clone items from the state
      const items = JSON.parse(JSON.stringify(this.state.items));

      let res: IItemUpdateResult[] = [];

      for (let i = 0; i < items.length; i++) {
        // you need to use .then syntax here as otherwise the application will stop and await the result
        batchedSP.web.lists
          .getByTitle(this.LIBRARY_NAME)
          .items
          .getById(items[i].Id)
          .update({ Title: `${items[i].Name}-Updated` })
          .then(r => res.push(r));
      }
      // Executes the batched calls
      await execute();

      // Results for all batched calls are available
      for (let i = 0; i < res.length; i++) {
        //If the result is successful update the item
        //NOTE: This code is over simplified, you need to make sure the Id's match
        const item = await res[i].item.select("Id, Title")<{ Id: number, Title: string }>();
        items[i].Name = item.Title;
      }

      //Update the state which rerenders the component
      this.setState({ items });
    } catch (err) {
      Logger.write(`${this.LOG_SOURCE} (_updateTitles) - ${JSON.stringify(err)} - `, LogLevel.Error);
    }
  }
}
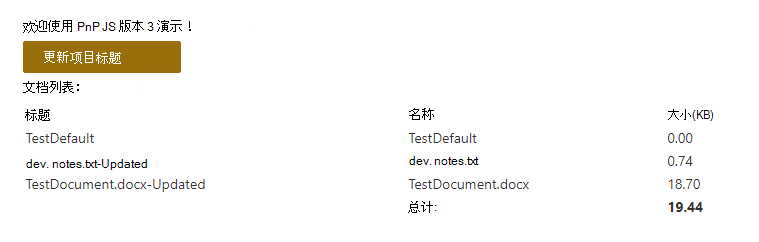
运行示例
启动示例并将 Web 部件添加到 SharePoint 托管的工作台 (/_layouts/15/workbench.aspx),以查看运行中的部件。
gulp serve --nobrowser
可以通过选择垃圾桶图标删除已有项,也可以通过在两个字段中填充值并选择“添加”来添加新项。
后续步骤
该 @pnp/sp 库包含大量功能和扩展性。 有关使用和配置该库的示例、指南及提示,请参阅开发人员指南。