Exercise - Create a bookable resource
In this exercise, you'll learn how to create a bookable resource that you can use for scheduling a Home Health work order. A bookable resource in Microsoft Cloud for Healthcare is anything that needs to be scheduled. Often, a bookable resource includes people, equipment, and physical spaces (facilities). You'll need to create a bookable resource before scheduling a Home Health work order.
Each resource can have different attributes that distinguish it from others, including:
Characteristics (such as Accounting)
Categories (such as Manager)
Territories (such as Washington State)
Organizational Unit (such as Seattle Service Delivery)
Location (such as Location Agnostic)
Resource Type (such as User)
Task: Create a bookable resource
To create a bookable resource in the Home Health application, follow these steps:
While signed into your Microsoft 365 tenant, open a new tab, and go to Microsoft Power Apps.
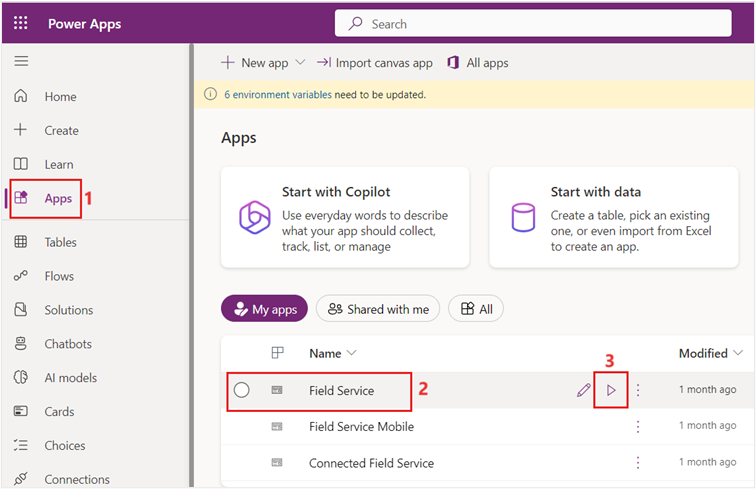
Select Apps on the left navigation pane.
Select Field Service app in the right pane. Select the play button.
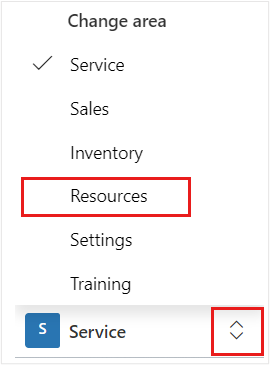
Select Resources from the lower-left Change area menu.
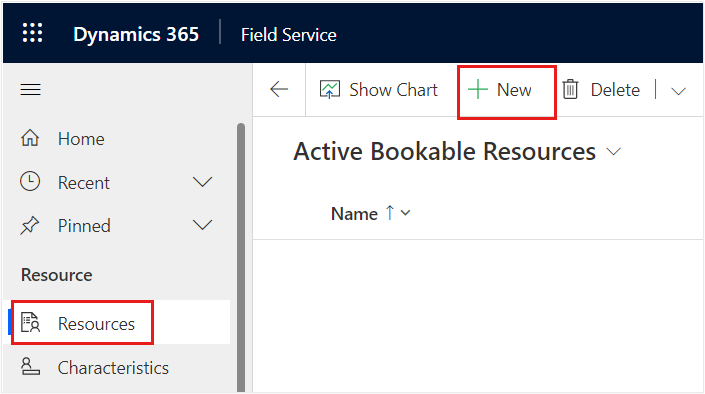
On the resources page, select + New on the command bar to create a new bookable resource.
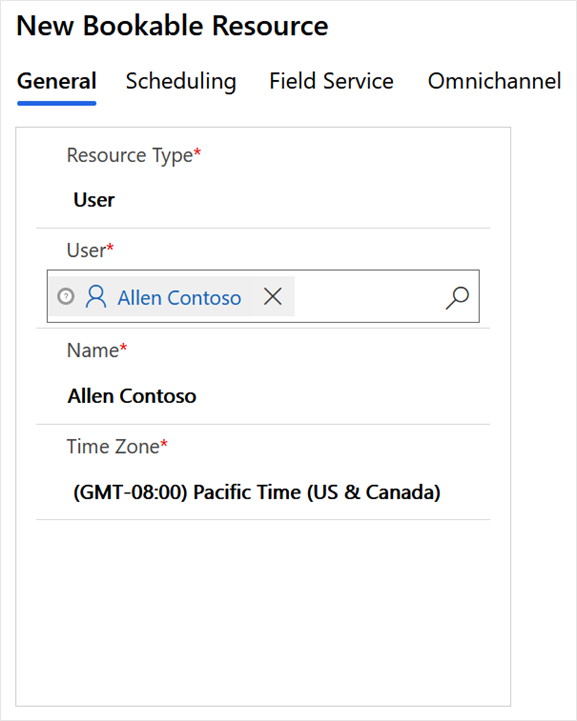
Select Resource Type as User, who is a person and a member of your organization that needs access to the Field Service Mobile app.
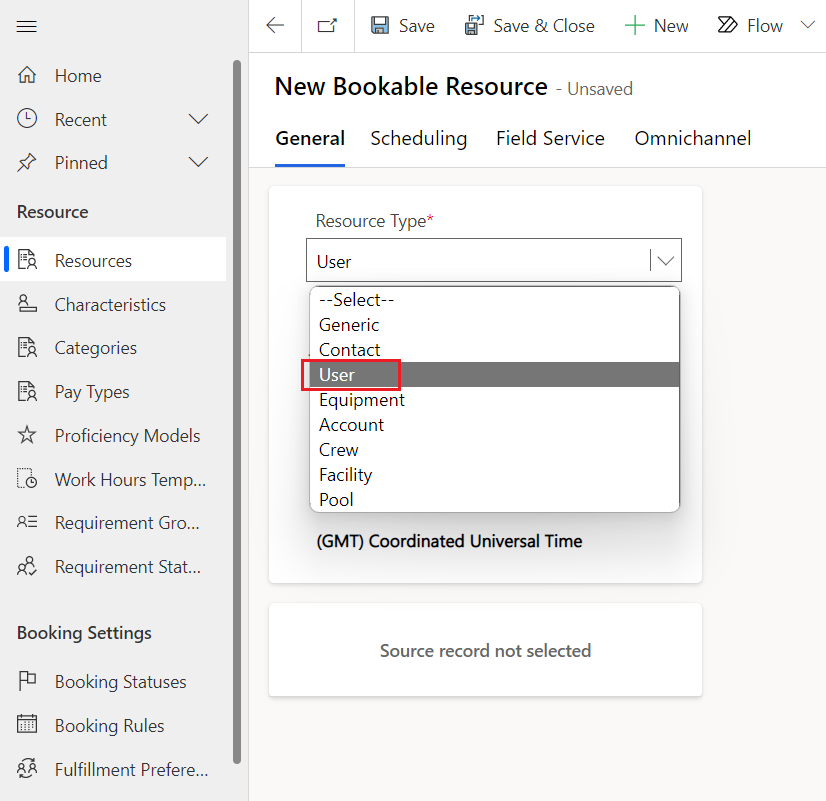
Note
Resource Type is a classification that describes the resource and how it relates to your organization.
Pick a User and then select their Time Zone.
Select Scheduling tab and then select Location Agnostic as value for Start Location and End Location fields.
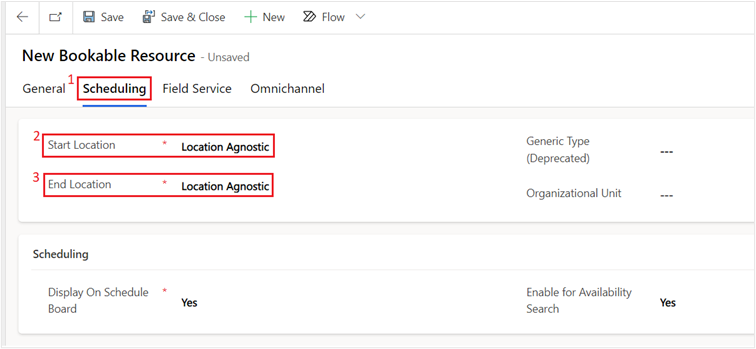
Scheduling is used to decide the location where a bookable resource starts and ends their workday. Select from the following three start or end location options available:
Location Agnostic - Select this option if the location of this resource isn't required for the business need and doesn’t need to be considered during the scheduling process. If the work location of the requirement is set to on site, location agnostic resources won't return in results.
Resource Address - Select this option if the resource starts and ends their day at a unique location. The exact location is derived from the latitude and longitude values on the related user, account, or contact records, depending on the resource type.
Organizational Unit - Select this option if the resource starts and ends the day at an organizational unit, which typically represents a company location.
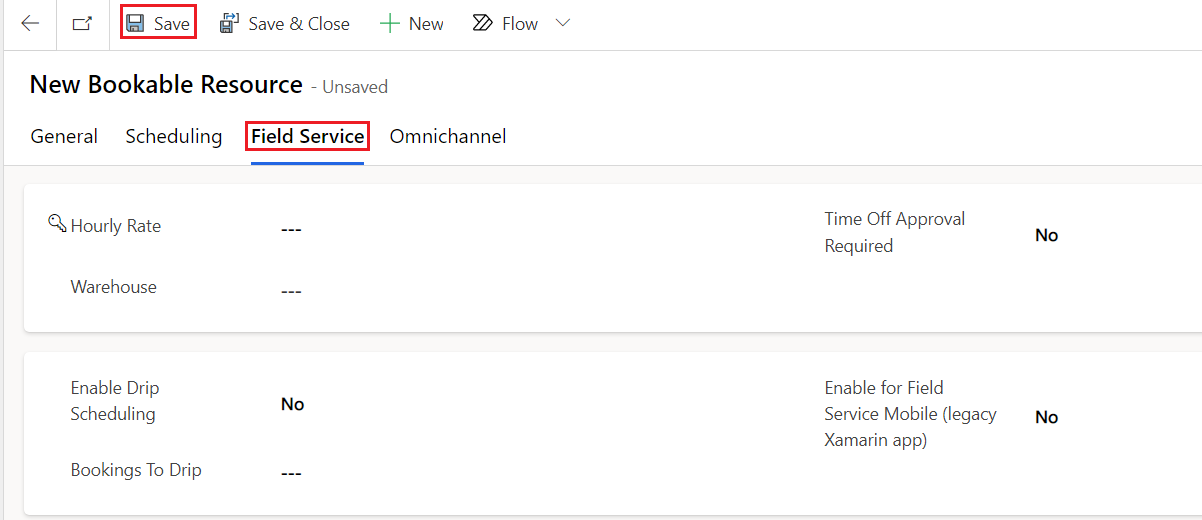
Select the Field Service tab to optionally configure other aspects of the bookable resource. Save the record.


Task: Set working hours for bookable resource
After you've saved the bookable resource, you can set the working hours of the resource. Working hours are considered by the following entities:
The schedule board, by displaying working and nonworking hours as different colors.
The schedule assistant, by only displaying resources that are working in the result.
Resource Scheduling Optimization, which automatically books requirements to resources that are working.
Select the Work Hours tab.
Select +New > Working hours.
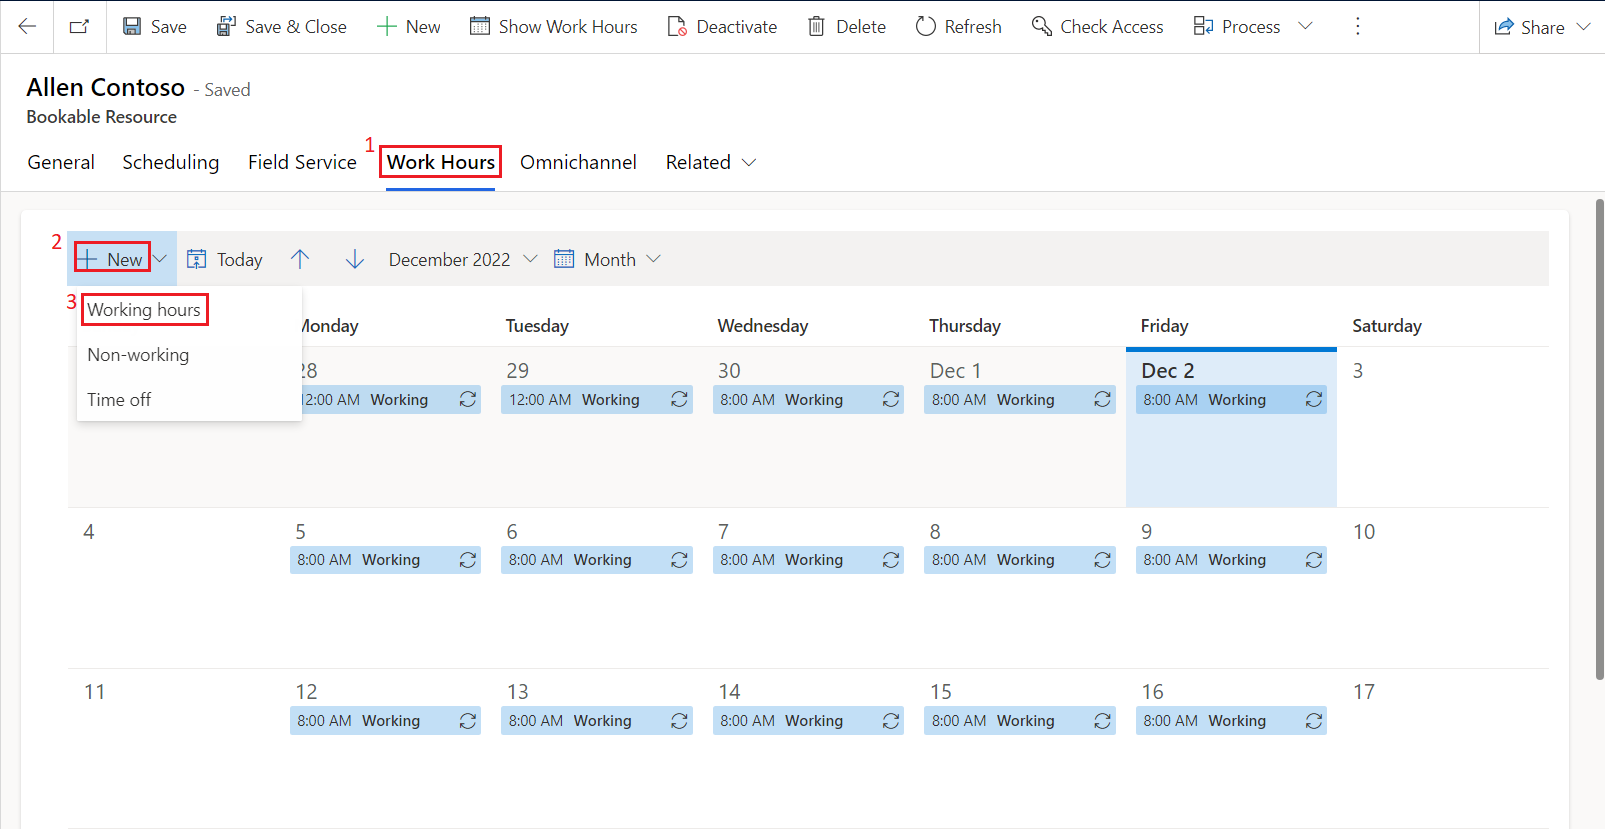
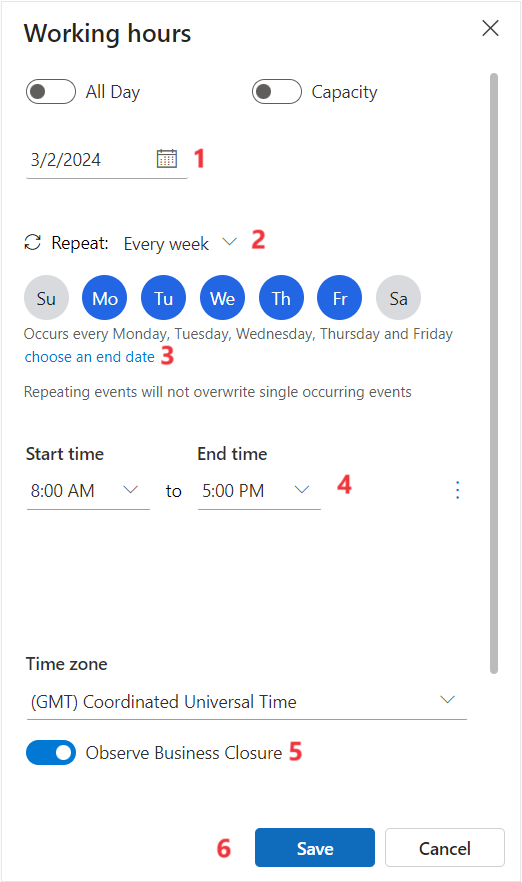
Choose the date that you want the working schedule to begin on, the beginning and end time of working hours (such as 8:00 AM to 5:00 PM), along with a Repeat option (such as Every week), and then clear the Sunday and Saturday options. Select Save. On the working hours panel, use the following values to set the working hours of a bookable resource:
Schedule start date - any future date.
Repeat - Every week
Working days - Mo, Tu, We, Th, Fr
Choose an end date - Select when this schedule ends (optional)
Time Range - Any suitable time range (Like 8:00 AM – 5:00 PM)
Time Zone - (GMT) UTC or any suitable time zone
Observe Business Closure - Toggle right (optional)


Task: Create resource characteristic
Characteristics represent a resource’s skills and certifications. These characteristics could be:
Concrete like a CPR certification.
More general, like accounting or web development experience.
Simple as security clearance for a specific building or fluency in any language such as Spanish or French.
Select the General tab and then select the ellipsis (⋮) next to Resource Characteristics to select + New Bookable Resource Characteristic option from the pop-up menu.

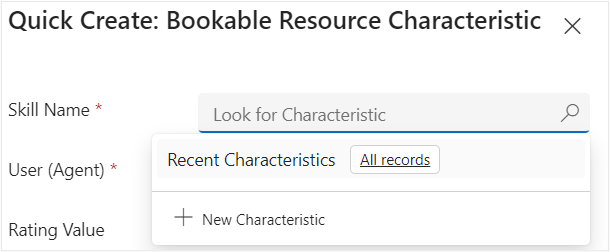
In the Skill Name field, select the magnifying glass and then select + New Characteristic.
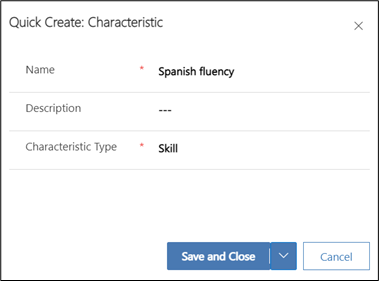
A quick create form for Characteristic will appear. You need to assign a characteristic to the bookable resource. In this case, the user can speak Spanish fluently. Type "Spanish fluency" for the Name and select Save and Close.
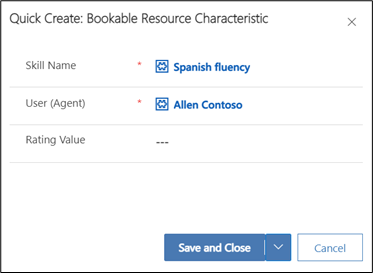
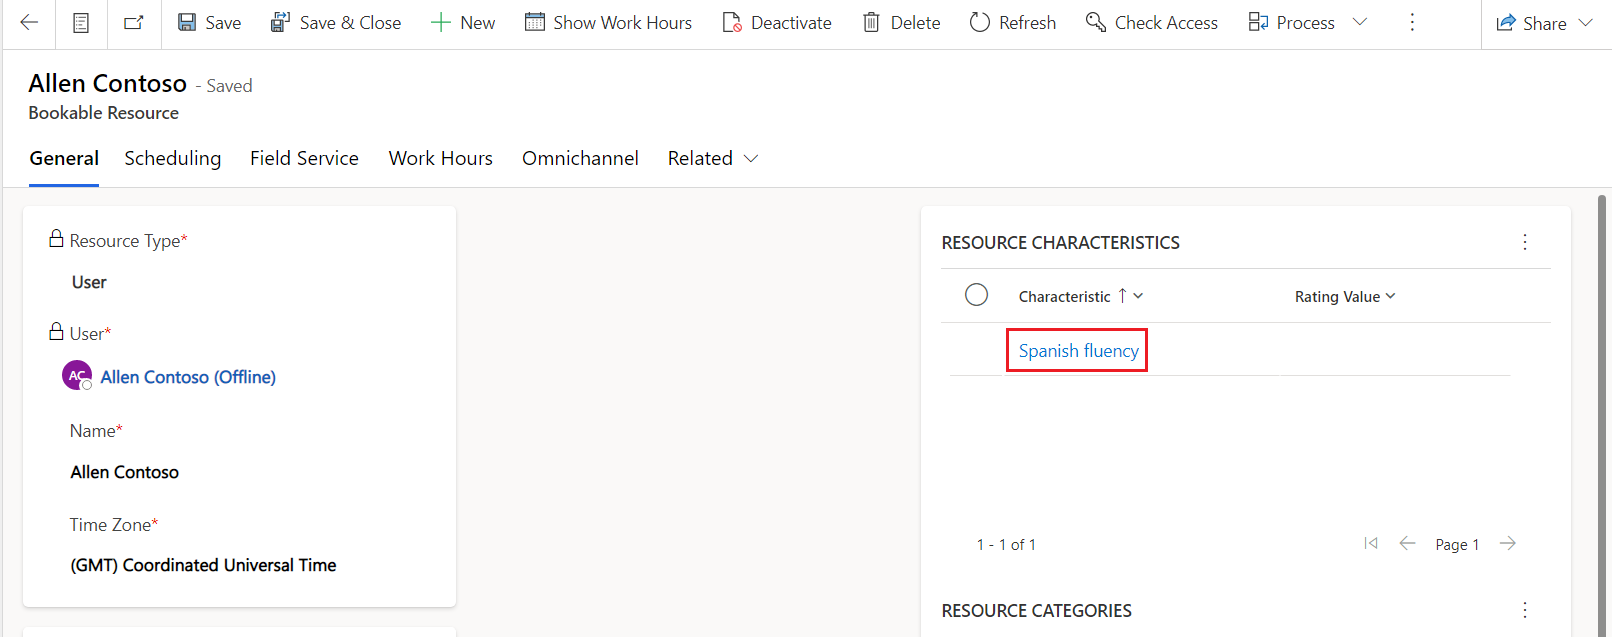
Back on the Bookable Resource Characteristics quick create form, the Skill Name should be populated with the new Spanish fluency characteristic. Select Save and Close.
Your bookable resource (user) now has the proper characteristics applied.
For more data in the system, create two more bookable resources following the same process. For each of them, select Contact as the Resource Type and select any Contact in the system. Select Location Agnostic as before and select Save. Set up the Work Hours the same as the previous bookable resource. Add characteristics as you see fit and select Save & Close.


You've created a bookable resource. In the next exercise, you'll use this bookable resource to help configure the schedule board.