练习 - 使用 Blazor 组件创建用户界面
在本练习中,你将开始为披萨派送公司创建一个新的 Blazing Pizza 应用。 该公司提供其旧网站的当前 CSS、图像和 HTML 供您使用。
Note
本模块使用 .NET CLI 和 Visual Studio Code 进行本地开发。 完成本模块后,你可以使用 Visual Studio (Windows) 或 Visual Studio for Mac (macOS) 来应用此概念。 可以使用适用于 Windows、Linux 和 macOS 的 Visual Studio Code 继续开发。
本模块使用 .NET 9.0 SDK。 通过在首选命令终端中运行以下命令,确保你已安装 .NET 9.0:
dotnet --list-sdks
将显示类似于以下示例的输出:
8.0.100 [C:\Program Files\dotnet\sdk]
9.0.100 [C:\Program Files\dotnet\sdk]
确保列出了以 9 开头的版本。 如果未列出或找不到命令, 请安装最新的 .NET 9.0 SDK。
如果要创建第一个 Blazor 应用,请按照 Blazor 的设置说明 安装正确的 .NET 版本并检查计算机是否已正确设置。 停在“创建应用”步骤。
创建新的 Blazor 应用
借助 .NET,可以使用任何版本的 Visual Studio 或终端命令创建新项目。 以下练习将演示使用终端和 Visual Studio Code 的步骤。
打开 Visual Studio Code。
在 Visual Studio Code 中选择“视图”以打开集成终端。 然后在主菜单上选择“终端”。
在终端中,转到要创建项目的位置。
运行 dotnet 终端命令:
dotnet new blazor -o BlazingPizza此命令在名为 BlazingPizza 的文件夹中创建一个新的 Blazor 服务器项目。
选择“文件”“打开文件夹”>。
在“打开”对话框中,转到 BlazingPizza 文件夹,然后选择“选择文件夹”。
这些文件使你能够使用 Visual Studio Code 的调试工具运行和调试 Blazor 应用。
测试设置
你可以选择使用终端或 Visual Studio Code 来运行应用。
在终端窗口中,通过以下命令启动 Blazor 应用:
dotnet watch此命令会生成并启动应用。 watch 命令告知 dotnet 监视所有项目文件。 对项目文件所做的任何更改都会自动触发重新生成,然后重启应用。
计算机的默认浏览器应在
http://localhost:5000打开一个新页面。若要停止应用,请在终端窗口中选择 Ctrl + C。
还可以通过 Visual Studio Code 运行和调试项目。
在 Visual Studio Code 中,选择 F5。 在“运行”菜单上,可以选择“开始调试”。
应用程序应生成并打开一个新的浏览器页面。
Visual Studio Code 还将切换到“运行和调试”窗口,使你能够重启或停止应用。
显示 Visual Studio Code 中的调试窗口的屏幕截图。
若要停止应用,请选择 Shift + F5。
下载 Blazing Pizza 资产和初学者文件
从 GitHub 存储库克隆现有团队的 Blazor 应用项目文件。
使用文件资源管理器或在 Visual Studio Code 中删除 BlazingPizza 文件夹。
在终端中,将当前工作文件克隆到新的 BlazingPizza 文件夹中。
git clone https://github.com/MicrosoftDocs/mslearn-interact-with-data-blazor-web-apps.git BlazingPizza运行应用的当前版本。 选择 F5。
 显示 Blazing Pizza 应用启动版的屏幕截图。
做一些披萨
使用 Pages/Index.razor 组件,客户可以选择和配置他们想要订购的披萨。 该组件响应应用的根 URL。
团队还创建了类来表示应用中的模型。 查看当前的 PizzaSpecial 模型。
在 Visual Studio Code 的文件资源管理器中,展开 “模型” 文件夹。 然后选择“PizzaSpecial”。
namespace BlazingPizza;

/// <summary>
/// Represents a pre-configured template for a pizza a user can order
/// </summary>
public class PizzaSpecial
{
    public int Id { get; set; }

    public string Name { get; set; }

    public decimal BasePrice { get; set; }

    public string Description { get; set; }

    public string ImageUrl { get; set; }

    public string GetFormattedBasePrice() => BasePrice.ToString("0.00");
}
请注意,披萨订单包含
Name、BasePrice、Description和ImageUrl。在文件资源管理器中,展开“页面”,然后选择“Index.razor”。
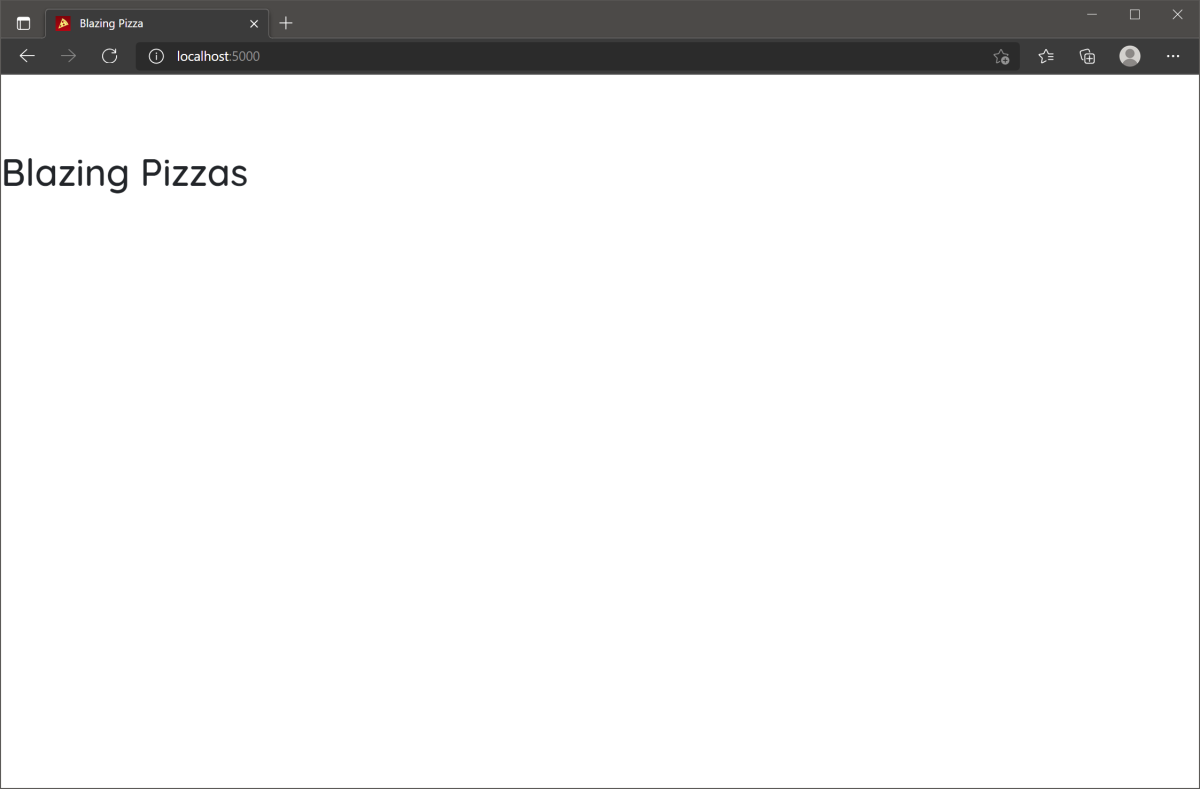
@page "/"

<h1>Blazing Pizzas</h1>
目前,标题只有一个 H1 标记。 你将添加代码来创建披萨特惠。
在
<h1>标签下,添加此 C# 代码:@code { List<PizzaSpecial> specials = new(); protected override void OnInitialized() { specials.AddRange(new List<PizzaSpecial> { new PizzaSpecial { Name = "The Baconatorizor", BasePrice = 11.99M, Description = "It has EVERY kind of bacon", ImageUrl="img/pizzas/bacon.jpg"}, new PizzaSpecial { Name = "Buffalo chicken", BasePrice = 12.75M, Description = "Spicy chicken, hot sauce, and blue cheese, guaranteed to warm you up", ImageUrl="img/pizzas/meaty.jpg"}, new PizzaSpecial { Name = "Veggie Delight", BasePrice = 11.5M, Description = "It's like salad, but on a pizza", ImageUrl="img/pizzas/salad.jpg"}, new PizzaSpecial { Name = "Margherita", BasePrice = 9.99M, Description = "Traditional Italian pizza with tomatoes and basil", ImageUrl="img/pizzas/margherita.jpg"}, new PizzaSpecial { Name = "Basic Cheese Pizza", BasePrice = 11.99M, Description = "It's cheesy and delicious. Why wouldn't you want one?", ImageUrl="img/pizzas/cheese.jpg"}, new PizzaSpecial { Name = "Classic pepperoni", BasePrice = 10.5M, Description = "It's the pizza you grew up with, but Blazing hot!", ImageUrl="img/pizzas/pepperoni.jpg" } }); } }@code块创建一个数组来存储披萨特价信息。 初始化页面时,它会将六个披萨添加到该数组。选择 F5 或“运行”。 然后选择“开始调试”。
当应用编译并运行时,将看不到任何内容。 客户端 HTML 中的任何内容都未使用此代码。 让我们来解决这个问题。
按 Shift + F5,或选择“停止调试”。
在 Index.razor 中,将
<h1>Blazing Pizzas</h1>替换为以下代码:<div class="main"> <h1>Blazing Pizzas</h1> <ul class="pizza-cards"> @if (specials != null) { @foreach (var special in specials) { <li style="background-image: url('@special.ImageUrl')"> <div class="pizza-info"> <span class="title">@special.Name</span> @special.Description <span class="price">@special.GetFormattedBasePrice()</span> </div> </li> } } </ul> </div>此代码将普通 HTML 与循环和成员访问指令结合在一起。
@foreach循环为<li>数组中的每个披萨创建了一个specials标记。在循环内,每个特价披萨都显示了其名称、说明、价格以及带有成员指令的图像。
选择 F5 或“运行”。 然后选择“开始调试”。
 显示一系列炽热披萨的屏幕截图。
现在,你有了一个让客户能够订购披萨的披萨基础组件。 在接下来的练习中,您将改进此组件。