Exercise - Set up a company profile and reference data
In this exercise, you'll learn the steps that Alex and Reed will take to set up the Wide World Importers company profile, organizational data, reporting years, and reference data. For more information, see Set up a company profile.
Use an In-Private or Incognito window and go to Microsoft Power Apps.
Select the correct environment from the Environment dropdown menu in the upper-right corner.

Open the Sustainability Manager application under Apps from the left navigation pane.


You'll be directed to the Home page for Microsoft Sustainability Manager.

Note
You can dismiss the product tour by scrolling down and selecting the Dismiss tours button.

Task: Set up the company profile, hierarchy, and facilities
In this task, Alex will set up the company profile, hierarchy, and facilities for Wide World Importers in Microsoft Sustainability Manager.
In the left navigation pane, select Settings > Company profile.

The Company profile page includes basic information about the organization, such as name, address, company logo, the annual reporting period, and relevant industries. Additionally, the top of the page includes tabs for setting up the organization structure and facilities.

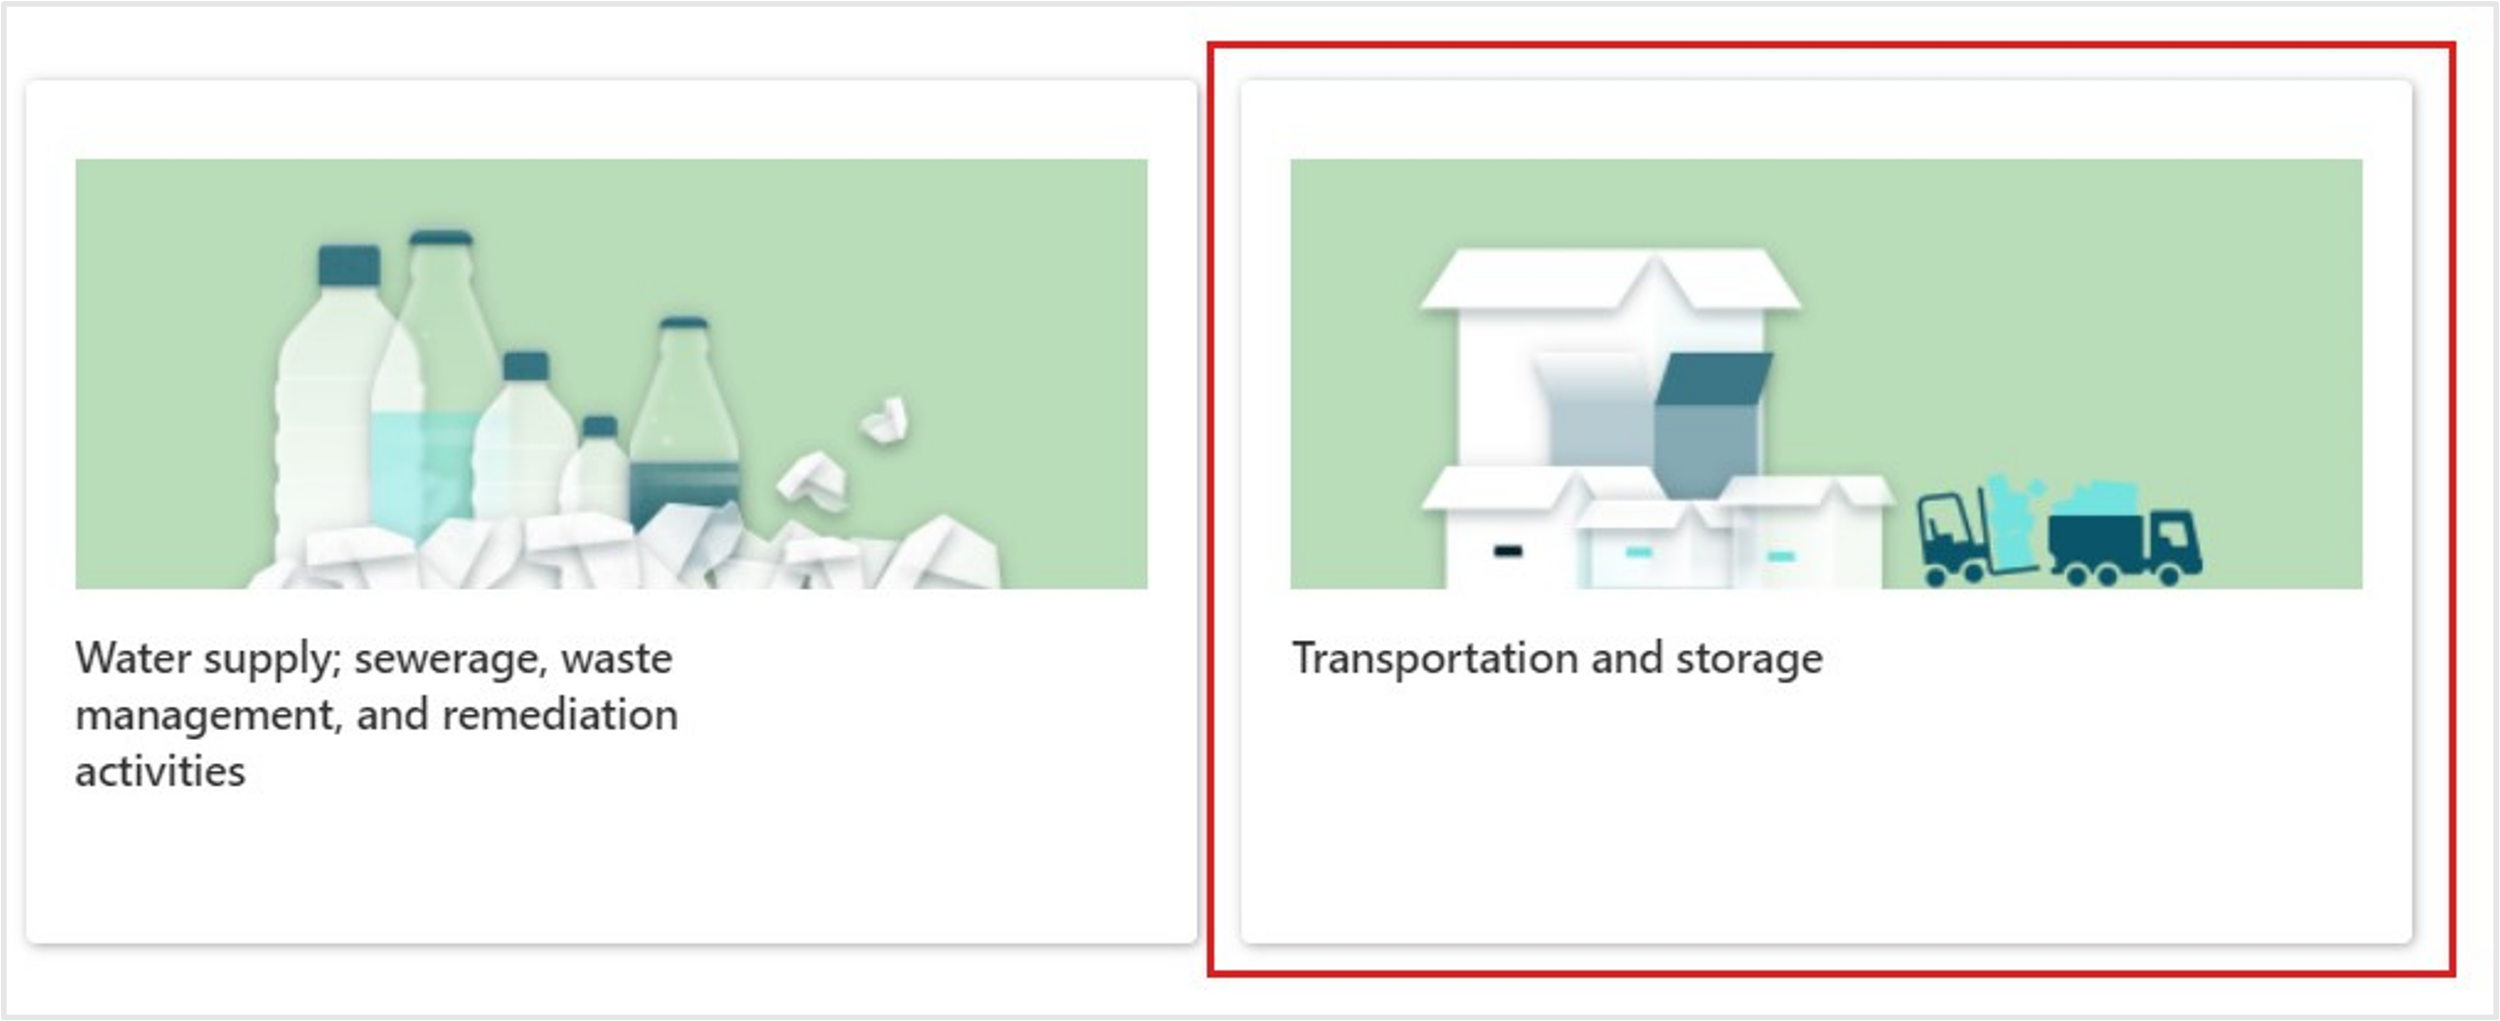
On the Company profile page, select on the Industries tab. Microsoft Sustainability Manager includes a selection of predefined industries and subverticals based on Nomenclature of Economic Activities (NACE) standards. Select + Add.


Select Transportation and storage.
On the next screen, select Land transport and transport via pipelines and then select Add.

View Land transport and transport via pipelines in the Industries tab of the Company profile page.

On the Company profile page, select the Structure tab.
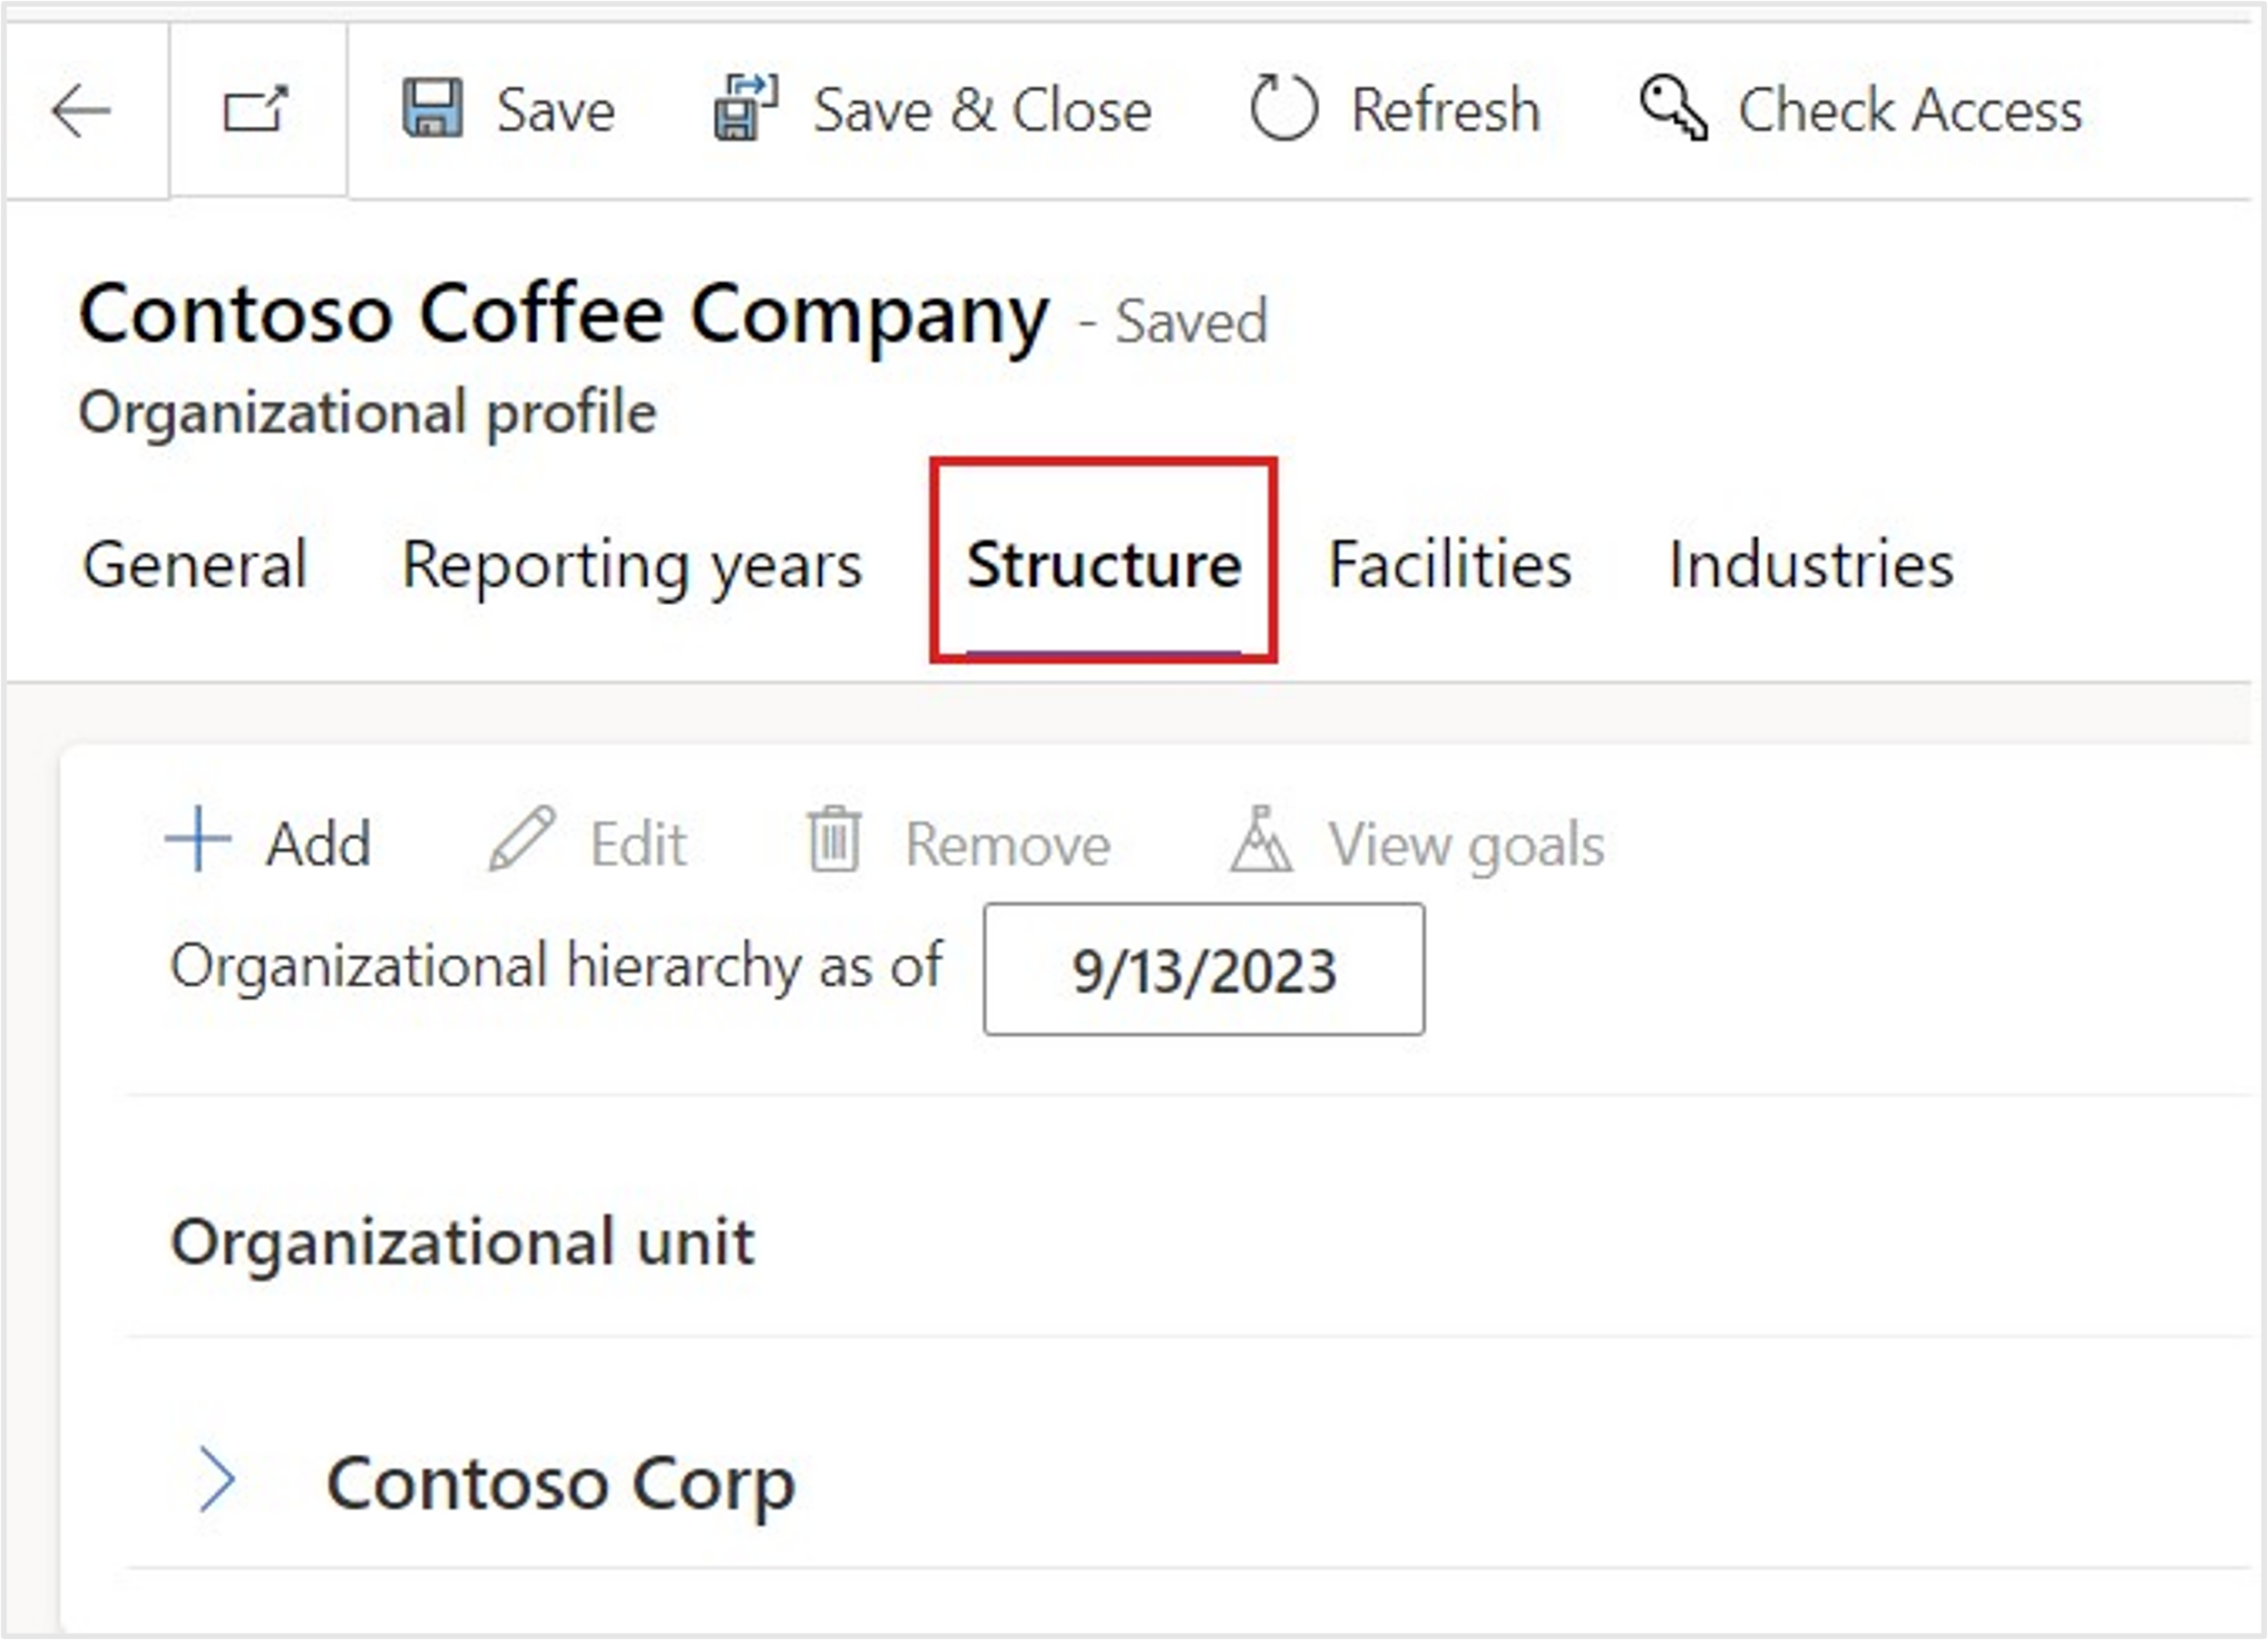
Select Contoso USA and then select + Add to add a new organizational unit under it.

Enter the following data for the organizational unit and then select Save.
Name - Wide World Importers
Organizational unit type - Department

In the Organizational hierarchies section, select + New Organizational hierarchy.
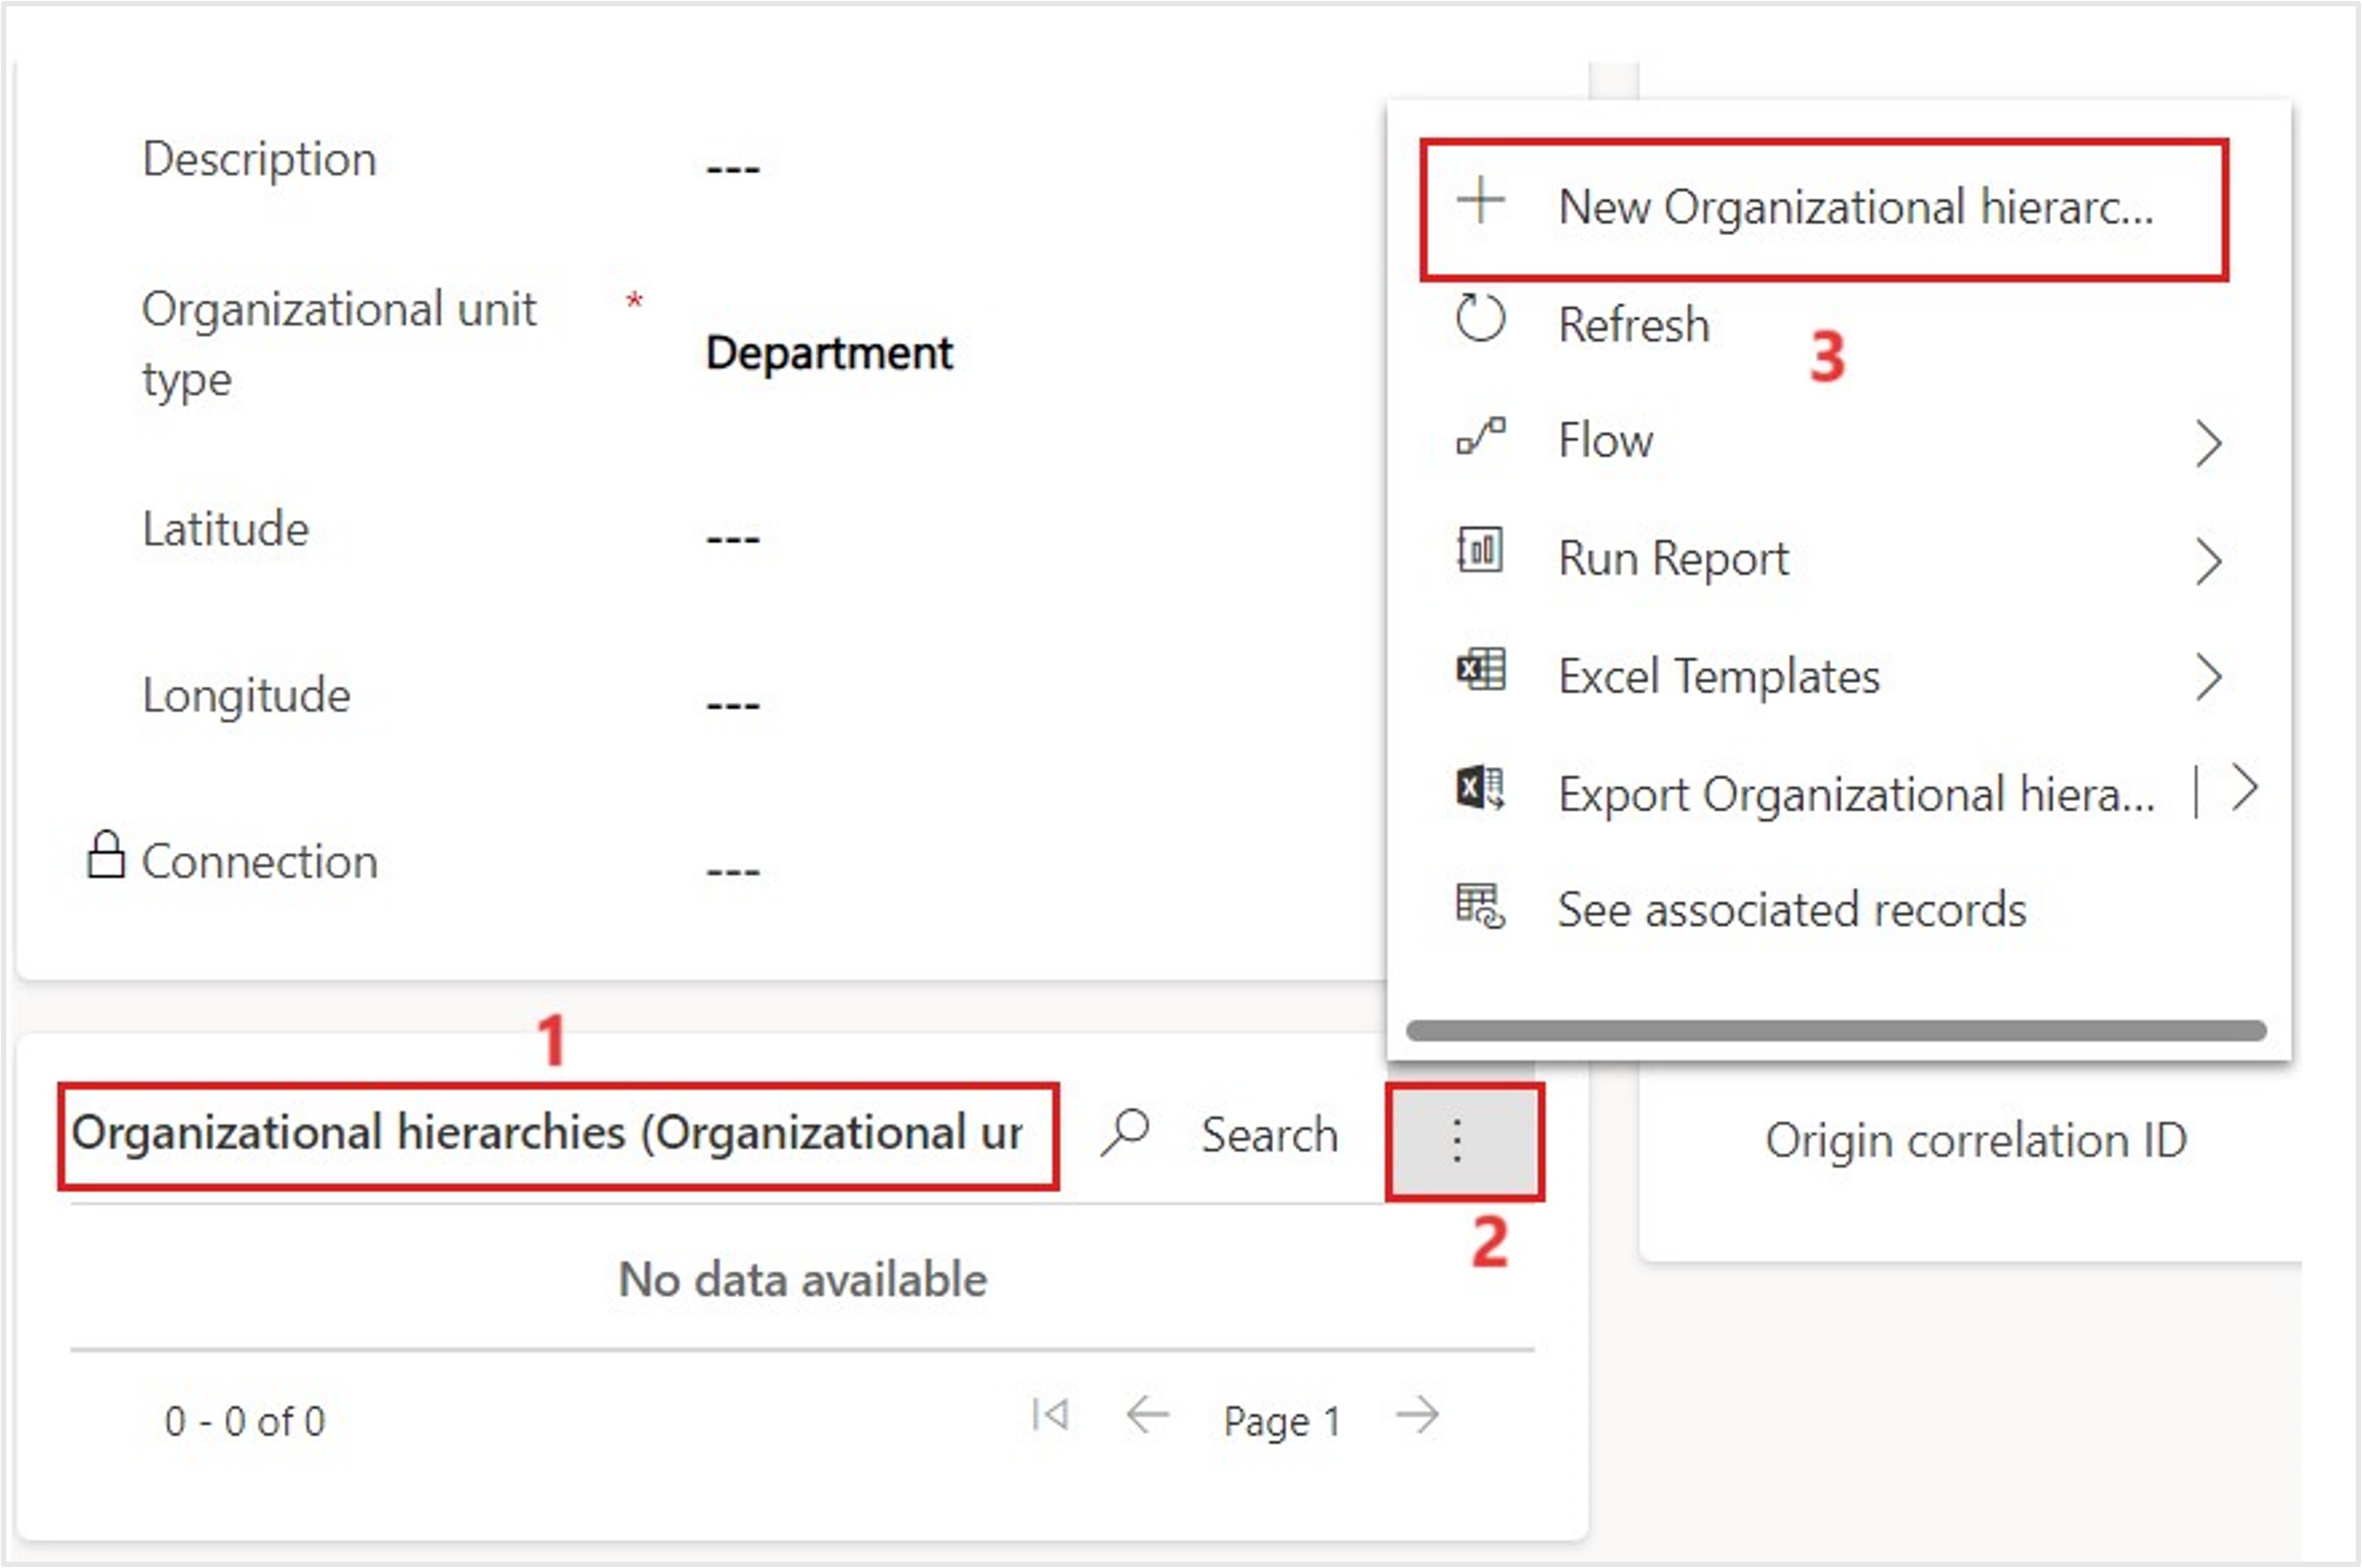
Set the following values and then select Save & Close.
Parent - Contoso USA
Effective start date - The first day of the current month, for example 8/1/2022

After you're returned to the Organizational unit, select Save & Close to return to the Company profile.

Go to Company profile > Facilities tab and then select Add facility.

Create a new facility with the following details. After you've entered the values, select Save & Close.
Note
Pay close attention to the data that's used in this exercise. The subsequent exercises will reference this data, and it will need to be an exact match to the data in this exercise.
Name - Wide World Importers - Miami Office
Address line 1 - Brickell Avenue
City - Miami
State/Province - Florida
Zip/Postal Code - 33132
Country/Region - United States of America
Latitude - 25.774320
Longitude - -80.187720
Note
Latitude and Longitude aren't required but are used to display a pin on the Facilities map. You can add those values automatically by selecting an address from the autocomplete options in Address line 1, or you can enter the values manually.

Using the same steps, add another new facility. After you've entered the values, select Save & Close.
Note
Pay close attention to the data that's used in this exercise. The subsequent exercises will reference this data, and it will need to be an exact match to the data in this exercise.
Name - Wide World Importers - Tampa Office
Address line 1 - Lois Avenue
City - Tampa
State/Province - Florida
Zip/Postal Code - 33609
Country/Region - United states of America
Latitude - 27.944830
Longitude - -82.514050
Note
Latitude and Longitude aren't required but are used to display a pin on the Facilities map. You can add the values automatically by selecting an address from the autocomplete options in Address line 1, or you can enter the values manually.


Now, you've completed the organizational setup.
Organizational structure and facility management are linked to activity and emission data to group emissions by organization, facility, and regions. This setup is an important part of carbon emission reporting and organization disclosures.
Task: Set up reference data
In this task, Reed will set up the reference data for contractual instrument types in Microsoft Sustainability Manager. Contractual instrument types are different types of contractual agreements that a firm has with their providers and suppliers.
In the left navigation pane, select Data > Reference data.
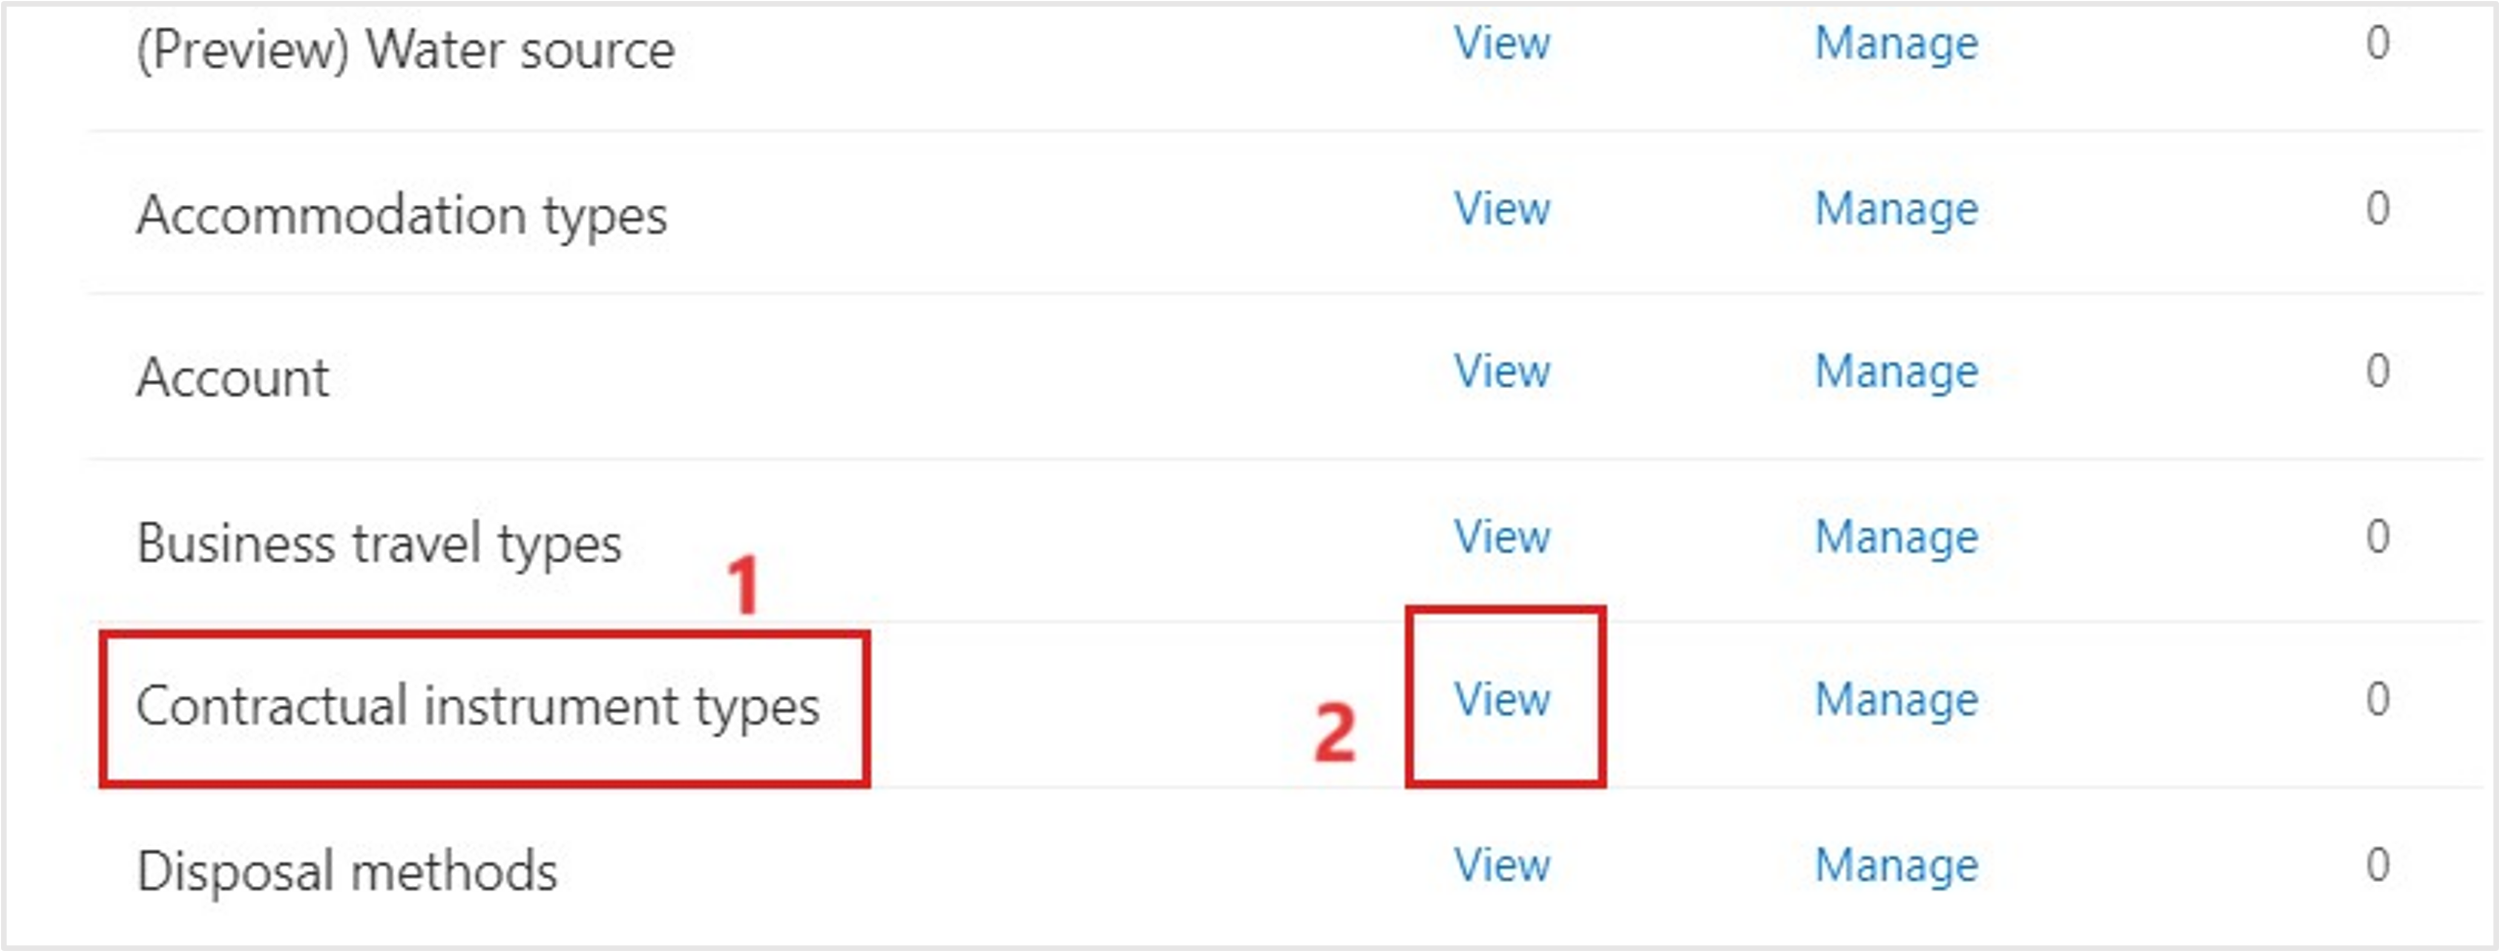
Select Contractual instrument types and then select View.
Under Active contractual instrument types, select + New to create new contractual types.

Create a new contractual instrument with the following details and then select Save & Close.
Name - VanArsdel Ltd
Energy source - Nuclear
Note
Pay close attention to the data that's used in this exercise. The subsequent exercises will reference this data, and it will need to be an exact match to the data in this exercise.

In the same way, create a new contractual instrument with the following details and then select Save & Close.
Name - Adatum Corp
Energy source - Other
Note
Pay close attention to the data that's used in this exercise. The subsequent exercises will reference this data, and it will need to be an exact match to the data in this exercise.


By completing these steps, you've added contractual instrument types.
Many types of reference data are available. You can explore the other reference data types, which will be used throughout Microsoft Cloud for Sustainability and Microsoft Sustainability Manager.
Task: Set up unit conversion factor
In this task, Reed will set up a unit conversion factor in Microsoft Sustainability Manager. While Alex is reviewing the inventory management plan, Alex identifies a missing unit of distance that's needed to calculate emissions for the fleet of electric vehicles. Alex asks Reed to add a new unit to the Length/Distance unit group.
You can use unit groups to group units together and define a base unit that you can use to convert unit types. For example, the Length/Distance unit group contains units for length and distance, with a base unit of meter (m). The units within the Length/Distance unit group have conversions between the unit type and meter, such as miles convert to 1,609.344 meters. For more information, see Set up unit groups.
Select Settings > Application.
Select Unit groups.
Under Active unit groups, select Length/distance and then open it.

Scroll down and select + New Unit to create a new unit.

Enter the following details for the new unit and then select Save & Close.
Name - 100 mile
Conversion factor - 160934.40
Note
The EPA calculates electric vehicle efficiency by the number of kilowatt hours (kWh) that are used every 100 miles. For consistency, it's best practice to use the same calculation.


By completing these steps, you've finished the organizational and reference data setup.
Organization and reference data is the foundation for Microsoft Cloud for Sustainability and Microsoft Sustainability Manager. This data is used throughout the tools, so make sure that your organization and reference data is set up correctly.
Task: Create a reporting year
Alex and Reed will set up the reporting years in Microsoft Sustainability Manager. Alex will name the reporting year, set up the start date and use a template to create more than one period.
Note
The Reporting years you set up will override the configuration in General settings.
Alex proceeds to create a reporting year in Sustainability Manager. For detailed information, see Configure reporting years.
In the left navigation pane, select the Settings > Company profile.
Select the Reporting years tab.

Select Create reporting year.

Enter the following details. After you've entered the values, select Save.
Name - Enter Fiscal - 2022.
This name appears on the Insights page in Microsoft Sustainability Manager.
Start date: 01/01/2022.
Year template - Annual.
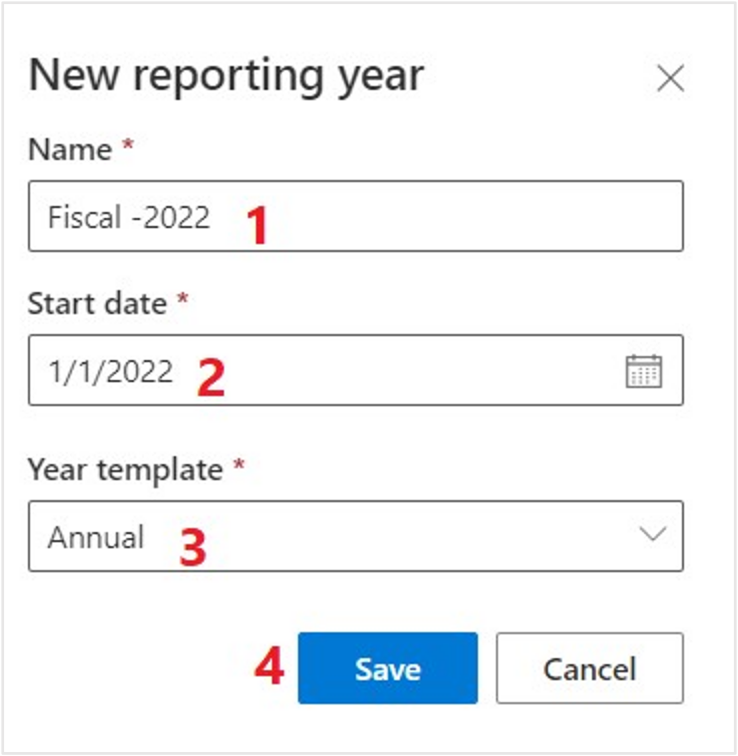
Select Close. The reporting year will generate with the first period starting on the Start date and the last period ending one year from the Start date.


