Create a Microsoft 365 tenant
To deploy Microsoft Cloud for Healthcare solutions in a Microsoft Dataverse environment, you need to have a tenant and the prerequisite licenses.
In this exercise, you learn how to create a Microsoft 365 trial tenant. You can skip this exercise if you already created a trial tenant and added the trial licenses.
Task: Create a Microsoft 365 tenant
In this task, you learn how to create a Microsoft 365 trial tenant and obtain a Microsoft Office 365 E5 trial license. You can skip this task if you already have a tenant.
Open a web browser in In-Private or Incognito mode.
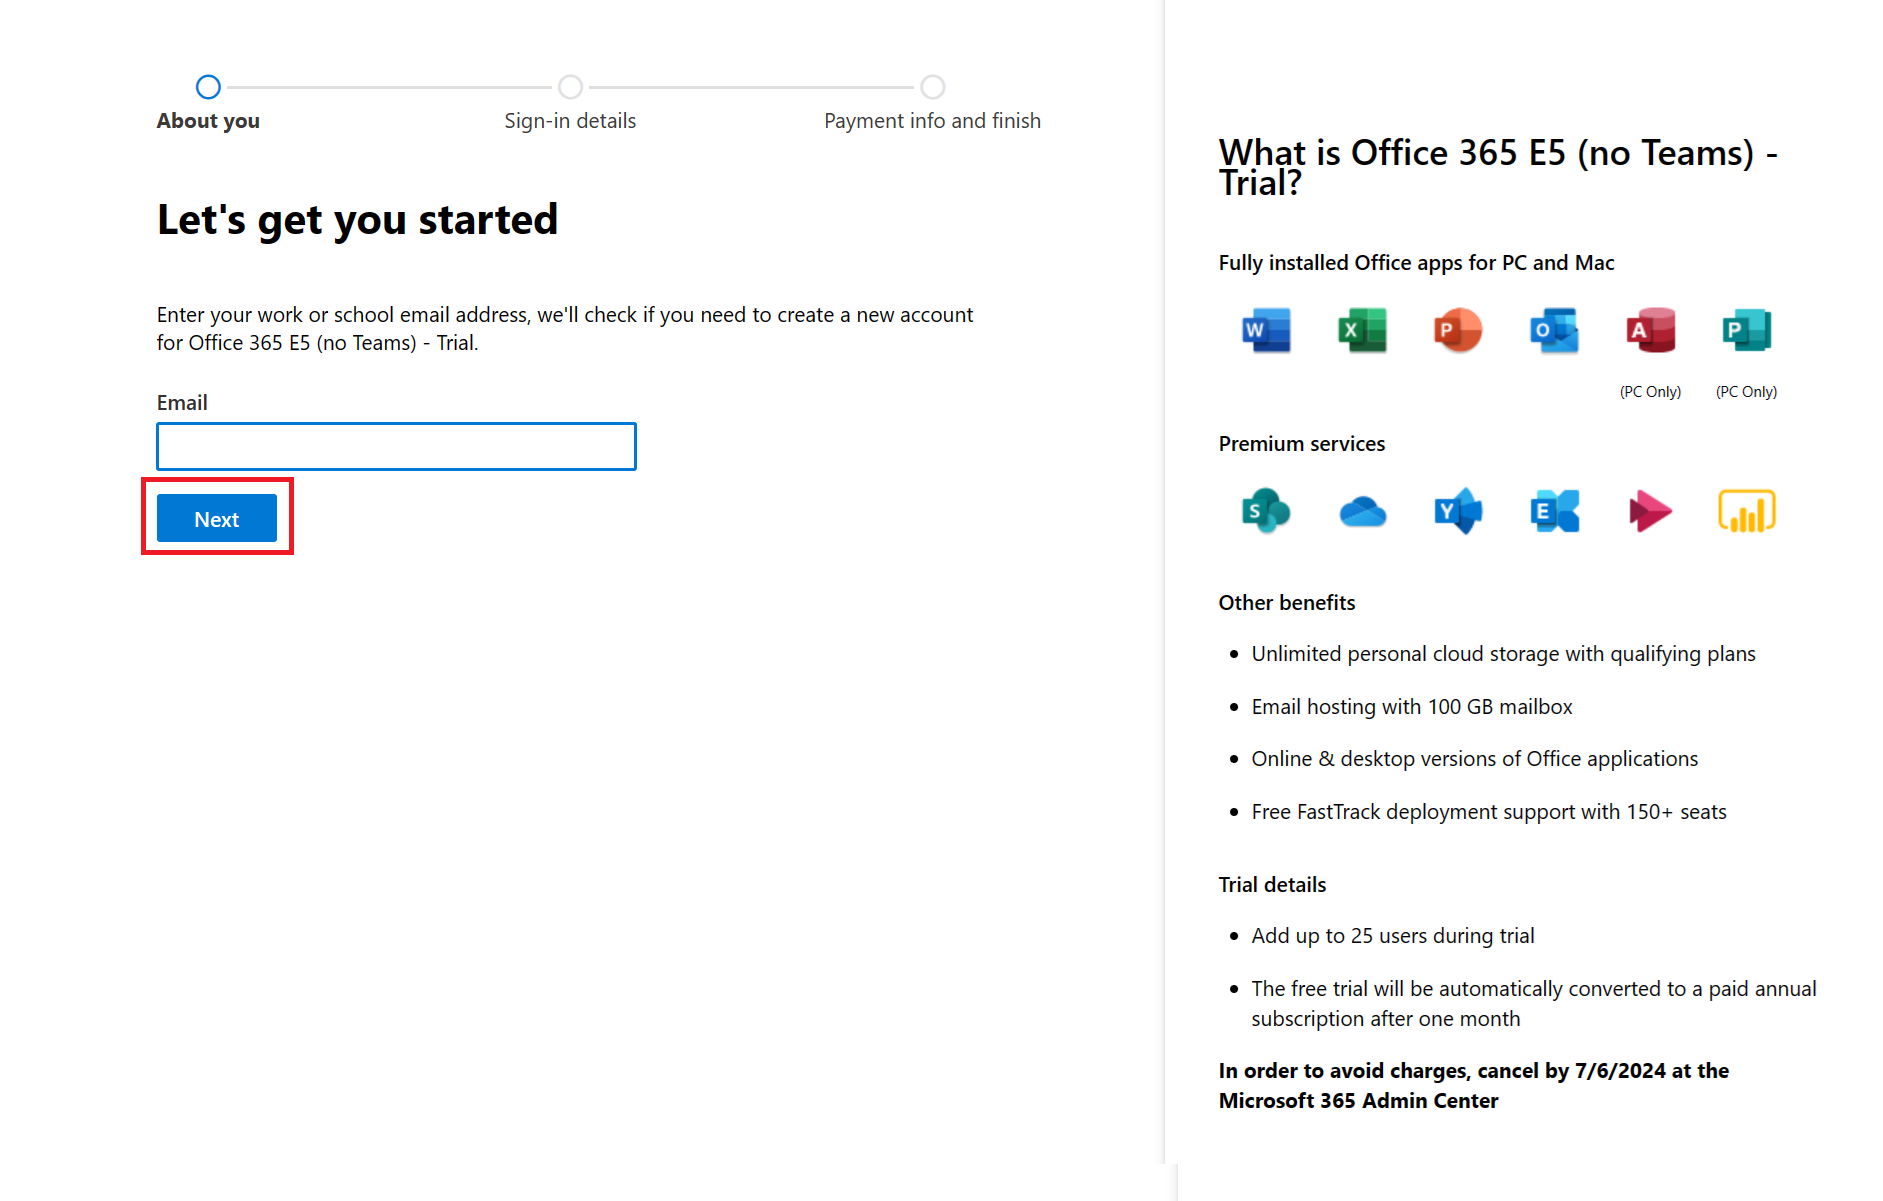
Go to Office 365 E5 Trial page and select Try for free under Office 365 E5 (no Teams).
Enter a valid email ID and select Next.
On the next page, select Set up account.
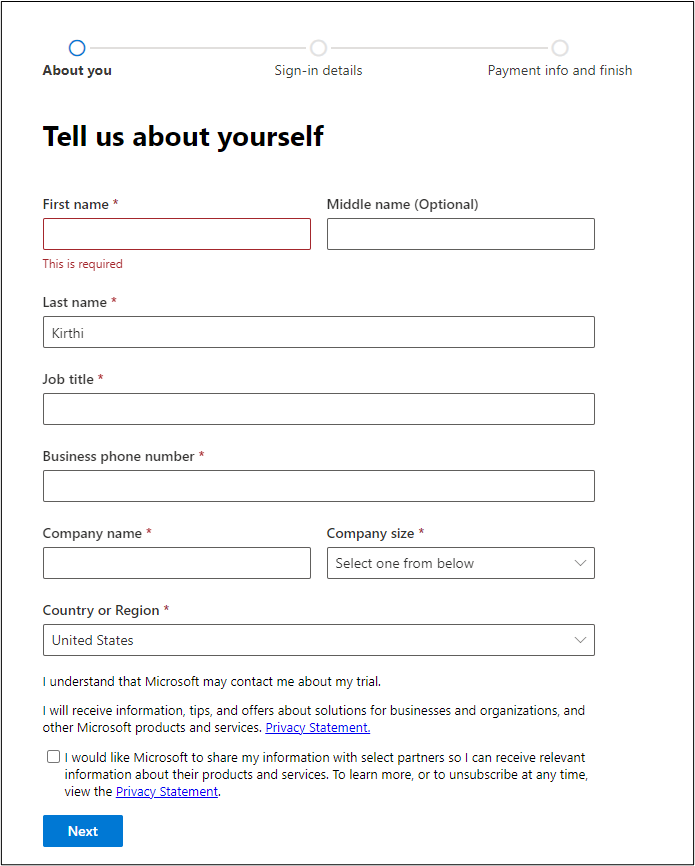
On the About you page, enter the required details and select Next.
On the About you page, enter a valid phone number and then select Send verification code. You can select the Text me or Call me option to receive the verification code.
After you receive the verification code, enter it in the Enter your verification code box, and then select Verify.
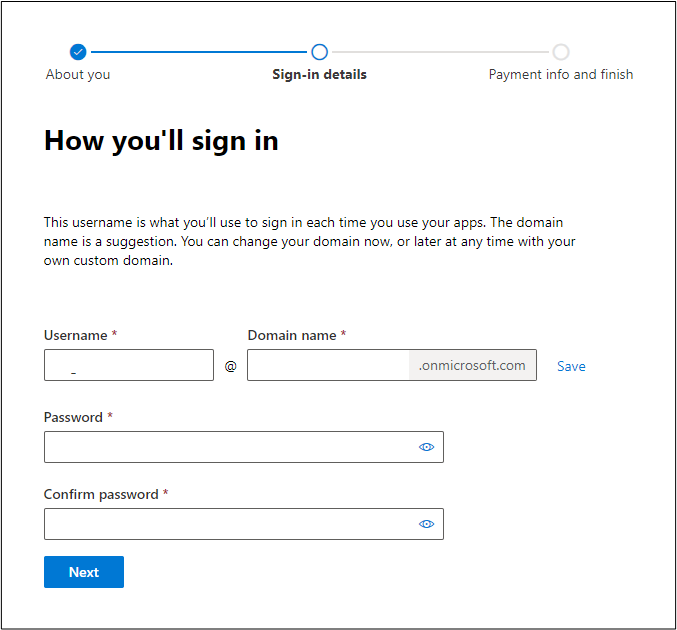
After receiving successful verification, you'll be taken to the Sign-in details page. Enter your desired username, password, and domain name, and then select Next to create a Microsoft 365 trial tenant.
Enter your payment information and activate the trial.
On successful creation of a trial tenant, the Confirmation details page appears as in the following screenshot.
Note
While adding the payment method, you will be charged for $1 which is reversible, to authenticate your credit card. You will also be asked for MFA configuration. You can configure MFA within 14 days of creating the tenant. If you do not configure it, you may not be able to access the tenant after 14 days.
Note
You can cancel your free trial at any time to stop future charges. Follow these steps to turn off recurring billing. If you don't turn off recurring billing, after your one-month free trial ends, you're charged the applicable subscription fee. If your trial subscription doesn't have a payment method associated with it, you can just let it expire at the end of the trial period, and you won't be charged. You can extend the trial for a certain period mentioned on your product page, if you need more time. If the trial is no more needed, you can cancel the subscription.
After you set up the trial, open a new tab and sign in to Microsoft 365 admin center.
On the left navigation pane, select Billing > Licenses > Manage subscriptions.
Select Edit recurring billing. Select the Off option.


Task: Update billing account details
In this task, you update the billing account details for the trial tenant that you created in the previous task.
Important
Make sure that you update the billing account details so that you can obtain additional trial licenses.
In your existing browser session, open a new tab and go to Microsoft 365 admin center.
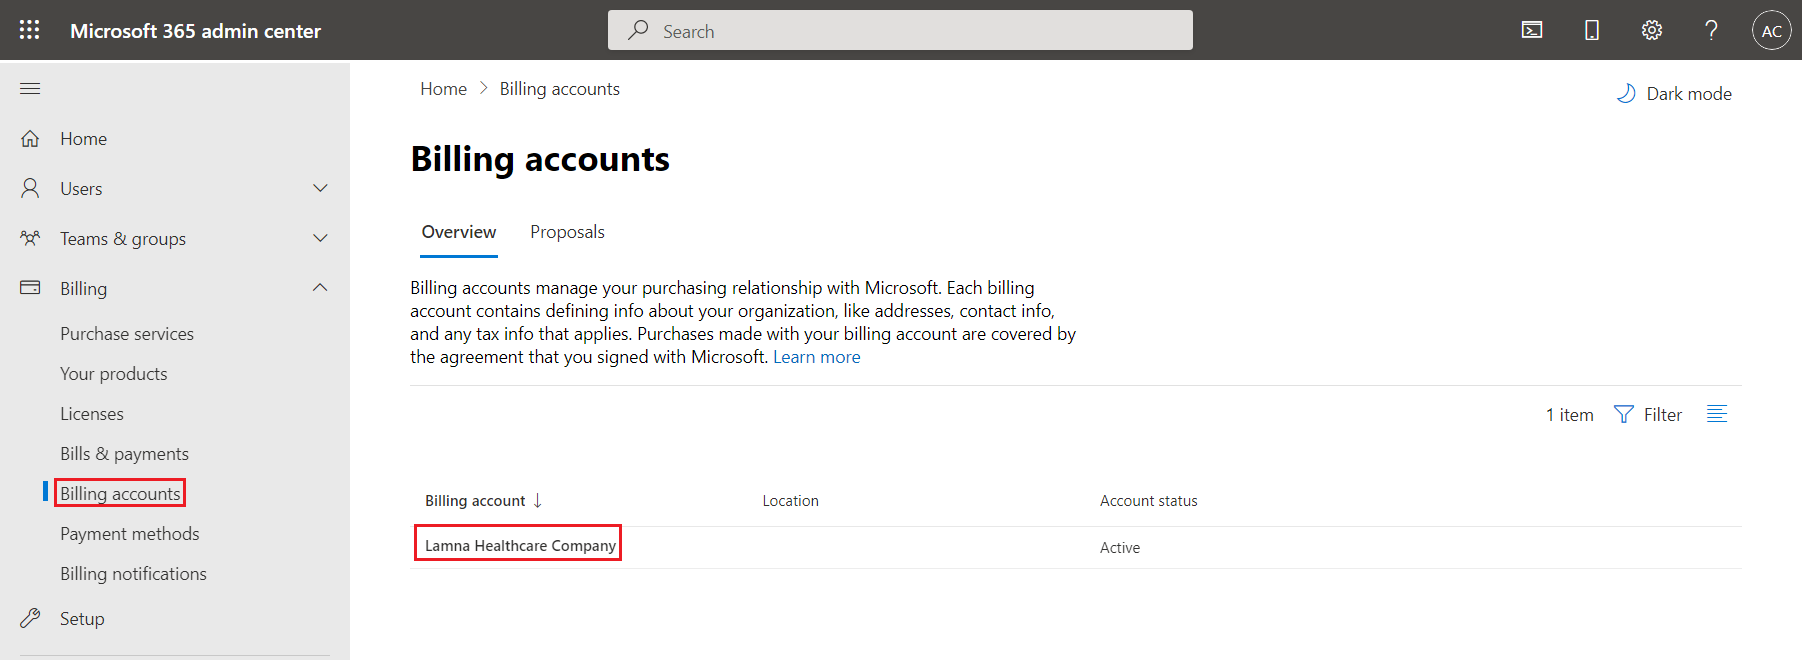
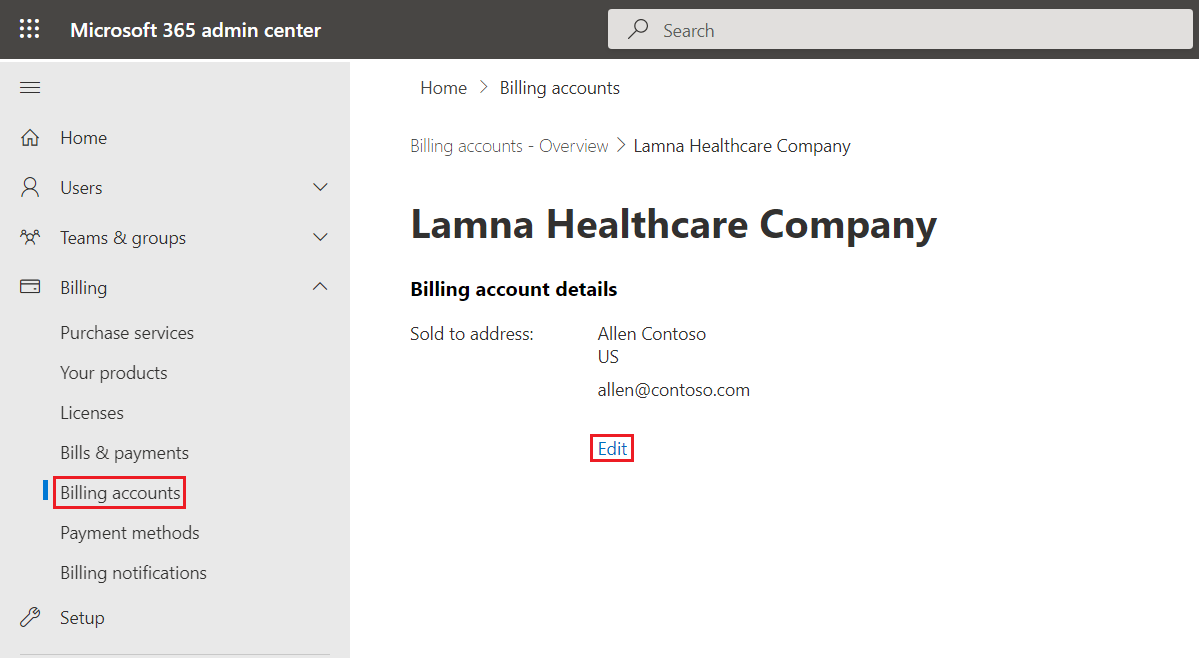
On the left navigation pane, go to Billing > Billing accounts.
Select your billing account name in the right pane.
On the Billing account details page, select Edit.
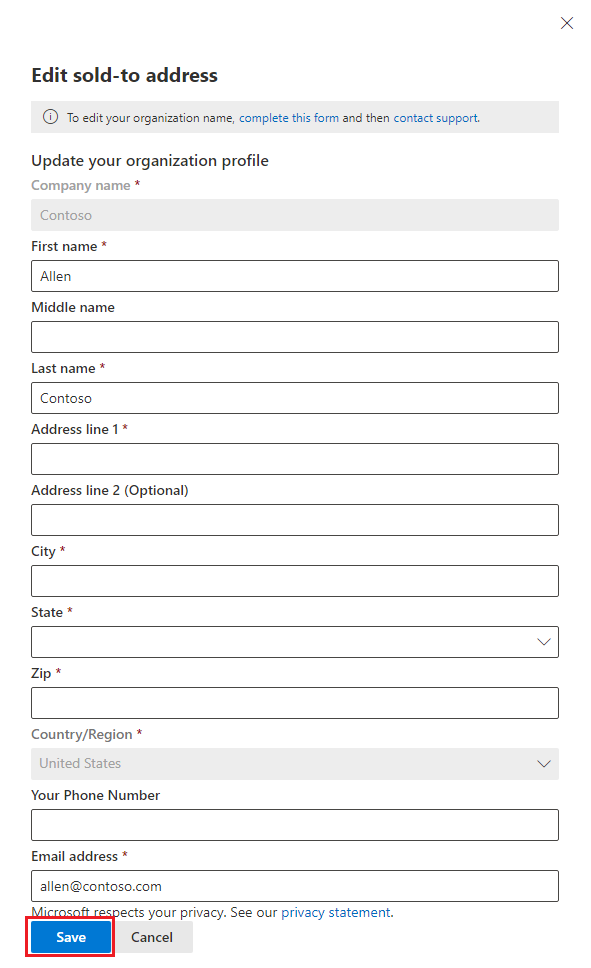
On the Edit sold-to address page, enter the details and then select Save.


You successfully created a Microsoft 365 tenant with a Microsoft Office 365 E5 trial license and updated the billing account details so that you can obtain more trial licenses.