Visual Studio 包括两个面向开发人员的命令行 shell、命令提示符和 PowerShell 实例,如下所示:
Visual Studio 开发人员命令提示符:一种标准命令提示符,其中设置了某些环境变量,以便更轻松地使用命令行开发人员工具。
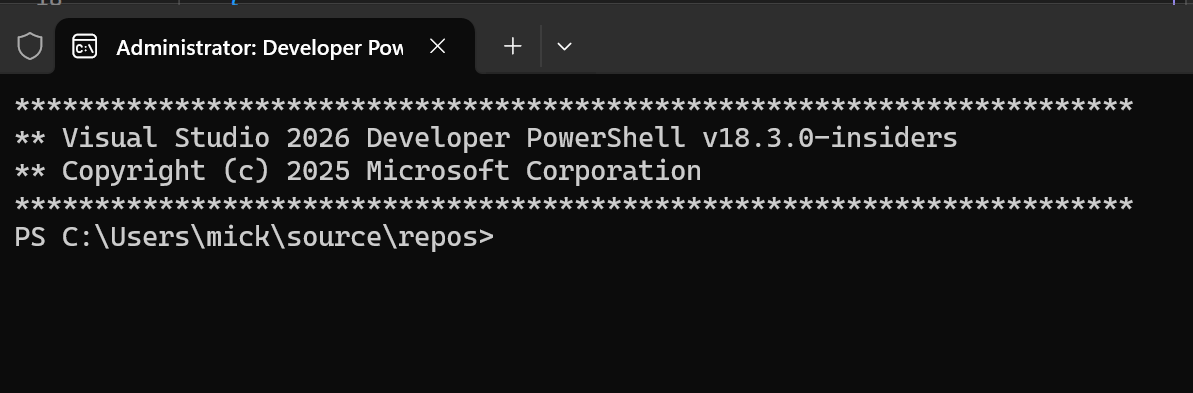
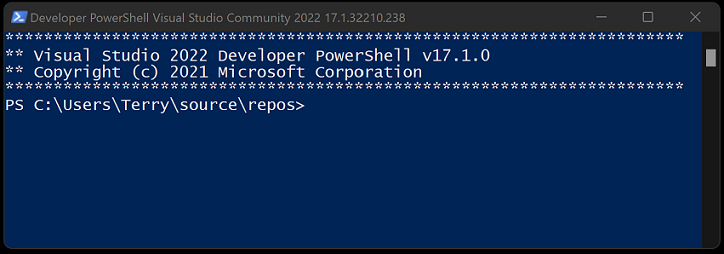
Visual Studio 开发人员 PowerShell:比命令提示符更强大。 例如,可以将一个命令的输出(称为 cmdlet)传递给另一个 cmdlet。 此 shell 设置的环境变量与开发人员命令提示符相同。 自 Visual Studio 2019 起可用。
从 Visual Studio 2019 开始,Visual Studio 包含一个 集成终端 ,可以托管其中任一命令行 shell。 还可以打开每个 shell 的多个选项卡。 Visual Studio 终端基于 Windows 终端构建。 若要在 Visual Studio 中打开终端,请选择 视图>终端。


提示
本页介绍如何在 Visual Studio 中使用命令行 shell。 如果要在 Visual Studio Code (也称为 VS Code)中查找等效项,请参阅 命令行接口(CLI) 和 终端基础知识。
从 Visual Studio 作为一个单独的应用程序打开其中一个开发人员 shell,或者在终端窗口中打开其中一个开发人员 shell 时,它会打开转到当前解决方案的目录(如果已加载解决方案)。 通过此行为,可以方便地针对解决方案或其项目运行命令。
这两个 shell 都有特定的环境变量,使你能够更轻松地使用命令行开发人员工具。 打开其中一个 shell 后,可以输入不同实用工具的命令,而无需知道它们的位置。
| 常用命令 | 描述 |
|---|---|
MSBuild |
生成项目或解决方案 |
dotnet |
.NET CLI 命令 |
dotnet run |
.NET CLI 命令 |
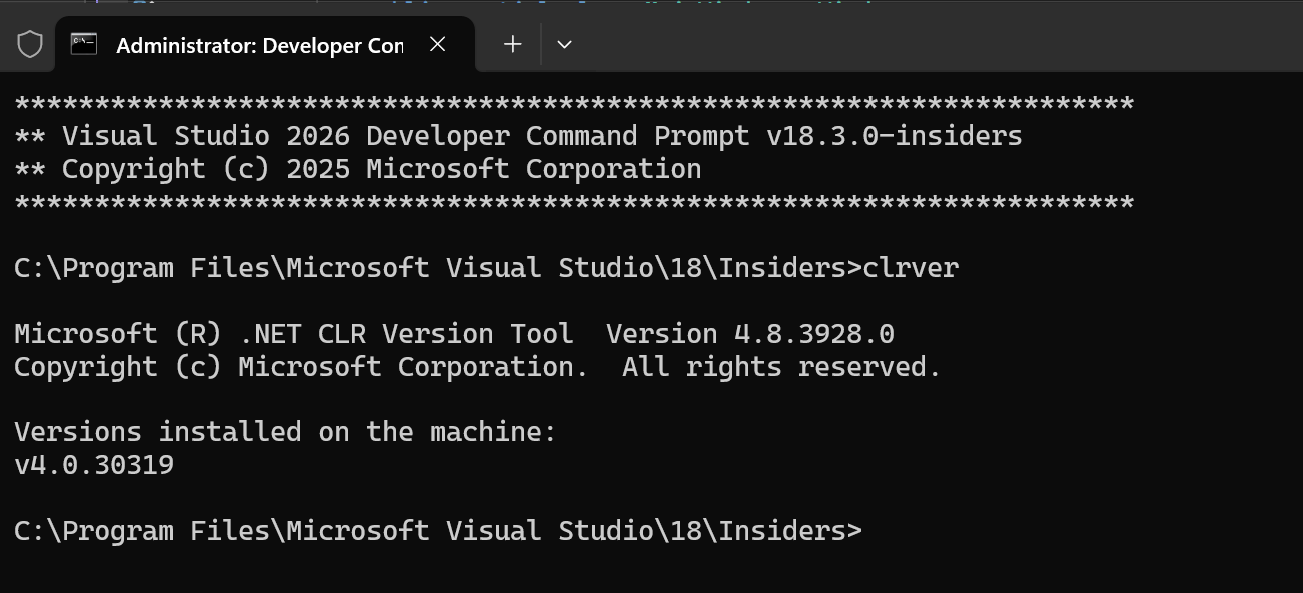
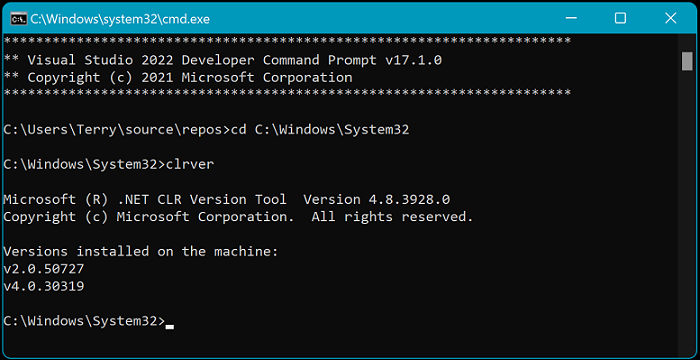
clrver |
用于 CLR 的 .NET Framework 工具 |
ildasm |
用于反汇编的 .NET Framework 工具 |
CL |
C/C++ 编译工具 |
NMAKE |
C/C++ 编译工具 |
LIB |
C/C++ 生成工具 |
DUMPBIN |
C/C++ 生成工具 |
在 Visual Studio 中启动
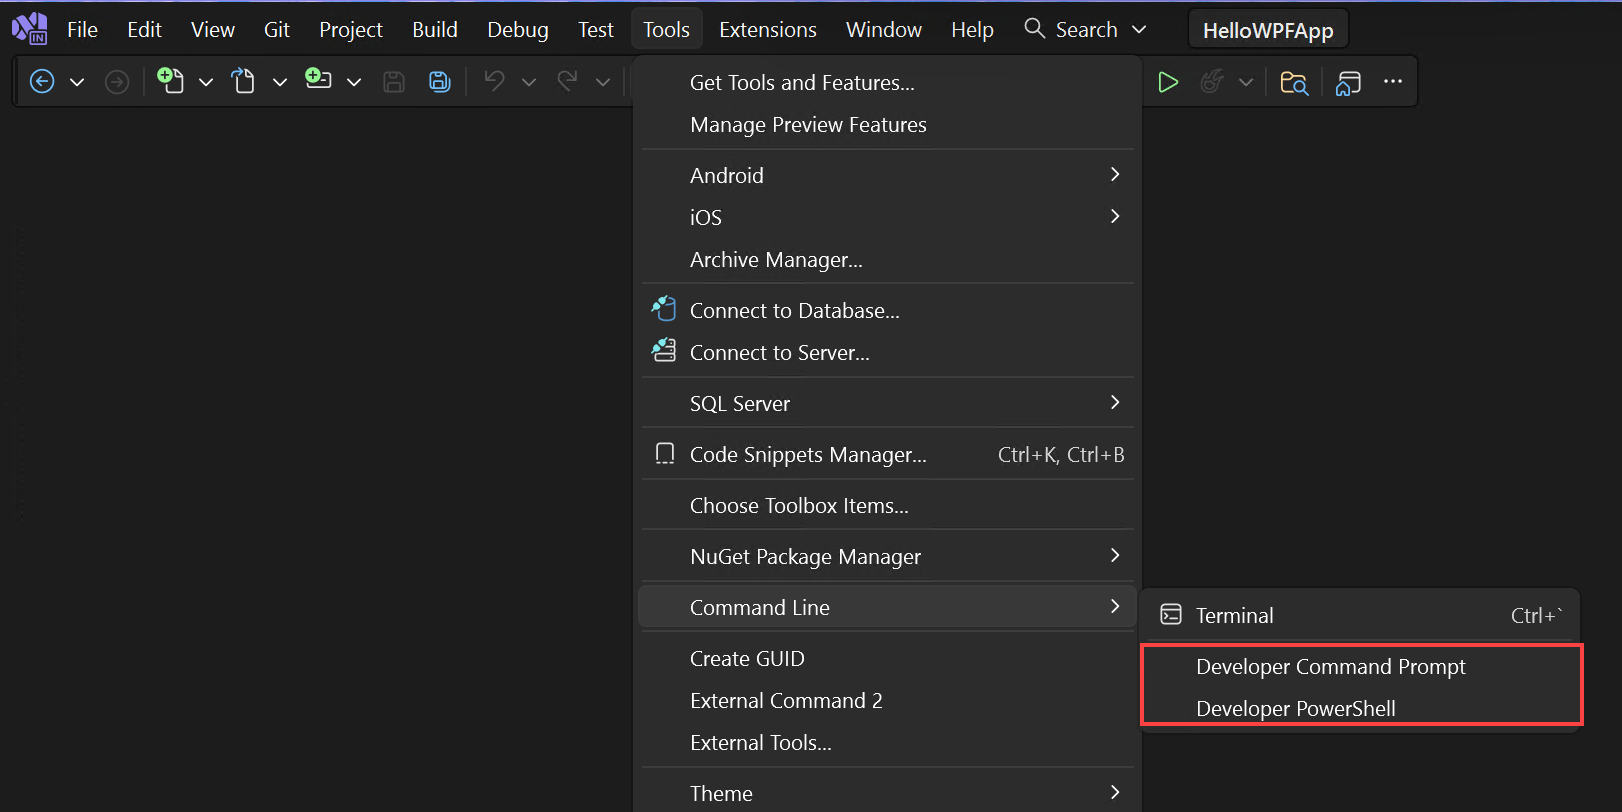
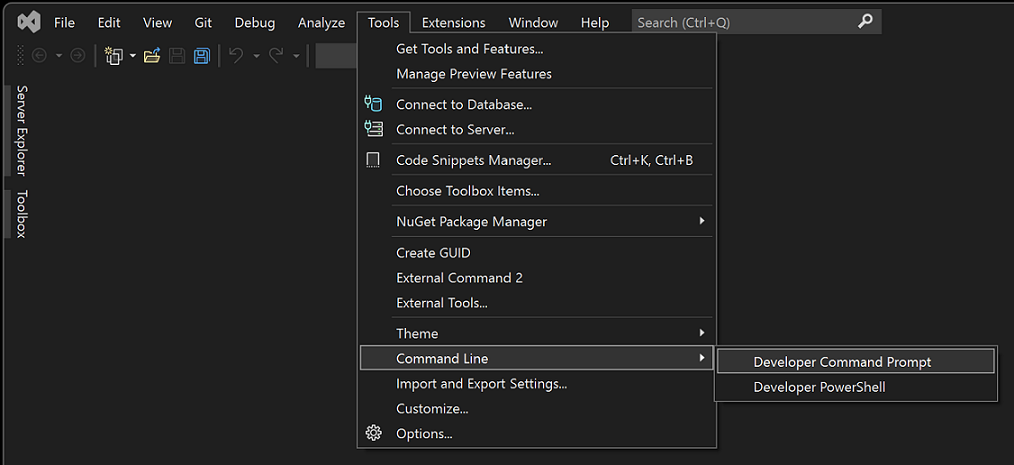
按照以下步骤从 Visual Studio 中打开开发人员命令提示符或开发人员 PowerShell:
打开 Visual Studio。
在菜单栏上,选择 工具>命令行>开发人员命令提示符 或 开发人员 PowerShell。
从 Windows 菜单开始
启动 shell 的另一种方法是从“开始”菜单启动。 可以有多个命令提示符,具体取决于 Visual Studio 的版本以及已安装的任何其他 SDK 和工作负载。
Windows 11
选择“ 开始”,然后在 “键入此处搜索 ”对话框中输入或
developer command promptdeveloper powershell。选择与搜索文本关联的应用结果。
Windows 10操作系统
选择 “开始”,然后滚动到字母 V。
展开 Visual Studio 2019 或 Visual Studio 2022 文件夹。
如果运行的是 Visual Studio 2019,请选择 VS 2019 的 开发人员命令提示符,或为 VS 2019 选择Developer PowerShell。 如果运行的是 Visual Studio 2022,请选择 VS 2022 的 开发人员命令提示符,或为 VS 2022 选择Developer PowerShell。
或者,可以在任务栏的搜索框中键入 shell 的名称,并在结果列表开始显示搜索匹配项时选择所需的结果。
从文件浏览器开始
通常,安装的 shell 的快捷方式放置在 Visual Studio 的 “开始菜单” 文件夹中,例如 在%ProgramData%\Microsoft\Windows\Start Menu\Programs\Visual Studio 2019\Visual Studio Tools 中。 但是,如果搜索命令提示符不会生成预期结果,则可以尝试在计算机上手动查找文件。
开发人员命令提示
搜索命令提示符文件的名称(VsDevCmd.bat),或转到 Visual Studio 的工具文件夹,例如 %ProgramFiles%\Microsoft Visual Studio\2022\Community\Common7\Tools(路径根据 Visual Studio 版本、版本和安装位置更改)。
找到命令提示符文件后,通过在常规命令提示符窗口中输入以下命令打开它:
"%ProgramFiles%\Microsoft Visual Studio\2022\Community\Common7\Tools\VsDevCmd.bat"
或在 Windows 运行 对话框中输入以下命令:
%comspec% /k "C:\Program Files\Microsoft Visual Studio\2022\Community\Common7\Tools\VsDevCmd.bat"
自 Visual Studio 2015 以来,开发人员命令提示符会设置 VSCMD_VER 环境变量,其中包含 Visual Studio 的版本信息(例如:17.14.8)。 如果需要检测开发人员命令提示符是否已在控制台中运行,建议检查是否已 VSCMD_VER 定义。
提示
请确保编辑路径以匹配您所使用的 Visual Studio 版本或版本类型。
开发人员 PowerShell
搜索名为 Launch-VsDevShell.ps1的 PowerShell 脚本文件,或转到 Visual Studio 的工具文件夹,例如 %ProgramFiles(x86)%\Microsoft Visual Studio\2019\Community\Common7\Tools。 路径根据 Visual Studio 版本、版本和安装位置更改。 找到 PowerShell 文件后,通过在 Windows PowerShell 或 PowerShell 6 提示符处输入以下命令来运行它。
对于 Visual Studio 2022:
& 'C:\Program Files\Microsoft Visual Studio\2022\Community\Common7\Tools\Launch-VsDevShell.ps1'
对于 Visual Studio 2022:
& 'C:\Program Files\Microsoft Visual Studio\2022\Community\Common7\Tools\Launch-VsDevShell.ps1'
对于 Visual Studio 2019:
& 'C:\Program Files (x86)\Microsoft Visual Studio\2019\Community\Common7\Tools\Launch-VsDevShell.ps1'
默认情况下,已为 Visual Studio 安装配置了启动的开发人员 PowerShell,而 Launch-VsDevShell.ps1 文件就位于 Visual Studio 的安装路径中。
提示
必须设置 执行策略 才能运行 cmdlet。
Launch-VsDevShell.ps1 脚本的工作原理是,在 Visual Studio 安装路径中查找 Microsoft.VisualStudio.DevShell.dll PowerShell 模块,加载该模块,然后调用 Enter-VsDevShell cmdlet。 安装的快捷方式(例如“开始”菜单中的快捷方式)会加载模块并直接调用 cmdlet。 建议使用Launch-VsDevShell.ps1 以交互方式初始化开发人员 PowerShell,或用于编写生成自动化脚本。
命令行参数
可以对 shell 之一使用命令行参数:开发人员命令提示符或开发人员 PowerShell。
目标体系结构和主机体系结构
对于生成工具(如C++编译器)创建面向特定 CPU 体系结构的输出,可以使用相应的命令行参数配置开发人员 shell。 还可以使用命令行参数配置生成工具二进制文件的体系结构。 当生成计算机的体系结构不同于目标体系结构时,这非常有用。
提示
从 Visual Studio 2022 开始,无论主机体系结构如何, msbuild 默认为 64 位 msbuild.exe 二进制文件。
| Shell | 论点 |
|---|---|
| 开发人员命令提示 | -arch=<目标体系结构> |
| 开发人员命令提示 | -host_arch=<主机体系结构> |
| 开发人员 PowerShell | -Arch <目标体系结构> |
| 开发人员 PowerShell | -HostArch <主机体系结构> |
重要
开发人员 PowerShell 参数 -Arch , -HostArch 仅从 Visual Studio 2022 版本 17.1 开始可用。
下表列出了支持哪些体系结构,以及它们是否可用于目标体系结构或主机体系结构参数。
| 建筑 | 目标体系结构 | 主机体系结构 |
|---|---|---|
| x86 | 违约 | 违约 |
| amd64 | 是的 | 是的 |
| arm | 是的 | 不 |
| arm64 | 是的 | 不 |
提示
如果仅设置目标体系结构,shell 会尝试使主机体系结构匹配。 如果只将目标体系结构设置为主机体系结构也不支持的值,这可能会导致错误。
例子
在 64 位计算机上启动 Visual Studio 2019 Community Edition 开发人员命令提示符,创建面向 64 位的生成输出:
"%ProgramFiles(x86)%\Microsoft Visual Studio\2019\Community\Common7\Tools\VsDevCmd.bat" -arch=amd64
在 64 位计算机上启动 Visual Studio 2019 Community Edition 开发人员命令提示符,创建面向 ARM 的生成输出:
"%ProgramFiles(x86)%\Microsoft Visual Studio\2019\Community\Common7\Tools\VsDevCmd.bat" -arch=arm -host_arch=amd64
在 64 位计算机上启动 Visual Studio 2022 版本 17.1 或更高版本的开发人员 PowerShell,创建面向 ARM64 的生成输出:
& 'C:\Program Files\Microsoft Visual Studio\2022\Community\Common7\Tools\Launch-VsDevShell.ps1' -Arch arm64 -HostArch amd64
跳过自动定位
对于开发人员 PowerShell,shell 的起始目录是 Visual Studio 项目位置。 此默认区域设置替代任何其他路径,例如工作目录。 可以使用命令行参数 -SkipAutomaticLocation关闭此行为。 如果希望 shell 在初始化后保留在当前目录中,这非常有用。
在“工具>选项”窗格中的“所有设置>项目和解决方案>位置”部分可以调整项目位置。
可以在“项目和解决方案>位置”部分的“工具>”对话框中调整项目位置。
提示
-Arch 脚本和 -HostArch cmdlet 都支持命令行参数 -SkipAutomaticLocation、Launch-VsDevShell.ps1和 Enter-VsDevShell。
相关内容
- 什么是 Windows 终端?
- .NET Framework 工具
- 使用命令行 中的Microsoft C++工具集