管理音訊篩選器
重要
本文所述的功能目前為公開預覽狀態。 此預覽版本沒有服務等級協定,不建議用於處理生產工作負載。 可能不支援特定功能,或可能已經限制功能。 如需詳細資訊,請參閱 Microsoft Azure 預覽版增補使用條款。
瞭解如何使用 Azure 通訊服務 SDK 來管理音訊處理功能。 您將瞭解如何使用音訊篩選器在通話前後套用不同的音訊功能。
目前,有五個不同的篩選可供控制。
類比自動增益控制
類比自動增益控件是呼叫前可用的篩選器。 根據預設,會啟用此篩選。
數字自動增益控制
數字自動增益控件是呼叫前可用的篩選。 根據預設,會啟用此篩選。
音樂模式
音樂模式是通話前後可用的篩選。 在這裡深入瞭解音樂模式。 請注意,音樂模式只能在原生平臺上的 1:1 呼叫和群組通話中運作。 目前,音樂模式無法在原生和 Web 之間的 1:1 呼叫中運作。 根據預設,音樂模式會停用。
回應取消
回應取消是呼叫之前和期間可用的篩選。 只有在啟用音樂模式時,您才能切換回音取消。 根據預設,會啟用此篩選。
雜訊抑制
雜訊歸並是在呼叫之前和期間可用的篩選。 目前可用的模式為 Off、 Auto、 Low與 High。 根據預設,此功能會設定為 High 模式。
必要條件
- 具有有效訂用帳戶的 Azure 帳戶。 免費建立帳戶
- 已部署通訊服務資源。 建立通訊服務資源
- 用來啟用呼叫用戶端的使用者存取權杖。 如需詳細資訊,請參閱建立和管理存取權杖。
- 選用:完成快速入門以將語音通話新增至您的應用程式
安裝 SDK
找出您的專案層級 build.gradle 檔案,並將 新增mavenCentral()至 和 allprojects下的buildscript存放庫清單:
buildscript {
    repositories {
    ...
        mavenCentral()
    ...
    }
}
allprojects {
    repositories {
    ...
        mavenCentral()
    ...
    }
}
然後,在您的模組層級 build.gradle 檔案中,將下列幾行新增至 dependencies 區段:
dependencies {
    ...
    implementation 'com.azure.android:azure-communication-calling:1.0.0'
    ...
}
初始化必要的物件
若要建立CallAgent實例,您必須在 實例上CallClient呼叫 createCallAgent 方法。 這個呼叫會以異步方式傳 CallAgent 回實例物件。
方法 createCallAgent 會採用 CommunicationUserCredential 作為自變數,其會 封裝存取令牌。
若要存取 DeviceManager,您必須先建立 callAgent 實例。 然後,您可以使用 CallClient.getDeviceManager 方法來取得 DeviceManager。
String userToken = '<user token>';
CallClient callClient = new CallClient();
CommunicationTokenCredential tokenCredential = new CommunicationTokenCredential(userToken);
android.content.Context appContext = this.getApplicationContext(); // From within an activity, for instance
CallAgent callAgent = callClient.createCallAgent(appContext, tokenCredential).get();
DeviceManager deviceManager = callClient.getDeviceManager(appContext).get();
若要設定呼叫者的顯示名稱,請使用下列替代方法:
String userToken = '<user token>';
CallClient callClient = new CallClient();
CommunicationTokenCredential tokenCredential = new CommunicationTokenCredential(userToken);
android.content.Context appContext = this.getApplicationContext(); // From within an activity, for instance
CallAgentOptions callAgentOptions = new CallAgentOptions();
callAgentOptions.setDisplayName("Alice Bob");
DeviceManager deviceManager = callClient.getDeviceManager(appContext).get();
CallAgent callAgent = callClient.createCallAgent(appContext, tokenCredential, callAgentOptions).get();
音訊篩選功能可讓不同的音訊前置處理選項套用至傳出音訊。 有兩種類型的音訊篩選器:OutgoingAudioFilters和 ,在OutgoingAudioFilters通話開始前變更設定,並在LiveOutgoingAudioFilters通話進行LiveOutgoingAudioFilters時變更設定。
您必須先匯入呼叫 SDK 和相關聯的類別:
import com.azure.android.communication.calling.OutgoingAudioOptions;
import com.azure.android.communication.calling.OutgoingAudioFilters;
import com.azure.android.communication.calling.LiveOutgoingAudioFilters;
呼叫開始之前
OutgoingAudioFilters 可以在呼叫啟動時套用。
首先,建立 OutgoingAudioFilters 並將其傳遞至 OutgoingAudioOptions,如下列程式代碼所示:
OutgoingAudioOptions outgoingAudioOptions = new OutgoingAudioOptions();
OutgoingAudioFilters filters = new OutgoingAudioFilters();
filters.setNoiseSuppressionMode(NoiseSuppressionMode.HIGH);
filters.setAnalogAutomaticGainControlEnabled(true);
filters.setDigitalAutomaticGainControlEnabled(true);
filters.setMusicModeEnabled(true);
filters.setAcousticEchoCancellationEnabled(true);
outgoingAudioOptions.setAudioFilters(filters);
在通話期間
LiveOutgoingAudioFilters 可以在呼叫啟動之後套用。 一旦呼叫啟動,您就可以從呼叫物件擷取這個物件。 若要在 中 LiveOutgoingAudioFilters變更 設定,請將 類別內的成員設定為有效的值,並套用它們。
在作用中通話期間,只有可用的篩選子集可用 OutgoingAudioFilters :音樂模式、回聲取消和噪音抑制模式。
LiveOutgoingAudioFilters filters = call.getLiveOutgoingAudioFilters();
filters.setMusicModeEnabled(false);
filters.setAcousticEchoCancellationEnabled(false);
filters.setNoiseSuppressionMode(NoiseSuppressionMode.HIGH);
設定系統
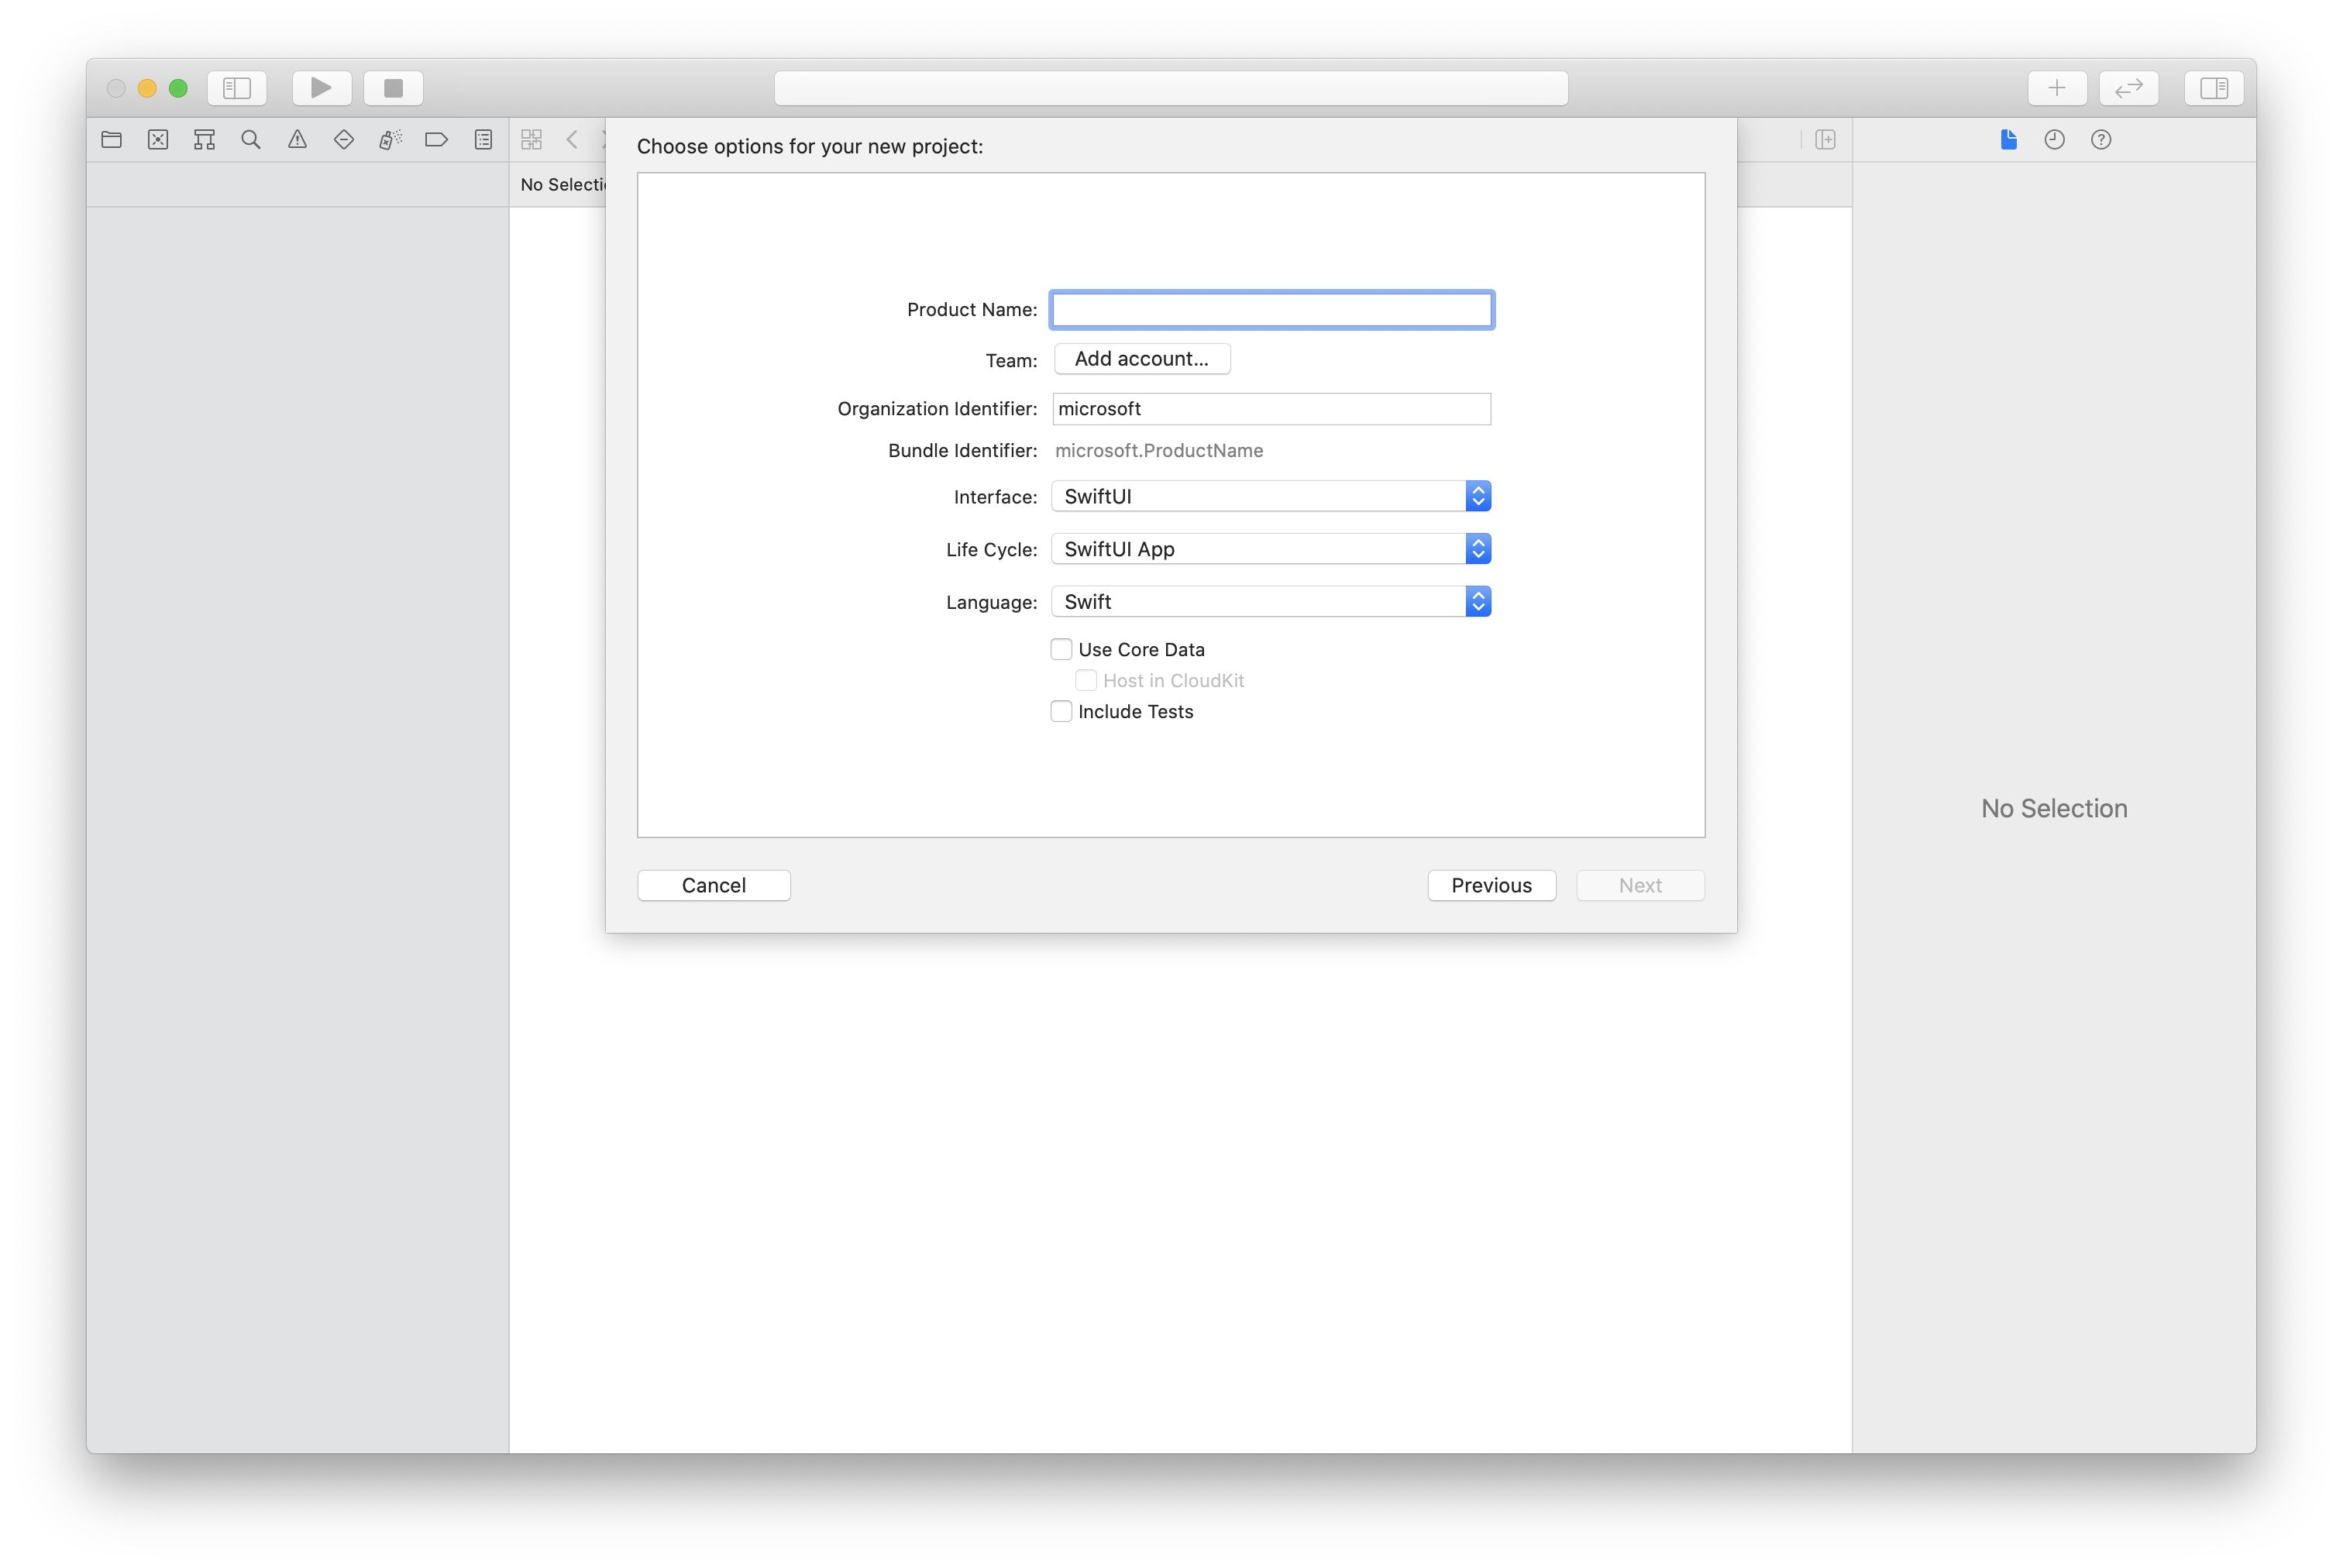
建立 Xcode 專案
在 Xcode 中,建立新的 iOS 專案,然後選取 [單一檢視應用程式 ] 範本。 本快速入門使用 SwiftUI 架構,因此您應該將 Language 設定為 Swift,並將 Interface 設定為 SwiftUI。
在本快速入門期間,您不會建立測試。 您可以隨意清除 [ 包含測試 ] 複選框。
使用 CocoaPods 安裝套件和相依性
為您的應用程式建立 Podfile,如下列範例所示:
platform :ios, '13.0'
use_frameworks!
target 'AzureCommunicationCallingSample' do
    pod 'AzureCommunicationCalling', '~> 1.0.0'
end
執行
pod install。使用 Xcode 開啟
.xcworkspace。
要求存取麥克風
若要存取裝置的麥克風,您必須使用 NSMicrophoneUsageDescription更新應用程式的資訊屬性清單。 您可以將相關聯的值設定為字串,此字串將包含在系統用來要求使用者存取的對話框中。
以滑鼠右鍵按兩下專案樹狀結構的Info.plist專案,然後選取[開啟為>原始程式碼]。 在最上層 <dict> 區段中新增下列幾行,然後儲存盤案。
<key>NSMicrophoneUsageDescription</key>
<string>Need microphone access for VOIP calling.</string>
設定應用程式架構
開啟專案的 ContentView.swift 檔案。 import將宣告新增至檔案頂端以匯入連結AzureCommunicationCalling庫。 此外,匯入 AVFoundation。 您需要它才能在程式代碼中要求音訊許可權。
import AzureCommunicationCalling
import AVFoundation
初始化 CallAgent
若要從 建立 CallAgent 實例,您必須使用callClient.createCallAgent方法,以異步方式在物件初始化之後傳回CallAgent物件。CallClient
若要建立呼叫用戶端,請傳遞 CommunicationTokenCredential 物件:
import AzureCommunication

let tokenString = "token_string"
var userCredential: CommunicationTokenCredential?
do {
    let options = CommunicationTokenRefreshOptions(initialToken: token, refreshProactively: true, tokenRefresher: self.fetchTokenSync)
    userCredential = try CommunicationTokenCredential(withOptions: options)
} catch {
    updates("Couldn't created Credential object", false)
    initializationDispatchGroup!.leave()
    return
}

// tokenProvider needs to be implemented by Contoso, which fetches a new token
public func fetchTokenSync(then onCompletion: TokenRefreshOnCompletion) {
    let newToken = self.tokenProvider!.fetchNewToken()
    onCompletion(newToken, nil)
}
將 CommunicationTokenCredential 您建立的物件傳遞至 CallClient,並設定顯示名稱:
self.callClient = CallClient()
let callAgentOptions = CallAgentOptions()
options.displayName = " iOS Azure Communication Services User"

self.callClient!.createCallAgent(userCredential: userCredential!,
    options: callAgentOptions) { (callAgent, error) in
        if error == nil {
            print("Create agent succeeded")
            self.callAgent = callAgent
        } else {
            print("Create agent failed")
        }
})
音訊篩選功能可讓不同的音訊前置處理選項套用至傳出音訊。 有兩種類型的音訊篩選器:OutgoingAudioFilters和 ,在OutgoingAudioFilters通話開始前變更設定,並在LiveOutgoingAudioFilters通話進行LiveOutgoingAudioFilters時變更設定。
您必須先匯入呼叫 SDK:
import AzureCommunicationCalling
呼叫開始之前
OutgoingAudioFilters 可以在呼叫啟動時套用。
首先,建立 OutgoingAudioFilters 並將其傳遞至 OutgoingAudioOptions,如下列程式代碼所示:
let outgoingAudioOptions = OutgoingAudioOptions()
let filters = OutgoingAudioFilters()
filters.NoiseSuppressionMode = NoiseSuppressionMode.high
filters.analogAutomaticGainControlEnabled = true
filters.digitalAutomaticGainControlEnabled = true
filters.musicModeEnabled = true
filters.acousticEchoCancellationEnabled = true
outgoingAudioOptions.audioFilters = filters
在通話期間
LiveOutgoingAudioFilters 可以在呼叫啟動之後套用。 一旦呼叫啟動,您就可以從呼叫物件擷取這個物件。 若要在 中 LiveOutgoingAudioFilters變更 設定,請將 類別內的成員設定為有效的值,並套用它們。
在作用中通話期間,只有可用的篩選子集可用 OutgoingAudioFilters :音樂模式、回聲取消和噪音抑制模式。
LiveOutgoingAudioFilters filters = call.liveOutgoingAudioFilters
filters.musicModeEnabled = true
filters.acousticEchoCancellationEnabled = true
filters.NoiseSuppressionMode = NoiseSuppressionMode.high
設定系統
建立 Visual Studio 專案
針對 UWP 應用程式,在 Visual Studio 2022 中建立新的 空白應用程式 (通用 Windows) 專案。 輸入專案名稱之後,您可以選擇 10.0.17763.0 之後的任何 Windows SDK。
針對 WinUI 3 應用程式,使用 [空白應用程式]、[傳統型] 範本建立新的專案,以設定單頁 WinUI 3 應用程式。 需要 Windows 應用程式 SDK 1.3 版或更新版本。
使用 NuGet 封裝管理員 安裝套件和相依性
呼叫 SDK API 和連結庫可透過 NuGet 套件公開使用。
下列步驟示範如何尋找、下載及安裝呼叫 SDK NuGet 套件:
- 選取 [工具>][NuGet 封裝管理員 管理方案的 NuGet 套件],以開啟 NuGet 封裝管理員。>
- 選取 [ 瀏覽],然後在搜尋方塊中輸入
Azure.Communication.Calling.WindowsClient。 - 請確定已選取 [ 包含發行前版本 ] 複選框。
- 選取套件
Azure.Communication.Calling.WindowsClient,然後選取Azure.Communication.Calling.WindowsClient1.4.0-beta.1 或更新版本。 - 選取對應至右側索引標籤上 [通訊服務] 項目的複選框。
- 選取 [安裝] 按鈕。
音訊篩選功能可讓不同的音訊前置處理選項套用至傳出音訊。 有兩種類型的音訊篩選器:OutgoingAudioFilters和 ,在OutgoingAudioFilters通話開始前變更設定,並在LiveOutgoingAudioFilters通話進行LiveOutgoingAudioFilters時變更設定。
您必須先匯入呼叫 SDK:
using Azure.Communication;
using Azure.Communication.Calling.WindowsClient;
呼叫開始之前
OutgoingAudioFilters 可以在呼叫啟動時套用。
首先,建立 OutgoingAudioFilters 並將其傳遞至 OutgoingAudioOptions,如下列程式代碼所示:
var outgoingAudioOptions = new OutgoingAudioOptions();
var filters = new OutgoingAudioFilters()
{
    AnalogAutomaticGainControlEnabled = true,
    DigitalAutomaticGainControlEnabled = true,
    MusicModeEnabled = true,
    AcousticEchoCancellationEnabled = true,
    NoiseSuppressionMode = NoiseSuppressionMode.High
};
outgoingAudioOptions.Filters = filters;
在通話期間
LiveOutgoingAudioFilters 可以在呼叫啟動之後套用。 一旦呼叫啟動,您就可以從呼叫物件擷取這個物件。 若要在 中 LiveOutgoingAudioFilters變更 設定,請將 類別內的成員設定為有效的值,並套用它們。
在作用中通話期間,只有可用的篩選子集可用 OutgoingAudioFilters :音樂模式、回聲取消和噪音抑制模式。
LiveOutgoingAudioFilters filter = call.LiveOutgoingAudioFilters;
filter.MusicModeEnabled = true;
filter.AcousticEchoCancellationEnabled = true;
filter.NoiseSuppressionMode = NoiseSuppressionMode.Auto;