在 .NET 中開始使用轉送混合式連線 HTTP 要求
在本快速入門中,您將建立 .NET 傳送者與接收者應用程式,以使用 HTTP 通訊協定來傳送和接收訊息。 應用程式將使用 Azure 轉送的混合式連線功能。 若要對 Azure 轉送有整體上的了解,請參閱 Azure 轉送。
在本快速入門中,您會執行下列步驟:
- 使用 Azure 入口網站建立轉送命名空間。
- 使用 Azure 入口網站,在該命名空間中建立混合式連線。
- 撰寫伺服器 (接聽端) 主控台應用程式來接收訊息。
- 撰寫用戶端 (傳送端) 主控台應用程式來傳送訊息。
- 執行應用程式。
必要條件
若要完成本教學課程,您需要下列必要條件:
- Visual Studio 2019 或更新版本。 本教學課程中的範例使用 Visual Studio 2022。
- Azure 訂用帳戶。 如果您沒有 Azure 訂用帳戶,請在開始前建立免費帳戶。
建立命名空間
登入 Azure 入口網站。
選取左側功能表上的 [所有服務]。 選取 [整合],並搜尋「轉送」,再將滑鼠移至 [轉送] 上方,然後選取 [建立]。
![顯示選取 [轉寄 -> 建立] 按鈕的螢幕快照。](includes/media/relay-create-namespace-portal/select-relay-create.png)
在 [建立命名空間] 頁面上,遵循下列步驟:
選擇要在其中建立命名空間的 Azure 訂用帳戶。
針對資源群組,選擇將放置命名空間的現有資源群組,或是建立新的資源群組。
輸入轉送命名空間的名稱。
選取要用來裝載命名空間的區域。
選取頁面底部的 [檢閱 + 建立] 。
![顯示 [建立命名空間] 頁面的螢幕快照。](includes/media/relay-create-namespace-portal/create-namespace-page.png)
在 [檢閱 + 建立] 頁面上,選取 [建立]。
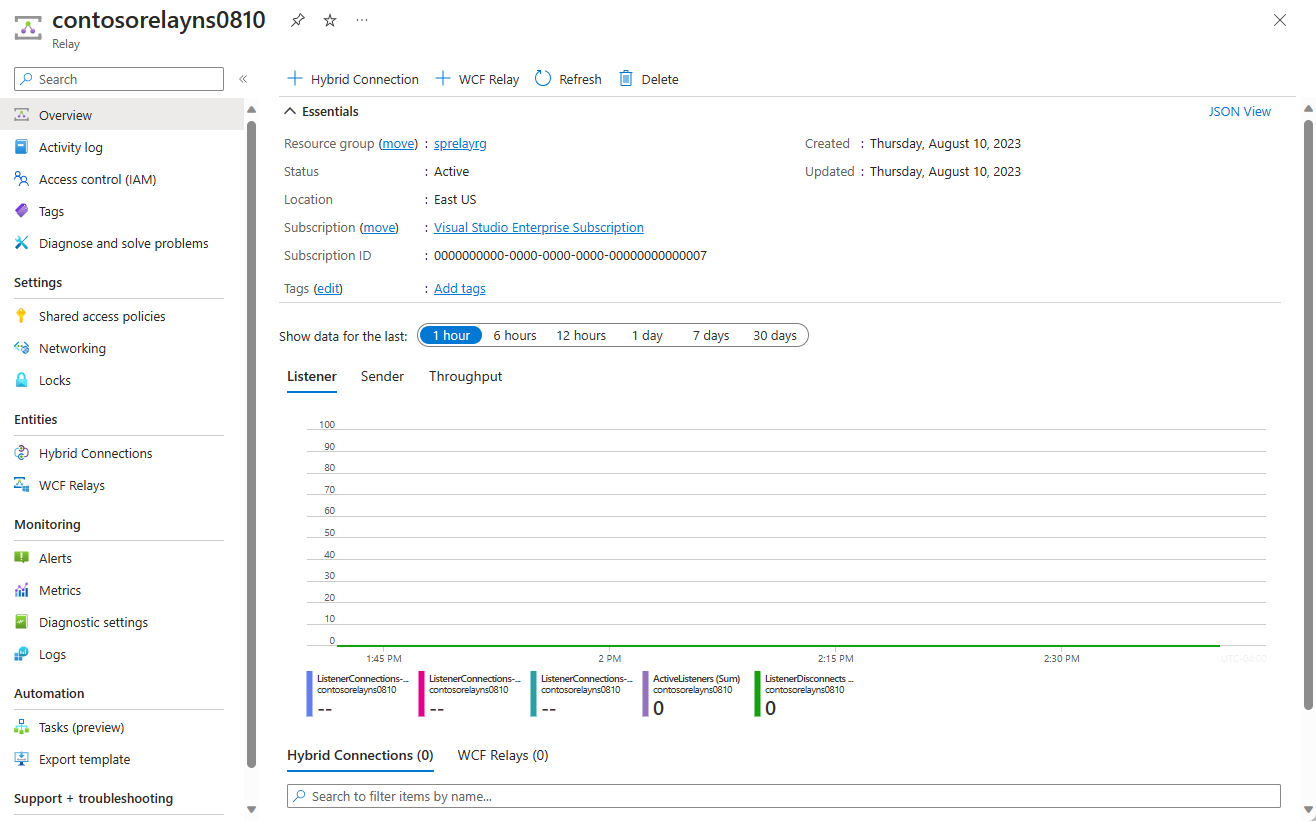
幾分鐘後,您會看到命名空間的 [轉送] 頁面。
取得管理認證
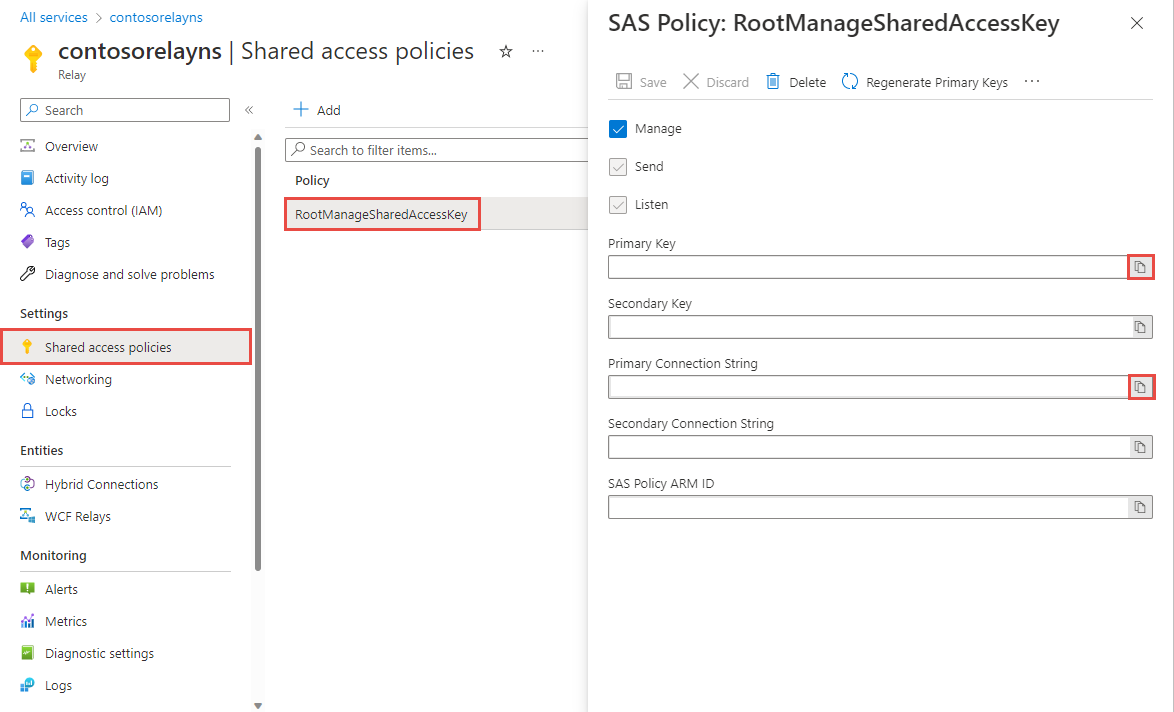
在 [轉送] 頁面上,選取左側功能表上的 [共用存取原則]。 `
在 [共用存取原則] 頁面上,選取 [RootManageSharedAccessKey]。
在 [SAS 原則: RootManageSharedAccessKey] 下,選取 [主要連接字串] 旁的 [複製] 按鈕。 此動作會將連接字串複製到剪貼簿以供稍後使用。 將此值貼到記事本或一些其他暫存位置。
重複前一個步驟,複製 [主要金鑰] 的值並貼到暫存位置以供稍後使用。
Create a hybrid connection
在命名空間的 [轉送] 頁面上,遵循下列步驟來建立混合式連線。
在左側功能表的 [實體] 下,選取 [混合式連線],然後選取 [+ 混合式連線]。
![顯示 [混合式連線] 頁面的螢幕快照。](includes/media/relay-create-hybrid-connection-portal/create-hc-1.png)
在 [建立混合式連線] 頁面上,輸入混合式連線的名稱,然後選取 [建立]。
![顯示 [建立混合式連線] 頁面的螢幕快照。](includes/media/relay-create-hybrid-connection-portal/create-hc-3.png)
建立伺服器應用程式 (接聽程式)
在 Visual Studio 中,撰寫 C# 主控台應用程式以接聽並接收來自轉送的訊息。
建立主控台應用程式
在 Visual Studio 中建立新的主控台應用程式 (.NET Framework) 專案。
新增轉送 NuGet 封裝
- 以滑鼠右鍵按一下新建立的專案,然後選取 [管理 NuGet 套件]。
- 選取 [瀏覽],然後搜尋 Microsoft.Azure.Relay。 在搜尋結果中,選取 [Microsoft Azure 轉送]。
- 選取 [安裝] 以完成安裝。 關閉對話方塊。
撰寫程式碼來接收訊息
在 Program.cs 檔案的頂端,將現有
using陳述式取代為下列using陳述式:using System; using System.IO; using System.Threading; using System.Threading.Tasks; using Microsoft.Azure.Relay; using System.Net;將常數新增至
Program類別以取得混合式連線詳細資料。 將方括號中的預留位置取代為您在建立混合式連線時所取得的值。 務必使用完整命名空間名稱。// replace {RelayNamespace} with the name of your namespace private const string RelayNamespace = "{RelayNamespace}.servicebus.windows.net"; // replace {HybridConnectionName} with the name of your hybrid connection private const string ConnectionName = "{HybridConnectionName}"; // replace {SAKKeyName} with the name of your Shared Access Policies key, which is RootManageSharedAccessKey by default private const string KeyName = "{SASKeyName}"; // replace {SASKey} with the primary key of the namespace you saved earlier private const string Key = "{SASKey}";將
RunAsync方法新增至Program類別:private static async Task RunAsync() { var cts = new CancellationTokenSource(); var tokenProvider = TokenProvider.CreateSharedAccessSignatureTokenProvider(KeyName, Key); var listener = new HybridConnectionListener(new Uri(string.Format("sb://{0}/{1}", RelayNamespace, ConnectionName)), tokenProvider); // Subscribe to the status events. listener.Connecting += (o, e) => { Console.WriteLine("Connecting"); }; listener.Offline += (o, e) => { Console.WriteLine("Offline"); }; listener.Online += (o, e) => { Console.WriteLine("Online"); }; // Provide an HTTP request handler listener.RequestHandler = (context) => { // Do something with context.Request.Url, HttpMethod, Headers, InputStream... context.Response.StatusCode = HttpStatusCode.OK; context.Response.StatusDescription = "OK, This is pretty neat"; using (var sw = new StreamWriter(context.Response.OutputStream)) { sw.WriteLine("hello!"); } // The context MUST be closed here context.Response.Close(); }; // Opening the listener establishes the control channel to // the Azure Relay service. The control channel is continuously // maintained, and is reestablished when connectivity is disrupted. await listener.OpenAsync(); Console.WriteLine("Server listening"); // Start a new thread that will continuously read the console. await Console.In.ReadLineAsync(); // Close the listener after you exit the processing loop. await listener.CloseAsync(); }將下列程式碼行新增至
Program類別中的Main方法:RunAsync().GetAwaiter().GetResult();完整的 Program.cs 檔案看起來應該會像下面這樣:
namespace Server
{
    using System;
    using System.IO;
    using System.Threading;
    using System.Threading.Tasks;
    using Microsoft.Azure.Relay;
    using System.Net;

    public class Program
    {
        private const string RelayNamespace = "{RelayNamespace}.servicebus.windows.net";
        private const string ConnectionName = "{HybridConnectionName}";
        private const string KeyName = "{SASKeyName}";
        private const string Key = "{SASKey}";

        public static void Main(string[] args)
        {
            RunAsync().GetAwaiter().GetResult();
        }

        private static async Task RunAsync()
        {
            var tokenProvider = TokenProvider.CreateSharedAccessSignatureTokenProvider(KeyName, Key);
            var listener = new HybridConnectionListener(new Uri(string.Format("sb://{0}/{1}", RelayNamespace, ConnectionName)), tokenProvider);

            // Subscribe to the status events.
            listener.Connecting += (o, e) => { Console.WriteLine("Connecting"); };
            listener.Offline += (o, e) => { Console.WriteLine("Offline"); };
            listener.Online += (o, e) => { Console.WriteLine("Online"); };

            // Provide an HTTP request handler
            listener.RequestHandler = (context) =>
            {
                // Do something with context.Request.Url, HttpMethod, Headers, InputStream...
                context.Response.StatusCode = HttpStatusCode.OK;
                context.Response.StatusDescription = "OK";
                using (var sw = new StreamWriter(context.Response.OutputStream))
                {
                    sw.WriteLine("hello!");
                }

                // The context MUST be closed here
                context.Response.Close();
            };

            // Opening the listener establishes the control channel to
            // the Azure Relay service. The control channel is continuously
            // maintained, and is reestablished when connectivity is disrupted.
            await listener.OpenAsync();
            Console.WriteLine("Server listening");

            // Start a new thread that will continuously read the console.
            await Console.In.ReadLineAsync();

            // Close the listener after you exit the processing loop.
            await listener.CloseAsync();
        }
    }
}
建立用戶端應用程式 (傳送者)
在 Visual Studio 中,撰寫 C# 主控台應用程式以將訊息傳送至轉送。
建立主控台應用程式
如果您在建立轉送時停用 [需要用戶端授權] 選項,您可以使用任何瀏覽器將要求傳送至混合式連線 URL。 若要存取受保護的端點,您需要建立權杖,並在 ServiceBusAuthorization 標頭中傳遞權杖,如下所示。
在 Visual Studio 中建立新的主控台應用程式 (.NET Framework) 專案。
新增轉送 NuGet 封裝
- 以滑鼠右鍵按一下新建立的專案,然後選取 [管理 NuGet 套件]。
- 選取 [包括搶鮮版] 選項。
- 選取 [瀏覽],然後搜尋 Microsoft.Azure.Relay。 在搜尋結果中,選取 [Microsoft Azure 轉送]。
- 選取 [安裝] 以完成安裝。 關閉對話方塊。
撰寫程式碼來傳送要求
在 Program.cs 檔案的頂端,將現有
using陳述式取代為下列using陳述式:using System; using System.IO; using System.Threading; using System.Threading.Tasks; using System.Net.Http; using Microsoft.Azure.Relay;將常數新增至
Program類別以取得混合式連線詳細資料。 將方括號中的預留位置取代為您在建立混合式連線時所取得的值。 務必使用完整命名空間名稱。// replace {RelayNamespace} with the name of your namespace private const string RelayNamespace = "{RelayNamespace}.servicebus.windows.net"; // replace {HybridConnectionName} with the name of your hybrid connection private const string ConnectionName = "{HybridConnectionName}"; // replace {SAKKeyName} with the name of your Shared Access Policies key, which is RootManageSharedAccessKey by default private const string KeyName = "{SASKeyName}"; // replace {SASKey} with the primary key of the namespace you saved earlier private const string Key = "{SASKey}";將下列方法新增至
Program班級:private static async Task RunAsync() { var tokenProvider = TokenProvider.CreateSharedAccessSignatureTokenProvider( KeyName, Key); var uri = new Uri(string.Format("https://{0}/{1}", RelayNamespace, ConnectionName)); var token = (await tokenProvider.GetTokenAsync(uri.AbsoluteUri, TimeSpan.FromHours(1))).TokenString; var client = new HttpClient(); var request = new HttpRequestMessage() { RequestUri = uri, Method = HttpMethod.Get, }; request.Headers.Add("ServiceBusAuthorization", token); var response = await client.SendAsync(request); Console.WriteLine(await response.Content.ReadAsStringAsync()); Console.ReadLine(); }將下列程式碼行新增至
Program類別中的Main方法。RunAsync().GetAwaiter().GetResult();Program.cs 看起來應該像這樣:
using System; using System.IO; using System.Threading; using System.Threading.Tasks; using System.Net.Http; using Microsoft.Azure.Relay; namespace Client { class Program { private const string RelayNamespace = "{RelayNamespace}.servicebus.windows.net"; private const string ConnectionName = "{HybridConnectionName}"; private const string KeyName = "{SASKeyName}"; private const string Key = "{SASKey}"; static void Main(string[] args) { RunAsync().GetAwaiter().GetResult(); } private static async Task RunAsync() { var tokenProvider = TokenProvider.CreateSharedAccessSignatureTokenProvider( KeyName, Key); var uri = new Uri(string.Format("https://{0}/{1}", RelayNamespace, ConnectionName)); var token = (await tokenProvider.GetTokenAsync(uri.AbsoluteUri, TimeSpan.FromHours(1))).TokenString; var client = new HttpClient(); var request = new HttpRequestMessage() { RequestUri = uri, Method = HttpMethod.Get, }; request.Headers.Add("ServiceBusAuthorization", token); var response = await client.SendAsync(request); Console.WriteLine(await response.Content.ReadAsStringAsync()); } } }
注意
本文中的範例程式代碼會使用 連接字串 向 Azure 轉寄命名空間進行驗證,讓教學課程保持簡單。 建議您在生產環境中使用Microsoft Entra ID 驗證,而不是使用 連接字串 或共用存取簽章,這更容易遭到入侵。 如需使用 Microsoft Entra 識別子驗證的詳細資訊和範例程式代碼,請參閱 使用 Microsoft Entra 識別符來驗證應用程式以存取 Azure 轉寄實體 ,並使用 Microsoft Entra ID 驗證受控識別以存取 Azure 轉寄資源。
執行應用程式
執行伺服器應用程式。 您會在主控台視窗中看到下列文字:
Online
Server listening
執行用戶端應用程式。 您會在用戶端視窗中看見
hello!。 用戶端會傳送 HTTP 要求給伺服器,而伺服器則會以hello!來回應。現在,若要關閉主控台視窗,請在這兩個主控台視窗中按 ENTER。
恭喜,您已建立完整的混合式連線應用程式!
下一步
在本快速入門中,您已建立 .NET 用戶端和使用 HTTP 來傳送和接收訊息的伺服器應用程式。 Azure 轉送的混合式連線功能也支援使用 WebSocket 來傳送和接收訊息。 若要了解如何搭配使用 WebSocket 和 Azure 轉送混合式連線,請參閱 WebSocket 快速入門。
在本快速入門中,您已使用 .NET Framework 來建立用戶端和伺服器應用程式。 若要了解如何使用 Node.js 撰寫用戶端和伺服器應用程式,請參閱 Node.js WebSocket 快速入門或 Node.js HTTP 快速入門。