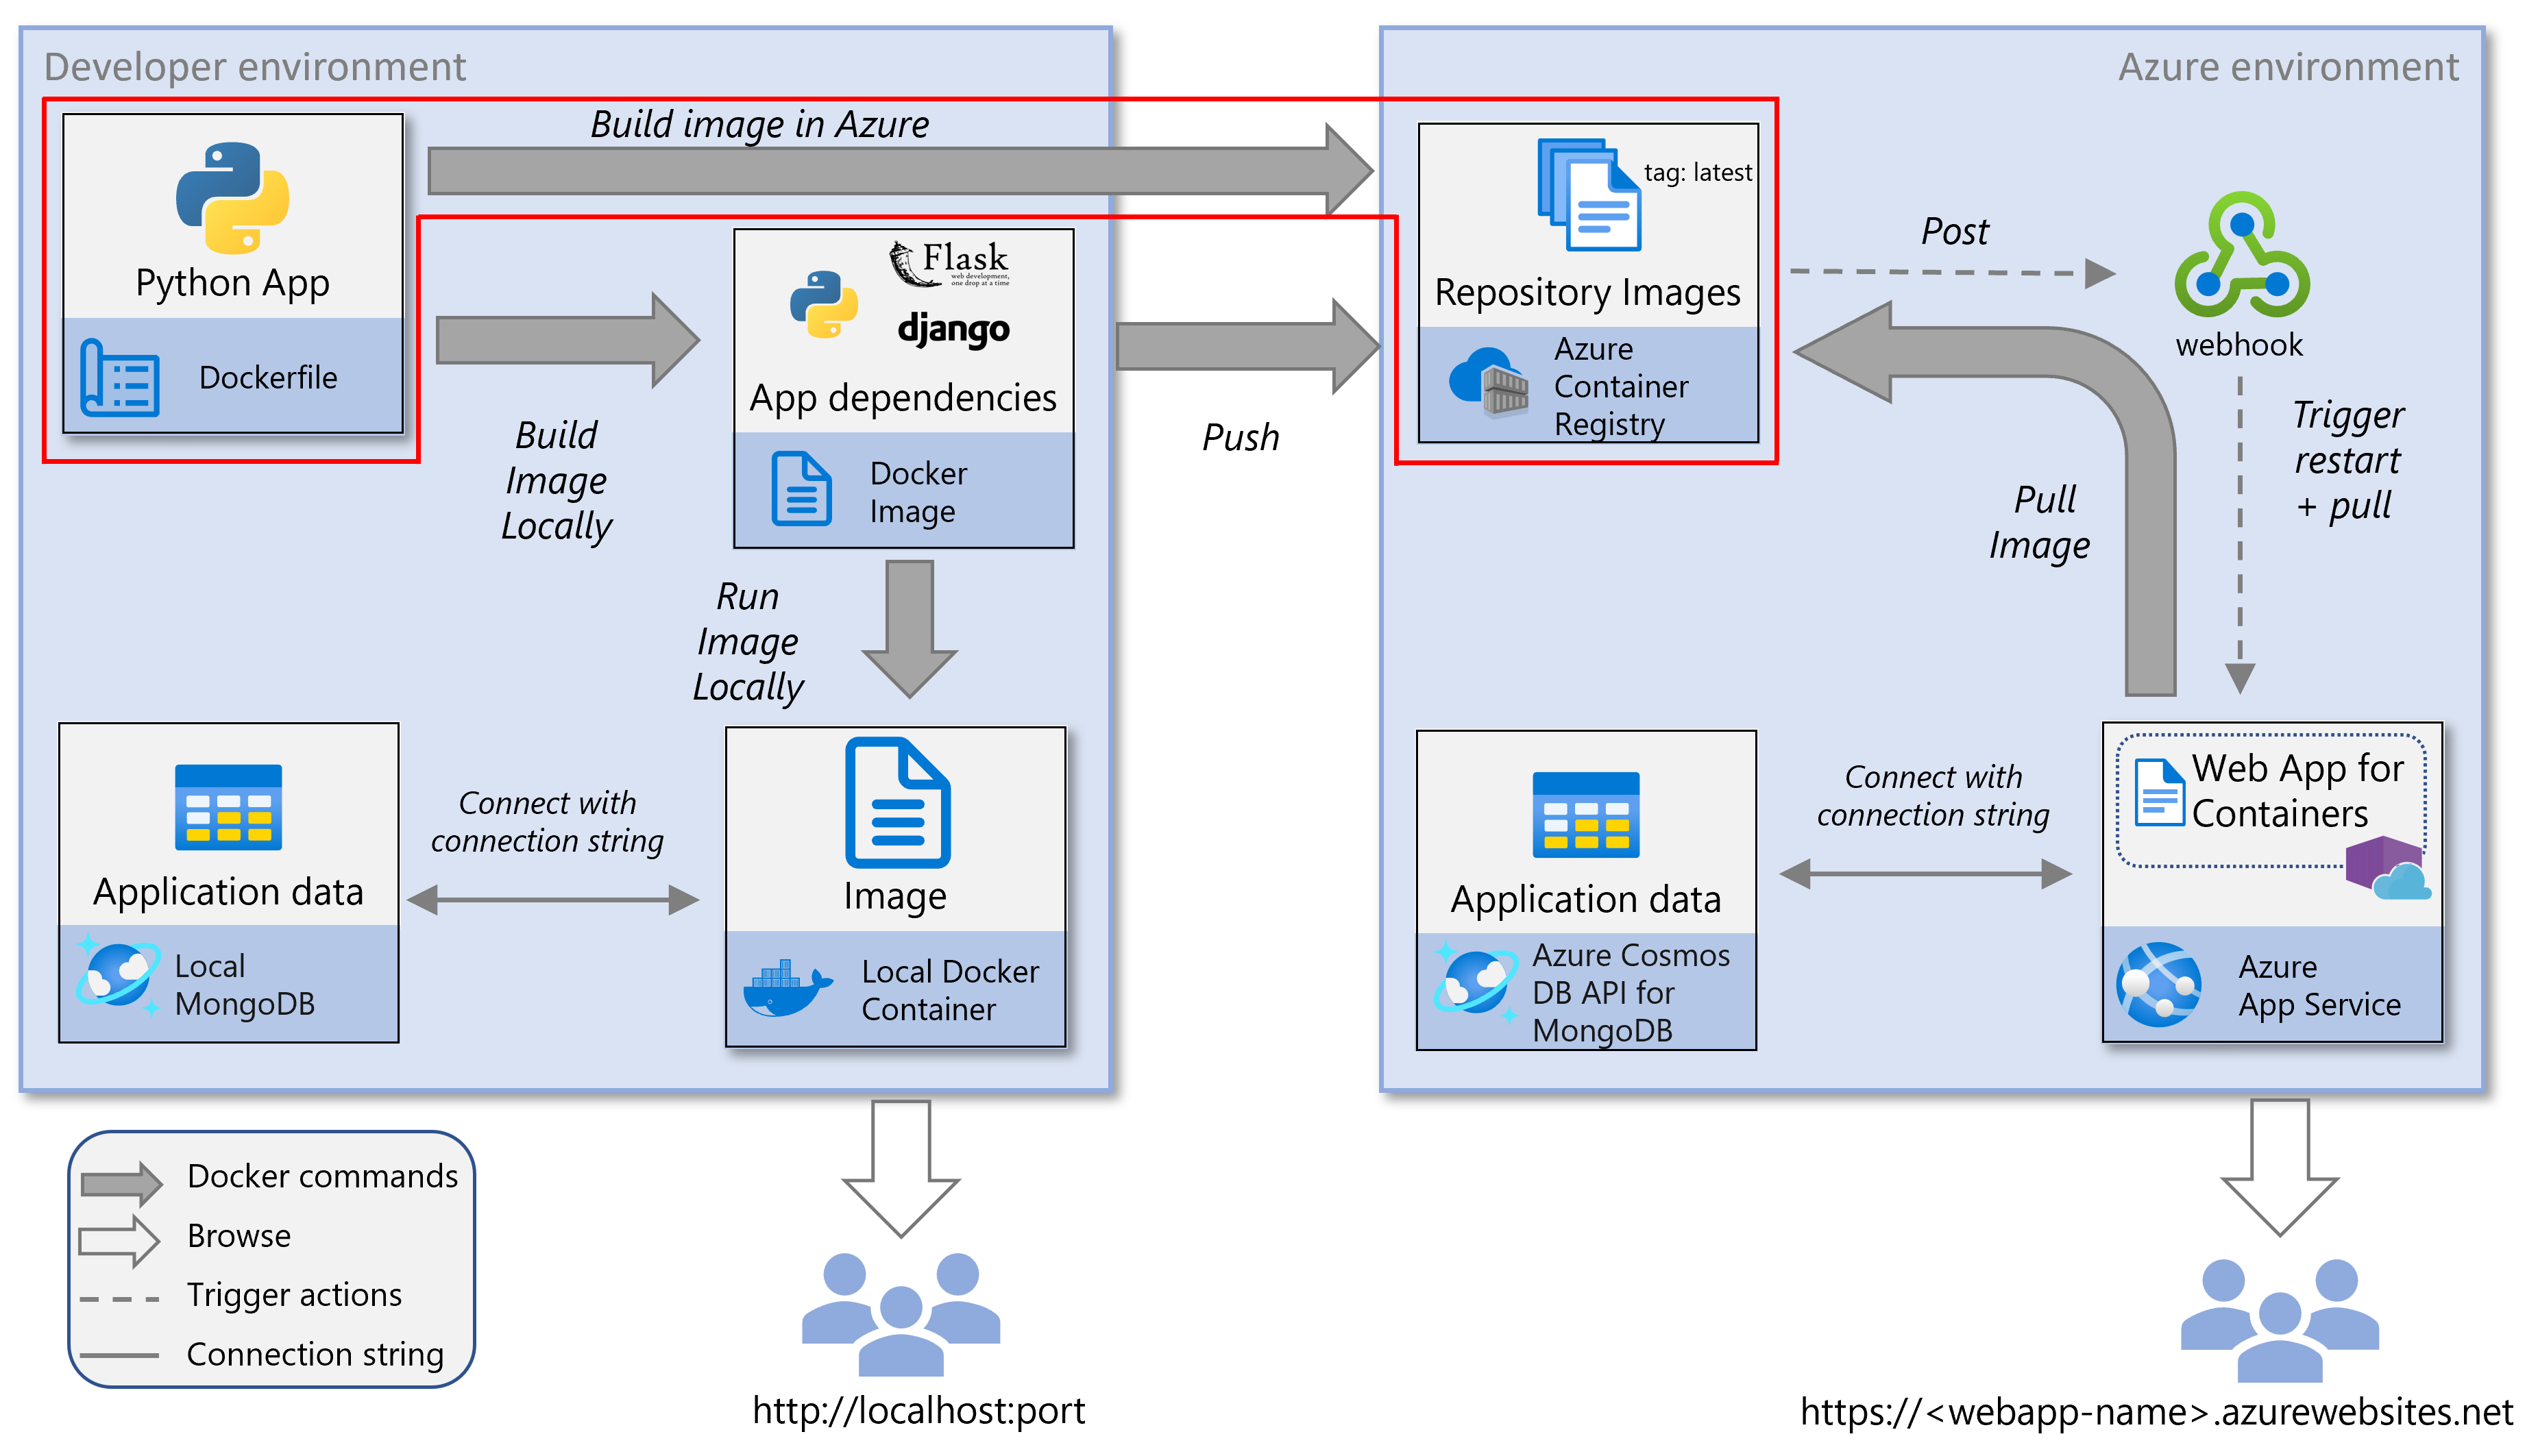
在本教學課程系列的這一部分中,您會瞭解如何直接在 Azure Container Registry 中建置容器化的 Python Web 應用程式,而不需在本機安裝 Docker。 在 Azure 中建置 Docker 映像通常比在本機建立映射更快且更容易,然後將它推送至 Azure Container Registry。 此外,雲端式映像建置不需要在開發環境中執行 Docker。
App Service 可讓您執行容器化 Web 應用程式,並透過 Docker Hub、Azure Container Registry 和 Visual Studio Team Services 的持續整合/持續部署 (CI/CD) 功能加以部署。 本文是 5 部分教學課程系列的第 3 部分,說明如何將 Python Web 應用程式容器化和部署至 Azure App Service。 在本教學課程的這個部分中,您會瞭解如何在 Azure 中建置容器化的 Python Web 應用程式。
Azure App Service 可讓您使用 Docker Hub、Azure Container Registry 和 Azure DevOps 等平台的 CI/CD 管線來部署和執行容器化 Web 應用程式。 本文是 5 部分教學課程系列的第 3 部分。
在本教學課程系列的第 2 部分中,您已在本機建置並執行容器映射。 相反地,在本教學課程的這個部分中,您會直接將相同的 Python Web 應用程式建置至 Azure Container Registry 中的 Docker 映射。 在 Azure 中建置映射通常比在本機建置更快、更輕鬆,然後將映像推送至登錄。 此外,在雲端中建置不需要在開發環境中執行 Docker。
Docker 映像在 Azure 容器註冊表中之後,即可部署到 Azure 應用服務。
此服務圖表會醒目提示本文所涵蓋的元件。
建立 Azure Container Registry
如果您有想要使用的現有 Azure Container Registry,請略過下一個步驟,然後繼續進行下一個步驟。 否則,請使用 Azure CLI 建立新的 Azure Container Registry。
Azure CLI 命令可以在 Azure Cloud Shell 或 已安裝 Azure CLI 的本機開發環境中執行。
注意
使用與本教學課程系列第 2 部分相同的名稱。
使用 az acr create 命令建立 Azure Container Registry。
#!/bin/bash # Use the resource group that you created in part 2 of this tutorial series. RESOURCE_GROUP_NAME='msdocs-web-app-rg' # REGISTRY_NAME must be unique within Azure and contain 5-50 alphanumeric characters. REGISTRY_NAME='msdocscontainerregistryname' echo "Creating Azure Container Registry $REGISTRY_NAME..." az acr create -g $RESOURCE_GROUP_NAME -n $REGISTRY_NAME --sku Standard在命令的 JSON 輸出中,找出
loginServer值。 這個值代表完整登錄名稱(全部小寫),並包含登錄名稱。如果您在本機計算機上使用 Azure CLI,請執行 az acr login 命令來登入容器登錄。
az acr login -n $REGISTRY_NAME命令將「azurecr.io」加入名稱中,以建立完整的登錄名稱。 如果成功,您會看到「登入成功」訊息。
注意
在 Azure Cloud Shell 中,不需要 az
acr login command,因為驗證會透過 Cloud Shell 會話自動處理。 不過,如果您遇到驗證問題,您仍然可以使用它。
在 Azure Container Registry 中建置映像檔
您可以透過各種方法直接在 Azure 中產生容器映像:
- Azure Cloud Shell 可讓您完全在雲端中建構映像,與本機環境無關。
- 或者,您可以使用 VS Code 或 Azure CLI 從本機設定在 Azure 中建立它,而不需要 Docker 在本機執行。
Azure CLI 命令可以在本機開發環境中,安裝 Azure CLI 或在 Azure Cloud Shell 中執行。
在控制台中,從本教學課程系列的第 2 部分瀏覽至複製存放庫的根資料夾。
使用 az acr build 命令建置容器映像。
az acr build -r $REGISTRY_NAME -g $RESOURCE_GROUP_NAME -t msdocspythoncontainerwebapp:latest .
# When using Azure Cloud Shell, run one of the following commands instead:
# az acr build -r $REGISTRY_NAME -g $RESOURCE_GROUP_NAME -t msdocspythoncontainerwebapp:latest https://github.com/Azure-Samples/msdocs-python-django-container-web-app.git
# az acr build -r $REGISTRY_NAME -g $RESOURCE_GROUP_NAME -t msdocspythoncontainerwebapp:latest https://github.com/Azure-Samples/msdocs-python-flask-container-web-app.git
命令中的最後一個自變數是存放庫的完整路徑。 在 Azure Cloud Shell 中執行時,請使用 https://github.com/Azure-Samples/msdocs-python-django-container-web-app.git Django 範例應用程式和 https://github.com/Azure-Samples/msdocs-python-flask-container-web-app.git Flask 範例應用程式。
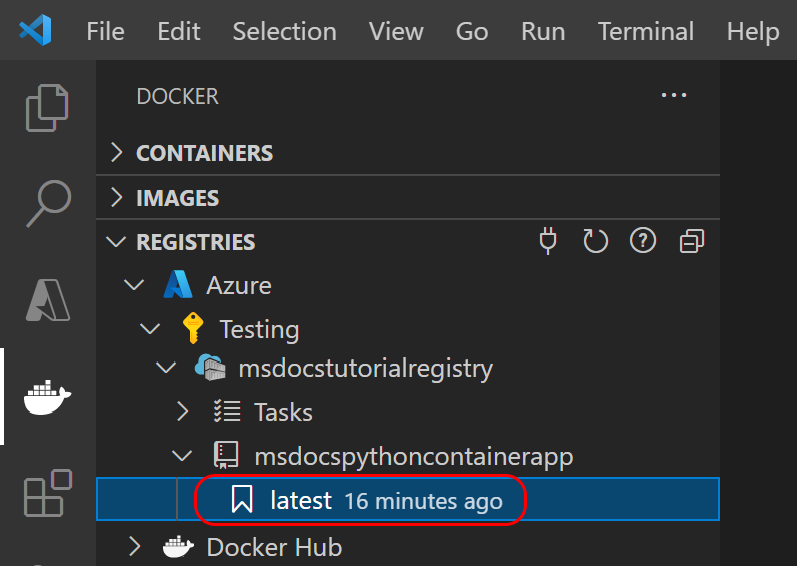
確認容器映像檔是使用 az acr repository list 命令建立的。
az acr repository list -n $REGISTRY_NAME


