將應用程式連接到 Fabric 的 API for GraphQL,使你的網頁、行動及後端應用程式能利用現代且高效的 API 查詢 Fabric 資料來源。 此整合需要透過 Microsoft Entra ID 進行正確認證,並設定應用程式以安全呼叫 GraphQL 端點。
本文將引導你如何將 React 應用程式連接到 Fabric GraphQL API,方法如下:
- 建立與設定 Microsoft Entra 應用程式以進行認證
- 在 Fabric 中建立範例 GraphQL API 並提供資料查詢
- 從 GitHub 複製並設定完整的 React 應用程式
- 測試已認證連線
教學用的是 React,但認證概念適用於任何語言。 如需 C#、Python 或其他語言的範例,請參閱 Microsoft Fabric Samples GitHub 倉庫。
誰需要連結應用程式
應用程式連線的設置對於以下用途至關重要:
- 網頁與行動開發者開發從 Fabric 湖屋與倉庫中擷取資料的應用程式
- 整合開發者 將 Fabric 資料與自訂應用程式及自動化工作流程連結
- 後端開發人員打造整合至 Fabric 統一分析平台的服務
- 資料工程師 建立自動化的資料處理工作流程,透過 API 處理 Fabric 資料
當你需要驗證並授權應用程式存取你的 Fabric GraphQL API 時,請使用本指南。
必要條件
開發工具:你需要在你的電腦上安裝 Node.js (LTS 版本)和 Visual Studio Code 。
連線應用程式之前,請確定您在 Fabric 中有 GraphQL 的 API。 如需詳細資訊,請參閱在 Fabric 中建立適用於 GraphQL 的 API 並新增資料。
適用於 GraphQL 的 API 需要應用程式使用 Microsoft Entra 進行驗證。 註冊並設定您的應用程式,以針對 Fabric 執行 API 呼叫。 如需詳細資訊,請參閱在 Azure 中建立 Microsoft Entra 應用程式。
呼叫 API 的已驗證憑證(使用者主體、服務主體或受管識別)需要具有 GraphQL API 的執行權限(在新增直接存取權限時選擇 "執行查詢和變動" 選項)。 如果使用單一登入 (SSO) 作為 API 中的連線選項,請確定認證在所選資料來源中具有讀取或寫入許可權。 如需詳細資訊,請參閱 連線至資料源並建置架構。
認證與權限摘要
存取 GraphQL API 需要在 API 層級及底層資料來源層級進行適當的認證與授權。 你可以使用 使用者主體 (代表個別使用者)或 服務主體 (代表應用程式或服務)來驗證。 對於資料來源連接,你可以使用 單一登入(SSO), 將呼叫者的身份傳遞給資料來源,或是使用預先設定的連線,使用 儲存憑證 。
下表總結了不同支援的認證情境及存取 GraphQL API 用戶端所需的最低權限:
| API 呼叫端 | 資料來源連線能力 | 必要的 GraphQL API 許可權 | 必要的數據源許可權 | Microsoft Entra 應用程式範圍 |
|---|---|---|---|---|
| 使用者主體 (UPN) | 單一登入 (SSO) | 在 API 層級執行查詢和突變 | 在數據源上授與UPN的適當讀取/寫入許可權 | GraphQLApi.Execute.All |
| 服務主體 (SPN) | 單一登入 (SSO) | 在 API 層級執行查詢和突變 | 在數據源上授與SPN的適當讀取/寫入許可權 | 不適用 |
| 使用者主體 (UPN) | 已儲存的認證 | 在 API 層級執行查詢和突變 | 在數據源上授與已儲存認證的適當讀取/寫入許可權 | GraphQLApi.Execute.All |
| 服務主體 (SPN) | 已儲存的認證 | 在 API 層級執行查詢和突變 | 在數據源上授與SPN的適當讀取/寫入許可權 | 不適用 |
建立 Microsoft Entra 應用程式
在你的應用程式能呼叫 Fabric GraphQL API 之前,你必須先在 Microsoft Entra ID 中註冊它。 這個註冊會為你的應用程式建立一個身份,並定義它所需的權限。 註冊過程會產生一個客戶端 ID(應用程式識別碼),並建立應用程式用來取得存取權杖的驗證流程。
對於 React 應用程式,你會配置使用 PKCE 流程的單頁應用程式(SPA)設定——這是一種為瀏覽器應用程式設計的安全認證方法,因為客戶端秘密無法安全儲存。
Microsoft Entra 應用程式 (用戶端) 識別碼 和 目錄 (租用戶識別碼) 值會出現在 [摘要] 方塊中。 記錄這些數值,因為你在 設定 React 應用程式時需要它們。
設定 API 權限,讓你的應用程式能存取 Fabric GraphQL API。 在 [管理] 列表中,選取 [API 許可權],然後選取 [新增許可權]。
新增 PowerBI 服務、選取 [委派的許可權],然後選取 [GraphQLApi.Execute.All ] 許可權。 此權限允許您的應用程式代表登入使用者執行查詢與變異。 確認不需要系統管理員同意。
返回 管理 清單,選取 驗證 新增>平台>單頁應用程式。
針對本機開發目的,請在 [重新導向 URI
http://localhost:3000新增 ,並確認應用程式已針對授權碼流程啟用,且具有適用於程式代碼交換的證明金鑰 (PKCE) 。 選取 [設定] 按鈕來儲存變更。 如果應用程式遇到與跨來源要求相關的錯誤,請在上一個步驟中使用相同的重新導向 URI 新增 行動和桌面應用程式 平台。回到 [驗證],向下捲動至 [進階設定],然後在 [允許公用用戶端流程] 下,選取 [[是][啟用下列行動和桌面流程]。
設定應用程式存取的範例 GraphQL API
當你的 Microsoft Entra 應用程式已註冊後,你需要在 Fabric 裡使用 GraphQL API 來查詢。 本節將引導你使用 Fabric 的公共假期資料集建立範例 API。 這讓你有一個可用的 API,可以測試認證和資料擷取,而不需要自行設定資料來源。
範例 API 會從 Lakehouse 資料表中揭露假日資料,你的 React 應用程式會查詢以顯示公共假期。
從 [網狀架構入口網站] 首頁,從工作負載清單中選取 [資料工程師]。
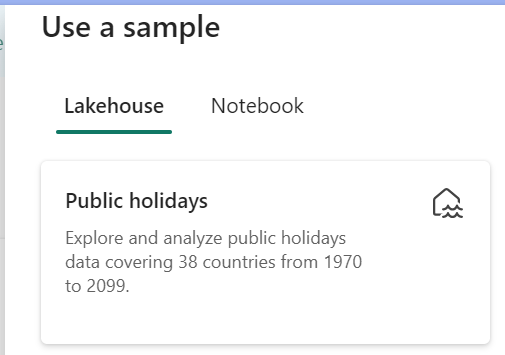
在 [資料工程] 體驗中,選取 [使用範例],然後在 Lakehouse 底下,選取 [國定假日] ,以自動建立包含國定假日資料的新 Lakehouse。
請遵循 建立 GraphQL 的 API 中的步驟來建立新的 GraphQL API,然後選取您建立的 Lakehouse。 新增公共假期表格,以便用戶端可以存取此資料。
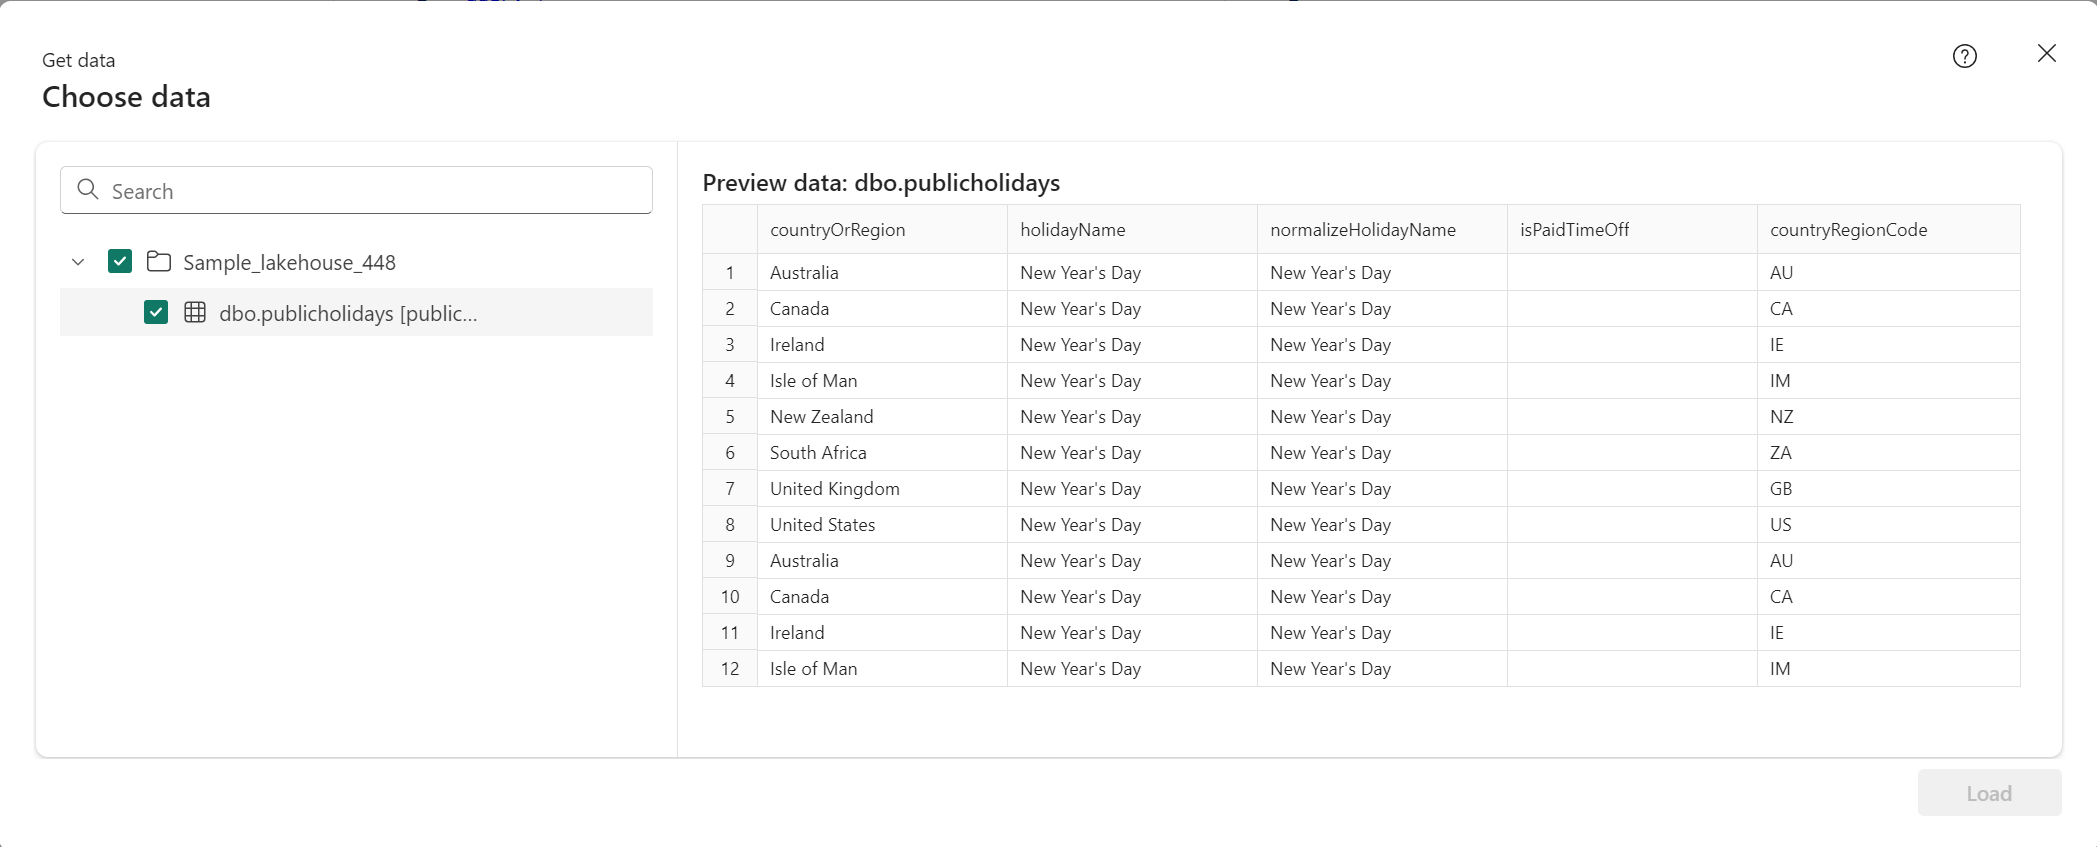
在建立 React 應用程式之前,請先在 API 編輯器中測試你的 API 是否正常運作。 請使用以下查詢——這也是你的 React 應用程式之後執行的同一個查詢:
 query {
 publicholidays (filter: {countryRegionCode: {eq:"US"}, date: {gte: "2024-01-01T00:00:00.000Z", lte: "2024-12-31T00:00:00.000Z"}}) {
     items {
       countryOrRegion
       holidayName
       date
     }
   }
 }
選取 API 項目工具列上的 [複製端點]。

在 [複製連結] 畫面中,選取 [複製]。
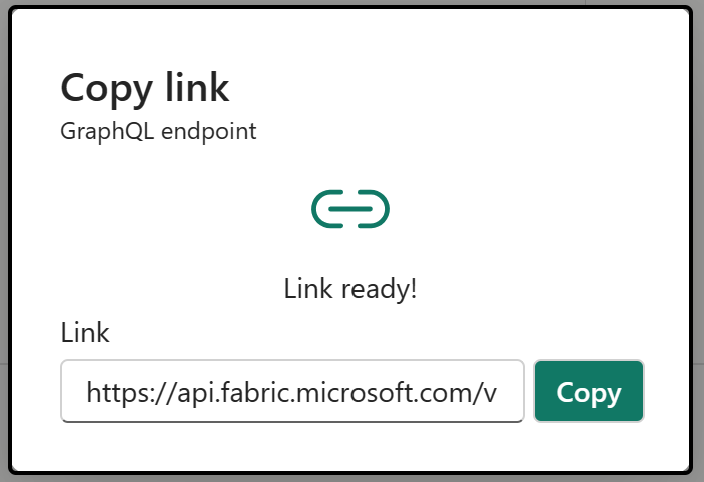
記錄 Microsoft Entra 應用程式中的 客戶 ID 和 租戶 ID ,以及端點 URI。 你在 設定 React 應用程式時需要這些值。


複製並設定 React 應用程式
現在你已經設定好 Microsoft Entra 應用程式和 GraphQL API,就可以設定 React 應用程式來連接它們。 該應用程式使用 Microsoft 認證函式庫(MSAL)來處理認證,並以承載憑證發送 GraphQL 請求。
從 GitHub 複製範例庫:
git clone https://github.com/microsoft/fabric-samples.git前往 React 應用程式資料夾:
cd fabric-samples/docs-samples/data-engineering/GraphQL/React資料夾內包含完整的 React 應用程式。 你只需要編輯
src/authConfig.js來設定你特定的端點和憑證。在你的程式碼編輯器中開啟專案:
code .在編輯器中,導向資料夾
src並開啟authConfig.js。請將以下佔位符值替換成您的詳細資訊:
-
Enter_the_GraphQL_Endpoint_Here- 用你的 GraphQL API 端點替換, 設定一個範例 GraphQL API 用於應用程式存取 -
Enter_the_Application_Id_Here- 將 應用程式(用戶端)ID 替換來自 建立 Microsoft Entra 應用程式 -
Enter_the_Tenant_Info_Here- 以你的目錄(租戶) ID替換建立 Microsoft Entra 應用程式
這很重要
在同一檔案中,常
loginRequest數包含作用域https://analysis.windows.net/powerbi/api/GraphQLApi.Execute.All。 存取 Fabric GraphQL API 需要這個精確範圍。 請勿移除或修改此瞄準鏡;否則,認證失敗。-
儲存檔案。
在終端機中,前往專案根目錄並執行:
npm install這樣就能安裝所有必要的依賴項。
測試應用程式
應用程式設定好後,在本地執行以確認一切正常運作:
在你的終端機裡,執行:
npm start此指令啟動開發伺服器並在瀏覽器中開啟應用程式。
當應用程式載入時,完成
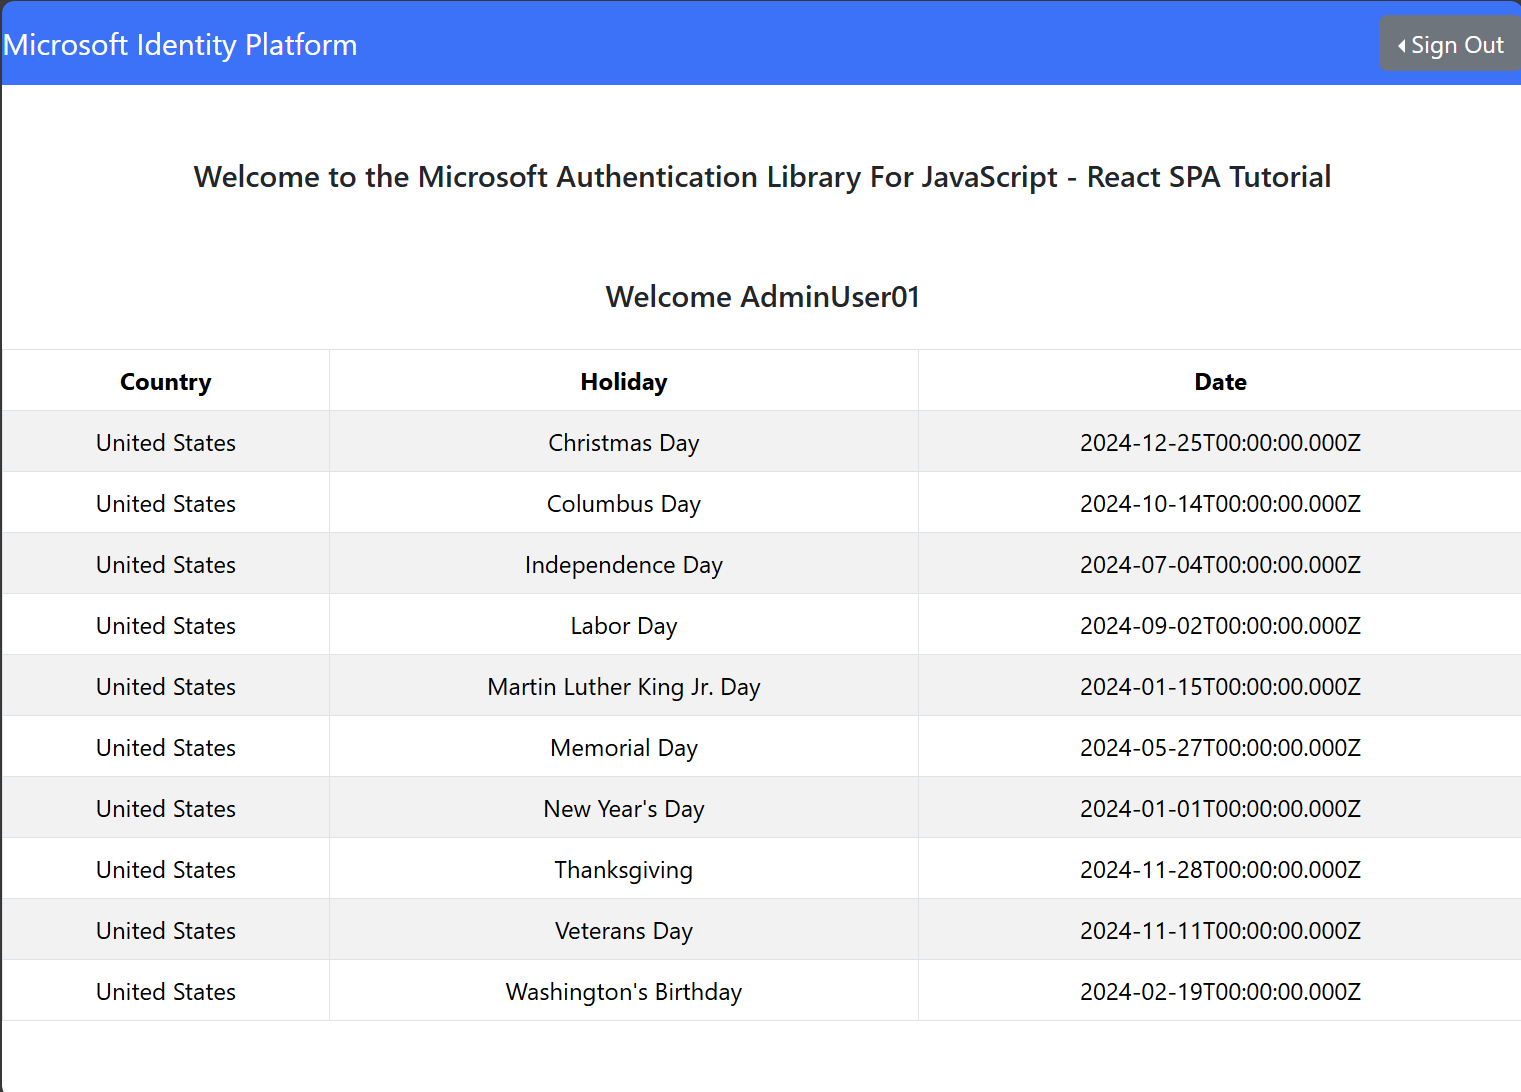
http://localhost:3000的認證流程。 請依照教學區段描述的登入步驟 操作:從應用程式呼叫 API。成功登入後,選擇 查詢 GraphQL 資料的 Fabric API 按鈕。 這會觸發認證流程,取得存取權杖,並對你的 Fabric API 執行 GraphQL 查詢。
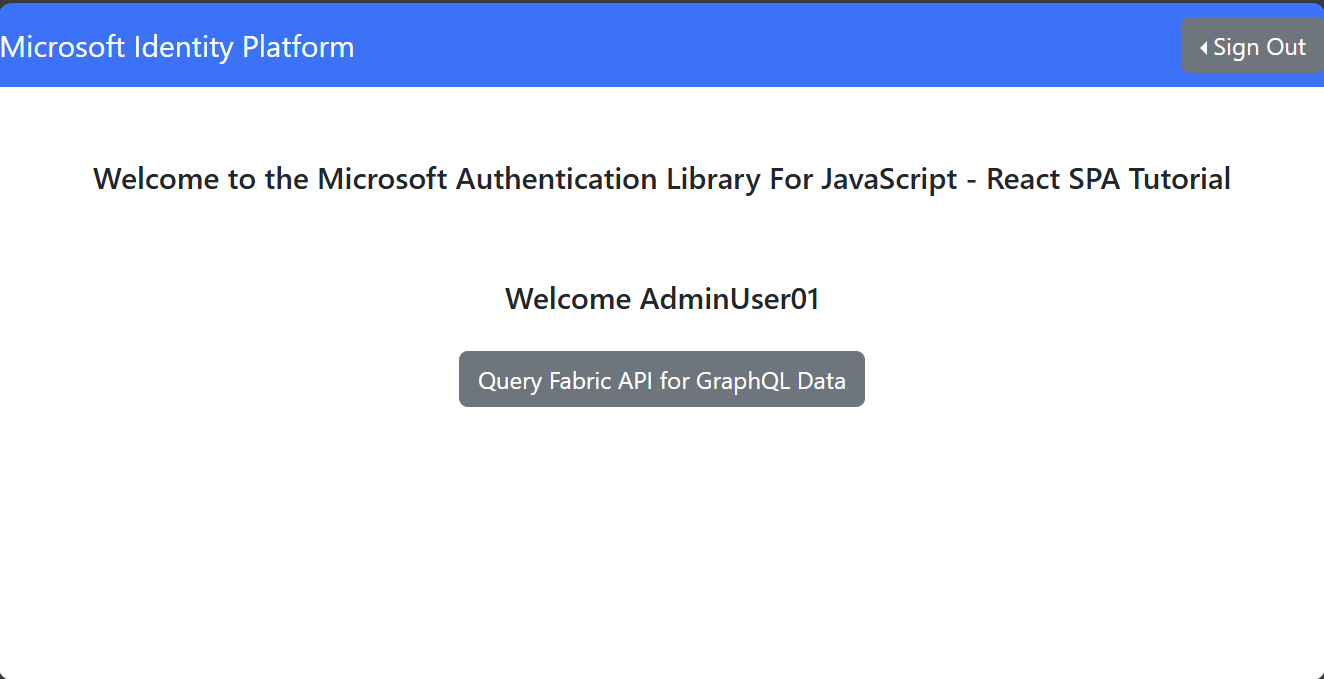
如果所有設定都正確,應用程式會以表格顯示公共假期。 這證實了:
- 你的 Microsoft Entra 應用程式擁有正確的權限
- 存取權杖已成功取得
- GraphQL API 負責驗證請求
- 查詢是針對 Lakehouse 資料執行的


其他 NPM 指令
除了 npm start 和 npm install之外,你可以針對不同的開發情境使用這些常見的 npm 指令:
-
npm run dev- 啟動開發伺服器的替代方式 -
npm run build- 建立優化的應用程式生產版本 -
npm run preview- 在部署前於本地測試生產組建 -
npm test- 執行自動化測試以驗證程式碼是否正確運作
相關內容
現在你已經有一個可運作的應用程式連接到你的 Fabric GraphQL API,請探索以下資源,打造更複雜的解決方案:
- 在 Fabric 中建立 GraphQL 的 API,並新增資料 - 學習如何暴露你自己的資料來源
- 在 Fabric API for GraphQL 中查詢多個資料來源——將來自不同來源的資料合併於單一查詢中
- GraphQL 編輯器的 Fabric API - 互動式測試與開發查詢
- 在 Azure 建立 Microsoft Entra 應用程式 - 生產應用程式註冊詳細指南
- Microsoft Fabric GraphQL 範例 - 瀏覽多種語言範例