Exercise - Use table data from client script
In this exercise, you use a client script to implement the business requirement of making columns on the form required based on the values in a related table. You set the requirement level of columns on the Idea form in the Innovation Challenge sample app based on the value of columns on the Challenge table. To accomplish this, you use the Xrm.WebAPI methods to retrieve the related data.
Important
Use a test environment with Microsoft Dataverse provisioned and the sample apps enabled. If you don't have one you can sign up for the community plan.
Task - Prepare solution
In this task, you create a solution, add existing tables to the solution, add new columns, and prepare the main form of one of the tables you added to the solution.
Navigate to Power Apps maker portal and make sure you're in the correct environment that has the sample apps enabled.

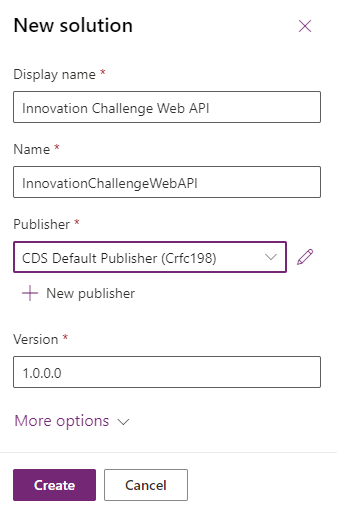
Select Solutions and then select + New solution.
Enter Innovation Challenge Web API for Display name, select CDS default publisher for Publisher, and select Create.
The Innovation Challenge Web API solution you created should open.
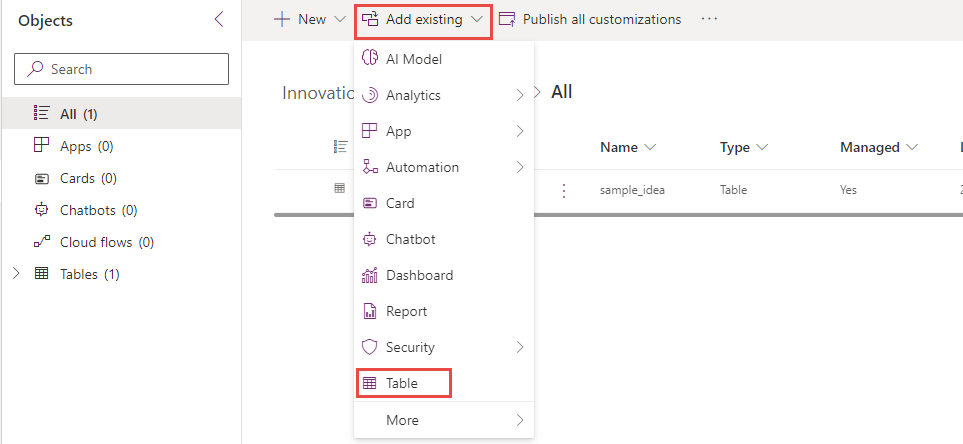
Select + Add existing and then select Table.
Enter idea in the Search textbox, select Idea, and then select Next.
Note
If you're unable to locate Idea table you may not have the sample apps in your environment. Select another environment or create a new one with the sample apps installed.
Select the Select objects button.

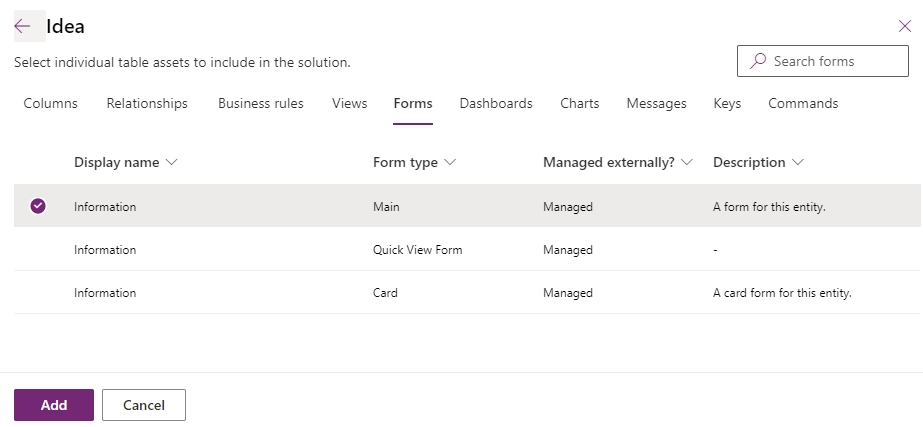
Select the Forms tab, select the Information form of Form type Main, and then select Add.
Select Add again.
Select + Add existing and select Table again.
Enter search for challenge, select Challenge, and then select Next.
Select the Select objects button.

Select the Forms tab, select the Information form of Form type Main, and then select Add.

Select Add again.
Open the Challenge table you just added to the solution.
Select + New and then select column. You're adding two columns to indicate what data is required for Idea rows created for this Challenge.

Enter Investment Required for Display name, select Choice | Yes/No for Data type, expand the Advanced options. Make a note of the prefix of the Schema name; your prefix is different. You need this when you're creating the script and what to refer to the fields you're adding.
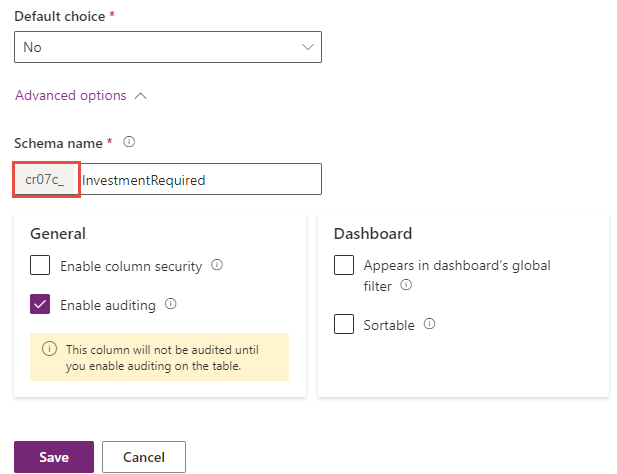
Select Save.
Select + New and then select Column again.
Enter ROI Required for Display name, select Choice | Yes/No for Data type, and select Save.
Expand the Challenge table on the left side and then select Forms.
Open the Information form you added to the solution.
Select the Table columns tab.

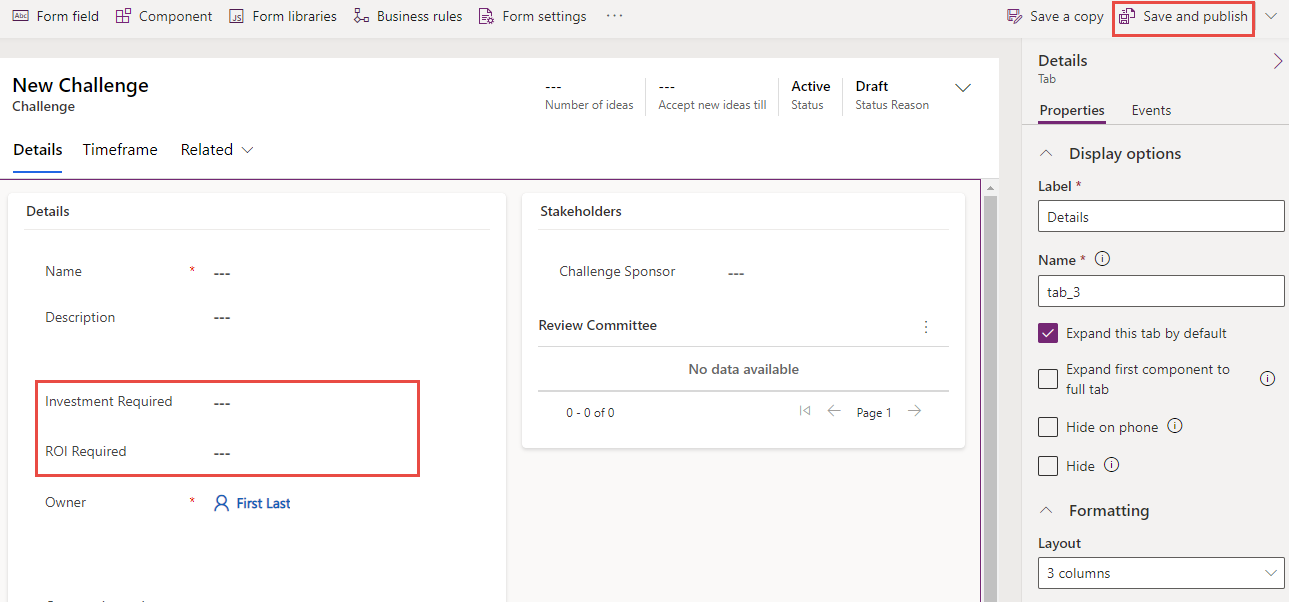
Add the Investment Required column to the form.
Add the ROI Required to the form.
The form should now look like this image. Select Save and publish. Wait for the publishing to be completed.
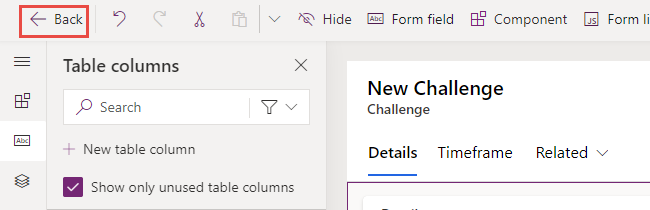
Go back to the solution by selecting on the back button.


Task - Create client script
In this task, you create a script that sets the required level for columns on the Idea table based on the Challenge tables column values.
Start a new instance of Visual Studio Code or use your favorite code editor. You can download and install Visual Studio Code.
Select Open Folder.
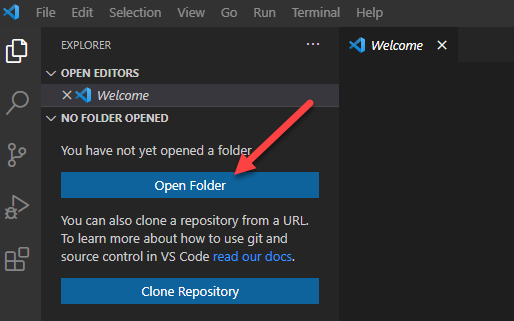
Create a folder in your Documents folder and name it ClientScriptLab.
Select the ClientScriptLab folder you created and select the Select Folder button.

Hover over the CLIENTSCRIPTLAB folder and select New File.
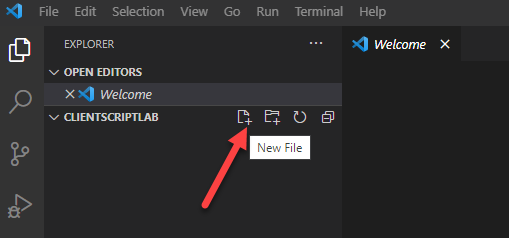
Name the file IdeaForm.js.
Add the below functions to IdeaForm.js. Your functions should have either unique names or use a namespace to ensure uniqueness.
function LearnLab_handleIdeaOnLoad(executionContext) {
}
function LearnLab_handleChallengeOnChange(executionContext) {
}
Add this script to the OnLoad function. This script registers an OnChange event handler, you need to handle on change in case the related challenge changes.
var formContext = executionContext.getFormContext();
formContext.getAttribute('sample_originatingchallengeid').addOnChange(LearnLab_handleChallengeOnChange);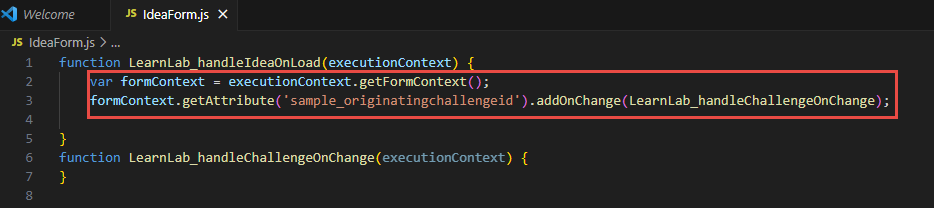
Add this script to the OnChange function. This code simply gets the formContext.
var formContext = executionContext.getFormContext();Add this function to the IdeaForm file. This function is called from both OnLoad and OnChange functions and the formContext is passed as an argument. This is where you implement the business logic to set the requirement levels.
function LearnLab_setRequiredFields(formContext) {
}
You first get the challenge lookup values. Add this script to the setRequiredFields function. We got
sample_originatingchallengeidfrom the properties of the column in solution explorer.var challenge = formContext.getAttribute('sample_originatingchallengeid').getValue();You then check if the challenge value is null. Add this script to the setRequiredFields function.
if (challenge != null) {
    }
    else{
    }
You make the columns not required if the challenge is null. Add this script inside the else. This ensures if a challenge isn't selected the columns aren't required.
formContext.getAttribute("sample_investmentrequired").setRequiredLevel('none');
formContext.getAttribute("sample_timetoroimonths").setRequiredLevel('none');
Your IdeaForm should now look like this image.

You get the ID of the related challenge if the challenge isn't null. Add this script inside the if statement.
var challengeId = challenge[0].id;Now you retrieve the challenge row using WebAPI and select only the two columns you're interested in InvestmentRequired and ROIRequired. Add the script inside if statement.
Note
Replace crc8c with your prefix from Task 1.
Xrm.WebApi.retrieveRecord("sample_challenge", challengeId, "?$select=crc8c_investmentrequired,crc8c_roirequired").then(
            function success(result) {
            },
            function (error) {
            }
        );
If the retrieveRecord succeeds, you first create two variables that hold the requirement values for both columns and set their initial value to not required. After that you check whether the columns are required and set the requirement variable accordingly. Finally you set the column requirement to the value of the variable you created. Add this script inside the success function. Replace the prefix cr07c_ for cr07c_investmentrequired and cr07c_roirequired with the prefix of the columns you created.
Note
Replace crc8c with your prefix from task 1.
var investmentRequired = 'none';
var roiRequired = 'none';
if (result.cr07c_investmentrequired) {
    investmentRequired = 'required';
}
if (result.cr07c_roirequired) {
    roiRequired = 'required';
}
formContext.getAttribute("sample_investmentrequired").setRequiredLevel(investmentRequired);
formContext.getAttribute("sample_timetoroimonths").setRequiredLevel(roiRequired);
You log the error message if retrieveRecord causes an error. Add this script inside the error function. You could also use methods from Xrm.Navigation to show a dialog to the user with appropriate options if necessary.
console.log(error.message);The LearnLab_setRequiredFileds function should now look like this image.

You call the LearnLab_setRequiredFileds from both OnLoad and OnChange functions. Add this script to both OnLoad and OnChange functions.
LearnLab_setRequiredFields(formContext)Your IdeaForm should now look like this image.

Select File and Save all.


Task - Upload the script
In this task, you load the script you created into your environment.
Navigate to Power Apps maker portal and make sure you're in the correct environment.
Select Solutions and to open the Innovation Challenge Web API solution.
Select + New and select More | Web resource.

Enter IdeaForm.js for Name, enter IdeaForm.js for Display name, select Java script (JS) for Type, and then select Choose File.

Select the IdeaForm.js file you created earlier and then select Open.
Select Save.
Your solution should now have the Challenge table, Idea table, and the IdeaForm.js web resource.
Don't navigate away from this page.


Task - Edit form
In this task, you add JavaScript library to the Idea main form and add an event handler for On Load event.
Make sure you're still in the Innovation Challenge Web API solution.
Expand the Idea table and select Forms.
Open the Main Information form.
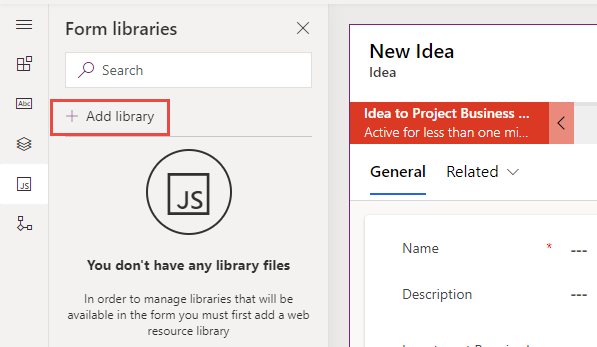
Select the Form libraries tab.
Select + Add library.
Enter idea in the search textbox and press Enter. Select IdeaForm.js, and then select Add.

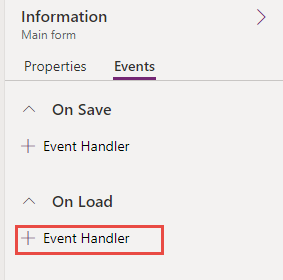
Select the Events tab from the right.
Expand the On Load section and select + Event Handler.
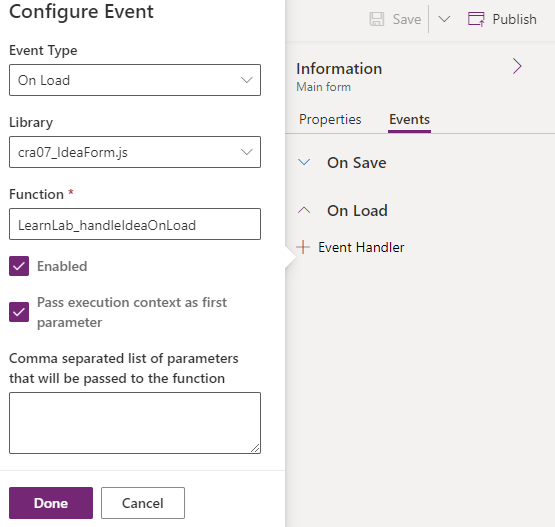
Enter LearnLab_handleIdeaOnLoad for Function, check the Pass execution context as first parameter checkbox, and select Done.
Select Save and publish and wait for the publishing to complete.
Select the Back button.
Select All.
Select Publish all customizations and wait for the publishing to complete.


Task - Test
In this task, you test your script.
Navigate to Power Apps maker portal and make sure you're in the correct environment.
Select Apps and launch the Innovation Challenge application.
Select Challenges and open one of the Challenge rows.
The Investment Required and ROI Required should be empty. Select Related and select Ideas.

Open one of the Ideas.

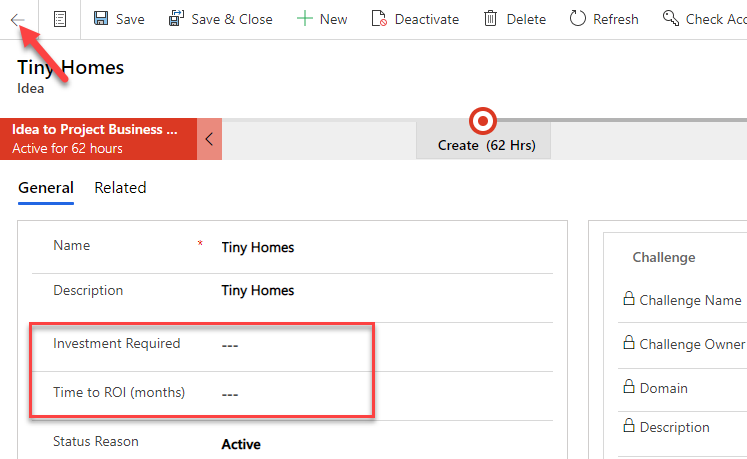
Clear the Investment Required and Time to ROI (months) column values.
The columns aren't required because the requirement columns on the Challenge table are empty. Select the back button.
Select the Details tab and select Yes for both Investment Required and ROI Required.
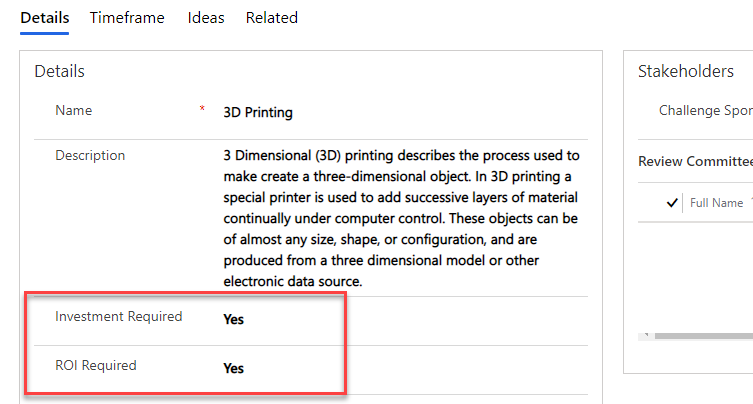
Select the Ideas tab and open the same idea you selected last time.
The two columns should now be required.


