注意
為了獲得更大的功能, PyTorch 也可以與 Windows 上的 DirectML 搭配使用。
在本教學課程的上一個階段中,我們在您的計算機上安裝 PyTorch。 現在,我們將使用它來設定程式碼與我們將用來建立模型的數據。
在 Visual Studio 中開啟新的專案。
- 開啟 Visual Studio,然後選擇
create a new project。
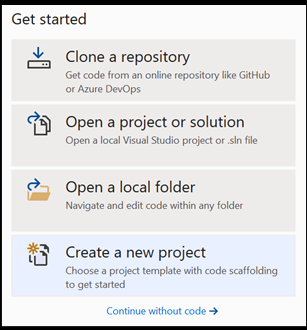
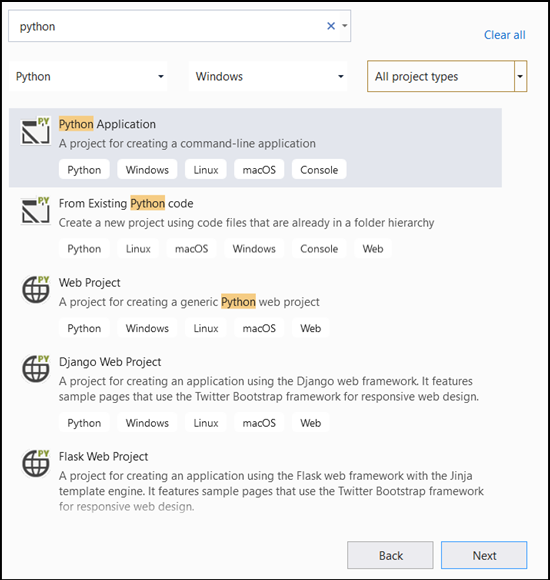
- 在搜尋列中,輸入
Python並選取Python Application作為專案範本。
- 在組態視窗中:
- 命名專案。 在這裡,我們稱之為 PyTorchTraining。
- 選擇專案的位置。
- 如果您使用 VS2019,請確定
Create directory for solution已核取 。 - 如果您要起訴 VS 2017,請確定
Place solution and project in the same directory未核取。
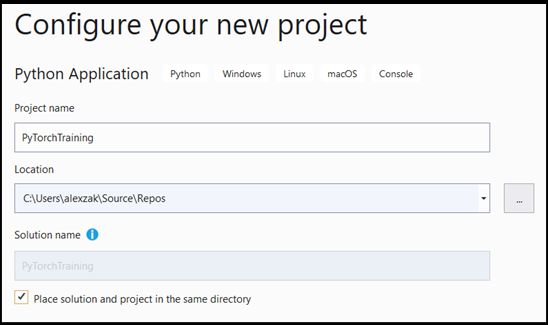
按 create 以建立您的專案。
建立 Python 解釋器
現在,您需要定義新的 Python 解釋器。 這必須包含您最近安裝的 PyTorch 套件。
- 瀏覽至解釋器選取項目,然後選取
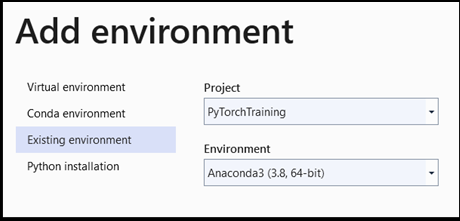
Add environment:
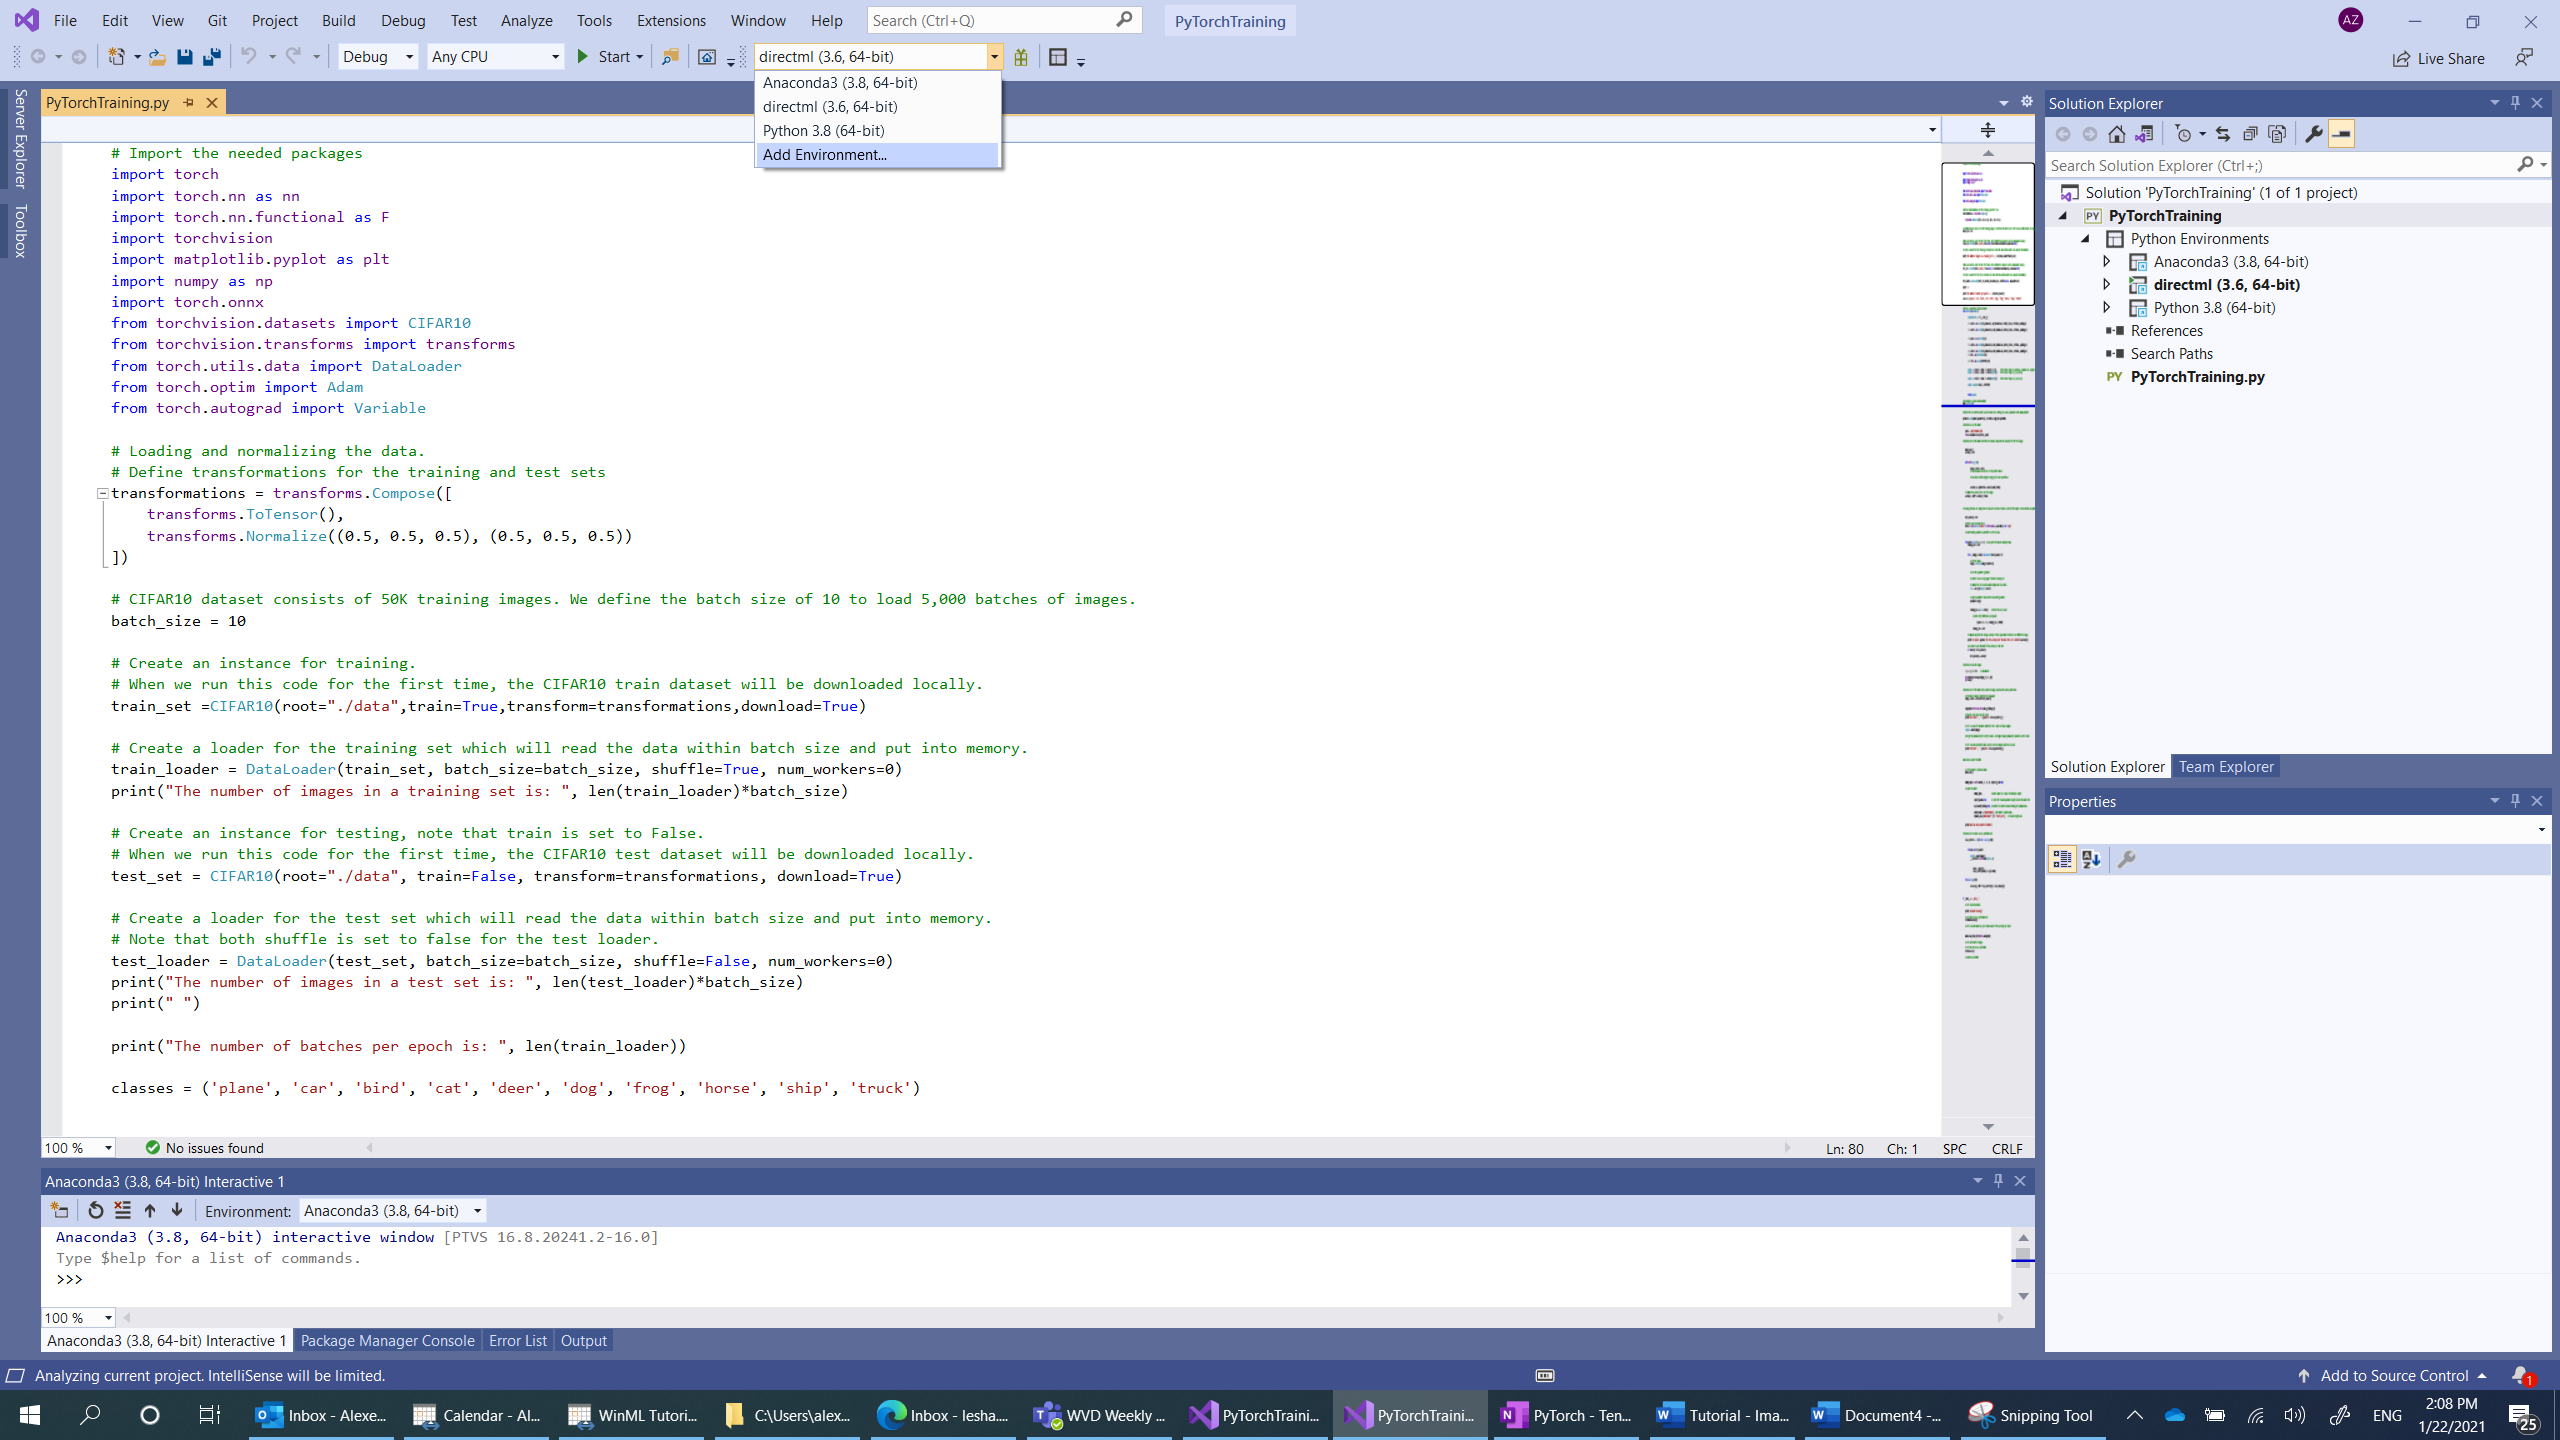
- 在
Add environment視窗中,選取Existing environment,然後選擇Anaconda3 (3.6, 64-bit)。 這包括 PyTorch 套件。
若要測試新的 Python 解釋器和 PyTorch 套件,請在檔案中輸入下列程式代碼 PyTorchTraining.py :
from __future__ import print_function
import torch
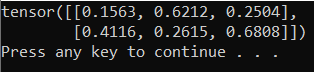
x=torch.rand(2, 3)
print(x)
輸出應該是類似下面的隨機 5x3 張量。
注意
有興趣深入了解嗎? 流覽 PyTorch 官方網站。
載入數據集
您將使用 PyTorch torchvision 類別來載入資料。
Torchvision 連結庫包含數個熱門數據集,例如 Imagenet、CIFAR10、MNIST 等模型架構,以及電腦視覺的常見影像轉換。 這使得在 PyTorch 中載入數據相當簡單。
CIFAR10
在這裡,我們將使用CIFAR10數據集來建置和定型影像分類模型。 CIFAR10是機器學習研究廣泛使用的數據集。 其中包含 50,000 個訓練影像和 10,000 個測試影像。 它們全都大小為 3x32x32,這表示大小為 32x32 像素的 3 通道色彩影像。
這些圖像分為10個類別:『飛機』(0)、『汽車』(1)、『鳥』(2)、『貓』(3)、『鹿』(4)、『狗』(5)、『青蛙』(6)、『馬』(7)、『船』(8)、』卡車'(9)。
您將遵循三個步驟來載入和讀取 PyTorch 中的CIFAR10資料集:
- 定義要套用至影像的轉換:若要將模型定型,您必須將影像轉換成標準化範圍的 Tensors [-1,1]。
- 建立可用資料集的實例並載入資料集:若要載入數據,您將使用
torch.utils.data.Dataset類別 - 表示數據集的抽象類。 只有在您第一次執行程式代碼時,才會在本機下載數據集。 - 使用 DataLoader 存取數據。 若要取得資料的存取權,並將資料放入記憶體中,您將使用 類別
torch.utils.data.DataLoader。 PyTorch 中的 DataLoader 會包裝數據集,並提供基礎數據的存取權。 此包裝函式會保存每個已定義批次大小的映像。
您將針對定型集和測試集重複這三個步驟。
-
PyTorchTraining.py file在 Visual Studio 中開啟 ,然後新增下列程式代碼。 這會處理來自CIFAR10數據集的定型和測試數據集的三個步驟。
from torchvision.datasets import CIFAR10
from torchvision.transforms import transforms
from torch.utils.data import DataLoader

# Loading and normalizing the data.
# Define transformations for the training and test sets
transformations = transforms.Compose([
    transforms.ToTensor(),
    transforms.Normalize((0.5, 0.5, 0.5), (0.5, 0.5, 0.5))
])

# CIFAR10 dataset consists of 50K training images. We define the batch size of 10 to load 5,000 batches of images.
batch_size = 10
number_of_labels = 10

# Create an instance for training.
# When we run this code for the first time, the CIFAR10 train dataset will be downloaded locally.
train_set =CIFAR10(root="./data",train=True,transform=transformations,download=True)

# Create a loader for the training set which will read the data within batch size and put into memory.
train_loader = DataLoader(train_set, batch_size=batch_size, shuffle=True, num_workers=0)
print("The number of images in a training set is: ", len(train_loader)*batch_size)

# Create an instance for testing, note that train is set to False.
# When we run this code for the first time, the CIFAR10 test dataset will be downloaded locally.
test_set = CIFAR10(root="./data", train=False, transform=transformations, download=True)

# Create a loader for the test set which will read the data within batch size and put into memory.
# Note that each shuffle is set to false for the test loader.
test_loader = DataLoader(test_set, batch_size=batch_size, shuffle=False, num_workers=0)
print("The number of images in a test set is: ", len(test_loader)*batch_size)

print("The number of batches per epoch is: ", len(train_loader))
classes = ('plane', 'car', 'bird', 'cat', 'deer', 'dog', 'frog', 'horse', 'ship', 'truck')
第一次執行此程式代碼時,會將CIFAR10數據集下載到您的裝置。

後續步驟
隨著數據準備就緒,是時候 定型 PyTorch 模型了