إشعار
يتطلب الوصول إلى هذه الصفحة تخويلاً. يمكنك محاولة تسجيل الدخول أو تغيير الدلائل.
يتطلب الوصول إلى هذه الصفحة تخويلاً. يمكنك محاولة تغيير الدلائل.
In this tutorial, you'll learn how to display a list business information to your users from Microsoft Dataverse on a page in your site.
First, you'll need to create a table (or choose an existing table) in Dataverse to store your business information. You'll also need to configure a view from the table that will define the columns and structure for your list. You'll add the list component to a page. For security reasons, your users won't yet be able to view the information until we define table permissions in the following tutorial.
In this tutorial, you learn how to:
- Create a table
- Create a view
- Add a list to the page
Prerequisites
- A Power Pages subscription or trial. Get a Power Pages trial here.
- A Power Pages site created. Create a Power Pages site.
- Complete the Add and design a page tutorial.
Create a table
This video provides an overview of the steps to create a table.
Use the steps below to create a table.
Go to Power Pages.
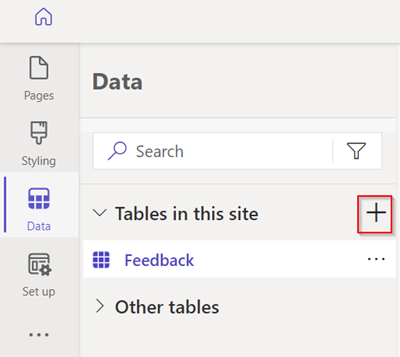
Select the Data icon on the left navigation.
- Select the + Table button and choose New table.
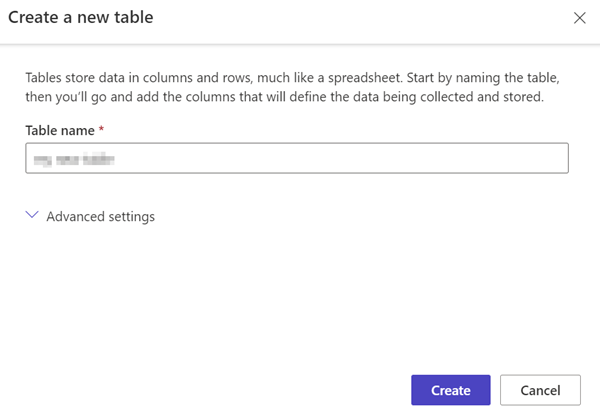
Give the table a name and select Save.
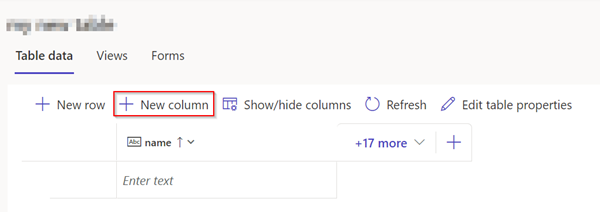
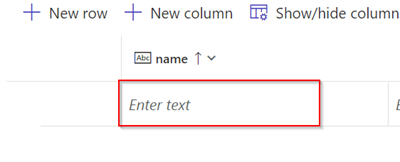
Select New column.
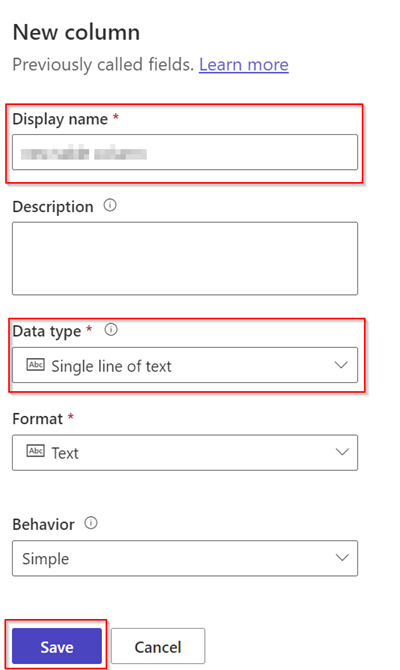
Enter a name and a data type, then choose Save.
Select the space under the name field and enter your data.
Note
You can use the tab key to move to the next column and enter additional data. You can also use the tab key to navigate to the next row and add additional records.
For more information, see How to create and modify Dataverse tables using data workspace.
Create a view
This video provides an overview of the steps to create a view.
Use the steps below to create a custom view for the table you created.
Select the table you created in the steps above.
Select Views and choose New view.
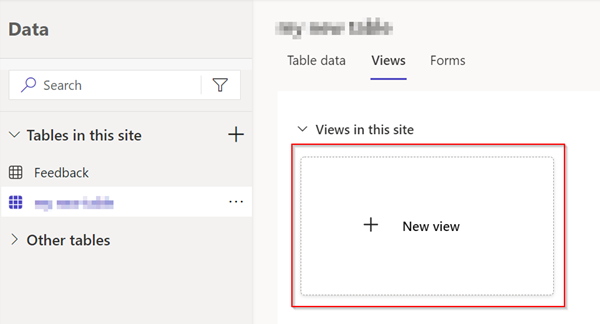
Enter a name for the view.

Add the application data and status reason columns to the view.
Select Save and publish.
Select Views to show the available views for the table.
For more information, see Create and modify Dataverse views using data workspace.
Add a list to the page
This video provides an overview of the steps to add a list to a page.
Use the steps below to add a list to a web page so you can view information stored in Dataverse.
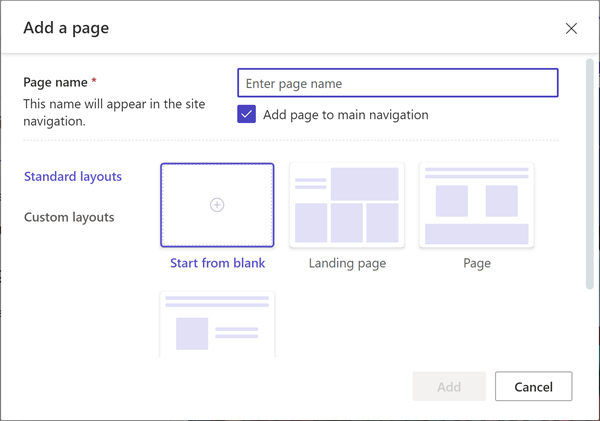
Inside the Pages workspace, select + Page.
Use Copilot to create the page or choose from various layouts:
Use Copilot to describe a page you want to create using natural language.
To send Copilot your request, press Enter or select the paper airplane icon in the lower-right corner of the text box.

After Copilot creates your page, select Keep it if you like the result or Delete page if you don't.
Select + Add a Section to add a section that will contain the list.
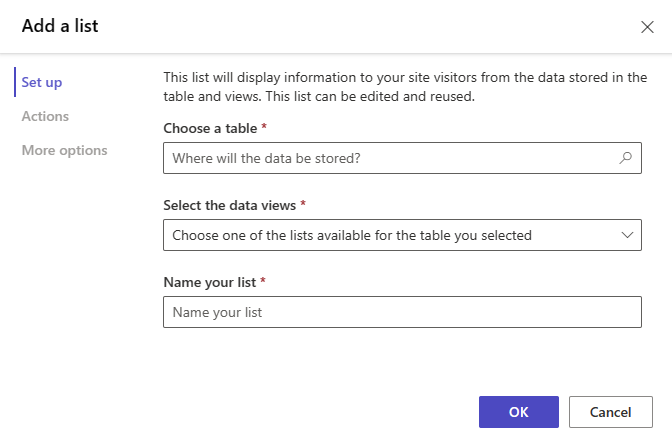
Select List.
Fill in the details.
Choose the table and view you'd like from the dropdown menus.
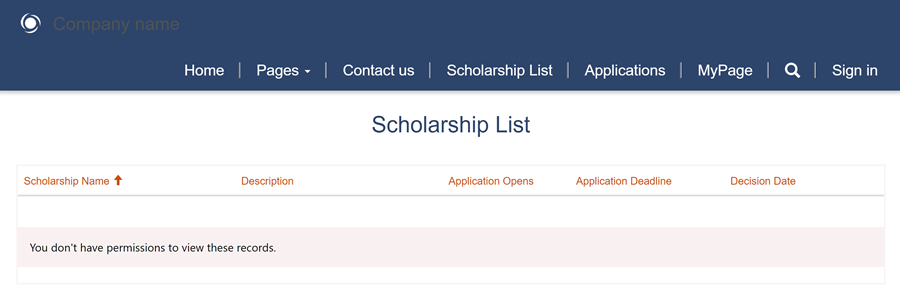
Select Preview.

Note
When you first view the page, you will see a message displayed that you do not have permissions to view the data. Security is very important when building sites.
For more information, see Add a list.
Next steps
In order for the site users to see data, we need to create table permissions to allow users to view data securely.