Create a custom IPv4 address prefix using the Azure CLI
A custom IPv4 address prefix enables you to bring your own IPv4 ranges to Microsoft and associate it to your Azure subscription. The range would continue to be owned by you, though Microsoft would be permitted to advertise it to the Internet. A custom IP address prefix functions as a regional resource that represents a contiguous block of customer owned IP addresses.
The steps in this article detail the process to:
Prepare a range to provision
Provision the range for IP allocation
Enable the range to be advertised by Microsoft
If you don't have an Azure subscription, create an Azure free account before you begin.
Prerequisites
Use the Bash environment in Azure Cloud Shell. For more information, see Quickstart for Bash in Azure Cloud Shell.

If you prefer to run CLI reference commands locally, install the Azure CLI. If you're running on Windows or macOS, consider running Azure CLI in a Docker container. For more information, see How to run the Azure CLI in a Docker container.
If you're using a local installation, sign in to the Azure CLI by using the az login command. To finish the authentication process, follow the steps displayed in your terminal. For other sign-in options, see Sign in with the Azure CLI.
When you're prompted, install the Azure CLI extension on first use. For more information about extensions, see Use extensions with the Azure CLI.
Run az version to find the version and dependent libraries that are installed. To upgrade to the latest version, run az upgrade.
- An Azure account with an active subscription. Create an account for free.
- This tutorial requires version 2.28 or later of the Azure CLI (you can run az version to determine which you have). If using Azure Cloud Shell, the latest version is already installed.
- Sign in to Azure CLI and ensure you've selected the subscription with which you want to use this feature using
az account. - A customer owned IPv4 range to provision in Azure.
- A sample customer range (1.2.3.0/24) is used for this example. This range won't be validated by Azure. Replace the example range with yours.
Note
For problems encountered during the provisioning process, please see Troubleshooting for custom IP prefix.
Pre-provisioning steps
To utilize the Azure BYOIP feature, you must perform the following steps prior to the provisioning of your IPv4 address range.
Requirements and prefix readiness
The address range must be owned by you and registered under your name with the one of the five major Regional Internet Registries:
The address range must be no smaller than a /24 so it will be accepted by Internet Service Providers.
A Route Origin Authorization (ROA) document that authorizes Microsoft to advertise the address range must be filled out by the customer on the appropriate Routing Internet Registry (RIR) website or via their API. The RIR will require the ROA to be digitally signed with the Resource Public Key Infrastructure (RPKI) of your RIR.
For this ROA:
The Origin AS must be listed as 8075 for the Public Cloud. (If the range will be onboarded to the US Gov Cloud, the Origin AS must be listed as 8070.)
The validity end date (expiration date) needs to account for the time you intend to have the prefix advertised by Microsoft. Some RIRs don't present validity end date as an option and or choose the date for you.
The prefix length should exactly match the prefixes that can be advertised by Microsoft. For example, if you plan to bring 1.2.3.0/24 and 2.3.4.0/23 to Microsoft, they should both be named.
After the ROA is complete and submitted, allow at least 24 hours for it to become available to Microsoft, where it will be verified to determine its authenticity and correctness as part of the provisioning process.
Note
It is also recommended to create a ROA for any existing ASN that is advertising the range to avoid any issues during migration.
Important
While Microsoft will not stop advertising the range after the specified date, it is strongly recommended to independently create a follow-up ROA if the original expiration date has passed to avoid external carriers from not accepting the advertisement.
Certificate readiness
To authorize Microsoft to associate a prefix with a customer subscription, a public certificate must be compared against a signed message.
The following steps show the steps required to prepare sample customer range (1.2.3.0/24) for provisioning to the Public cloud.
Note
Execute the following commands in PowerShell with OpenSSL installed.
A self-signed X509 certificate must be created to add to the Whois/RDAP record for the prefix. For information about RDAP, see the ARIN, RIPE, APNIC, and AFRINIC sites.
An example utilizing the OpenSSL toolkit is shown below. The following commands generate an RSA key pair and create an X509 certificate using the key pair that expires in six months:
./openssl genrsa -out byoipprivate.key 2048
Set-Content -Path byoippublickey.cer (./openssl req -new -x509 -key byoipprivate.key -days 180) -NoNewline
After the certificate is created, update the public comments section of the Whois/RDAP record for the prefix. To display for copying, including the BEGIN/END header/footer with dashes, use the command
cat byoippublickey.cerYou should be able to perform this procedure via your Routing Internet Registry.Instructions for each registry are below:
ARIN - edit the "Comments" of the prefix record.
RIPE - edit the "Remarks" of the inetnum record.
APNIC - edit the “Remarks” of the inetnum record using MyAPNIC.
AFRINIC - edit the “Remarks” of the inetnum record using MyAFRINIC.
For ranges from LACNIC registry, create a support ticket with Microsoft.
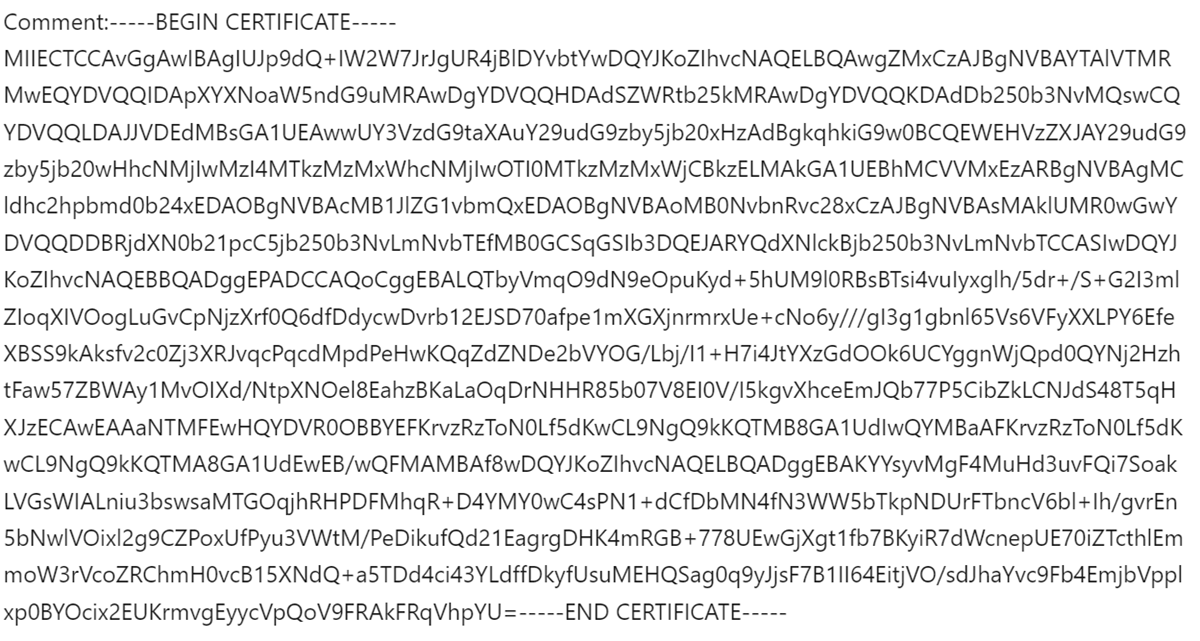
After the public comments are filled out, the Whois/RDAP record should look like the example below. Ensure there aren't spaces or carriage returns. Include all dashes:
To create the message that will be passed to Microsoft, create a string that contains relevant information about your prefix and subscription. Sign this message with the key pair generated in the steps above. Use the format shown below, substituting your subscription ID, prefix to be provisioned, and expiration date matching the Validity Date on the ROA. Ensure the format is in that order.
Use the following command to create a signed message that will be passed to Microsoft for verification.
Note
If the Validity End date was not included in the original ROA, pick a date that corresponds to the time you intend to have the prefix advertised by Azure. Also note that Microsoft will not stop advertising the range after the specified date, but it is recommended to independently create a follow-up ROA if the original expiration date has passed.
$byoipauth="xxxxxxxx-xxxx-xxxx-xxxx-xxxxxxxxxxxx|1.2.3.0/24|yyyymmdd"
Set-Content -Path byoipauth.txt -Value $byoipauth -NoNewline
./openssl dgst -sha256 -sign byoipprivate.key -keyform PEM -out byoipauthsigned.txt byoipauth.txt
$byoipauthsigned=(./openssl enc -base64 -in byoipauthsigned.txt) -join ''
To view the contents of the signed message, enter the variable created from the signed message created previously and select Enter at the PowerShell prompt:
$byoipauthsigned
dIlwFQmbo9ar2GaiWRlSEtDSZoH00I9BAPb2ZzdAV2A/XwzrUdz/85rNkXybXw457//gHNNB977CQvqtFxqqtDaiZd9bngZKYfjd203pLYRZ4GFJnQFsMPFSeePa8jIFwGJk6JV4reFqq0bglJ3955dVz0v09aDVqjj5UJx2l3gmyJEeU7PXv4wF2Fnk64T13NESMeQk0V+IaEOt1zXgA+0dTdTLr+ab56pR0RZIvDD+UKJ7rVE7nMlergLQdpCx1FoCTm/quY3aiSxndEw7aQDW15+rSpy+yxV1iCFIrUa/4WHQqP4LtNs3FATvLKbT4dBcBLpDhiMR+j9MgiJymA==
Provisioning steps
The following steps display the procedure for provisioning a sample customer range (1.2.3.0/24) to the US West 2 region.
Note
Clean up or delete steps aren't shown on this page given the nature of the resource. For information on removing a provisioned custom IP prefix, see Manage custom IP prefix.
Create a resource group and specify the prefix and authorization messages
Create a resource group in the desired location for provisioning the BYOIP range.
  az group create \
    --name myResourceGroup \
    --location westus2
Provision a custom IP address prefix
The following command creates a custom IP prefix in the specified region and resource group. Specify the exact prefix in CIDR notation as a string to ensure there's no syntax error. For the --authorization-message parameter, use the variable $byoipauth that contains your subscription ID, prefix to be provisioned, and expiration date matching the Validity Date on the ROA. Ensure the format is in that order. Use the variable $byoipauthsigned for the --signed-message parameter created in the certificate readiness section.
  byoipauth="xxxxxxxx-xxxx-xxxx-xxxx-xxxxxxxxxxxx|1.2.3.0/24|yyyymmdd"

  az network custom-ip prefix create \
    --name myCustomIpPrefix \
    --resource-group myResourceGroup \
    --location westus2 \
    --cidr ‘1.2.3.0/24’ \
    --zone 1 2 3
    --authorization-message $byoipauth \
    --signed-message $byoipauthsigned
The range will be pushed to the Azure IP Deployment Pipeline. The deployment process is asynchronous. To determine the status, execute the following command:
 az network custom-ip prefix show \
   --name myCustomIpPrefix \
   --resource-group myResourceGroup
Sample output is shown below, with some fields removed for clarity:
{
  "cidr": "1.2.3.0/24",
  "commissionedState": "Provisioning",
  "id": "/subscriptions/xxxx/resourceGroups/myResourceGroup/providers/Microsoft.Network/customIPPrefixes/myCustomIpPrefix",
  "location": "westus2",
  "name": myCustomIpPrefix,
  "resourceGroup": "myResourceGroup",
}
The CommissionedState field should show the range as Provisioning initially, followed in the future by Provisioned.
Note
The estimated time to complete the provisioning process is 30 minutes.
Important
After the custom IP prefix is in a Provisioned state, a child public IP prefix can be created. These public IP prefixes and any public IP addresses can be attached to networking resources. For example, virtual machine network interfaces or load balancer front ends. The IPs won't be advertised and therefore won't be reachable. For more information on a migration of an active prefix, see Manage a custom IP prefix.
Commission the custom IP address prefix
When the custom IP prefix is in Provisioned state, the following command updates the prefix to begin the process of advertising the range from Azure.
az network custom-ip prefix update \
    --name myCustomIpPrefix \
    --resource-group myResourceGroup \
    --state commission
As before, the operation is asynchronous. Use az network custom-ip prefix show to retrieve the status. The CommissionedState field will initially show the prefix as Commissioning, followed in the future by Commissioned. The advertisement rollout isn't binary and the range will be partially advertised while still in Commissioning.
Note
The estimated time to fully complete the commissioning process is 3-4 hours.
Important
As the custom IP prefix transitions to a Commissioned state, the range is being advertised with Microsoft from the local Azure region and globally to the Internet by Microsoft's wide area network under Autonomous System Number (ASN) 8075. Advertising this same range to the Internet from a location other than Microsoft at the same time could potentially create BGP routing instability or traffic loss. For example, a customer on-premises building. Plan any migration of an active range during a maintenance period to avoid impact. Additionally, you could take advantage of the regional commissioning feature to put a custom IP prefix into a state where it is only advertised within the Azure region it is deployed in-- see Manage a custom IP address prefix (BYOIP) for more information.
Next steps
To learn about scenarios and benefits of using a custom IP prefix, see Custom IP address prefix (BYOIP).
For more information on managing a custom IP prefix, see Manage a custom IP address prefix (BYOIP).
To create a custom IP address prefix using the Azure CLI, see Create custom IP address prefix using the Azure CLI.
To create a custom IP address prefix using the Azure portal, see Create a custom IP address prefix using the Azure portal.
Feedback
Coming soon: Throughout 2024 we will be phasing out GitHub Issues as the feedback mechanism for content and replacing it with a new feedback system. For more information see: https://aka.ms/ContentUserFeedback.
Submit and view feedback for