Use deployment groups in Classic release pipelines
Azure DevOps Services | Azure DevOps Server 2022 - Azure DevOps Server 2019
Similar to an agent pool, a deployment group is a logical set of target machines that each have a deployment agent installed. Deployment groups can represent environments such as "Development," "Test," or "Production." Every physical or virtual machine (VM) in the deployment group interacts with Azure Pipelines to coordinate the deployment tasks. Deployment groups are different from deployment jobs, which are collections of task-related steps defined in YAML pipelines.
Note
Deployment groups are available only for Classic release pipelines.
By using deployment groups, you can:
- Specify the security context and runtime targets for agents.
- Add users and give them appropriate permissions to administer, manage, view, and use the group.
- View live logs for each server while a deployment happens, and download logs to track deployments for individual servers.
- Use tags to limit deployments to specific sets of target servers.
Prerequisites
- An Azure DevOps organization and project. To create an organization and project, see Create a new organization or Create a project in Azure DevOps.
- Administrative access to at least one Windows or Linux physical or virtual machine to use as a deployment target.
Create a deployment group
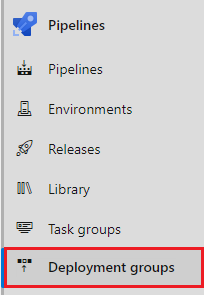
From your Azure DevOps project, select Pipelines > Deployment groups.
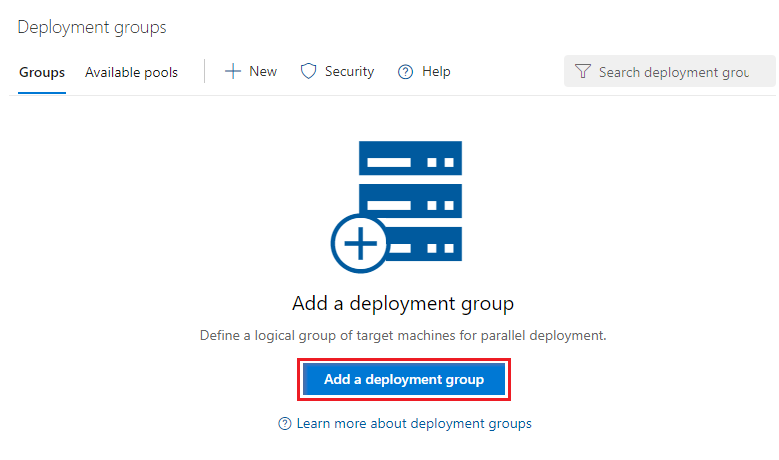
On the Deployment groups screen, select New, or select Add a deployment group if this deployment group is the first one in the project.
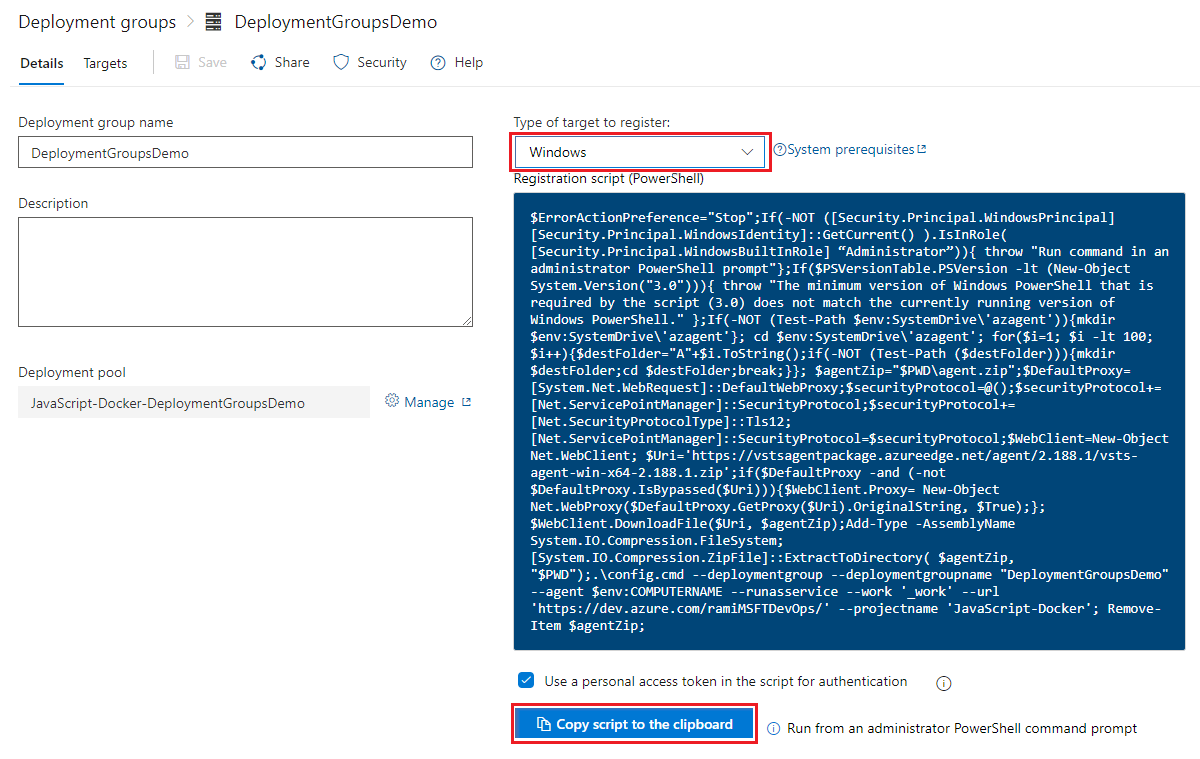
Enter a Deployment group name and then select Create.
On the next screen, select Windows or Linux for the Type of target to register. A registration script is generated.
Select Use a personal access token in the script for authentication, and then select Copy script to the clipboard.
Save the copied script to run on all the target machines in your deployment group.
Register target servers
To register each target server in the deployment group:
Sign in to the machine with an administrative account and run the copied script. For Windows machines, use an elevated PowerShell command prompt.
To assign tags that let you limit deployments to certain servers in a deployment group job, enter Y when prompted to enter tags, and then enter a tag or tags.
Tags are limited to 256 characters each, are case insensitive, and there's no limit to the number of tags you can use.
After you set up a target server, the script should return the message Service vstsagent.{organization-name}.{computer-name} started successfully.
Install and upgrade agents
Every target server in the deployment group requires a deployment agent. The generated registration script for target servers installs an agent. Alternatively, you can use the following methods to install agents:
If the target servers are Azure VMs, you can easily set up your servers by installing the Azure Pipelines agent extension on each VM.
You can use the AzureResourceGroupDeploymentV2 task in your release pipeline to create and register a deployment group dynamically.
For more information about these methods, see Provision agents for deployment groups.
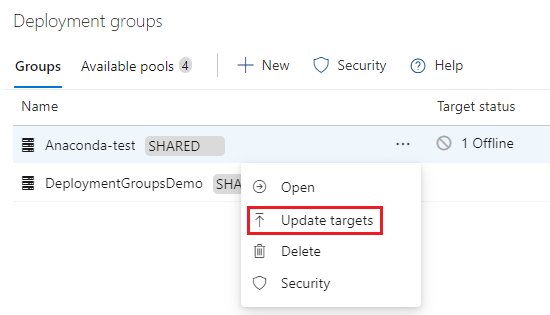
To upgrade the agents on target servers to the latest version without having to redeploy them, select the More actions ellipsis next to the deployment group on the Deployment groups page and select Update targets. For more information, see Azure Pipelines agents.
Deployment pools
A deployment pool is a set of target servers that are available to the entire Azure DevOps organization. To create and update deployment pools, you need Project Collection Administrator permissions in the Azure DevOps organization.
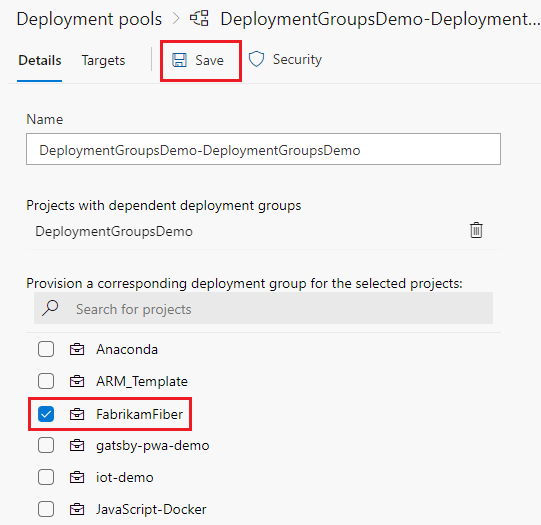
When you create a new deployment pool for an organization, you can automatically provision corresponding deployment groups for selected projects or all projects in the organization. These deployment groups have the same target servers as the deployment pool.
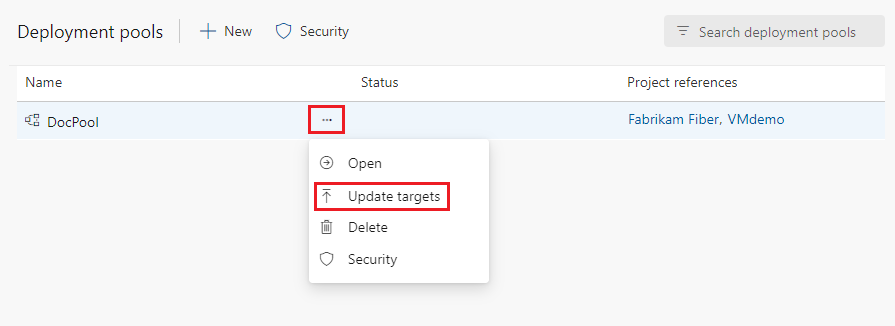
You can manually trigger an agent version upgrade for all servers in the pool by selecting the More actions ellipsis next to the deployment pool in Deployment pools and selecting Update targets.
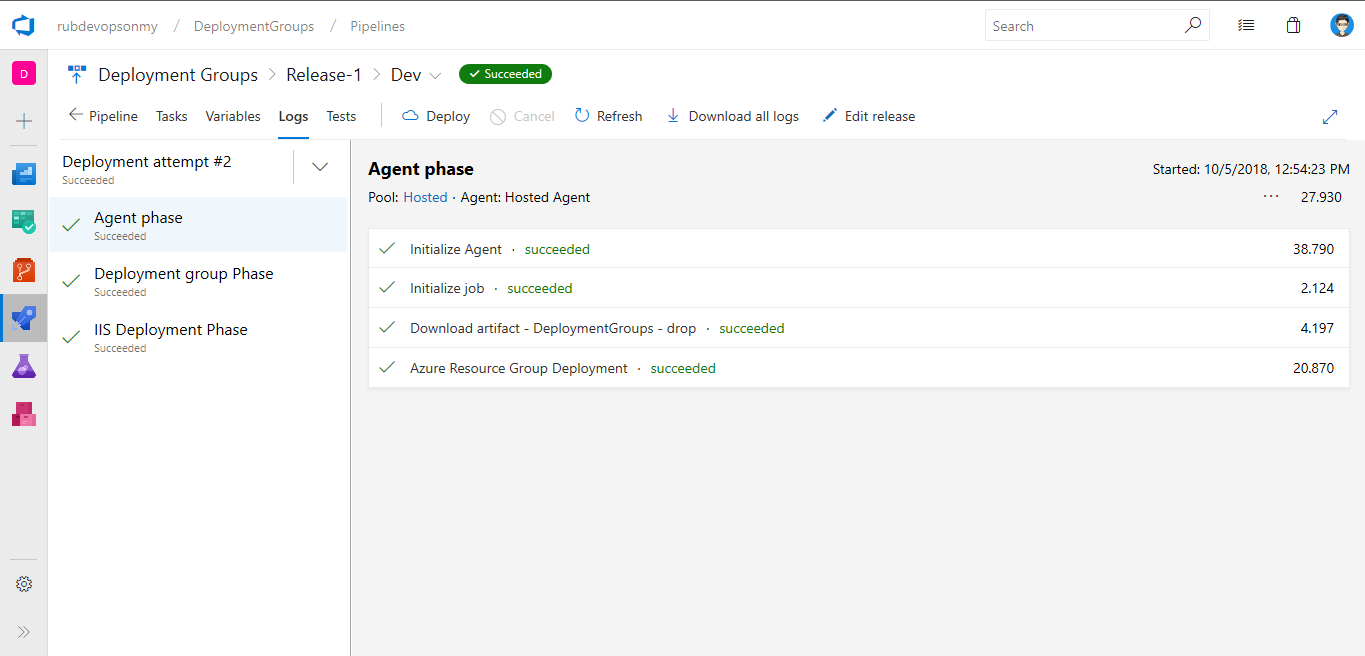
Monitor release status
While a release pipeline is running, you can view the live logs for each target server in your deployment group. When the deployment finishes, you can download the log files for each server to examine the deployments and debug any issues.
Share a deployment group
You can share deployment groups with other projects in the organization. To provision your deployment group for other projects:
From your Azure DevOps project, select Pipelines > Deployment groups.
Select your deployment group and then select Manage.
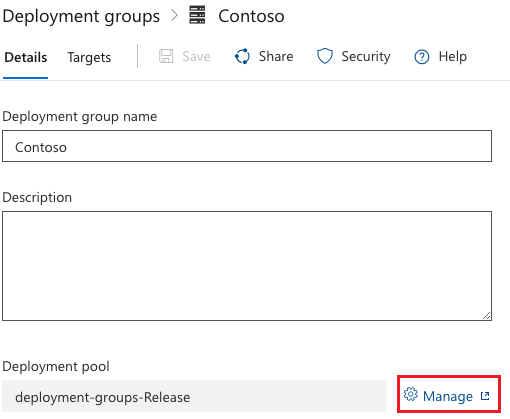
Select projects from the list to share to, and then select Save.
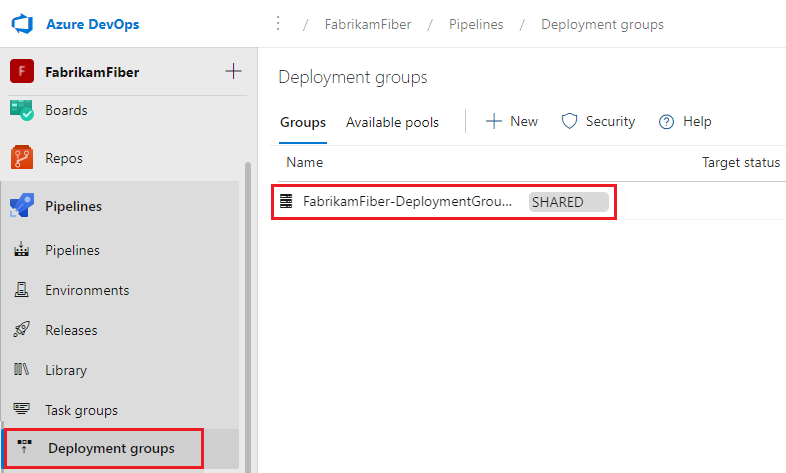
The included projects now have the shared deployment group listed in Deployment groups.
Automatically deploy to new target servers
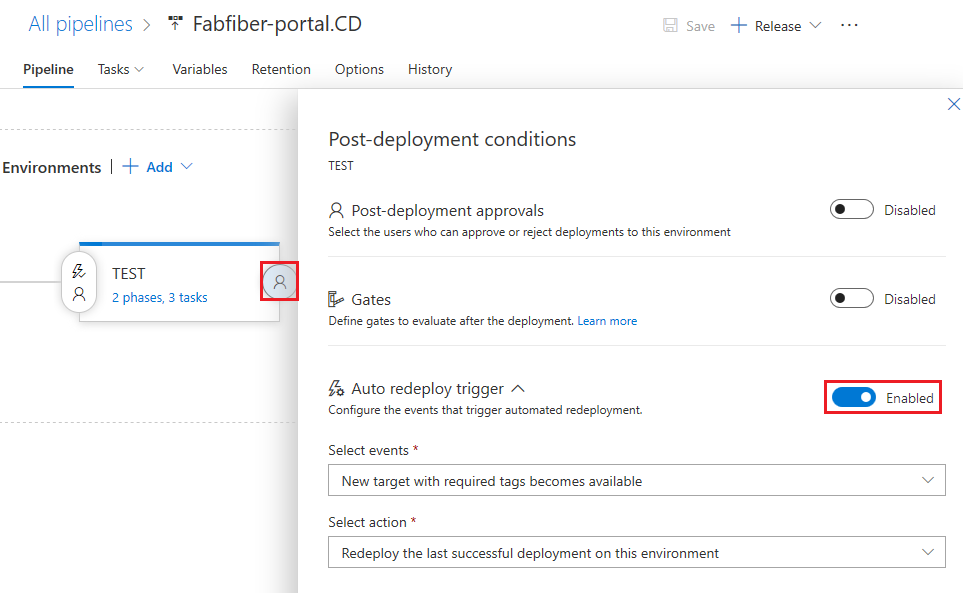
When new target servers are added to a deployment group, you can configure the environment to automatically deploy the last successful release to the new targets.
From your release pipeline definition, select the post deployment icon.
On the Post-deployment conditions screen, enable the Auto redeploy trigger.
Under Select events, select New target with required tags becomes available.
Under Select action, select Redeploy the last successful deployment on this environment.