Tutorial: Perform manual failover for an IoT hub
Manual failover is a feature of the IoT Hub service that allows customers to failover their hub's operations from a primary region to the corresponding Azure geo-paired region. Manual failover can be done in the event of a regional disaster or an extended service outage. You can also perform a planned failover to test your disaster recovery capabilities, although we recommend using a test IoT hub rather than one running in production. The manual failover feature is offered to customers at no additional cost for IoT hubs created after May 18, 2017.
In this tutorial, you perform the following tasks:
- Using the Azure portal, create an IoT hub.
- Perform a failover.
- See the hub running in the secondary location.
- Perform a failback to return the IoT hub's operations to the primary location.
- Confirm the hub is running correctly in the right location.
For more information about manual failover and Microsoft-initiated failover with IoT Hub, see Cross region disaster recovery.
Prerequisites
- An Azure subscription. If you don't have an Azure subscription, create a free account before you begin.
Create an IoT hub
This section describes how to create an IoT hub using the Azure portal.
Sign in to the Azure portal.
On the Azure homepage, select the + Create a resource button.
From the Categories menu, select Internet of Things, and then select IoT Hub.
On the Basics tab, complete the fields as follows:
Important
Because the IoT hub will be publicly discoverable as a DNS endpoint, be sure to avoid entering any sensitive or personally identifiable information when you name it.
Property Value Subscription Select the subscription to use for your hub. Resource group Select a resource group or create a new one. To create a new one, select Create new and fill in the name you want to use. IoT hub name Enter a name for your hub. This name must be globally unique, with a length between 3 and 50 alphanumeric characters. The name can also include the dash ( '-') character.Region Select the region, closest to you, where you want your hub to be located. Some features, such as IoT Hub device streams, are only available in specific regions. For these limited features, you must select one of the supported regions. Tier Select the tier that you want to use for your hub. Tier selection depends on how many features you want and how many messages you send through your solution per day.
The free tier is intended for testing and evaluation. The free tier allows 500 devices to be connected to the hub and up to 8,000 messages per day. Each Azure subscription can create one IoT hub in the free tier.
To compare the features available to each tier, select Compare tiers. For more information, see Choose the right IoT Hub tier for your solution.Daily message limit Select the maximum daily quota of messages for your hub. The available options depend on the tier you've selected for your hub. To see the available messaging and pricing options, select See all options and select the option that best matches the needs of your hub. For more information, see IoT Hub quotas and throttling. 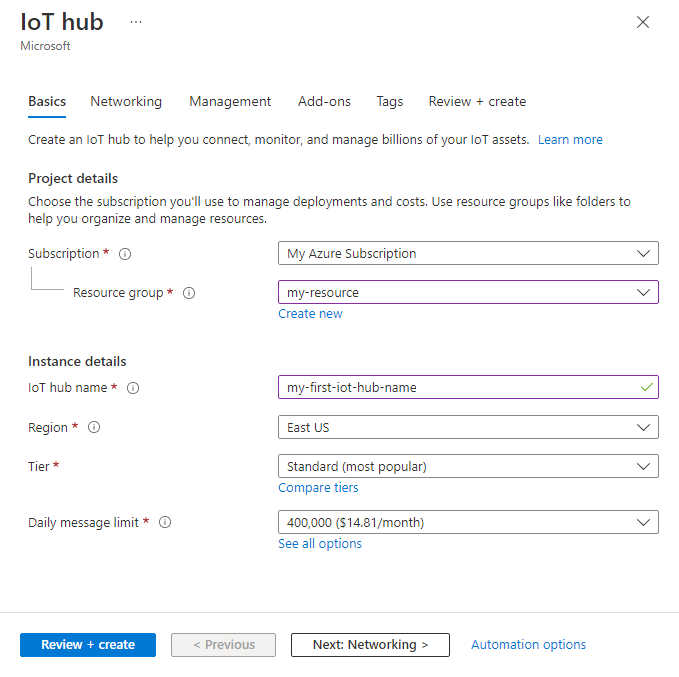
Note
Prices shown are for example purposes only.
Select Next: Networking to continue creating your hub.
On the Networking tab, complete the fields as follows:
Property Value Connectivity configuration Choose the endpoints that devices can use to connect to your IoT hub. Accept the default setting, Public access, for this example. You can change this setting after the IoT hub is created. For more information, see Managing public network access for your IoT hub. Minimum TLS Version Select the minimum TLS version to be supported by your IoT hub. Once the IoT hub is created, this value can't be changed. Accept the default setting, 1.0, for this example. 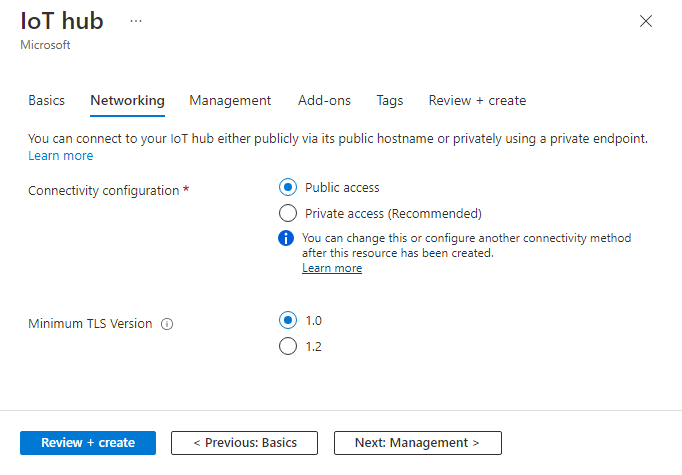
Select Next: Management to continue creating your hub.
On the Management tab, accept the default settings. If desired, you can modify any of the following fields:
Property Value Permission model Part of role-based access control, this property decides how you manage access to your IoT hub. Allow shared access policies or choose only role-based access control. For more information, see Control access to IoT Hub by using Microsoft Entra ID. Assign me You may need access to IoT Hub data APIs to manage elements within an instance. If you have access to role assignments, select IoT Hub Data Contributor role to grant yourself full access to the data APIs.
To assign Azure roles, you must haveMicrosoft.Authorization/roleAssignments/writepermissions, such as User Access Administrator or Owner.Device-to-cloud partitions This property relates the device-to-cloud messages to the number of simultaneous readers of the messages. Most IoT hubs need only four partitions. 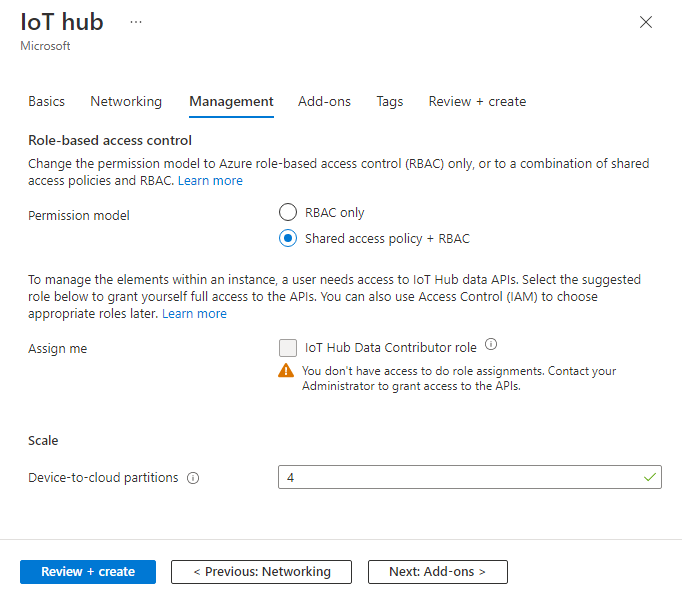
Select Next: Add-ons to continue to the next screen.
On the Add-ons tab, accept the default settings. If desired, you can modify any of the following fields:
Property Value Enable Device Update for IoT Hub Turn on Device Update for IoT Hub to enable over-the-air updates for your devices. If you select this option, you're prompted to provide information to provision a Device Update for IoT Hub account and instance. For more information, see What is Device Update for IoT Hub? Enable Defender for IoT Turn Defender for IoT on to add an extra layer of protection to IoT and your devices. This option isn't available for hubs in the free tier. Learn more about security recommendations for IoT Hub in Defender for IoT. 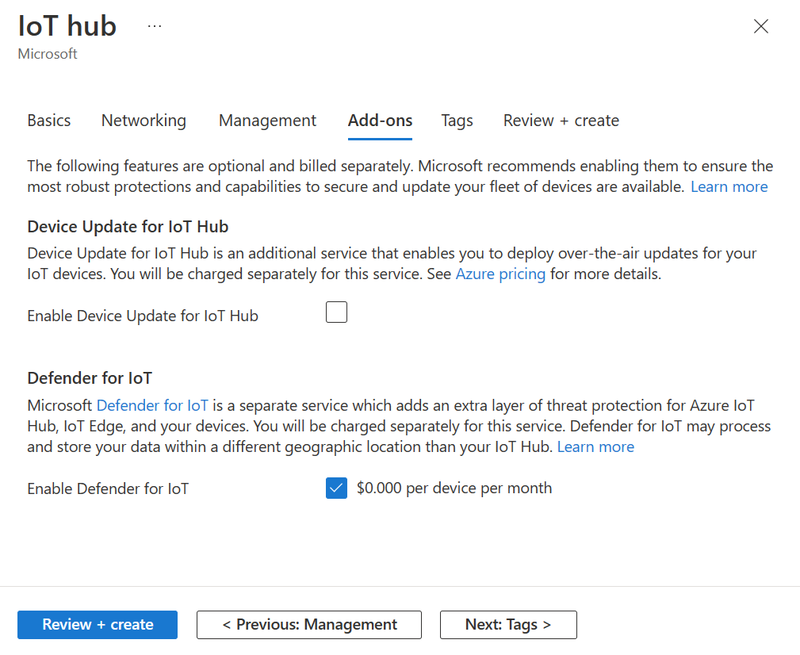
Note
Prices shown are for example purposes only.
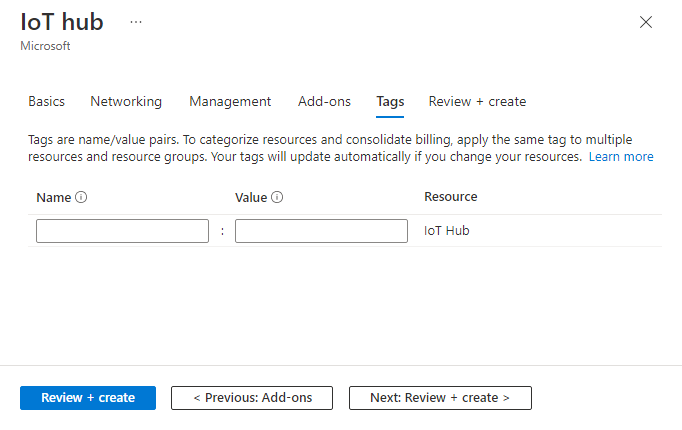
Select Next: Tags to continue to the next screen.
Tags are name/value pairs. You can assign the same tag to multiple resources and resource groups to categorize resources and consolidate billing. In this document, you won't be adding any tags. For more information, see Use tags to organize your Azure resources.
Select Next: Review + create to review your choices.
Select Create to start the deployment of your new hub. Your deployment will be in progress a few minutes while the hub is being created. Once the deployment is complete, select Go to resource to open the new hub.
Perform a manual failover
Note
There is a limit of two failovers and two failbacks per day for an IoT hub.
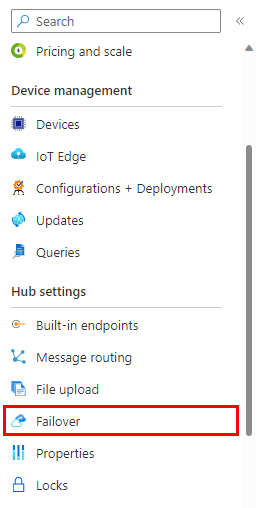
Navigate to your IoT hub in the Azure portal.
Under Hub settings on the navigation menu, select Failover.
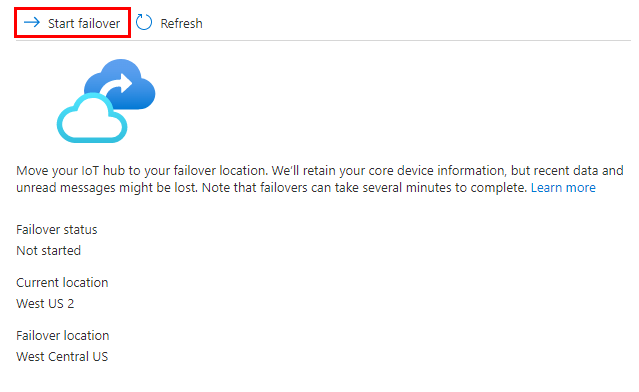
On the Failover pane, you see the Current location and the Failover location listed for your IoT hub. The current location always indicates the location in which the hub is currently active. The failover location is the standard Azure geo-paired region that is paired to the current location. You cannot change the location values.
At the top of the Failover pane, select Start failover.
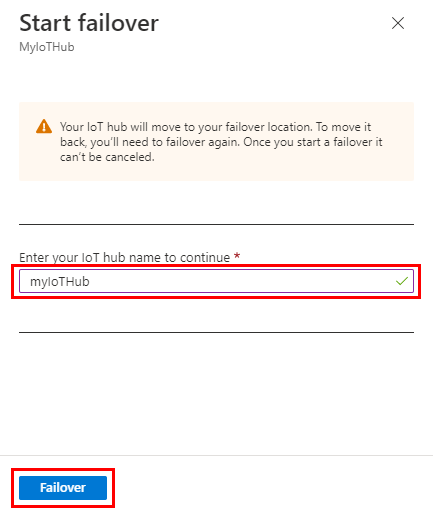
In the confirmation pane, fill in the name of your IoT hub to confirm it's the one you want to failover. Then, to initiate the failover, select Failover.
The amount of time it takes to perform the manual failover is proportional to the number of devices that are registered for your hub. For example, if you have 100,000 devices, it might take 15 minutes, but if you have five million devices, it might take an hour or longer.
While the manual failover process is running, a banner appears to tell you a manual failover is in progress.
If you select Overview to view the IoT hub details, you see a banner telling you that the hub is in the middle of a manual failover.
After it's finished, the current and failover regions on the Manual Failover page are flipped and the hub is active again. In this example, the current location is now
WestCentralUSand the failover location is nowWest US 2.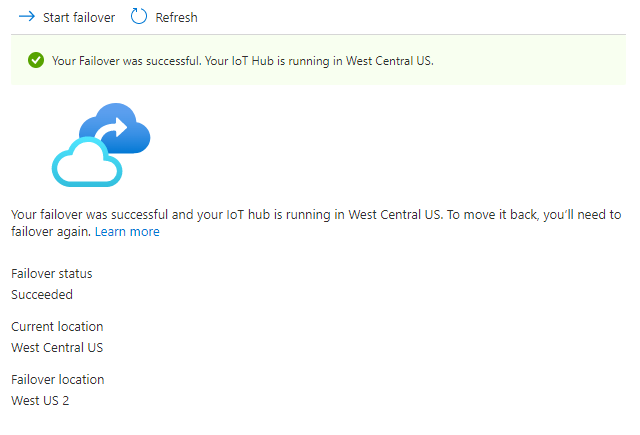
The overview page also shows a banner indicating that the failover is complete and the IoT Hub is running in the paired region.
Perform a failback
After you have performed a manual failover, you can switch the hub's operations back to the original primary region. This action is called a failback. If you have just performed a failover, you have to wait about an hour before you can request a failback. If you try to perform the failback in a shorter amount of time, an error message is displayed.
A failback is performed just like a manual failover. These are the steps:
To perform a failback, return to the Failover pane for your IoT hub.
Select Start failover at the top of the Failover pane.
In the confirmation pane, fill in the name of your IoT hub to confirm it's the one you want to failback. To then initiate the failback, select Failover.
After the failback is complete, your IoT hub again shows the original region as the current location and the paired region as the failover location, as you saw originally.
Clean up resources
To remove the resources you've created for this tutorial, delete the resource group. This action deletes all resources contained within the group. In this case, it removes the IoT hub and the resource group itself.
Click Resource Groups.
Locate and select the resource group that contains your IoT hub.
If you want to delete the entire group and all the resources in it, select Delete resource group. When prompted, enter the name of the resource group and select Delete to confirm the action.
If you only want to delete specific resources from the group, check the boxes next to each resource you want to delete then select Delete. When prompted, type yes and select Delete to confirm the action.
Next steps
In this tutorial, you learned how to configure and perform a manual failover, and how to initiate a failback.
Advance to the next tutorial to learn how to configure your device from a back-end service.