Export and import flows
Power Automate allows you to export and then import a flow so that others can use it.
Export a flow
Go to Power Automate, and sign in by using your organizational account.
In the left pane, select Cloud flows.
Previously, you could export flows as ZIP files for easy migrations. Be aware that Solutions are now the preferred mechanism to move flows from environment to environment. The feature detailed below still works as expected, however, the recommended export path is via solutions. For the flow that you want to export, select the More commands button (the three vertical dots), select Export, and then select Package (.zip).

Note that if you don't see the Package (.zip) entry you are in an Environment that requires Solutions for Flows and you'll need to export them via Solutions.
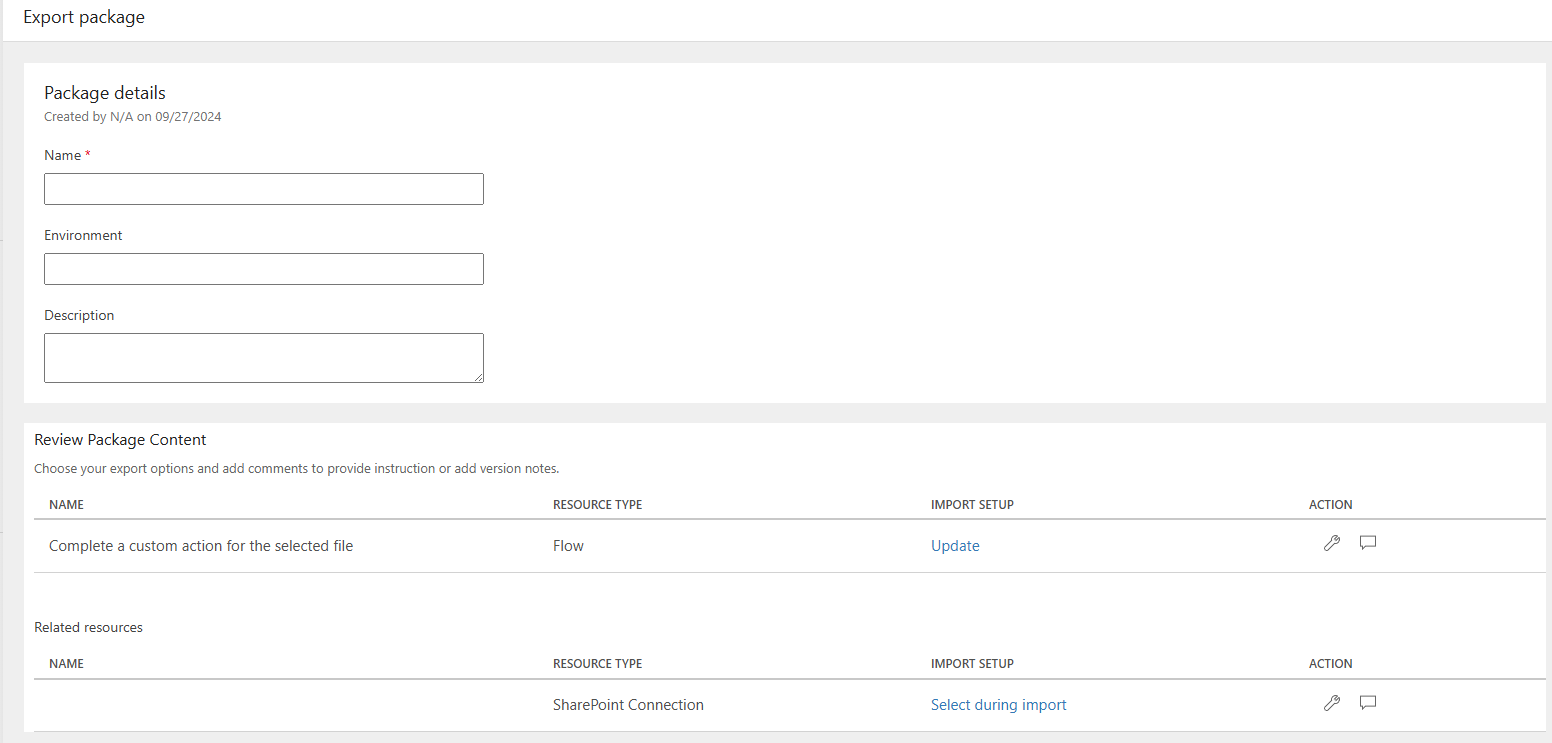
Fill in the package details:
- Name: Enter a name for the flow.
- Environment: Enter the environment for the flow.
- Description: Enter a description of the flow.
- Review Package Content: Select export options, and add comments to provide instruction or add version notes. For each flow package, you can specificity if it will be imported as a New Flow or an Update to an existing flow. Ensure you select the options that match your goals.
Select Export to export the zip file. You can then select the folder to in which to download.
When you export a flow, the dependent resources for your flow are also exported into the package.
Import a flow
After a flow is exported, anyone that you send the zip file to can import it if they have the proper access to the environment.
Go to Power Automate, and sign in by using your organizational account.
In the left pane, select My flows.
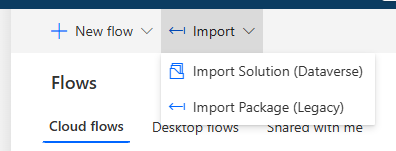
Select Import.
On the Import package (Legacy) page, on the next screen, select Upload, and then, in the dialog box, select the zip file that you exported.
Back on the Import package page, select Import.
- In the flow settings, you can select whether to create a new flow or update an existing one with the flow definition from the package.
- You must also select the connections that are required to set up the flow as part of the import process.
- The Import button should become available after you configure all the required settings.
After the flow is imported, you'll have a link to open it and see the flow in My Flows, under the Cloud flows heading.