Develop with Storage API on Azure Government
Azure Government uses the same underlying technologies as commercial Azure, enabling you to use the development tools you're already familiar with. If you don't have an Azure Government subscription, create a free account before you begin.
Prerequisites
- Review Guidance for developers. This article discusses Azure Government's unique URLs and endpoints for managing your environment. You must know about these endpoints to connect to Azure Government.
- Review Compare Azure Government and global Azure and click on a service of interest to see variations between Azure Government and global Azure.
- Download and install the latest version of Azure Storage Explorer.
Connecting Storage Explorer to Azure Government
The Microsoft Azure Storage Explorer is a cross-platform tool for working with Azure Storage. Government customers can now take advantage of all the latest features of the Azure Storage Explorer such as creating and managing blobs, queues, tables, and file shares.
Getting Started with Storage Explorer
Open the Azure Storage Explorer desktop application.
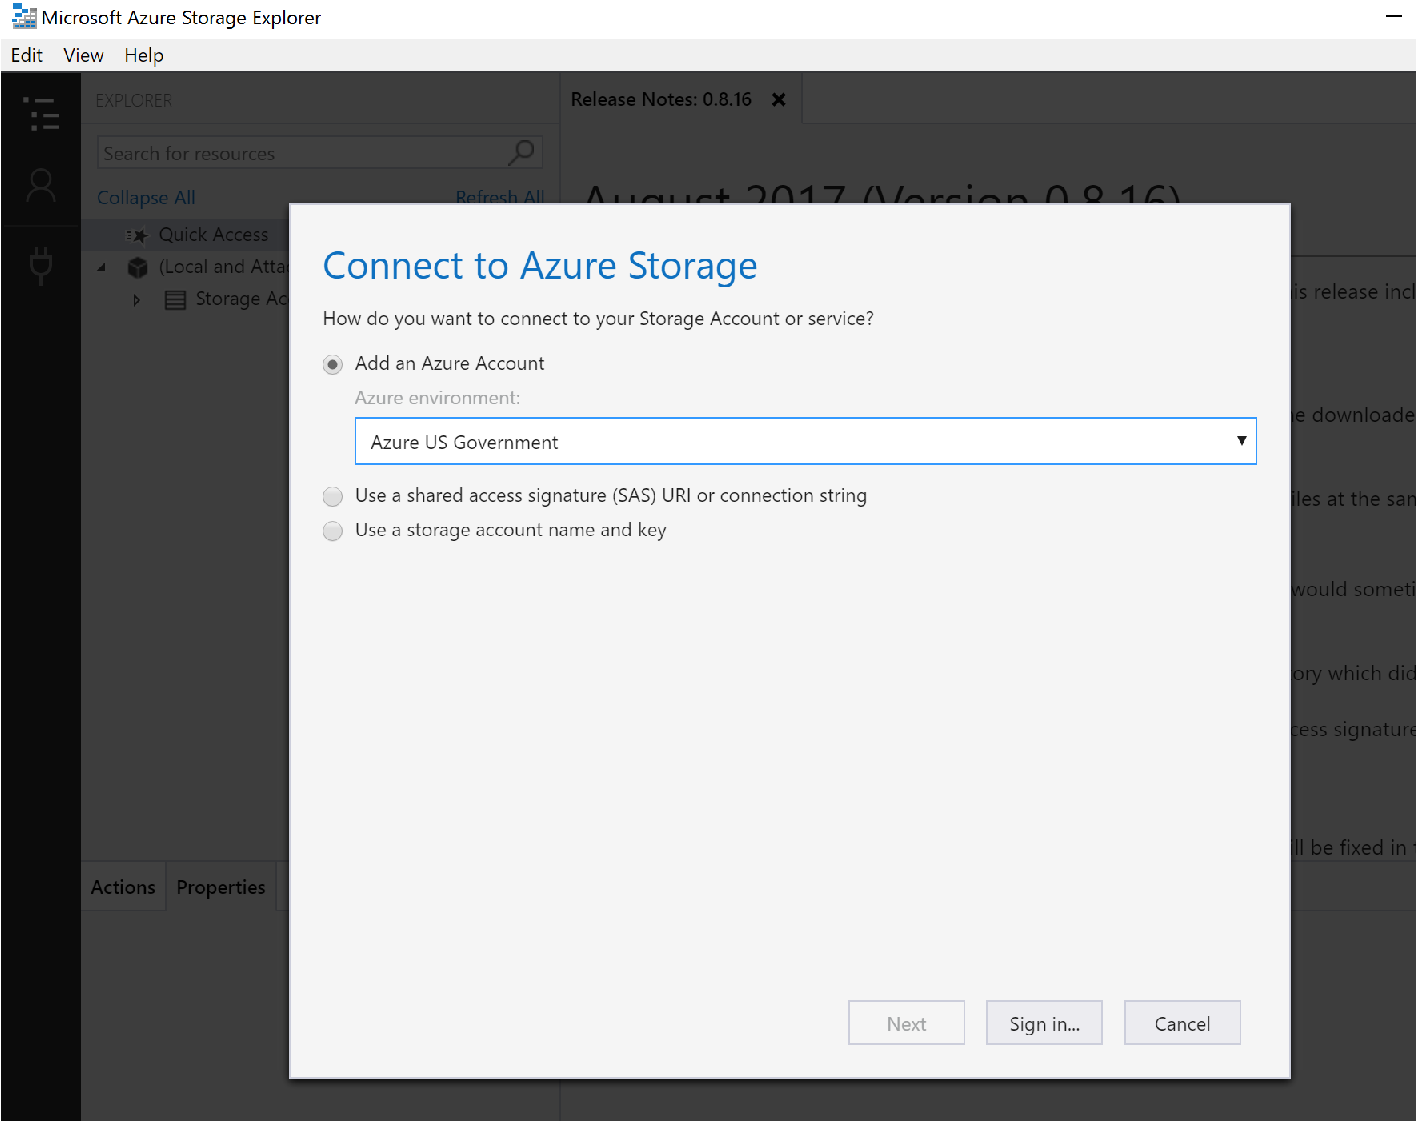
You'll be prompted to add an Azure account; in the dropdown choose the "Azure US Government" option:
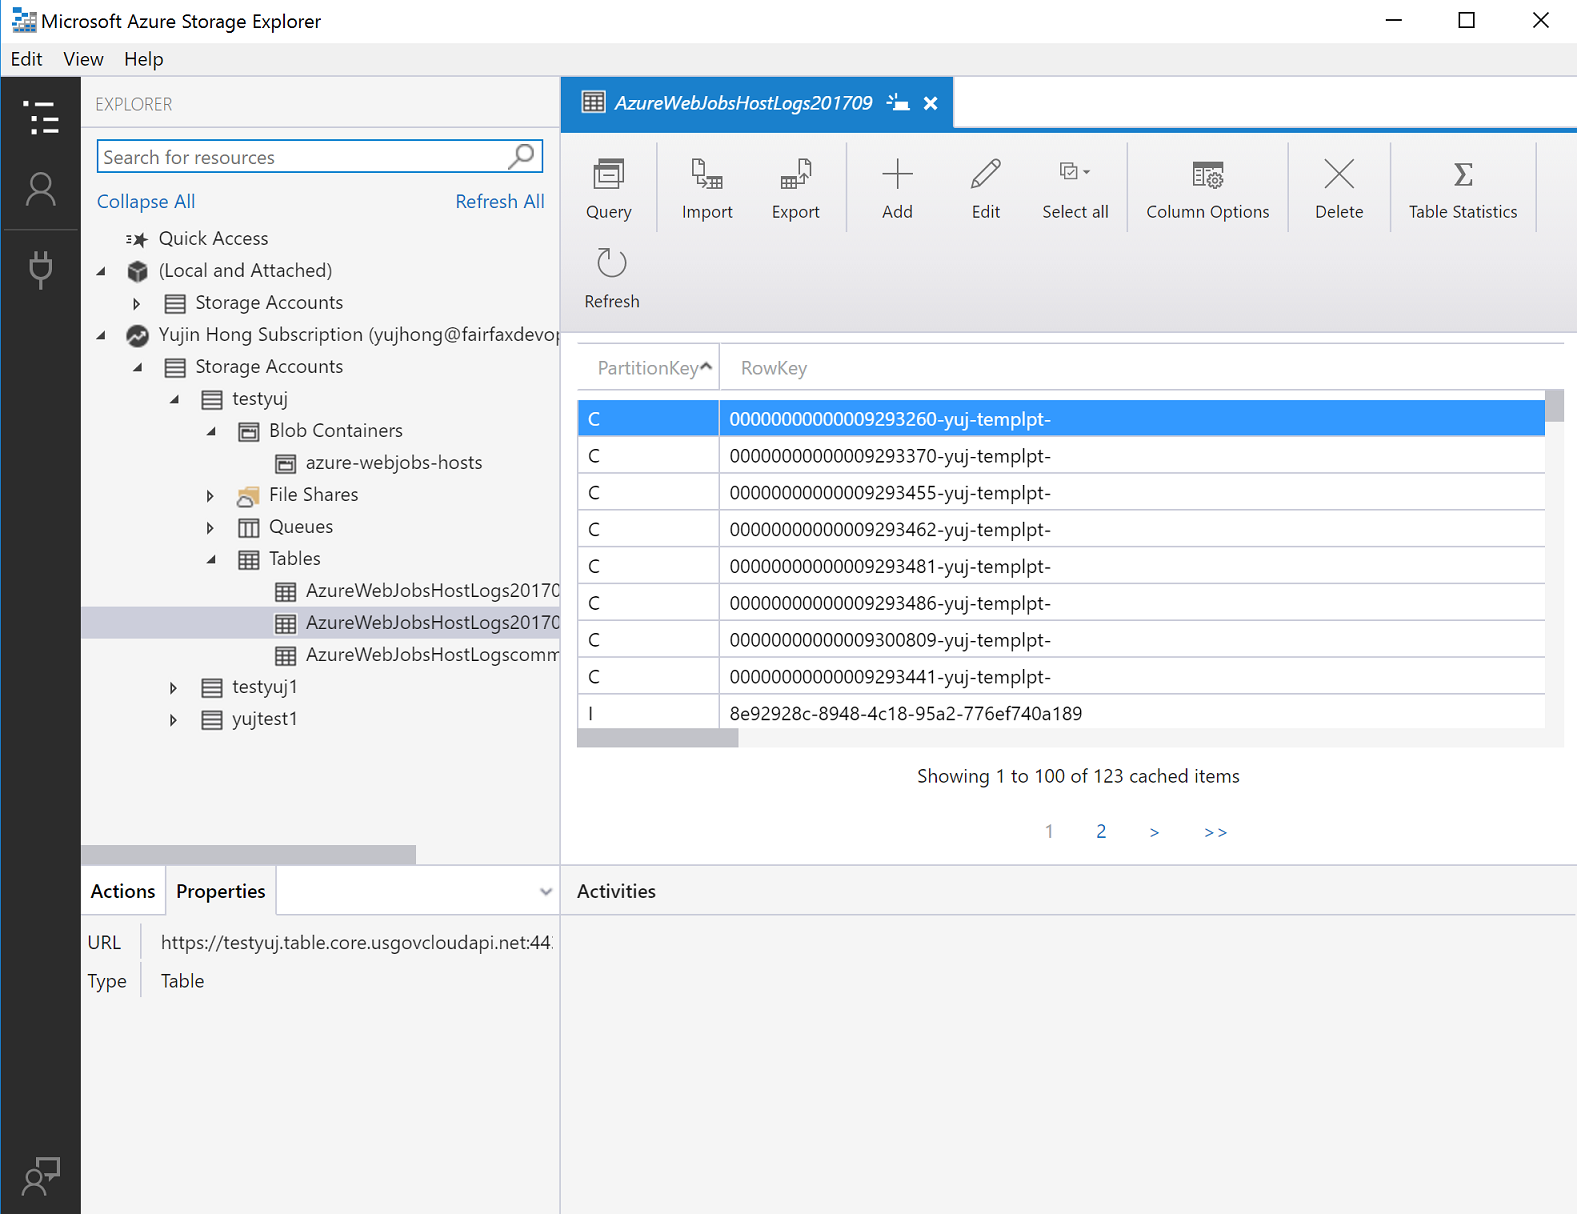
Sign in to your Azure Government account and you can see all of your resources. The Storage Explorer should look similar to the screenshot below. Click on your Storage Account to see the blob containers, file shares, Queues, and Tables.
For more information about Azure Storage Explorer, see Get started with Storage Explorer.
Connecting to the Storage API
Prerequisites
- Have an active Azure Government subscription. If you don't have an Azure Government subscription, create a free account before you begin.
- Download Visual Studio 2019.
Getting Started with Storage API
One important difference to remember when connecting with the Storage API is that the URL for storage in Azure Government is different than the URL for storage in commercial Azure. Specifically, the domain ends with core.usgovcloudapi.net, rather than core.windows.net. These endpoint differences must be taken into account when you connect to storage in Azure Government with a client library.
Application requests to Azure Storage must be authorized. Using the DefaultAzureCredential class provided by the Azure Identity client library is the recommended approach for implementing passwordless connections to Azure services in your code.
You can also authorize requests to Azure Storage by using the account access key. However, this approach should be used with caution. Developers must be diligent to never expose the access key in an unsecure location. Anyone who has the access key is able to authorize requests against the storage account, and effectively has access to all the data. DefaultAzureCredential offers improved management and security benefits over the account key to allow passwordless authentication. Both options are demonstrated in the following examples.
C#/.NET
Open Visual Studio and create a new project. Add a reference to the Azure Tables client library for .NET. This package contains classes for connecting to your Storage Table account.
An easy and secure way to authorize access and connect to Azure Storage is to obtain an OAuth token by creating a DefaultAzureCredential instance. You can then use that credential to create a TableServiceClient object, as shown in the following code example:
var credentialOptions = new DefaultAzureCredentialOptions()
{
    AuthorityHost = AzureAuthorityHosts.AzureGovernment,
};

var credential = new DefaultAzureCredential(credentialOptions);
var storageTableUri = Environment.GetEnvironmentVariable("STORAGE_TABLE_URI");
var tableServiceClient = new TableServiceClient(
    new Uri(storageTableUri)
    credential);
To learn more about authorizing access to data in Azure Storage, see Authenticate to Azure and authorize access to data.
At this point, we can interact with Storage as we normally would. The following example shows how to retrieve a specific entity from Table Storage:
var tableClient = tableServiceClient.GetTableClient("Contacts");
ContactEntity contact = tableClient.GetEntity<ContactEntity>("gov-partition-test", "0abc123e-1111-1a2b-3c4d-fghi5678j9k0");
Console.WriteLine($"Contact: {contact.FirstName} {contact.LastName}");
Java
Download the Azure Tables client library for Java and configure your project correctly.
An easy and secure way to authorize access and connect to Azure Storage is to obtain an OAuth token by creating a DefaultAzureCredential instance. You can then use that credential to create a TableServiceClient object, as shown in the following code example:
import com.azure.data.tables.implementation.ModelHelper;
import com.azure.data.tables.models.*;
import java.util.HashMap;
public class test {
    public static final String storageConnectionString = System.getEnv("AZURE_STORAGE_CONNECTION_STRING");
    public static void main(String[] args) {
    try
    {
        DefaultAzureCredential credential = new DefaultAzureCredentialBuilder()
            .authorityHost("https://management.usgovcloudapi.net/.default")
            .build();

        // Create the table service client.
        TableServiceClient tableServiceClient = new TableServiceClientBuilder()
            .endpoint("https://<storage-account-name>.table.core.usgovcloudapi.net/")
            .credential(credential)
            .buildClient();

        // Create the table if it doesn't exist.
        String tableName = "Contacts";
        TableClient tableClient = tableServiceClient.createTableIfNotExists(tableName);
        // Create a new customer entity.
        TableEntity customer1 = ModelHelper.createEntity(new HashMap<String, Object>() {{
            put("PartitionKey", "Brown");
            put("RowKey", "Walter");
            put("Email", "Walter@contoso.com");
        }});
        // Insert table entry into table
        tableClient.createEntity(customer1);
    }
    catch (Exception e)
    {
        // Output the stack trace.
        e.printStackTrace();
    }
    }
}
To learn more about authorizing access to data in Azure Storage, see Authenticate to Azure and authorize access to data.
Node.js
Download the Azure Storage Blob client library for Node.js and configure your application correctly.
An easy and secure way to authorize access and connect to Azure Storage is to obtain an OAuth token by creating a DefaultAzureCredential instance. You can then use that credential to create a BlobServiceClient object, as shown in the following code example:
const { BlobServiceClient } = require('@azure/storage-blob');
const {
 DefaultAzureCredential,
 DefaultAzureCredentialOptions,
 AzureAuthorityHosts
} = require('@azure/identity');

const credentialOptions = new DefaultAzureCredentialOptions(
  {
    authorityHost: AzureAuthorityHosts.AzureGovernment
  }
);

const blobServiceClient = new BlobServiceClient(
  `https://<storage-account-name>.blob.core.usgovcloudapi.net`,
  new DefaultAzureCredential(credentialOptions)
);

var containerClient = blobServiceClient.getContainerClient('testing');
containerClient.createIfNotExists();
To learn more about authorizing access to data in Azure Storage, see Authenticate to Azure and authorize access to data.
Python
Download the Azure Storage Blob client library for Python.
An easy and secure way to authorize access and connect to Azure Storage is to obtain an OAuth token by creating a DefaultAzureCredential instance. You can then use that credential to create a BlobServiceClient object, as shown in the following code example:
from azure.identity import DefaultAzureCredential, AzureAuthorityHosts
from azure.storage.blob import BlobServiceClient

credential = DefaultAzureCredential(authority=AzureAuthorityHosts.AZURE_GOVERNMENT)

blob_service_client = BlobServiceClient("https://<storage-account-name>.blob.core.usgovcloudapi.net", credential=credential)

container_name ="<container-name>"
container = blob_service_client.get_container_client(container=container_name)
generator = container.list_blobs()
for blob in generator:
    print("\t Blob name: " + blob.name)
To learn more about authorizing access to data in Azure Storage, see Authenticate to Azure and authorize access to data.
Next steps
- Read more about Azure Storage.
- Subscribe to the Azure Government blog
- Get help on Stack Overflow by using the azure-gov tag