Deploy a Quarkus Web App to Azure App Service with Maven
In this quickstart, you'll use the Maven Plugin for Azure App Service Web Apps to deploy a Quarkus application to Azure App Service on Linux. You'll want to choose Java SE deployment over Tomcat and WAR files when you want to consolidate your app's dependencies, runtime, and configuration into a single deployable artifact.
If you don't have an Azure subscription, create a free account before you begin.
Prerequisites
- The Azure CLI, either locally or through Azure Cloud Shell.
- A supported Java Development Kit (JDK). For more information about the JDKs available for use when developing on Azure, see Java support on Azure and Azure Stack.
- Apache Maven, version 3.
Sign in to Azure CLI
The simplest and easiest way to get the Maven Plugin deploying your Quarkus application is by using Azure CLI.
Sign into your Azure account by using the Azure CLI:
az login
Follow the instructions to complete the sign-in process.
Create sample app from MicroProfile Starter
In this section, you'll create a Quarkus application and test it locally.
Create Java SE 8 base Project
Open a web browser and navigate to the MicroProfile Starter site.
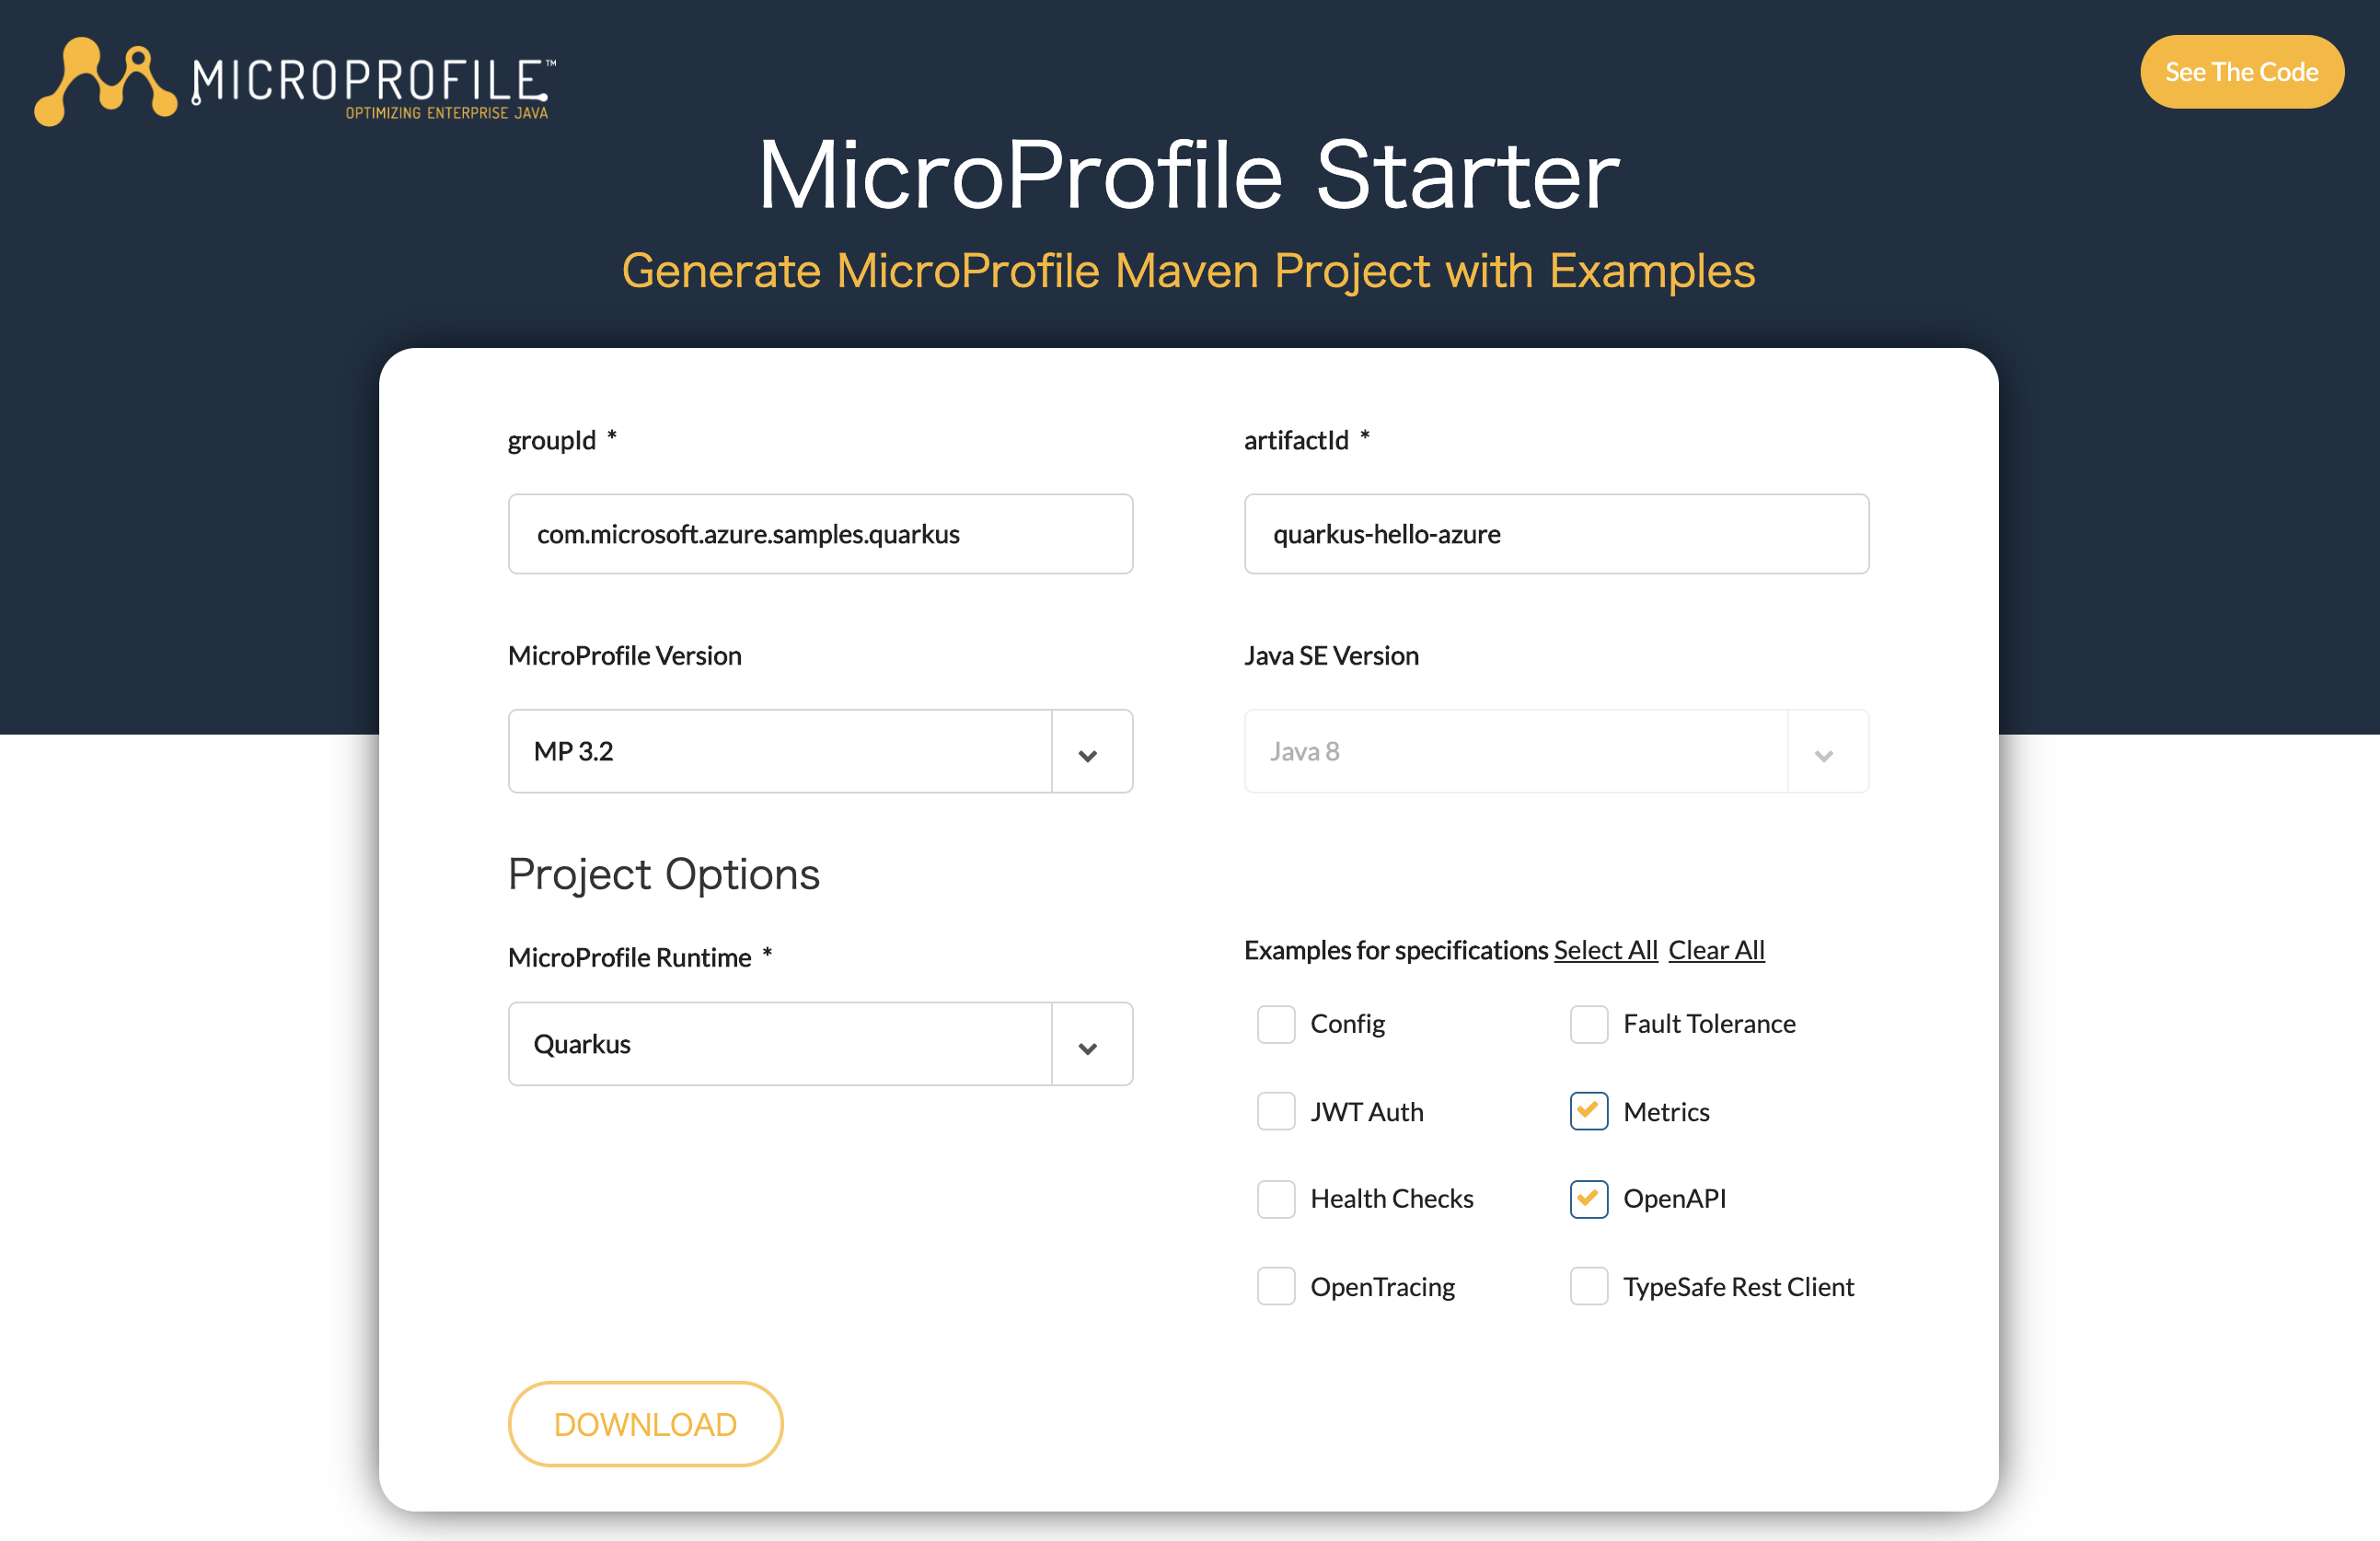
Provide the following values for the indicated fields.
Field Value groupId com.microsoft.azure.samples.quarkus artifactId quarkus-hello-azure MicroProfile Version MP 3.2 Java SE Version Java 8 MicroProfile Runtime Quarkus Examples for Specifications Metrics, OpenAPI Select DOWNLOAD to download the project.
Unzip the archive file; for example:
unzip Quarkus-hello-azure.zip
Create Java SE 11 base Project
To create the Java 11 base project, use the following command:
mvn io.quarkus:quarkus-maven-plugin:2.6.1.Final:create \
  -DprojectGroupId=com.microsoft.azure.samples.quarkus \
  -DprojectArtifactId=quarkus-hello-azure  \
  -DclassName="com.microsoft.azure.samples.quarkus.App" \
  -Dpath="/hello"
Run the application in Local environment
Change directory to the completed project; for example:
cd quarkus-hello-azure/Build and Run the project using Maven; for example:
mvn quarkus:devTest the web application by browsing to it locally using a web browser. For example, you could use the following command if you have curl available:
For Java SE 8 Project:
curl http://localhost:8080/data/helloFor Java SE 11 Project:
curl localhost:8080/helloYou should see the following message displayed: Hello World or hello
Configure Maven Plugin for Azure App Service
In this section, you'll configure the Quarkus project pom.xml file so that Maven can deploy the app to Azure App Service on Linux.
Open the pom.xml file in a code editor.
In the
<build>section of the pom.xml file, insert the following<plugin>entry inside the<plugins>tag aftermaven-surefire-plugin.<plugin> <groupId>com.microsoft.azure</groupId> <artifactId>azure-webapp-maven-plugin</artifactId> <version>2.5.0</version> </plugin>To configure the deployment, run the following Maven command:
mvn azure-webapp:configSelect the following options when prompted:
Input Field Input/Select Value Choose a subscription Enter your subscription ID. Define value for OS(Default: Linux): 2. linux Define value for javaVersion(Default: Java 8): 2. Java 11 Define value for pricingTier(Default: P1v2): 9. P1v2 Confirm (Y/N) y This command produces output similar to the following example:
[INFO] Scanning for projects...
[INFO]
[INFO] ------< com.microsoft.azure.samples.quarkus:quarkus-hello-azure >-------
[INFO] Building quarkus-hello-azure 1.0-SNAPSHOT
[INFO] --------------------------------[ jar ]---------------------------------
[INFO]
[INFO] --- azure-webapp-maven-plugin:2.5.0:config (default-cli) @ quarkus-hello-azure ---
[INFO] Auth type: OAUTH2
Username: abc@xyz.com
Available subscriptions:
*  1: Subscription1(xxxxxxxx-xxxx-xxxx-xxxx-xxxxxxxx)
   2: Subscription2(yyyyyyyy-yyyy-yyyy-yyyy-yyyyyyyy)
Please choose a subscription [xxx]: 1
[INFO] Subscription: Subscription1(xxxxxxxx-xxxx-xxxx-xxxx-xxxxxxxx)
Define value for OS [Linux]:
  1: Windows
* 2: Linux
  3: Docker
Enter your choice: 2
Define value for javaVersion [Java 8]:
* 1: Java 8
  2: Java 11
  3: Java 17
Enter your choice: 2
Define value for pricingTier [P1v2]:
   1: B1
   2: B2
   3: B3
   4: D1
   5: EP1
   6: EP2
   7: EP3
   8: F1
*  9: P1v2
  10: P1v3
  11: P2v2
  12: P2v3
  13: P3v2
  14: P3v3
  15: S1
  16: S2
  17: S3
  18: Y1
Enter your choice: 9
Please confirm webapp properties
Subscription Id : xxxxxxxx-xxxx-xxxx-xxxx-xxxxxxxx
AppName : quarkus-hello-azure-1601011883156
ResourceGroup : quarkus-hello-azure-1601011883156-rg
Region : centralus
PricingTier : P1v2
OS : Linux
Java : Java 11
Web server stack: Java SE
Deploy to slot : false
Confirm (Y/N) [Y]:
[INFO] Saving configuration to pom.
[INFO] ------------------------------------------------------------------------
[INFO] BUILD SUCCESS
[INFO] ------------------------------------------------------------------------
[INFO] Total time:  16.502 s
[INFO] Finished at: 2020-09-25T14:31:34+09:00
[INFO] ------------------------------------------------------------------------
Add the
<appSettings>section to the<configuration>section ofPORT,WEBSITES_PORT, andWEBSITES_CONTAINER_START_TIME_LIMIT. Your XML entry forazure-webapp-maven-pluginwill look similar to the following example:<plugin> <groupId>com.microsoft.azure</groupId> <artifactId>azure-webapp-maven-plugin</artifactId> <version>2.5.0</version> <configuration> <schemaVersion>V2</schemaVersion> <resourceGroup>microprofile</resourceGroup> <appName>quarkus-hello-azure-1591836715762</appName> <pricingTier>P1v2</pricingTier> <region>centralus</region> <runtime> <os>linux</os> <javaVersion>java 11</javaVersion> <webContainer>java SE</webContainer> </runtime> <appSettings> <property> <name>PORT</name> <value>8080</value> </property> <property> <name>WEBSITES_PORT</name> <value>8080</value> </property> <property> <name>WEBSITES_CONTAINER_START_TIME_LIMIT</name> <value>600</value> </property> </appSettings> <deployment> <resources> <resource> <directory>${project.basedir}/target</directory> <includes> <include>*.jar</include> </includes> </resource> </resources> </deployment> </configuration> </plugin>Add the following entry to the src/main/resources/application.properties file to create the Uber (FAT) jar.
quarkus.package.type=uber-jar
Deploy the app to Azure
After you've configured all of the settings in the preceding sections of this article, you're ready to deploy your web application to Azure. To do so, use the following steps:
If you made any changes to the pom.xml file, rebuild the JAR file using the following command:
mvn clean packageDeploy your web app to Azure by using the following command:
mvn azure-webapp:deploy
If the deployment succeeds, you'll see the following output:
[INFO] Successfully deployed the artifact to https://quarkus-hello-azure-1591836715762.azurewebsites.net
[INFO] ------------------------------------------------------------------------
[INFO] BUILD SUCCESS
[INFO] ------------------------------------------------------------------------
[INFO] Total time:  02:20 min
[INFO] Finished at: 2020-06-11T10:06:51+09:00
[INFO] ------------------------------------------------------------------------
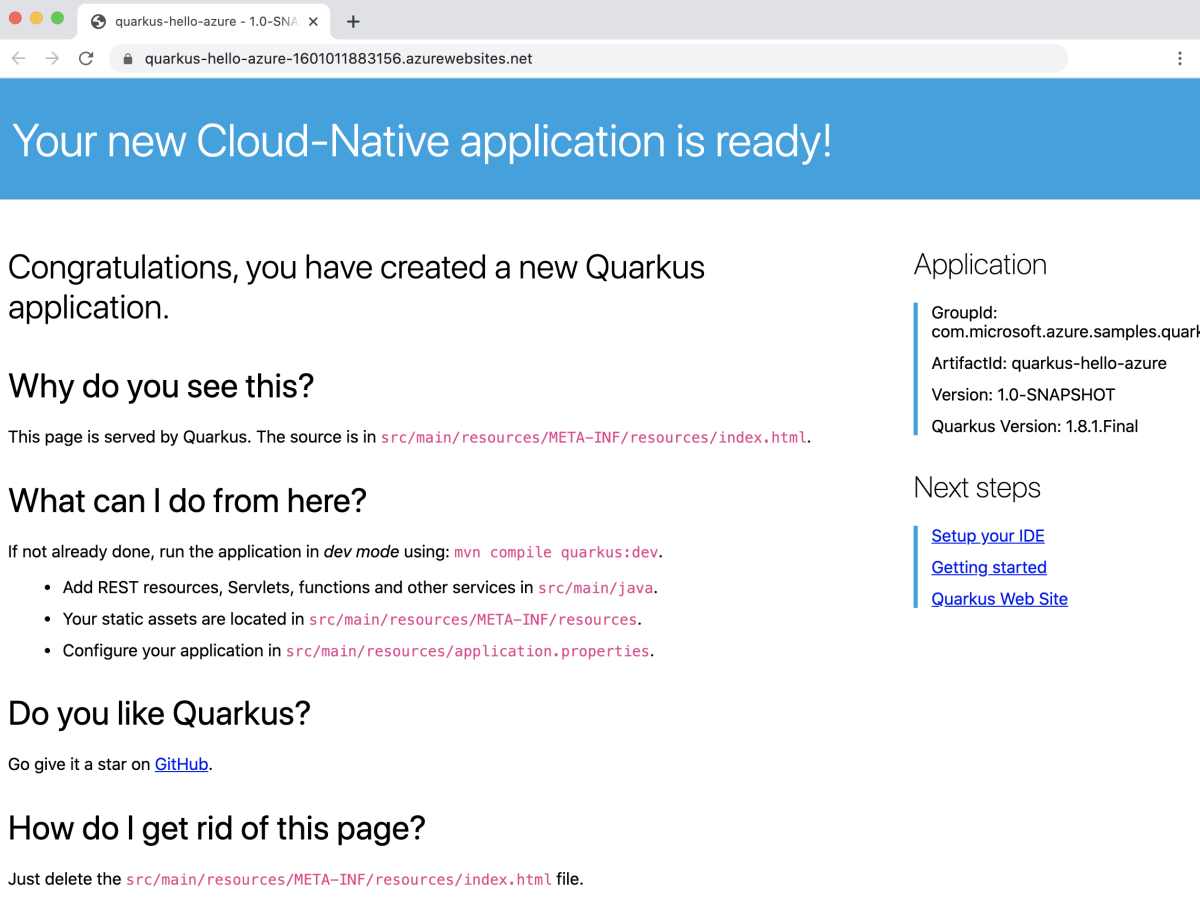
Maven will deploy your web application to Azure. If the web application or web application plan doesn't already exist, it will be created for you. It might take a few minutes before the web application is visible at the URL shown in the output. Navigate to the URL in a web browser. You should see the following screen.
When your web application has been deployed, you can manage it through the Azure portal.
Your web application will be listed in the microprofile resource group.
You can access to your web application by selecting Browse in the Overview page for your web app. Verify that the deployment was successful and is running.
Confirm the log stream from the running App Service
You can see (or "tail") the logs from the running App Service. Any calls to console.log in the site code are displayed in the terminal.
az webapp log tail
    --resource-group microprofile \
    --name quarkus-hello-azure-1601011883156

Clean up resources
When the Azure resources are no longer needed, clean up the resources you deployed by deleting the resource group.
- From the Azure portal, select Resource group from the left menu.
- Enter microprofile in the Filter by name field, the resource group created in this tutorial should have this prefix.
- Select the resource group created in this tutorial.
- Select Delete resource group from the top menu.
Next steps
To learn more about MicroProfile and Azure, continue to the MicroProfile on Azure documentation center.
Additional resources
For more information about the various technologies discussed in this article, see the following articles:
Feedback
Kommer snart: I hele 2024 udfaser vi GitHub-problemer som feedbackmekanisme for indhold og erstatter det med et nyt feedbacksystem. Du kan få flere oplysninger under: https://aka.ms/ContentUserFeedback.
Indsend og få vist feedback om