Exercise - Share a Notebook
One of the value-added features of Azure Notebooks is that it provides a cloud-based hub for sharing notebooks. In this unit, you'll share the notebook you created in previous exercises.
Select File -> Close and Halt to close the notebook.

Closing the notebook
Click Project Settings to edit the project's settings. Check the Public project box to make the project public, and then click Save.
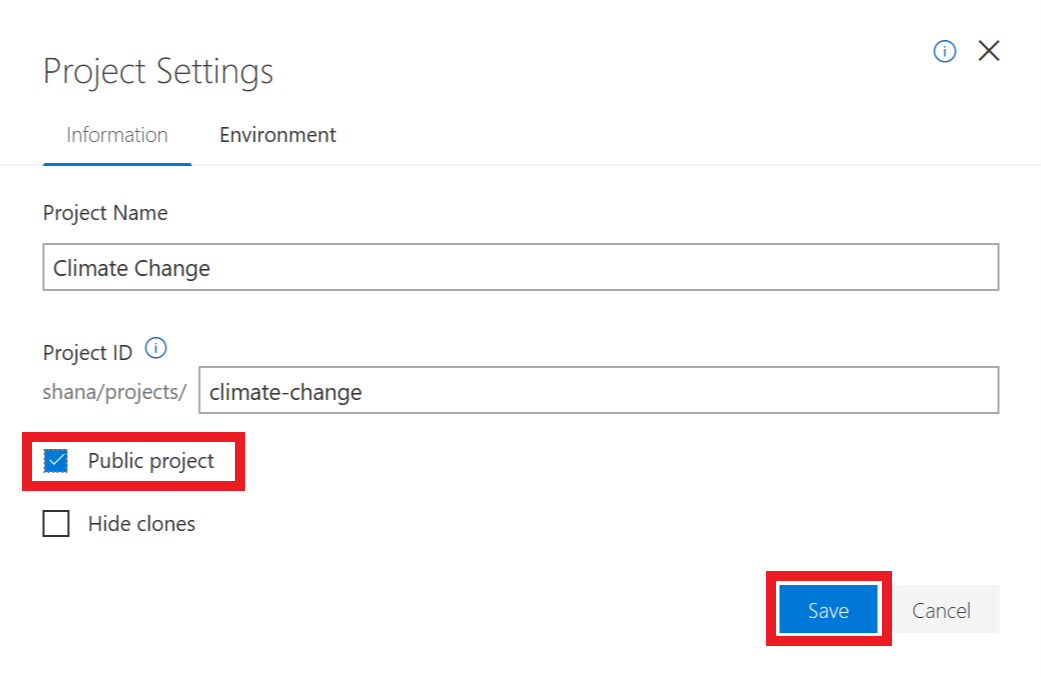
Making the project public
Click Share. Notebooks can be shared by links, on social media, and through email. To demonstrate, click Copy Link to copy a link to the notebook to the clipboard. Then paste the link into a separate browser window and confirm that the notebook appears there.
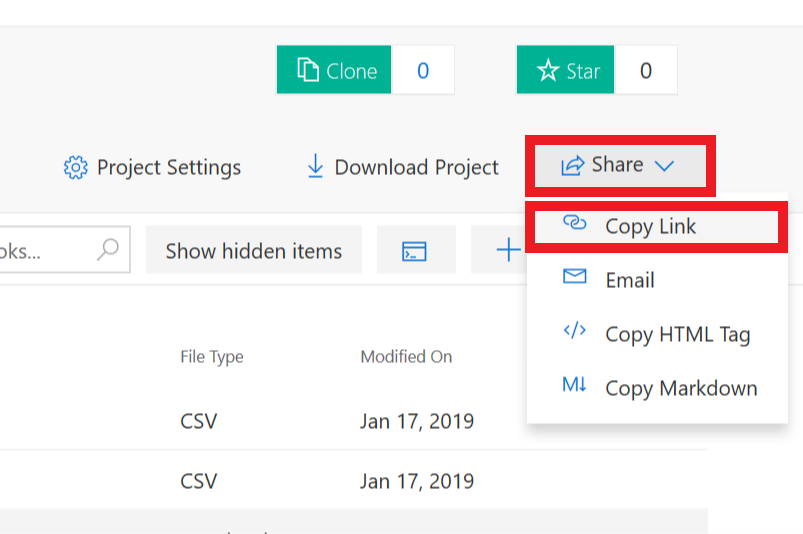
Sharing by link
Another way to share a notebook is to download it as a .ipynb file and send the .ipynb file to whomever you wish to share it with. You can download a notebook and make a local copy by clicking the Download Project button. You can even run them in other Jupyter environments if you would like because there's nothing proprietary about Azure Notebooks.