Exercise - Use the Power Apps CLI
In this exercise, you'll install the Power Platform CLI and create your first Power Apps Component Framework (PCF) component.
Task 1: Install the CLI
Install Npm (comes with Node.js) or Node.js (comes with npm). We recommend that you use LTS (Long-Term Support) version 10.15.3 or higher.
Install Visual Studio Code.
Install Power Platform Tools extension.
Start Visual Studio Code.
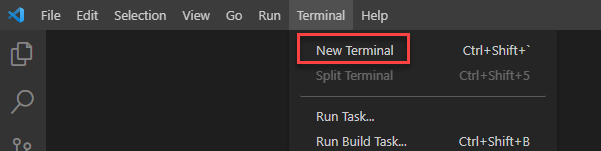
Select Terminal and select New Terminal.
Run the pac command to see what commands are available:
pac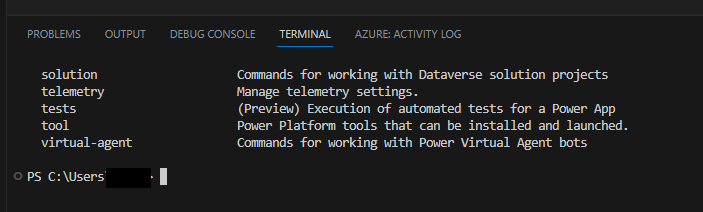
You can enter pac and then a command to see what options it has, for example, try the following:
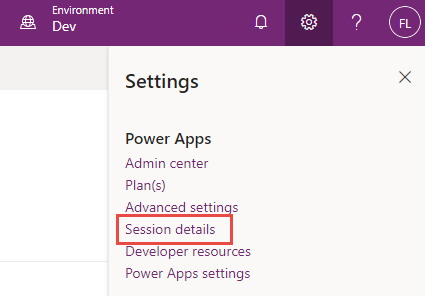
pac adminNavigate to Power Apps maker portal and make sure you have the Dev environment selected.
In the upper right corner of the screen, select the Settings icon and choose Session details.
In the Power Apps session details dialog, select Instance url value and copy it for use later in the exercise.
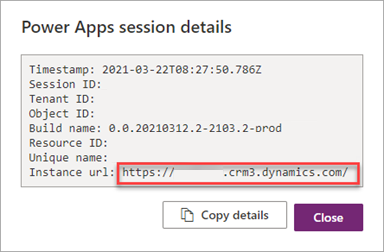
Go back to the Visual Studio Code terminal, type the following command to establish a connection from the CLI and sign into your test environment when prompted.
pac auth create --name Lab --url <Your Instance URL>Type the following
whocommand that will display the environment and the user information. This is good to ensure you are in the correct environment.pac org who
Task 2: Create a PCF component
Run the command below to create a new folder named labPCF inside your user's folder.
md labPCFChange directory to the folder you created.
cd labPCFRun the command below to initialize the component project.
pac pcf init --namespace lab --name FirstControl --template fieldType the following command and then press enter. This pulls down any dependencies from the npm repository.
npm installOpen the folder in Visual Studio Code.
code -a .Explore the files that have been created.
Open Index.ts in the FirstControl folder.
Paste the following two variables inside the export.
private label: HTMLInputElement;private _container: HTMLDivElement;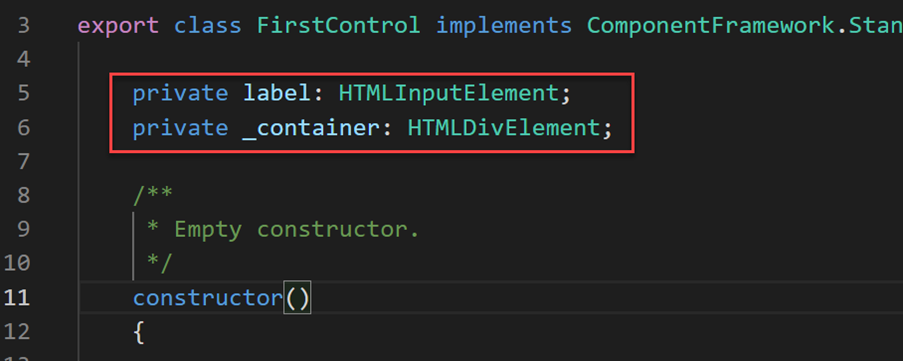
Paste the following inside the init() function to create the HTML controls and set the label value.
this.label = document.createElement("input");
this.label.setAttribute("type", "label");
this.label.value = "My First PCF";
this._container = document.createElement("div");
this._container.appendChild(this.label);
container.appendChild(this._container);
Save the file.
Go to the terminal and input the following command and then enter. This will start the test harness with the latest code.
npm startThe test harness is effective to use early in the project to see what your control looks like visually without having to deploy it to an environment. You can set values of property to change the size of the control area. After you're done exploring the test harness, switch back to the terminal and press Ctrl-C to terminate the execution of the test harness.
Type Y and [ENTER].
Run the following command to list solutions in your environment.
pac solution listThese are the current solutions that are in your environment. The next step will add one for the component.
Type the following push command to push our control to the environment.
pac pcf push --publisher-prefix labRun pac solution list command again. You should see a PowerAppsTools_lab solution listed. This is how your component is installed in the dev environment for unit testing before being packaged for user testing or production or included as part of another solution.
Task 3: Use the component in an app (optional)
Navigate to the Microsoft Power Platform Admin Center.
Select the environment you're using for the lab.
Select Settings.
Expand Product area and select Features.
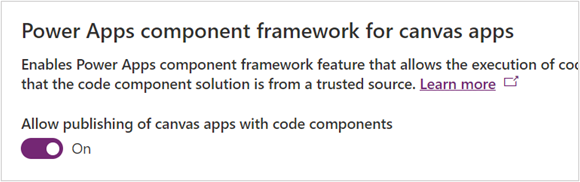
On the right side, enable the Allow publishing of canvas apps with code components feature.
Navigate to Power Apps maker portal and make sure you are in the correct environment.
Select Solutions.
Select to open the PowerAppsTools_lab solution.
You should see your component listed.
Select + New | App | Canvas app.
Select Phone for Format, enter First PCF for App name, and select Create.
On the left pane, select Add (+), and then select Get more components.
Select the Code tab.
Select your component.
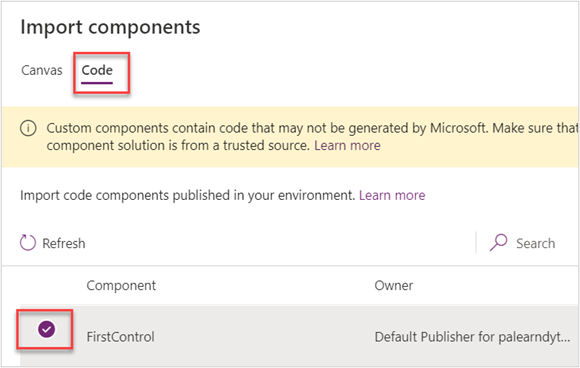
Select Import.
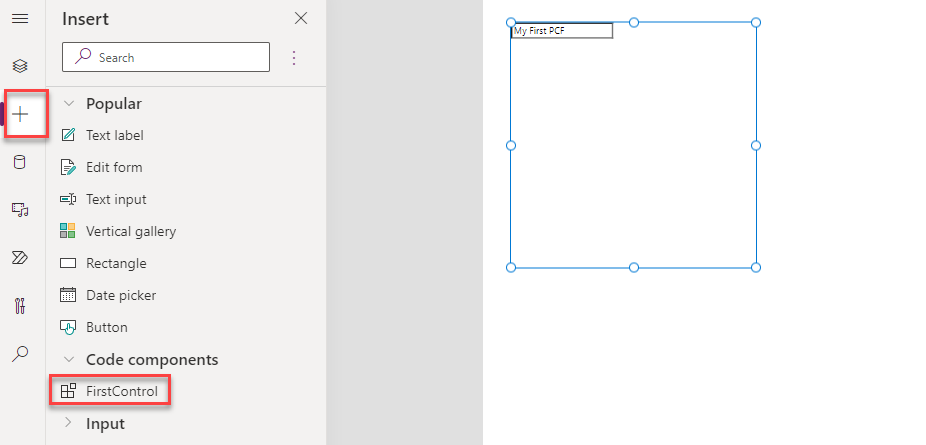
On the left tool bar, select + and expand Code components.
Select the FirstControl. You should now see the control with the text My First PCF on the canvas.
Select Save to save the application.
You have now built your first PCF component and used it in a canvas app.