Deploy a device compliance policy
Before an organization can implement device compliance policies, it must first satisfy the following prerequisites:
It must be licensed for Microsoft Entra ID P1 or Microsoft Entra ID P2 and Intune. Both are part of Microsoft 365 or Enterprise Mobility + Security, but they can also be obtained separately.
Its devices run one of the following supported platforms:
- Android
- Android Enterprise
- iOS/iPadOS
- macOS
- Windows 8.1 or later
Its devices must be enrolled in Intune to be eligible for compliance management.
You can deploy compliance policy to users in user groups or devices in device groups. When a compliance policy is deployed to a user, all the user's devices are checked for compliance. It's recommended to deploy to device groups if the primary user didn't enroll the device. Using device groups in this scenario helps with compliance reporting.
Compliance policy settings can be found in the Microsoft Intune admin center, in Devices > Compliance policies.
When implementing compliance policies, there are some general compliance settings that need to be configured.
Sign in to the Microsoft Intune admin center.
Select Devices > Compliance policies > Compliance policy settings. The following options will be available:
Mark devices with no compliance policy assigned as. This property has two values:
Not compliant (default). Security feature is turned On.
Compliant. Security feature is turned Off.
If a device doesn't have a compliance policy assigned, then the device is considered Not compliant. By default, devices are marked as Compliant. If you use conditional access, we recommended you change the setting to Not compliant. If an end user isn't compliant because a policy isn't assigned, then Company Portal lists No compliance policies have been assigned.
Enhanced jailbreak detection. When enabled, this setting causes iOS devices to check in with Intune more frequently. Enabling this property uses the device’s location services, and impacts battery usage. The user location data isn't stored by Intune. Enabling this setting requires devices to:
- Enable location services at the OS level.
- Allow the company portal to use location services.
- Evaluate and report its jailbreak status to Intune at least once every 72 hours. Otherwise, the device is marked not compliant. Evaluation is triggered by either opening the Company Portal app or physically moving the device 500 meters or more.
Compliance status validity period (days). Enter the time period that devices report the status for all received compliance policies. Devices that don't return the status within this time period are treated as noncompliant. The default value is 30 days.
Compliance policies are configured similar to other Intune configuration policies.
Sign in to the Microsoft Intune admin center.
Select Devices > Compliance policies > Policies > Create Policy.
Select a platform for this policy and then select Create to open the Create policy configuration window.
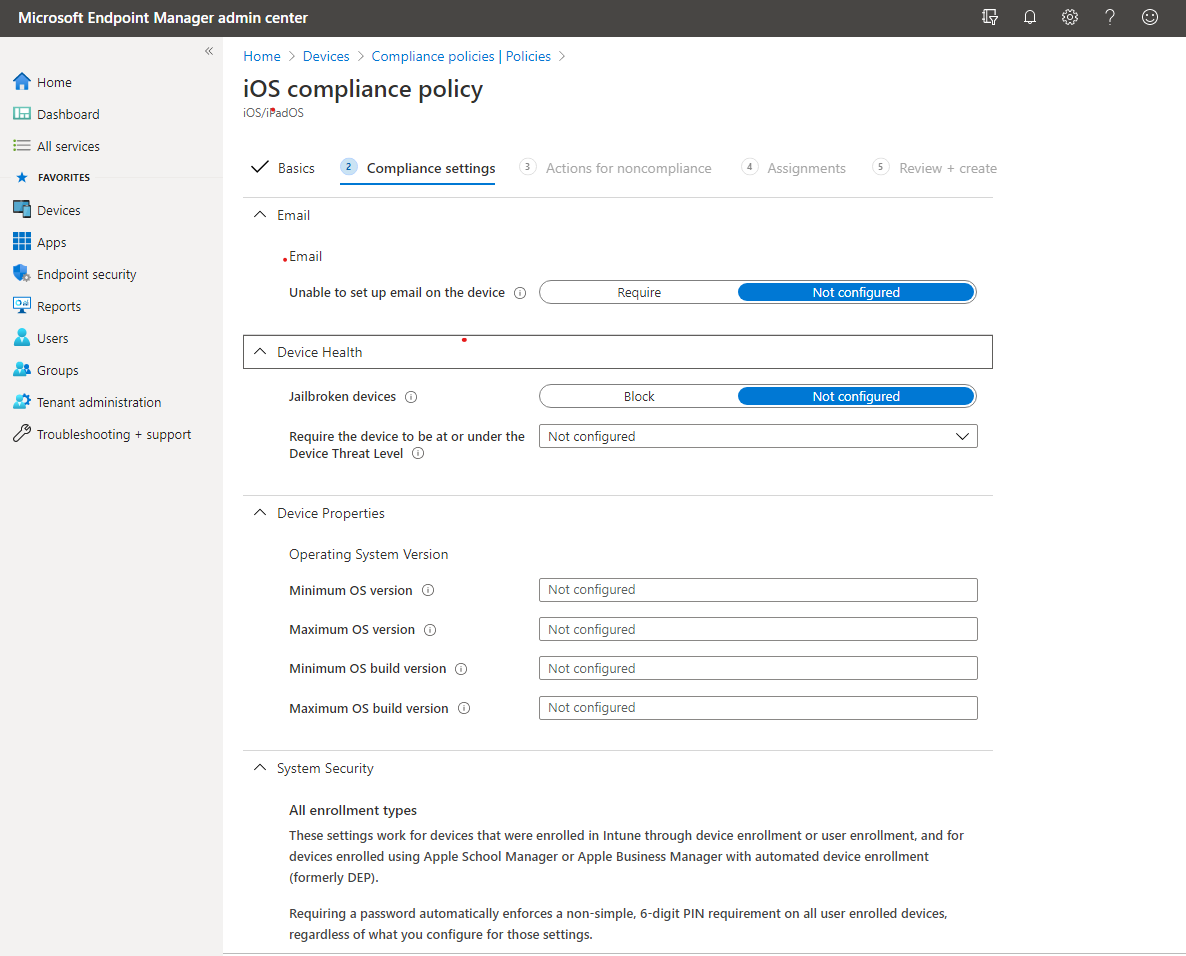
After providing a name on the Basics tab, on the Compliance settings tab, expand the available categories, and configure settings for your policy. Different options will display depending on the platform selected. Examples of compliance settings can be:
- Minimum/Maximum OS version
- Requiring a password to unlock the device
- Password complexity requirements
- Encryption of data
- Antivirus installed
- Jailbroken devices
Once compliance settings have been selected, select Next.
On the Actions for noncompliance tab, configure which actions should be taken when the device has been determined to be non-compliant. Actions can include sending an e-mail to the user, remotely locking the device, or retiring the device, and configure how many days before the action is taken, after the device has been marked as noncompliant.
Select Next, and continue creating the profile, setting assignments, and selecting Create after reviewing the settings.