Set up an environment
To provision a trial environment, see Deployment. After you provision your environment, the Welcome and get started page is displayed. The trial environment is preconfigured and you can explore the app using the demo data that's provided.
Configuration
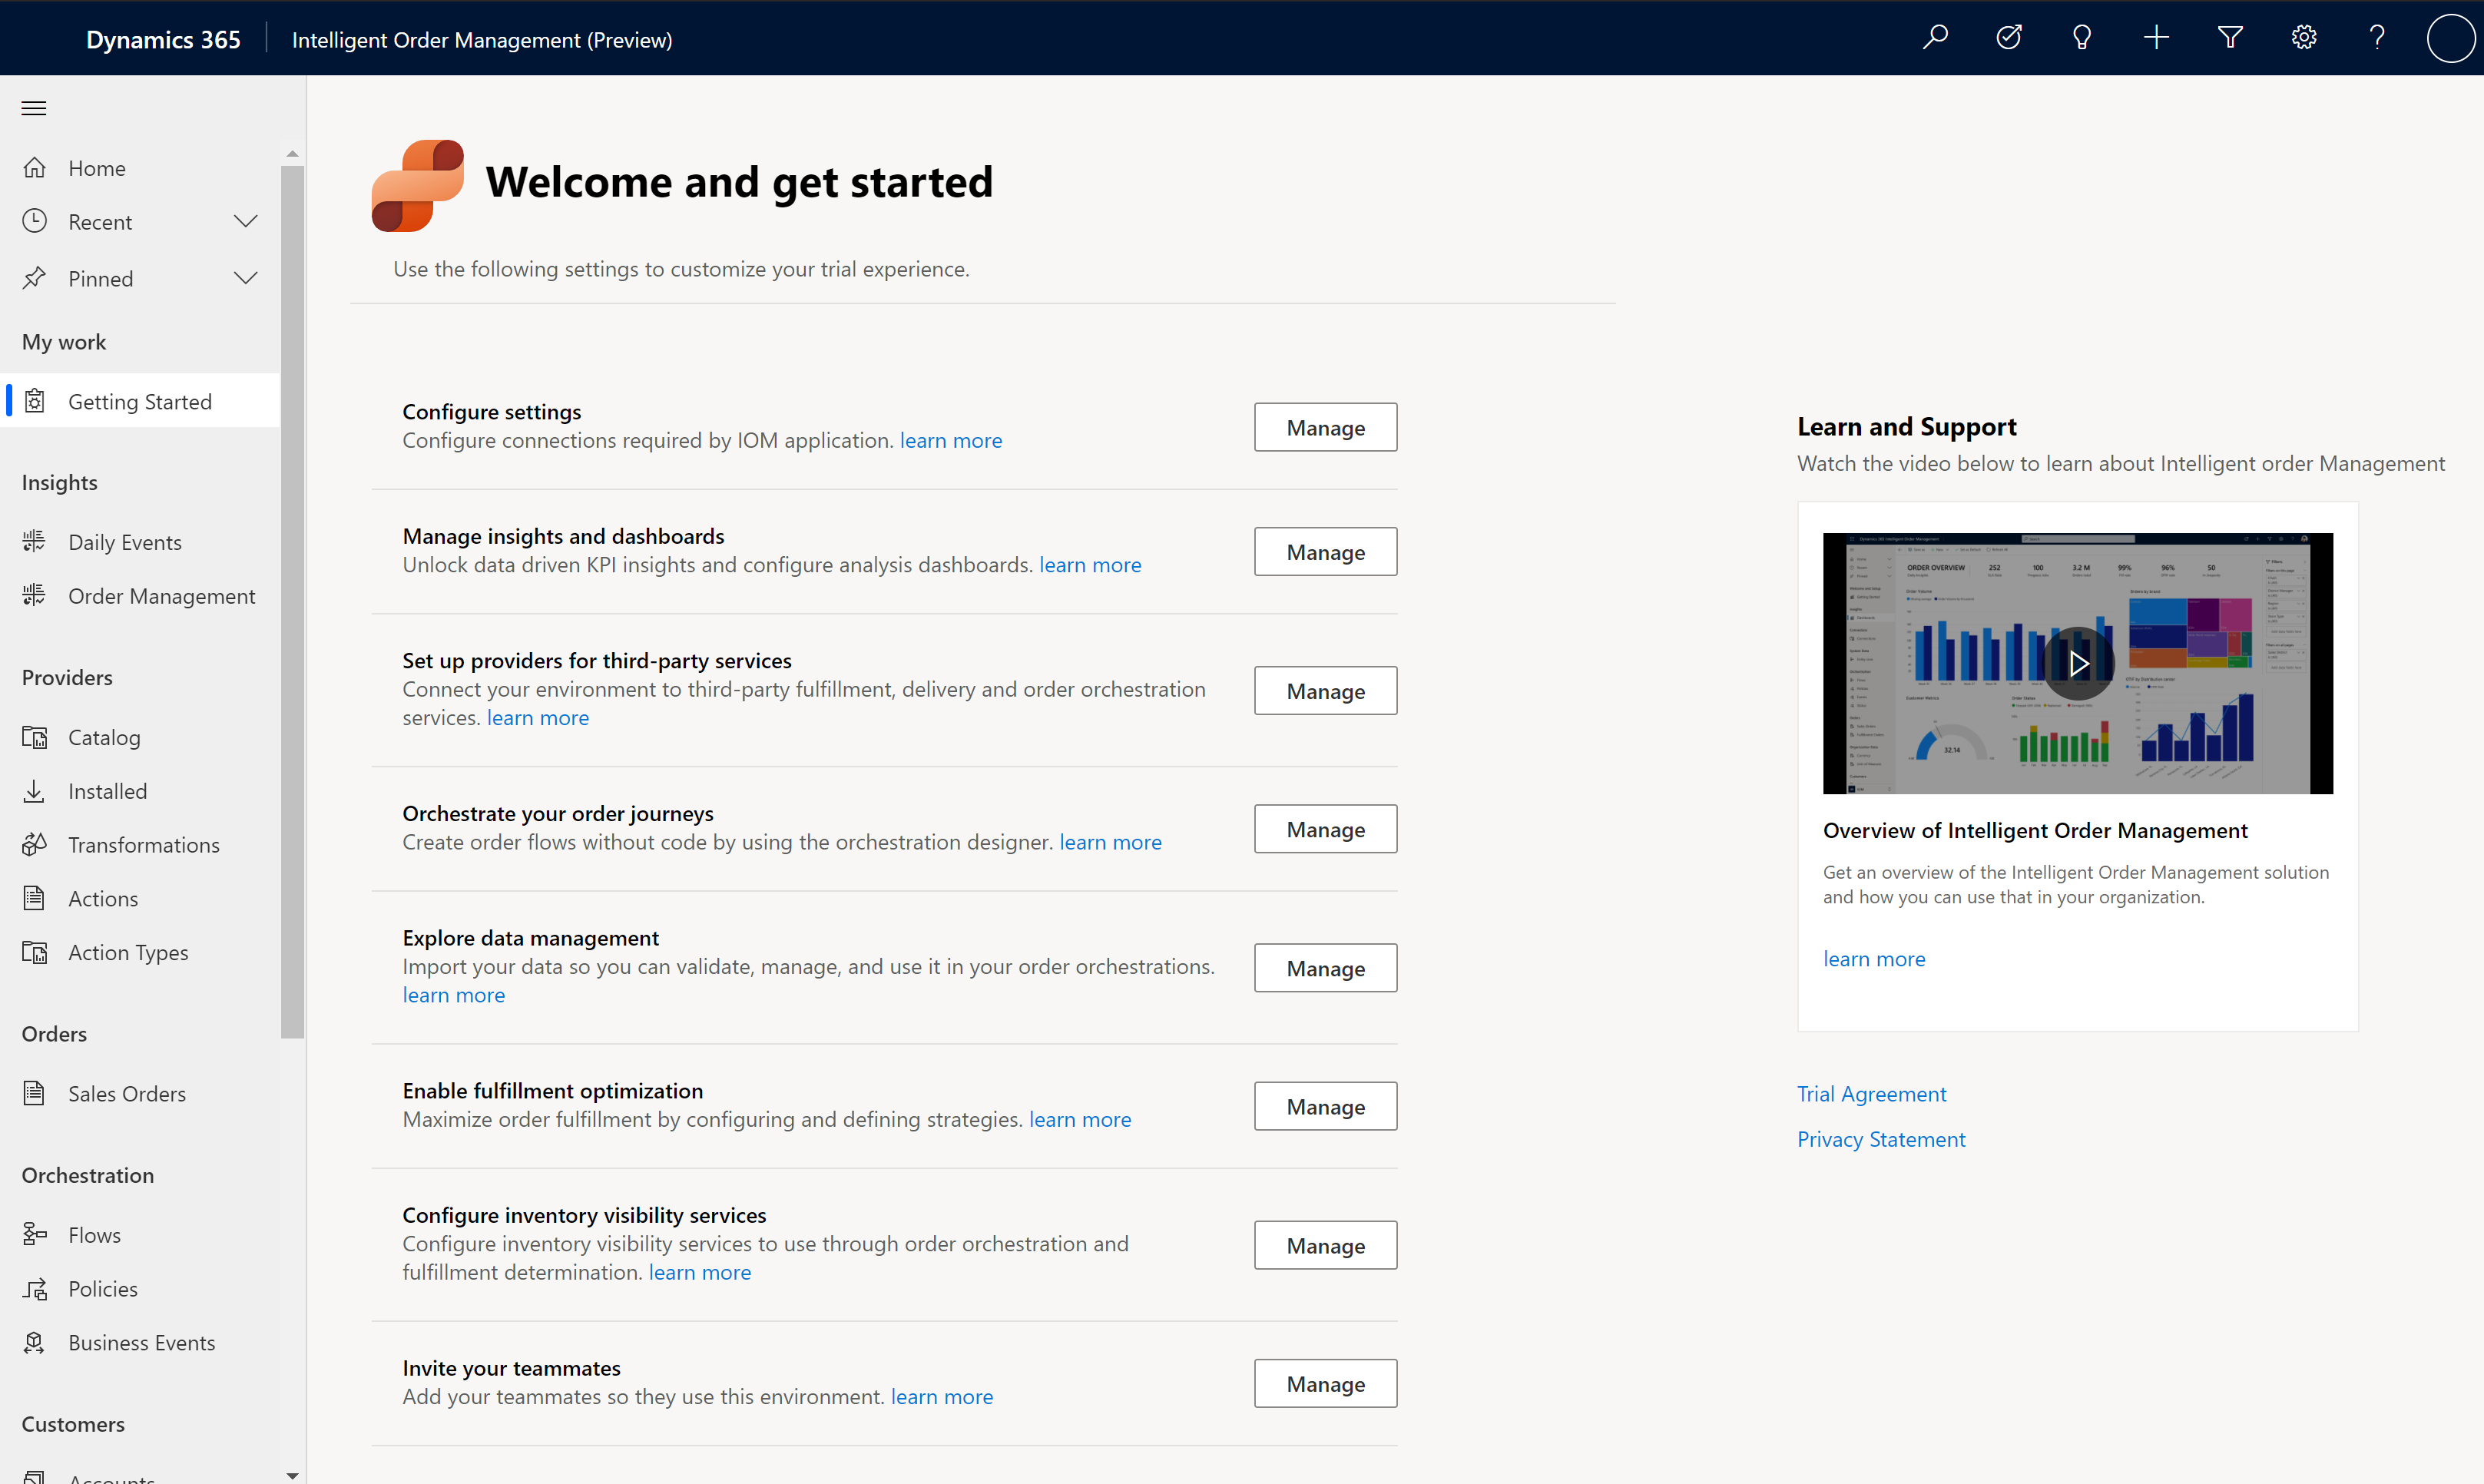
On the Welcome and get started page, you can access the following features.
Configure settings: Select Manage to create and configure required connections. For detailed instructions, refer to the create connections section below.
Manage insights and dashboards: Select Manage to go to the Daily Events dashboard, where you can learn more about the configuration for reporting and Power BI Integration.
Set up providers for third-party services: Select Manage to go to the provider Catalog, where you can configure providers that you want to use to receive orders or communicate to external systems. To learn about providers, see Work with providers.
Orchestrate your order journeys: Select Manage to go to the pages where you can create and manage order orchestration flows.
Explore data management: Select Manage to go to the administration pages to manage data import and export.
Enable fulfillment optimization: Select Manage to go to configure the fulfillment optimization service with Intelligent Order Management.
Configure inventory visibility services: Select Manage to go to the pages where you can configure the inventory service to be used with Intelligent Order Management.
Invite your teammates: Select Manage to go to the page where you can invite users to your environment.
Create connections
To configure Intelligent Order Management, you first need to create a Dataverse connection, a Power Automate Management connection
- Go to the Power Automate portal and make sure you are in the correct Intelligent Order Management environment. To check which environment you are in, select Environments in the top-right corner of the Power Automate portal.
- Go to Data > Connections.
Create Dataverse connection
- On the Data > Connections page, select New connection.
- In the search box in the top-right corner, enter Dataverse.
- Select + next to Microsoft Dataverse.
- Select Create. When prompted to sign in, use the same credentials you used to sign in to Intelligent Order Management.
Create Power Automate connection
- On the Data > Connections page, select New connection.
- In the search box in the top-right corner, enter Power Automate Management.
- Select + next to Power Automate Management. When prompted to sign in, use the same credentials you used to sign in to Intelligent Order Management.
Set up platform connection references
After you create your connections, you need to configure them.
- Go to the Welcome and get started page in Intelligent Order Management.
- Select Configure settings.
- For each connection reference, do the following:
- Select the connection reference.
- To retrieve the connection URL, go to the Power Automate portal. Select the corresponding connection, and then copy the URL for the page. For example, if you are setting up the Intelligent Order Management Data Transformer connection reference, Select the IOM Data Transformer connection on the Connections page in Power Automate, and copy the URL from your browser’s address bar.
- Go back to the corresponding connection reference page in Intelligent Order Management and paste the copied URL in the Connection URL field.
Note
There are three platform Dataverse connection references. You can use the same Dataverse connection for all three.
- Once you've configured all of the platform connection references, select Activate System in Intelligent Order Management to turn on the related platform Power Automate flows. This may take a while.
Additional resources
Feedback
Coming soon: Throughout 2024 we will be phasing out GitHub Issues as the feedback mechanism for content and replacing it with a new feedback system. For more information see: https://aka.ms/ContentUserFeedback.
Submit and view feedback for