Set up your Azure Blob Storage connection
Azure Blob Storage is Microsoft's object storage solution for the cloud. Blob storage is optimized for storing massive amounts of unstructured data. This article outlines the steps to create an Azure Blob Storage connection.
Supported authentication types
The Azure Blob Storage connector supports the following authentication types for copy and Dataflow Gen2 respectively.
| Authentication type | Copy | Dataflow Gen2 |
|---|---|---|
| Anonymous | √ | √ |
| Account key | √ | √ |
| Shared Access Signature (SAS) | √ | √ |
| Organizational account | √ | √ |
| Service principal | √ | √ |
Set up your connection in Dataflow Gen2
Data Factory in Microsoft Fabric uses Power Query connectors to connect Dataflow Gen2 to Azure Blobs. The following links provide the specific Power Query connector information you need to connect to Azure Blobs in Dataflow Gen2:
- To get started using the Azure Blobs connector in Dataflow Gen2, go to Get data from Data Factory in Microsoft Fabric.
- Be sure to install or set up any Azure Blobs prerequisites before connecting to the Azure Blobs connector.
- To connect to the Azure Blobs connector from Power Query, go to Connect to Azure Blob Storage from Power Query Online.
In some cases, the Power Query connector article might include advanced options, troubleshooting, known issues and limitations, and other information that could also prove useful.
Set up your connection in a data pipeline
Browse to the New connection page for the data factory pipeline to configure the connection details and create the connection.
You have two ways to browse to this page:
- In copy assistant, browse to this page after selecting the connector.
- In pipeline, browse to this page after selecting + New in Connection section and selecting the connector.
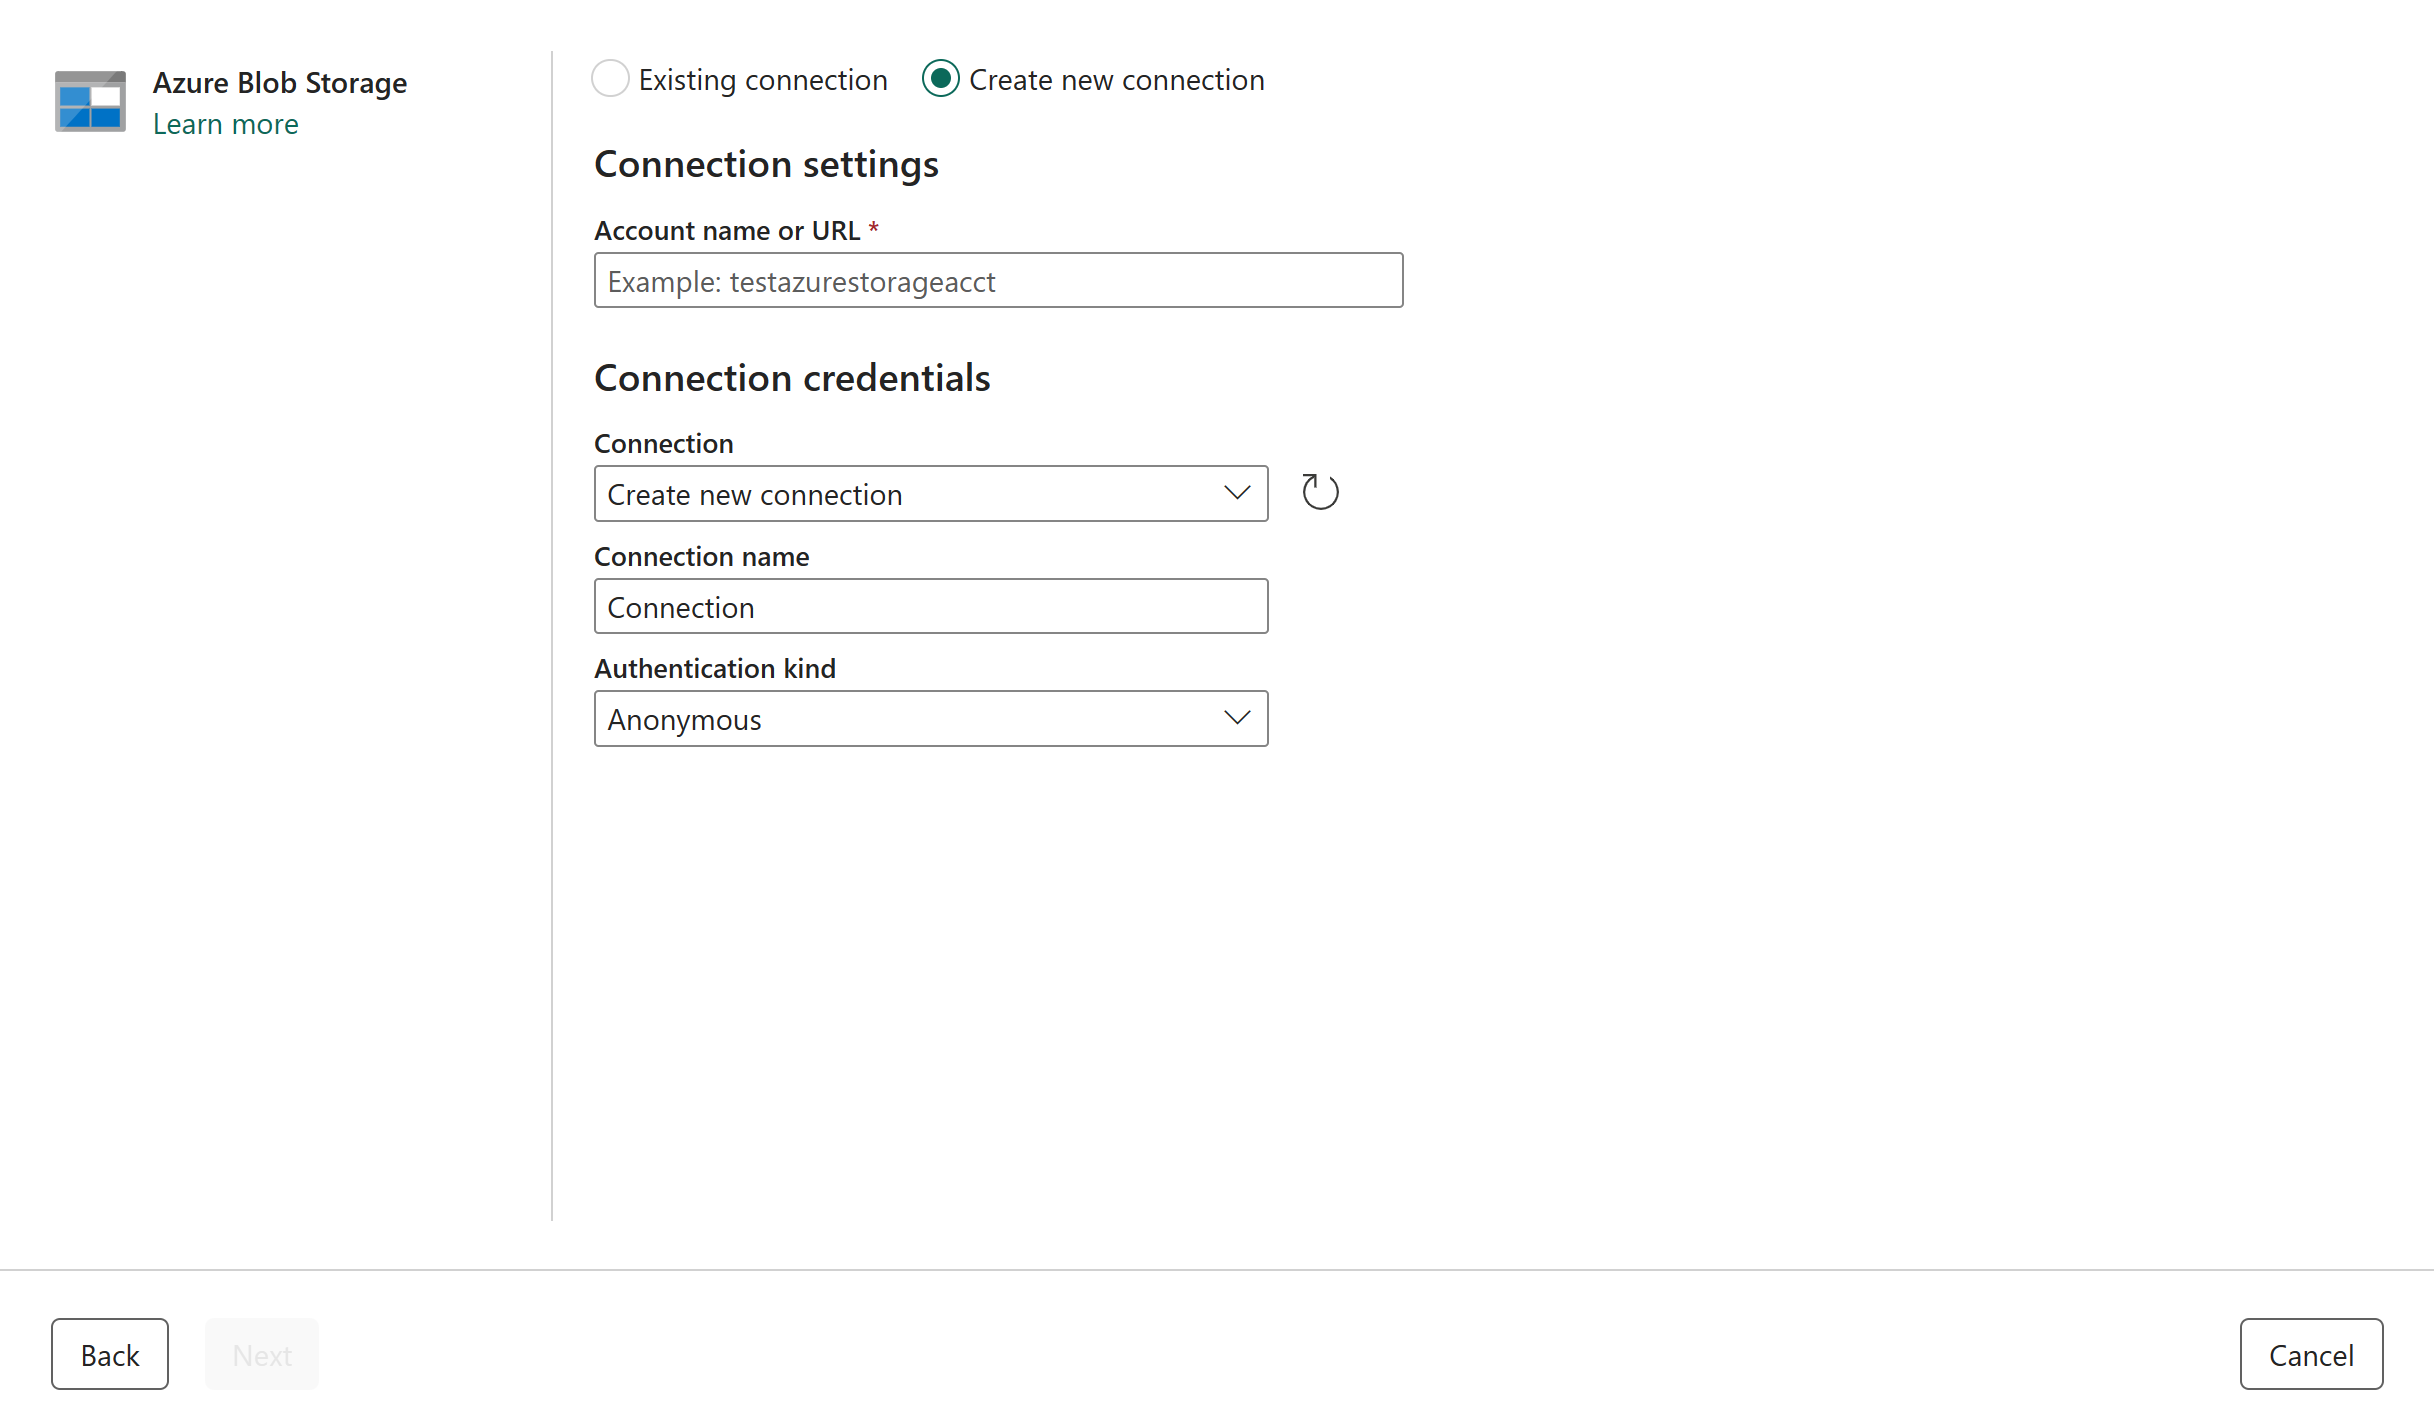
Step 1: Specify the account name or URL, connection and connection name
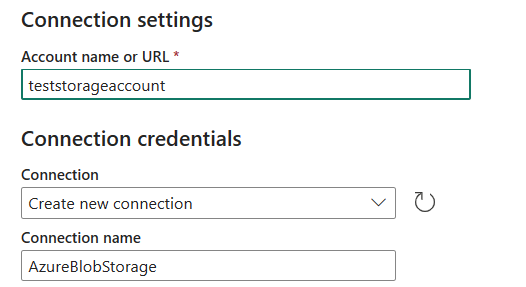
In the New connection pane, specify the following fields:
- Account name or URL: Specify your Azure Blob Storage account name or URL. Browse to the Endpoints section in your storage account and the blob service endpoint is the account URL.
- Connection: Select Create new connection.
- Connection name: Specify a name for your connection.
Step 2: Select and set your authentication kind
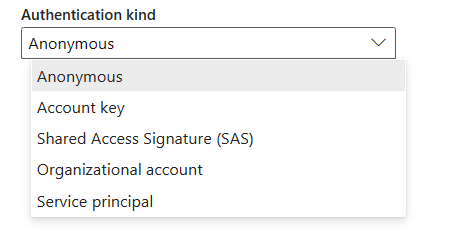
Under Authentication kind, select your authentication kind from the drop-down list and complete the related configuration. The Azure Blob Storage connector supports the following authentication types:
Anonymous authentication
Select Anonymous under Authentication kind.

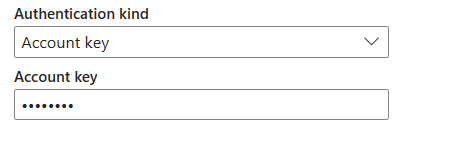
Account key authentication
Specify the account key of your Azure Blob Storage. Go to your Azure Blob Storage account interface, browse to the Access key section, and get your account key.
Shared Access Signature (SAS) authentication
Specify the shared access signature token (SAS token) to the storage resources, such as a blob or container.
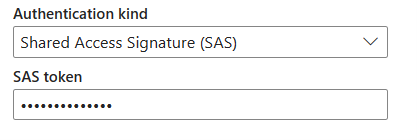
If you don’t have a SAS token, switch to Shared access signature in your Azure Blob Storage account interface. Under Allowed resource types, select Service. Then select Generate SAS and connection string. You can get your SAS token from the SAS token that's displayed.
The shared access signature is a URI that encompasses in its query parameters all the information necessary for authenticated access to a storage resource. To access storage resources with the shared access signature, the client only needs to pass in the shared access signature to the appropriate constructor or method.
For more information about shared access signatures, go to Shared access signatures: Understand the shared access signature model.
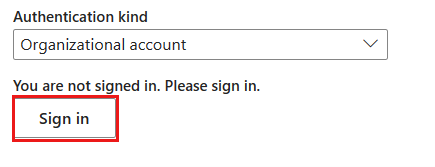
Organizational account authentication
Select Sign in, which displays the sign in interface. Enter your account and password to sign in your organizational account. After signing in, go back to the New connection page.
Service principal authentication
You need to specify the tenant ID, service principal client ID and service principal key when using this authentication.
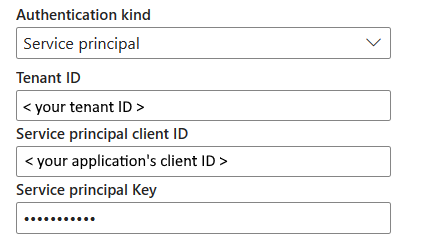
- Tenant ID: Specify the tenant information (domain name or tenant ID) under which your application resides. Retrieve it by hovering over the upper-right corner of the Azure portal.
- Service principal client ID: Specify the application's client ID.
- Service principal Key: Specify your application's key.
To use service principal authentication, follow these steps:
Register an application entity in Microsoft Entra ID by following Authorize access to blobs using Microsoft Entra ID. Make note of these values, which you use to define the connection:
- Tenant ID
- Application ID
- Application key
Grant the service principal proper permission in Azure Blob Storage. For more information on the roles, go to Assign an Azure role for access to blob data.
- As source, in Access control (IAM), grant at least the Storage Blob Data Reader role.
- As destination, in Access control (IAM), grant at least the Storage Blob Data Contributor role.
Step 3: Create your connection
Select Create to create your connection. Your creation is successfully tested and saved if all the credentials are correct. If not correct, the creation fails with errors.
Table summary
The following table contains the properties for data pipeline connection creation.
| Name | Description | Required | Property | Copy |
|---|---|---|---|---|
| Account name or URL | Azure Blob Storage account name or endpoint. | Yes | ✓ | |
| Connection | Select Create new connection. | Yes | ✓ | |
| Connection name | A name for your connection. | Yes | ✓ | |
| Authentication kind | Go to Authentication. | Yes | Go to Authentication. |
Authentication
The properties in the following table are the supported authentication types.
| Name | Description | Required | Property | Copy |
|---|---|---|---|---|
| Anonymous | ✓ | |||
| Account key | ✓ | |||
| - Account key | The account key of the Azure Blob Storage. | Yes | ||
| Shared Access Signature (SAS) | ✓ | |||
| - SAS token | The shared access signature token to the Storage resources, such as a blob or container. | Yes | ||
| Organizational account | ✓ | |||
| Service principal | ✓ | |||
| - Tenant ID | The tenant information (domain name or tenant ID). | Yes | ||
| - Service principal client ID | The application's client ID. | Yes | ||
| - Service principal Key | The application's key. | Yes |
Feedback
Coming soon: Throughout 2024 we will be phasing out GitHub Issues as the feedback mechanism for content and replacing it with a new feedback system. For more information see: https://aka.ms/ContentUserFeedback.
Submit and view feedback for
