Note
Access to this page requires authorization. You can try signing in or changing directories.
Access to this page requires authorization. You can try changing directories.
Microsoft Viva is a suite of apps including Viva Amplify, Viva Connections, Viva Engage, Viva Glint, Viva Insights, Viva Learning, Viva Pulse, and Viva Goals. Admins can initiate setup and deployment and manage licenses for Viva apps from the Microsoft 365 admin center.
Start setting up
- Go to the Microsoft 365 admin center.
- Sign in to your account as a Microsoft 365 admin.
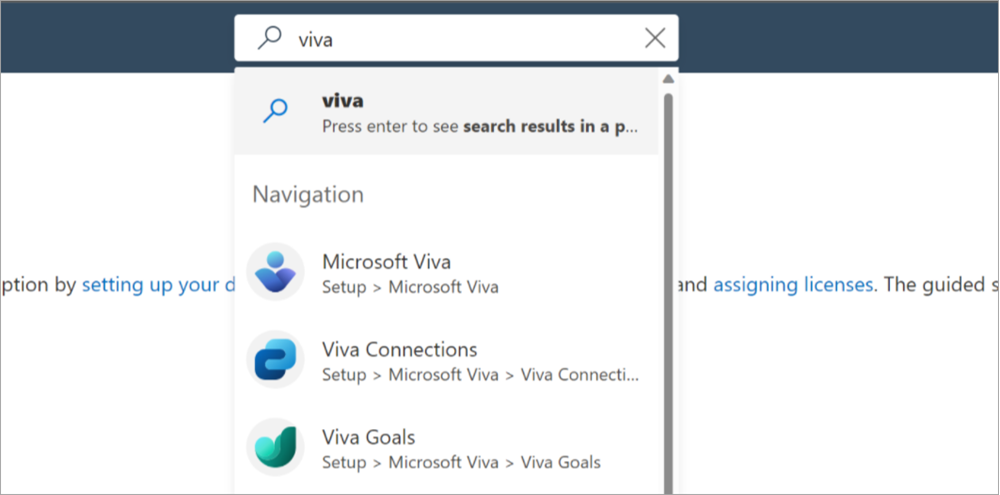
- In the search bar, enter Viva.
- Select Microsoft Viva.
Alternatively, you can go to the Microsoft 365 admin center, select Setup on the left navigation, and then select the Microsoft Viva tile.
This brings you to the Microsoft Viva admin page.

Things you can do on this page:
- Licenses and roles: You can select Manage licenses or Manage roles to go directly to the Microsoft 365 Licenses page or to the Microsoft 365 Role assignments page. On the Role assignments page, you can search for Viva in the search box to narrow the roles to those specific to Viva.
- Data management: You can navigate to Organizational data settings and set up your Skills library from the Data management tab.
- Settings: You can manage access to specific features in Viva apps from this tab. Feature access management allows admins to use access policies to manage which users can access specific features in Viva apps, so you can tailor your deployments to meet your local regulatory or business requirements. See Feature access management for more information.
- Plan types: You can see the type of Viva plan purchased or included with Microsoft 365 in the Plan type column.
- Assigned admins: You can see quickly whether admin roles have been assigned for each app, and who the roles are assigned to in the Admins column. Hover over the profile circles to get the names of people who are assigned roles or, to use a keyboard shortcut, navigate to one of the profile circles and press "c".
- App pages: You can select an app to go to that app's settings page.
App settings pages
Each app has its own settings page, and they may differ. Here's an example of the Learning admin page:
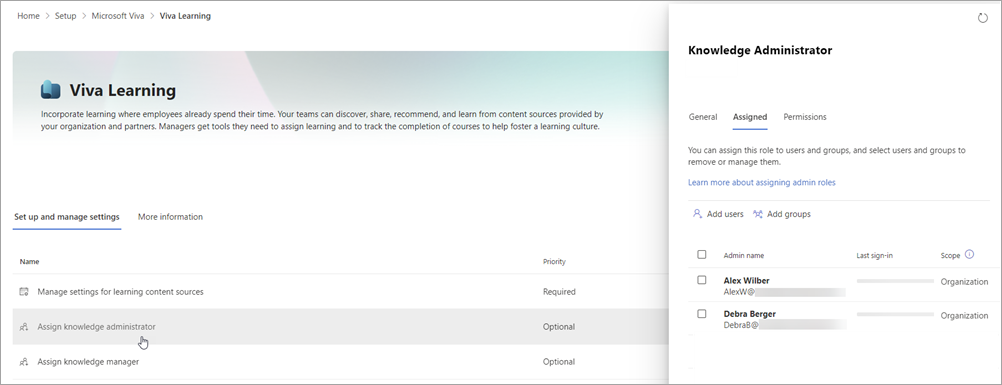
In this example you can:
- See at a glance which settings are required in the Priority column.
- Select a setting in the list, and get a panel where you can set the options without leaving the page. In this example, you see the panel to assign knowledge managers.
- Select the More information tab to get detailed guidance on setting up the app.
Set up each app
| App | Description | Resources |
|---|---|---|
| Viva Amplify | Viva Amplify centralizes campaign management, publishing, and reporting so corporate communicators can reach and engage all employees meaningfully. By using multi-channel publishing, communicators can reach employees across channels such as Outlook, Teams, and SharePoint. | Learn how to set it up More information about Viva Amplify |
| Viva Connections | Inform, engage, and empower -- Microsoft Viva Connections is your gateway to a modern engagement experience designed to keep everyone engaged and informed. | Learn how to set it up More information about Viva Connections |
| Viva Engage | Viva Engage brings community and conversations into the workplace. It’s the place you go to ask questions, share knowledge, build your social capital, and extend your network. The Viva Engage app is installed in Teams, but not yet available to set up from the Viva admin page. |
Learn how to set it up More information about Viva Engage |
| Viva Glint | A "voice of the employee" - Helps organizations understand and improve employee engagement with immediate visibility into the employee experience. | Learn how to set it up using our planning tools. More information about Viva Glint |
| Viva Goals | Connect employees to your organization’s goals, stay aligned at scale, and drive business results to empower people and teams to understand their impact. | Learn how to set it up More information about Viva Goals |
| Viva Insights | Balance productivity and well-being – Provides data-driven, privacy-protected insights and actionable recommendations that help everyone in the organization work smarter and achieve balance. | Learn how to set it up More information about Viva Insights |
| Viva Learning | Accelerate skilling and growth – Your employees can easily discover and share everything from training courses to micro-learning content. | Learn how to set it up More information about Viva Learning |
| Viva Pulse | Empower leaders and managers to seek and act on feedback when it matters. Using research-backed templates, teams can quickly share their experience and suggestions, and reporting helps managers pinpoint what's working well and which areas to focus on over time. | Learn how to set it up More information about Viva Pulse |