Note
Access to this page requires authorization. You can try signing in or changing directories.
Access to this page requires authorization. You can try changing directories.
A namespace in Azure Event Grid is a logical container for one or more topics, clients, client groups, topic spaces, and permission bindings. It provides a unique namespace, allowing you to have multiple resources in the same Azure region. Using an Azure Event Grid namespace, you can group together related resources and manage them as a single unit in your Azure subscription.
This article shows you how to use the Azure portal to create, view, and manage an Azure Event Grid namespace.
Create a namespace
Sign-in to the Azure portal.
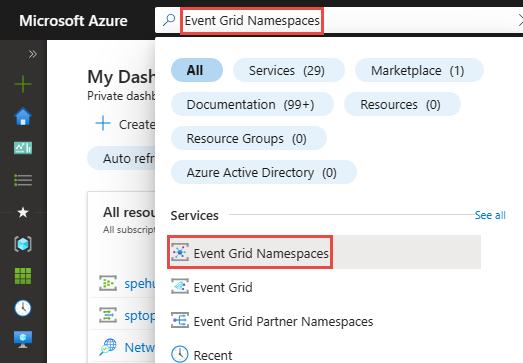
In the search box, enter Event Grid Namespaces and select Event Grid Namespaces from the results.
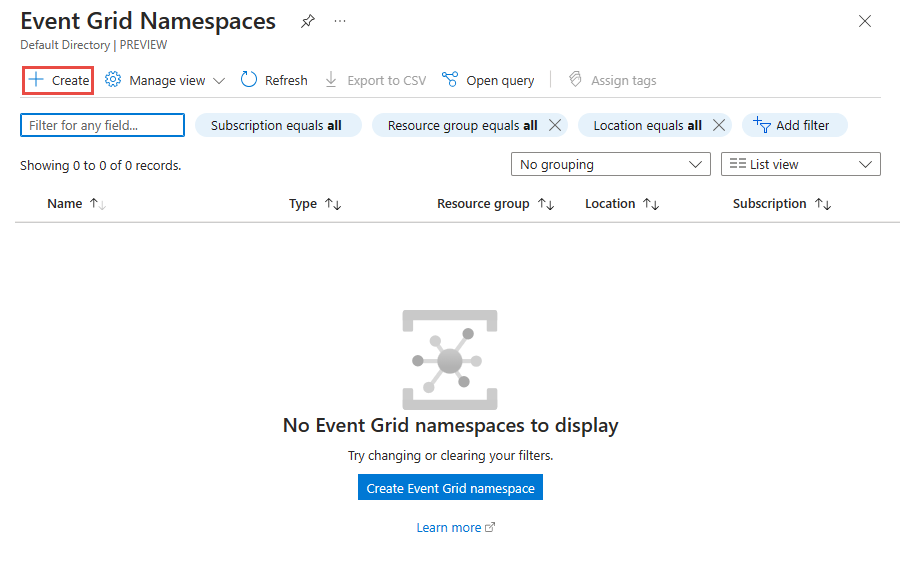
On the Event Grid Namespaces page, select + Create on the toolbar.
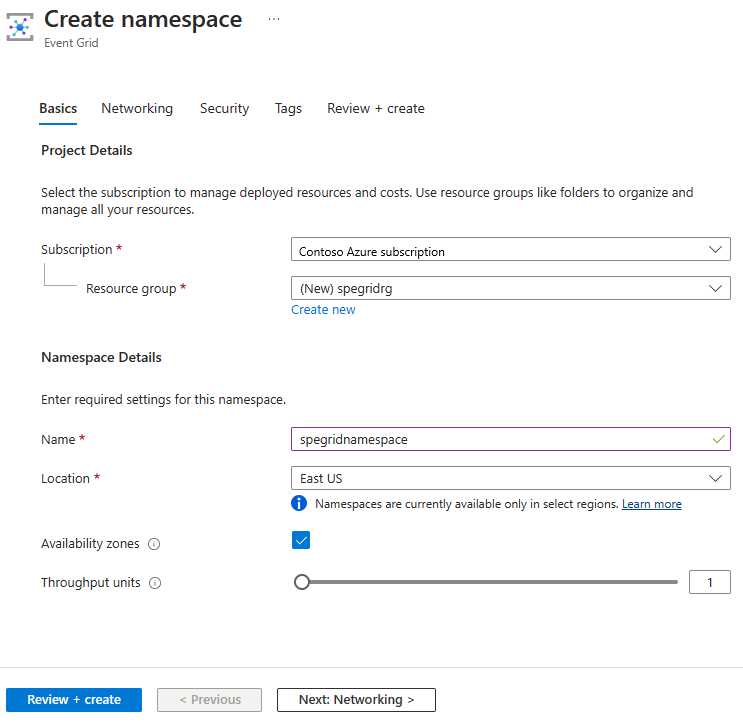
On the Basics page, follow these steps.
Select the Azure subscription in which you want to create the namespace.
Select an existing resource group or create a resource group.
Enter a name for the namespace.
Select the region or location where you want to create the namespace.
If the selected region supports availability zones, the Availability zones checkbox can be enabled or disabled. The checkbox is selected by default if the region supports availability zones. However, you can uncheck and disable availability zones if needed. The selection can't be changed once the namespace is created.
Use the slider or text box to specify the number of throughput units for the namespace. Throughput units (TUs) define the ingress and egress event rate capacity in namespaces.
Select Next: Networking at the bottom of the page.
Follow steps from Configure IP firewall or Configure private endpoints to configure IP firewall or private endpoints for the namespace, and then select Next: Security at the bottom of the page.
On the Security page, create a managed identity by following instructions from Enable managed identity for a namespace, and then select Next: Tags at the bottom of the page.
On the Tags tab, add the tags in case you need them. Then, select Next: Review + create at the bottom of the page.
On the Review + create tab, review your settings, and select Create.
On the Deployment succeeded page, select Go to resource to navigate to your namespace.
View a namespace
Sign-in to the Azure portal.
In the search box, enter Event Grid Namespaces and select Event Grid Namespaces from the results.
On the Event Grid Namespaces page, select your namespace.
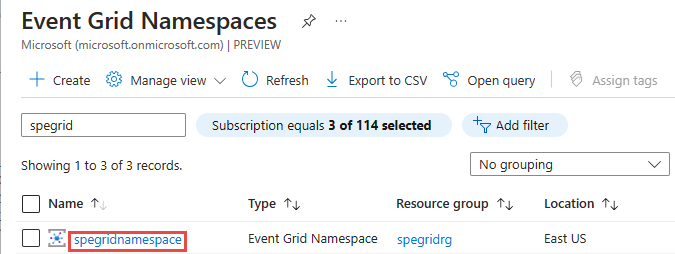
You should see the Event Grid Namespace page for your namespace.


Enable MQTT
If you want to enable the MQTT capabilities in the Azure Event Grid namespace, select Configuration and check the option Enable MQTT.
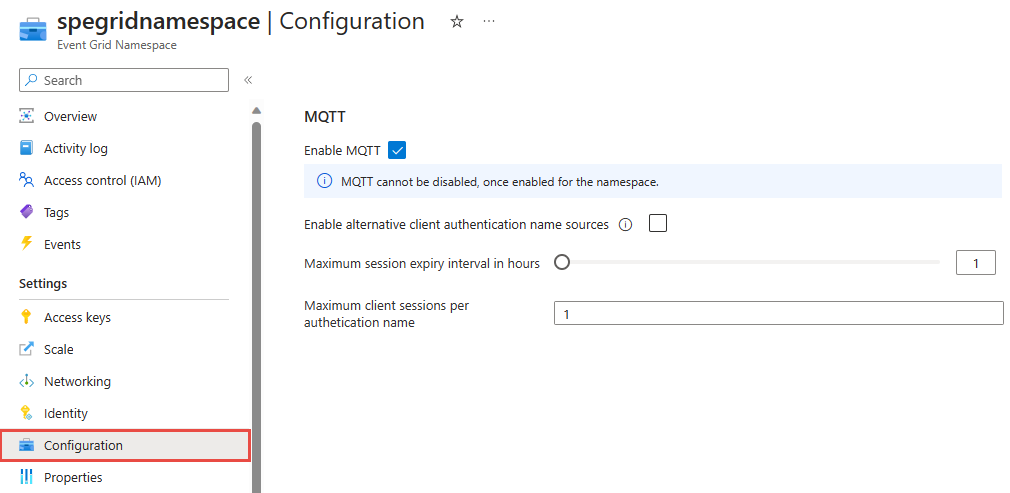
Note
Please note once MQTT is enabled it cannot be disabled.
Configure throughput units (TUs) for a namespace
If you already created a namespace and want to increase or decrease TUs, follow the next steps:
Navigate to the Azure portal and select the Azure Event Grid namespace you would like to configure the throughput units.
On the Event Grid Namespace page, select Scale on the left navigation menu.
Enter the number of throughput units in the edit box or use the scroller to increase or decrease the number.
Select Apply to apply the changes.

Note
For quotas and limits for resources in a namespace including maximum TUs in a namespace, See Azure Event Grid quotas and limits.

Delete a namespace
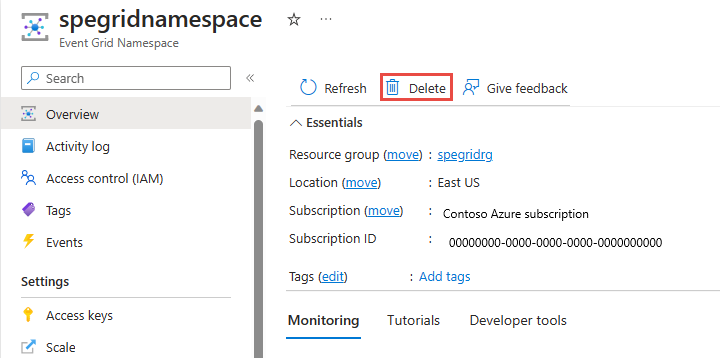
Follow instructions from the View a namespace section to view all the namespaces, and select the namespace that you want to delete from the list.
On the Overview page, select Delete on the toolbar.
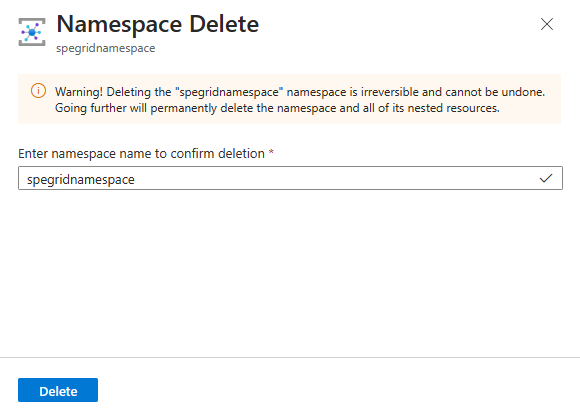
On the confirmation page, type the name of the resource and select Delete to confirm the deletion. It deletes the namespace and also all the nested topics, subscriptions, and MQTT resources.
Next steps
- See the Create, view, and manage namespaces topics steps to learn more about the namespaces topics in Azure Event Grid.
- See the Quickstart: Publish and subscribe to MQTT messages on Event Grid Namespace with Azure portal section to learn how to use namespaces in IoT solutions supported by Azure Event Grid.