Note
Access to this page requires authorization. You can try signing in or changing directories.
Access to this page requires authorization. You can try changing directories.
Lifecycle Workflows can be used to trigger custom tasks via an extension to Azure Logic Apps. This can be used to extend the capabilities of Lifecycle Workflow beyond the built-in tasks. The steps for triggering a Logic App based on a custom task extension are as follows:
- Create a custom task extension.
- Select which behavior you want the custom task extension to take.
- Link your custom task extension to a new or existing Azure Logic App.
- Add the custom task to a workflow.
For more information about Lifecycle Workflows extensibility, see: Workflow Extensibility.
Create a custom task extension using the Microsoft Entra admin center
To use a custom task extension in your workflow, first a custom task extension must be created to be linked with an Azure Logic App. You're able to create a Logic App at the same time you're creating a custom task extension. To do this, you complete these steps:
Sign in to the Microsoft Entra admin center as at least a Lifecycle Workflows Administrator.
Browse to ID Governance > Lifecycle workflows > workflows.
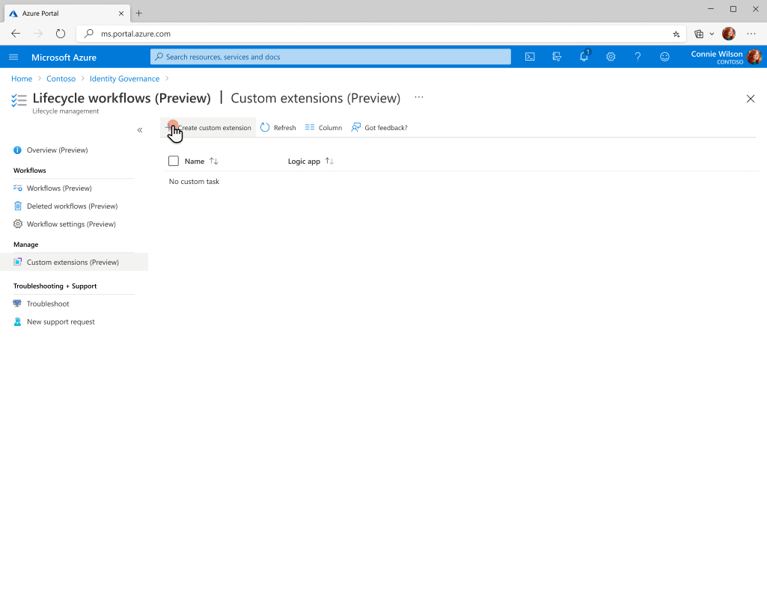
On the Lifecycle workflows screen, select Custom task extension.
On the custom task extensions page, select Create custom task extension.
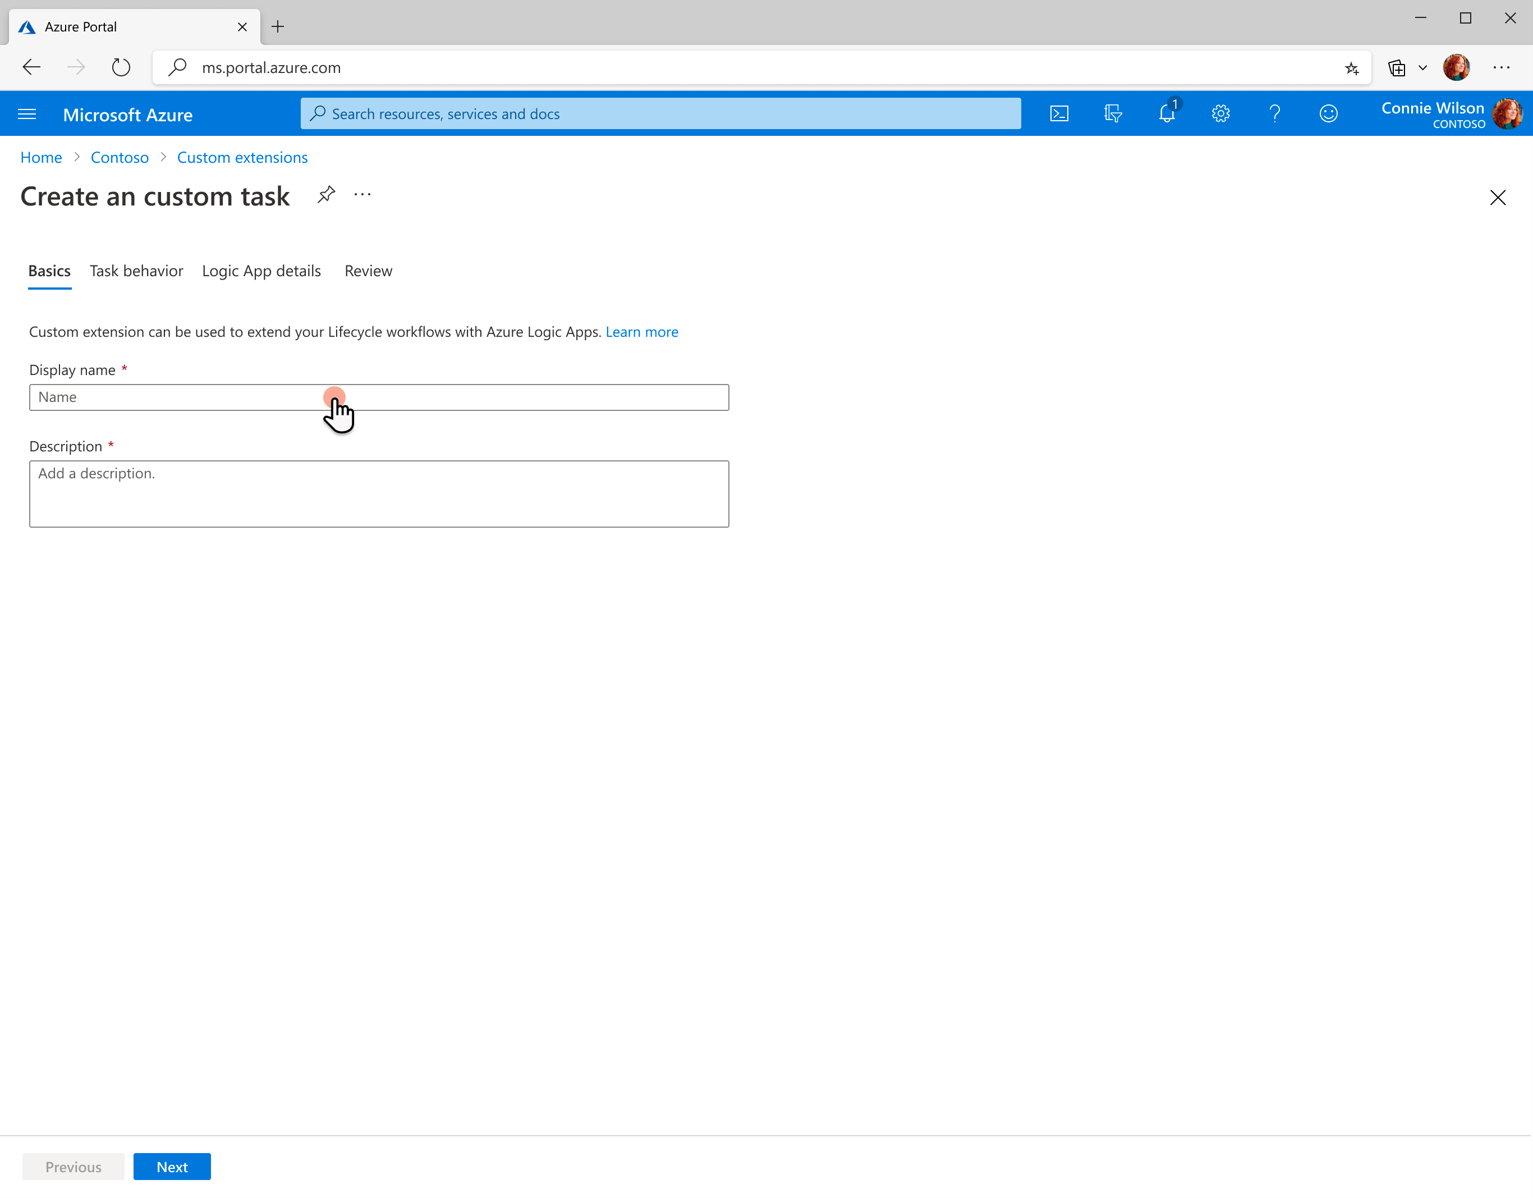
On the basics page you, enter a unique display name and description for the custom task extension and select Next.
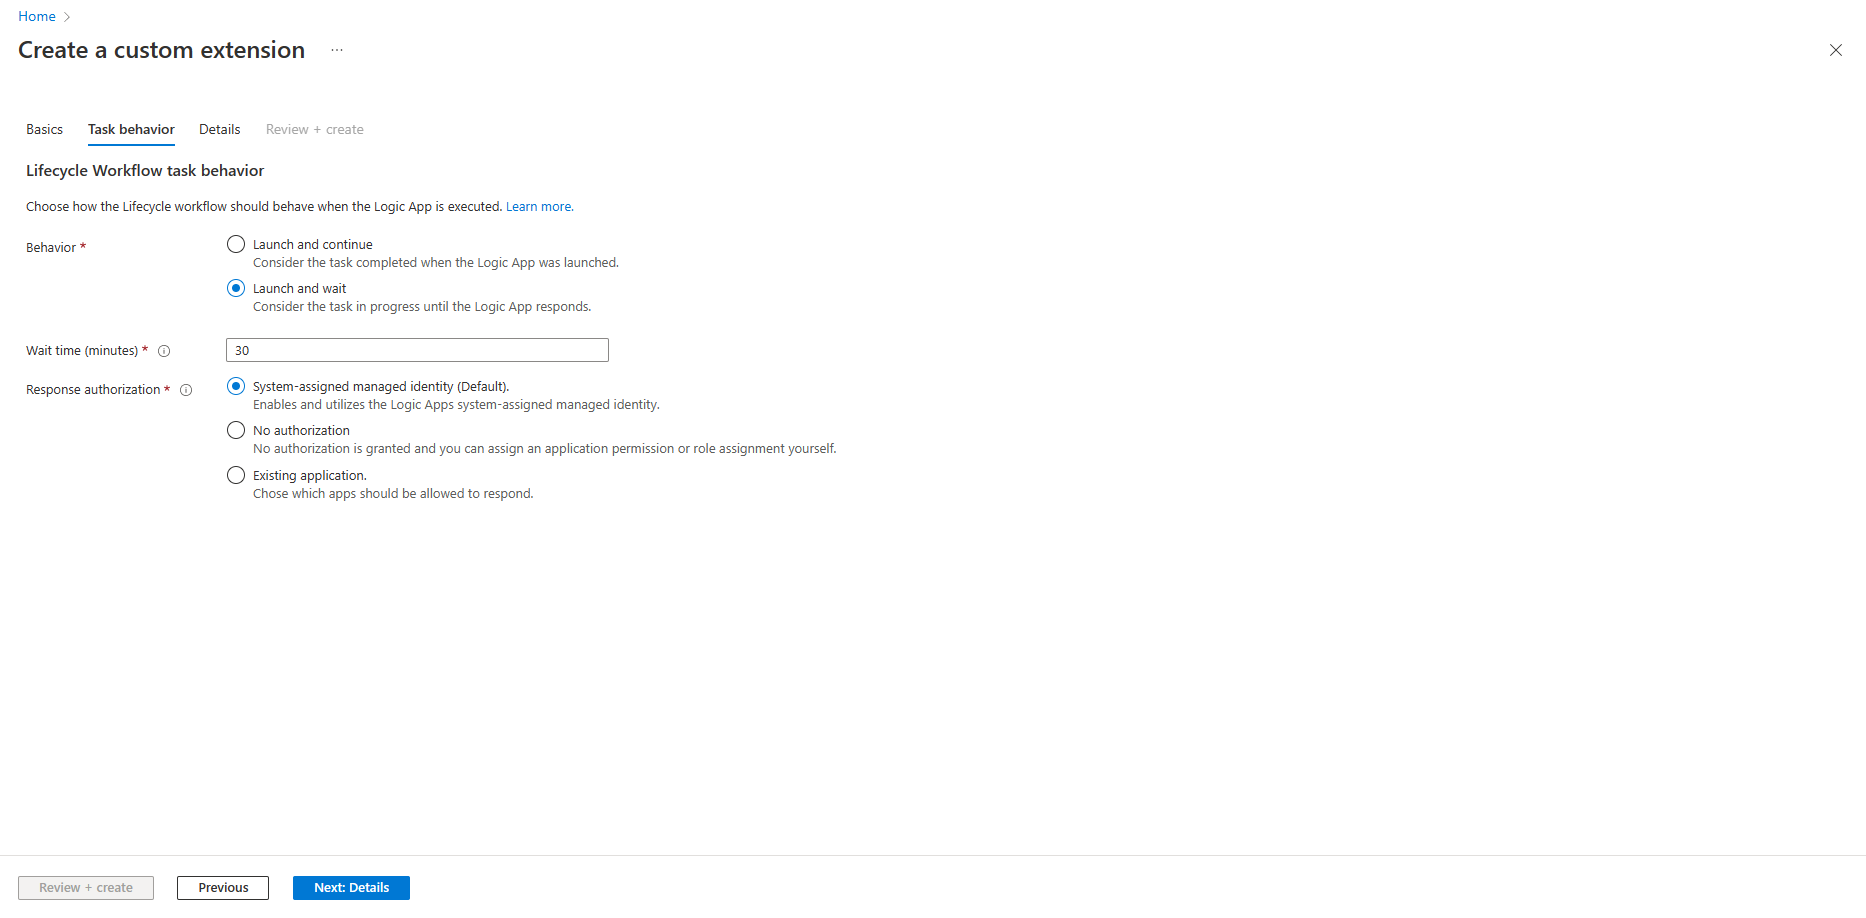
On the Task behavior page, you specify how the custom task extension will behave after executing the Azure Logic App. If you choose Launch and continue you can immediately select Next: Details.

If you select Launch and wait, you're given an option of how long to wait for a response from the logic app before the task is considered a failure, and also options to set Response authorization. After choosing these options, you would be able to select Next: Details.
Note
For more information about custom task extension behavior, see: Lifecycle Workflow extensibility
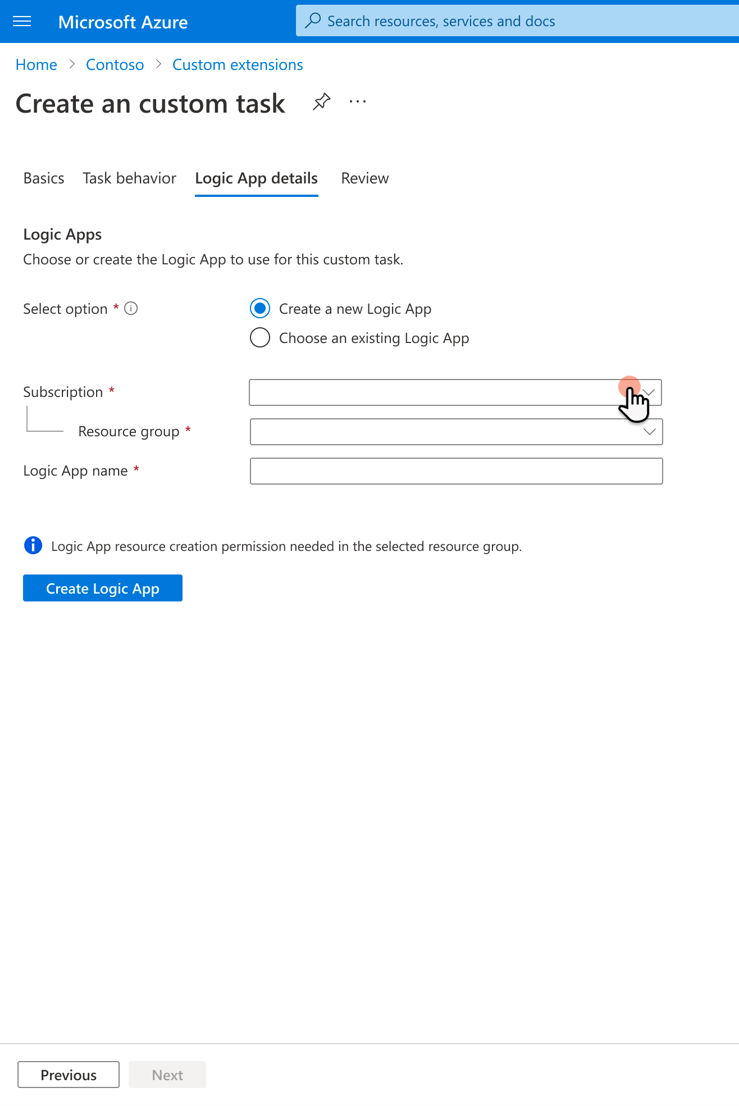
On the Logic App details page, you select Create new Logic App, and specify the subscription and resource group where it will be located. You'll also give the new Azure Logic App a name.
Important
A Logic App must be configured to be compatible with the custom task extension. For more information, see Configure a Logic App for Lifecycle Workflow use
If deployed successfully, you get confirmation on the Logic App details page immediately, and then you can select Next.
On the Review page, you can review the details of the custom task extension and the Azure Logic App you've created. Select Create if the details match what you desire for the custom task extension.

Add your custom task extension to a workflow
After you've created your custom task extension, you can now add it to a workflow. Unlike some tasks, which can only be added to workflow templates that match its category, a custom task extension can be added to any template you choose to make a custom workflow from.
To Add a custom task extension to a workflow, you'd do the following steps:
In the left menu, select Lifecycle workflows.
In the left menu, select Workflows.
Select the workflow that you want to add the custom task extension to.
On the workflow screen, select Tasks.
On the tasks screen, select Add task.
In the Select tasks side menu, select Run a Custom Task Extension, and select Add.
On the custom task extension page, you can give the task a name and description. You also choose from a list of configured custom task extensions to use.
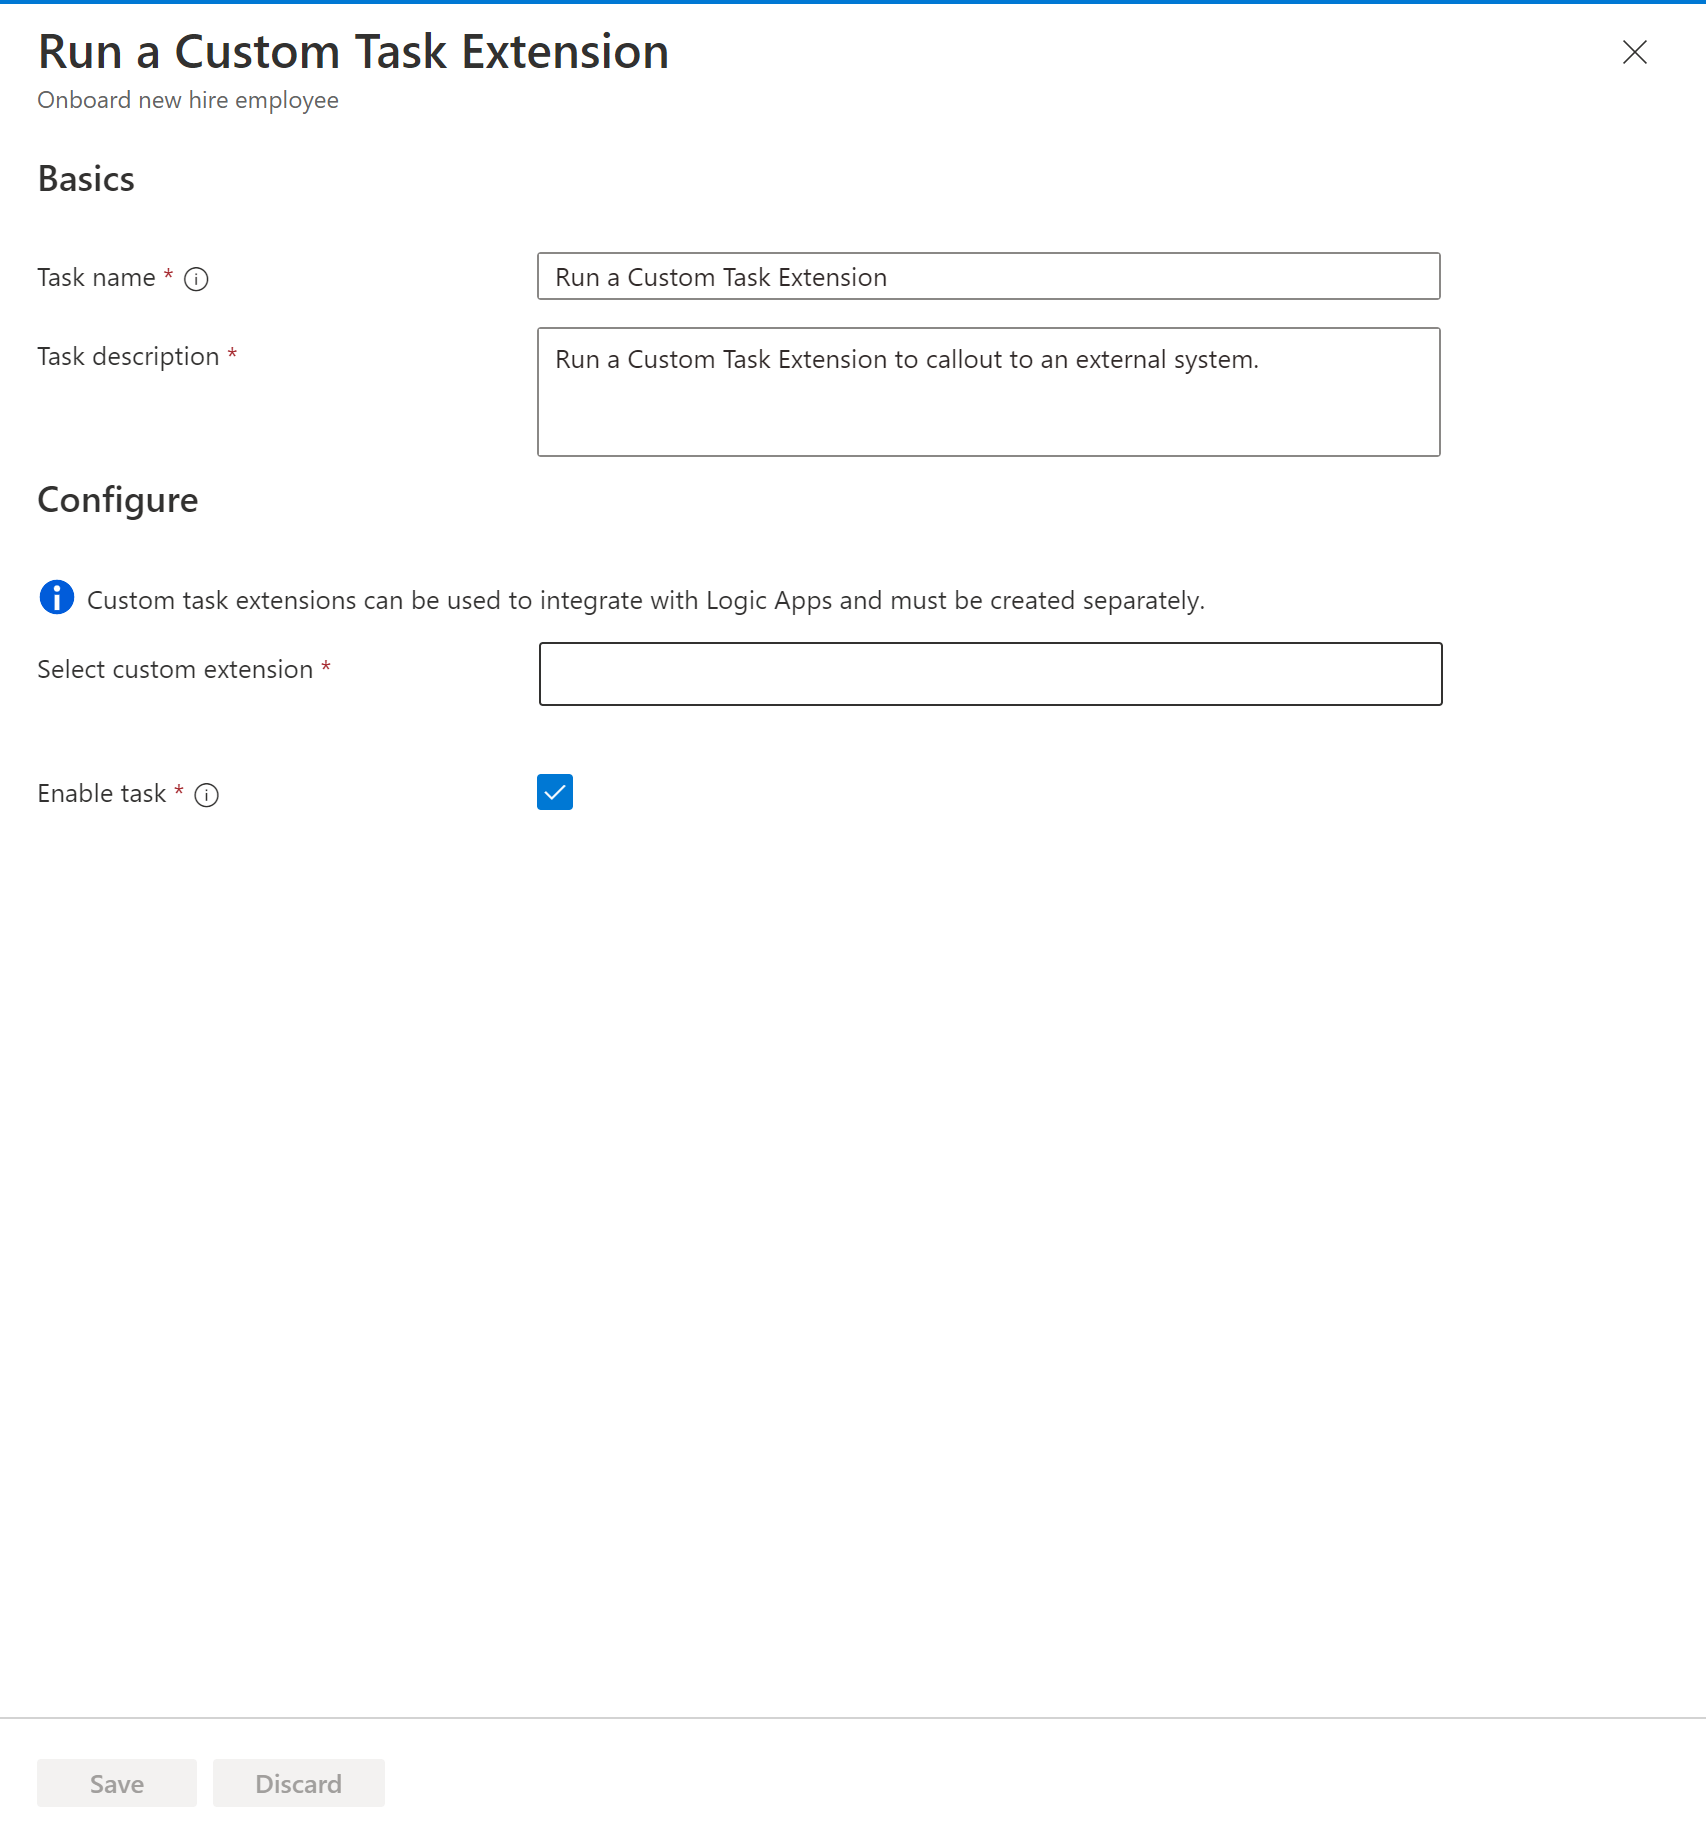
When finished, select Save.