Note
Access to this page requires authorization. You can try signing in or changing directories.
Access to this page requires authorization. You can try changing directories.
This article describes how to deploy all required volumes for your Oracle database using Azure NetApp Files application volume group for Oracle.
Before you begin
You should understand the requirements and considerations for application volume group for Oracle.
Steps
From your NetApp account, select Application volume groups then +Add Group.

In Deployment Type, select ORACLE then Next.
In the ORACLE tab, provide Oracle-specific information:
- Unique System ID (SID):
Use the unique Oracle identifier that will be used to identify the volumes for this database in the naming proposals for all your storage objects. - Group name / Group description:
Provide the volume group name and description. - Number of Oracle data volumes (1-8):
Depending on your sizing and performance requirements of the database, you can create a minimum of 1 and up to 8 data volumes. - Oracle database size in (TiB):
Specify the total capacity required for your database. If you select more than one database volume, the capacity is distributed evenly among all volumes. You can change each individual volume once the proposals have been created. See Step 8 in this article. - Additional capacity for snapshots (%):
If you use snapshots for data protection, you need to plan for extra capacity. This field adds an additional size (%) for the data volume. - Oracle database storage throughput (MiB/s):
Specify the total throughput required for your database. If you select more than one database volume, the throughput is distributed evenly among all volumes. You can change each individual volume once the proposals have been created. See Step in this article.
Select Next: Volume Group.

- Unique System ID (SID):
In the Volume group tab, provide information for creating the volume group:
- Availability options:
There are 2 Availability options. The following screenshot illustrates volume placement using Availability Zone. - Availability Zone:
Select the zone where Azure NetApp Files is available. In regions without zones, select none. - Network features:
Select either Basic or Standard network features. All volumes should use the same network feature setting. This selection is set for each individual volume. - Capacity pool:
Design that manual QoS capacity where all volumes are placed. - Virtual network:
Specify an existing VNet where the Oracle VMs are located. - Subnet:
Specify the delegated subnet where the IP addresses for the NFS exports will be created. Ensure you have a delegated subnet with enough free IP addresses. - Encryption key source: Select Customer Managed Key or Microsoft Managed Key. If you choose Customer Managed Key, provide the key vault private endpoint.
Select Next: Tags. Continue with Step 6.

- Availability options:
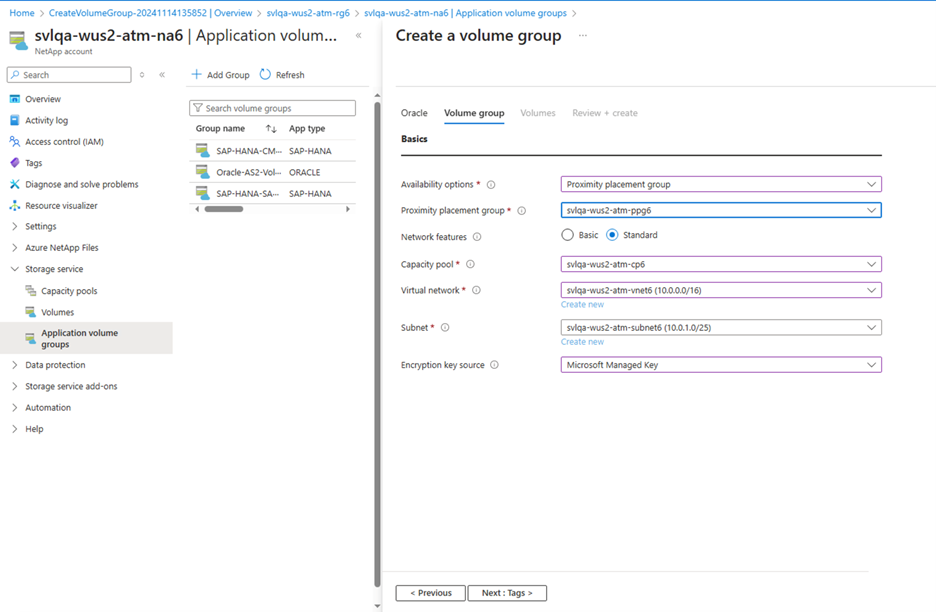
If you select Proximity placement group, specify the following information in the Volume group tab:
- Availability options:
This screenshot shows a volume placement using Proximity placement group. - Proximity placement group: Specify the proximity placement group for all volumes.
Note
The use of proximity placement group requires activation and needs to be requested.
Select Next: Tags.
- Availability options:
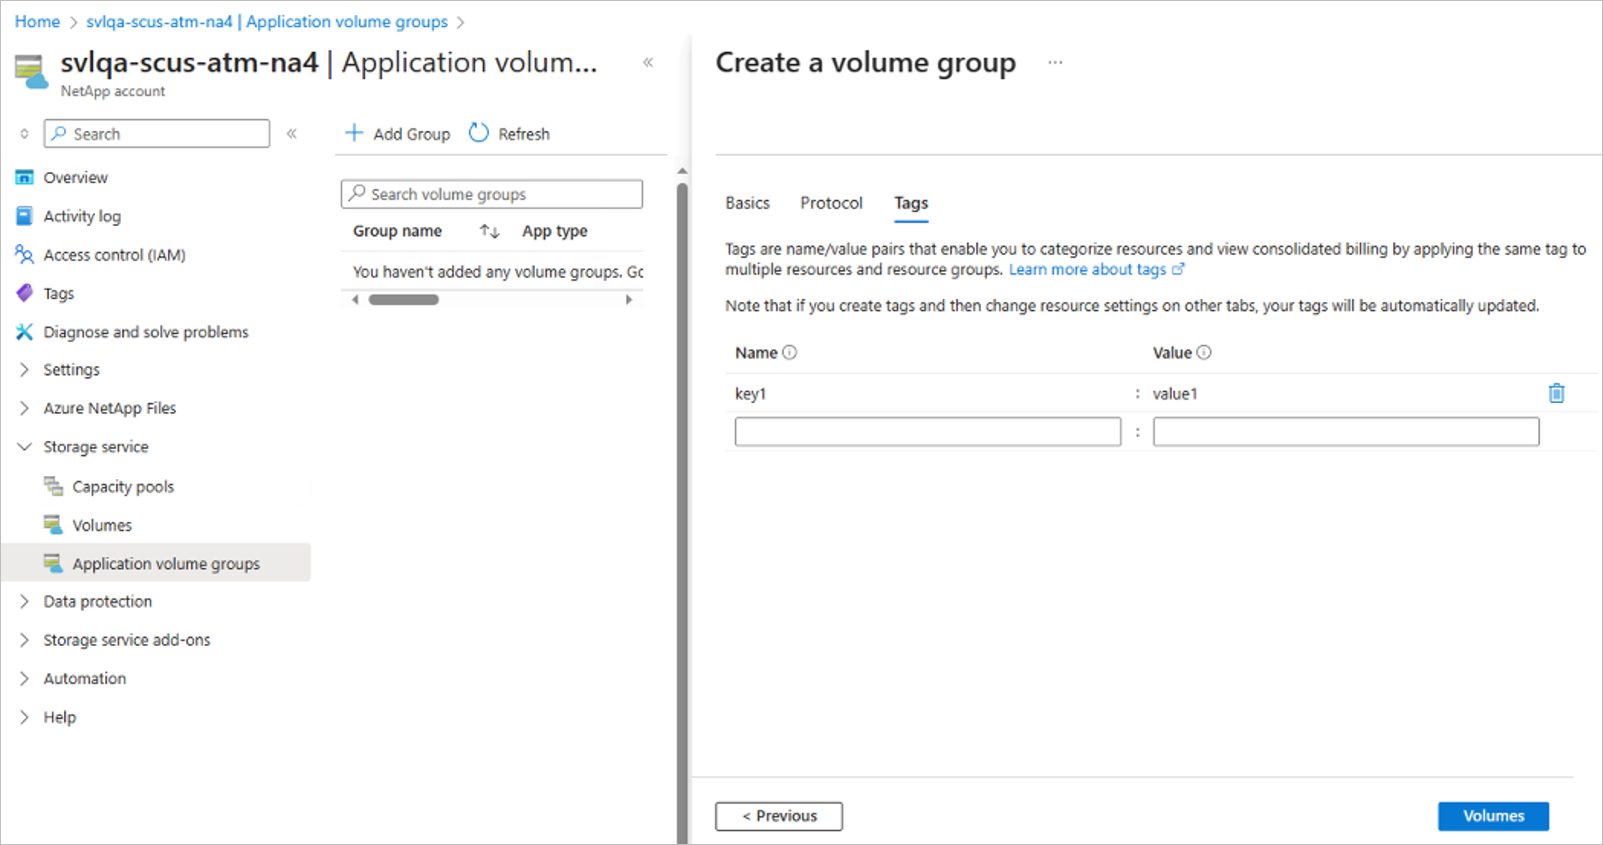
In the Tags section of the Volume Group tab, you can add tags as needed for the volumes.
Select Next: Protocol.

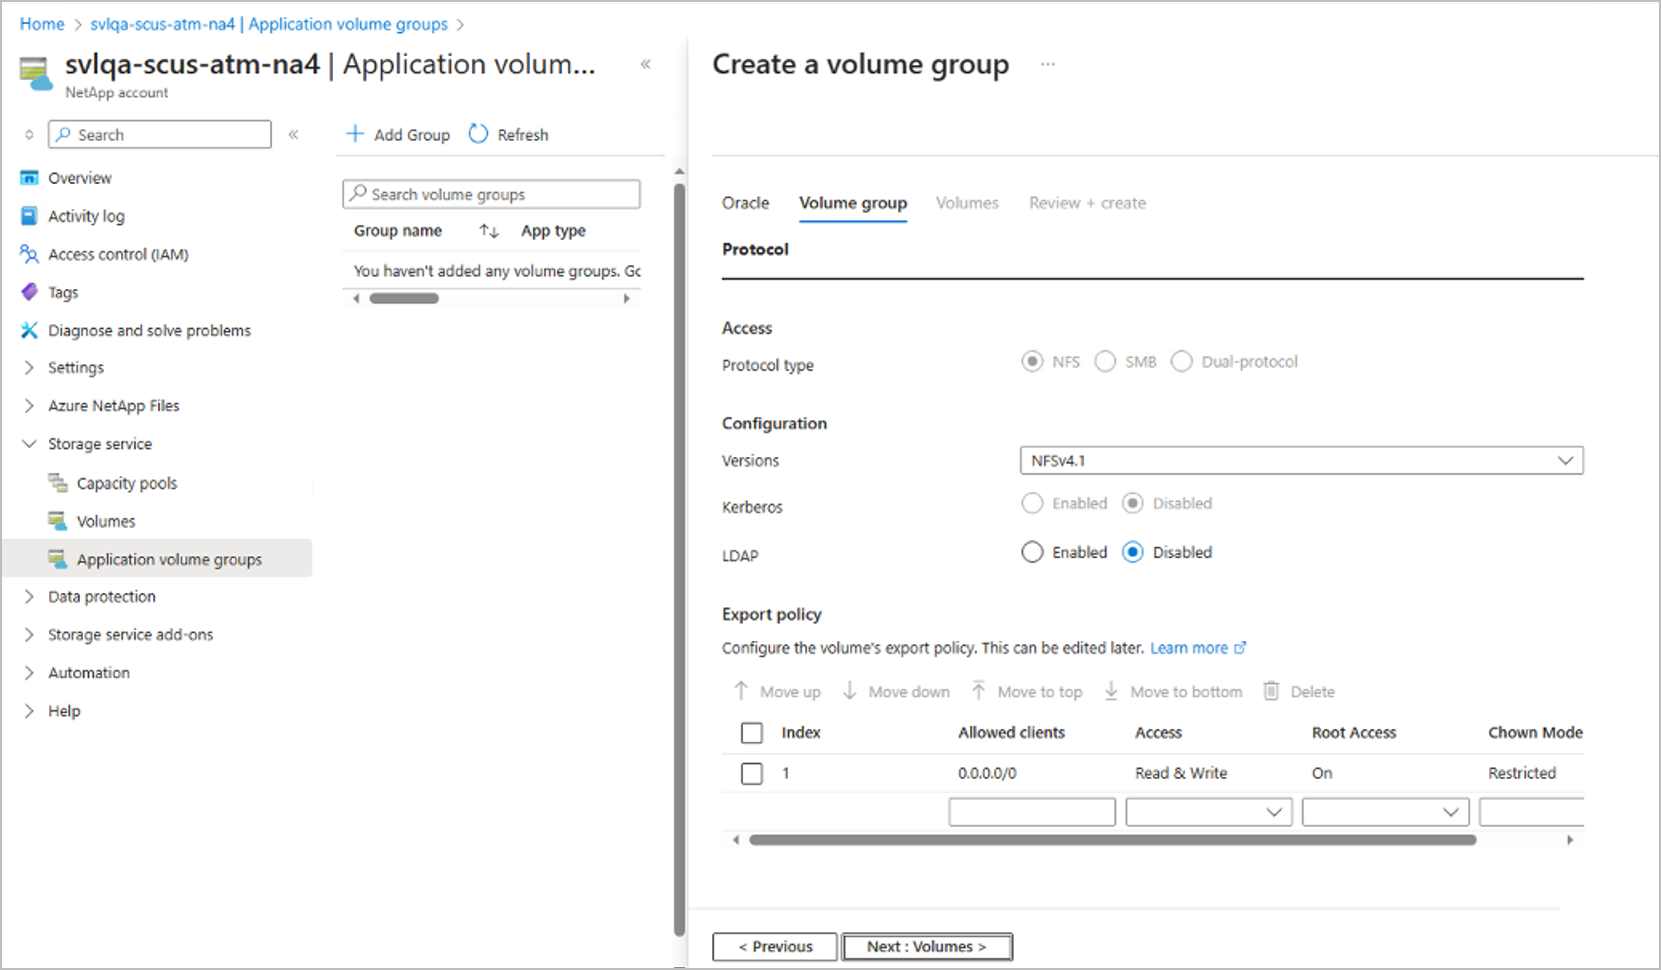
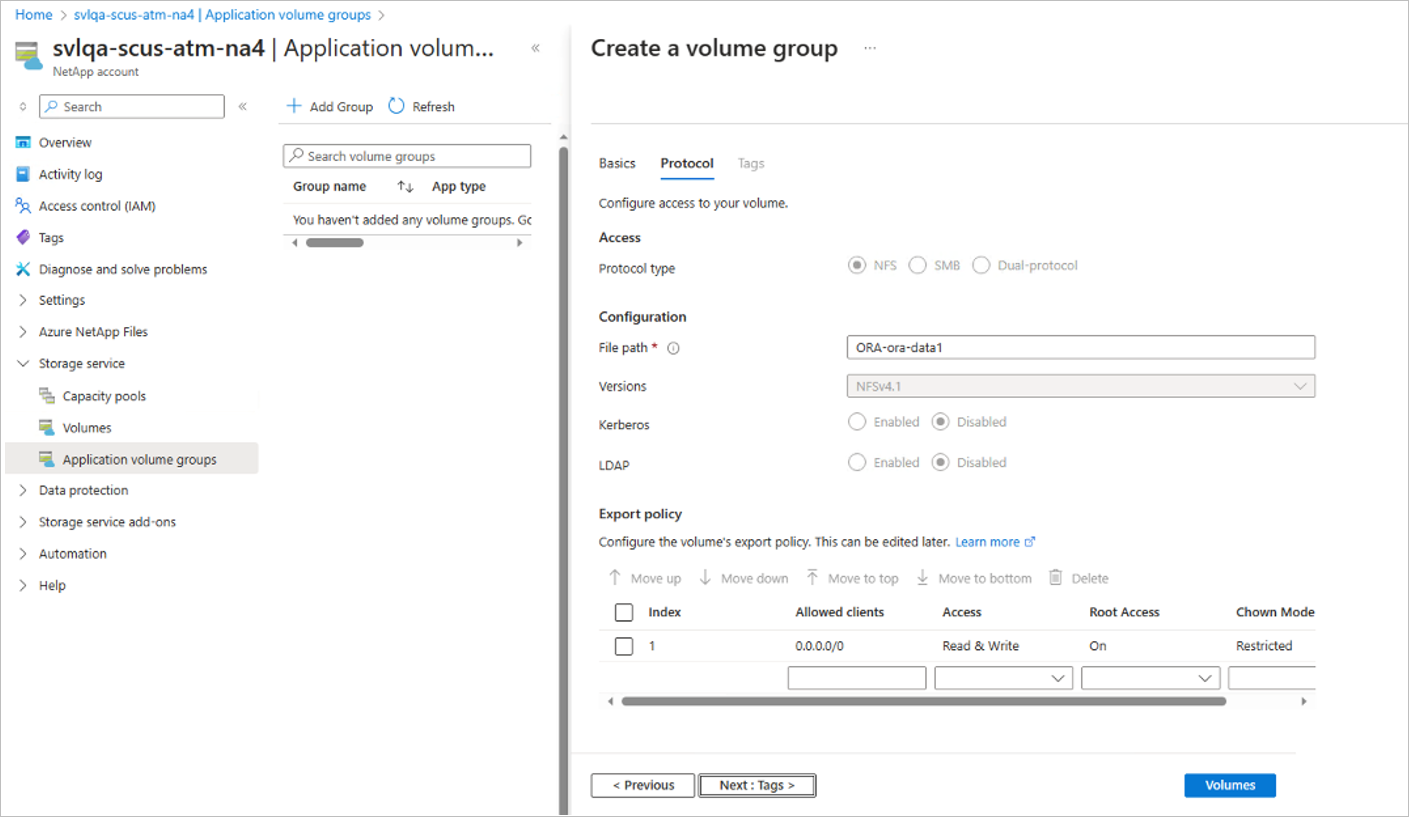
In the Protocols section of the Volume Group tab, you can select the NFS version, modify the Export Policy, and select LDAP-enabled volumes. These settings need to be common across all volumes in this volume group.
Note
For optimal performance, use Oracle dNFS to mount the volumes at the database server. It's recommended you use NFSv3 as a base for dNFS. NFSv4.1 is also supported. Check the support documentation of your Azure VM operating system for guidance about which NFS protocol version to use in combination with dNFS and your operating system.
Select Next: Volumes.
The Volumes tab summarizes the volumes that are being created with proposed volume name, quota, and throughput.
The Volumes tab also shows the zone or proximity placement group in which the volumes are created.
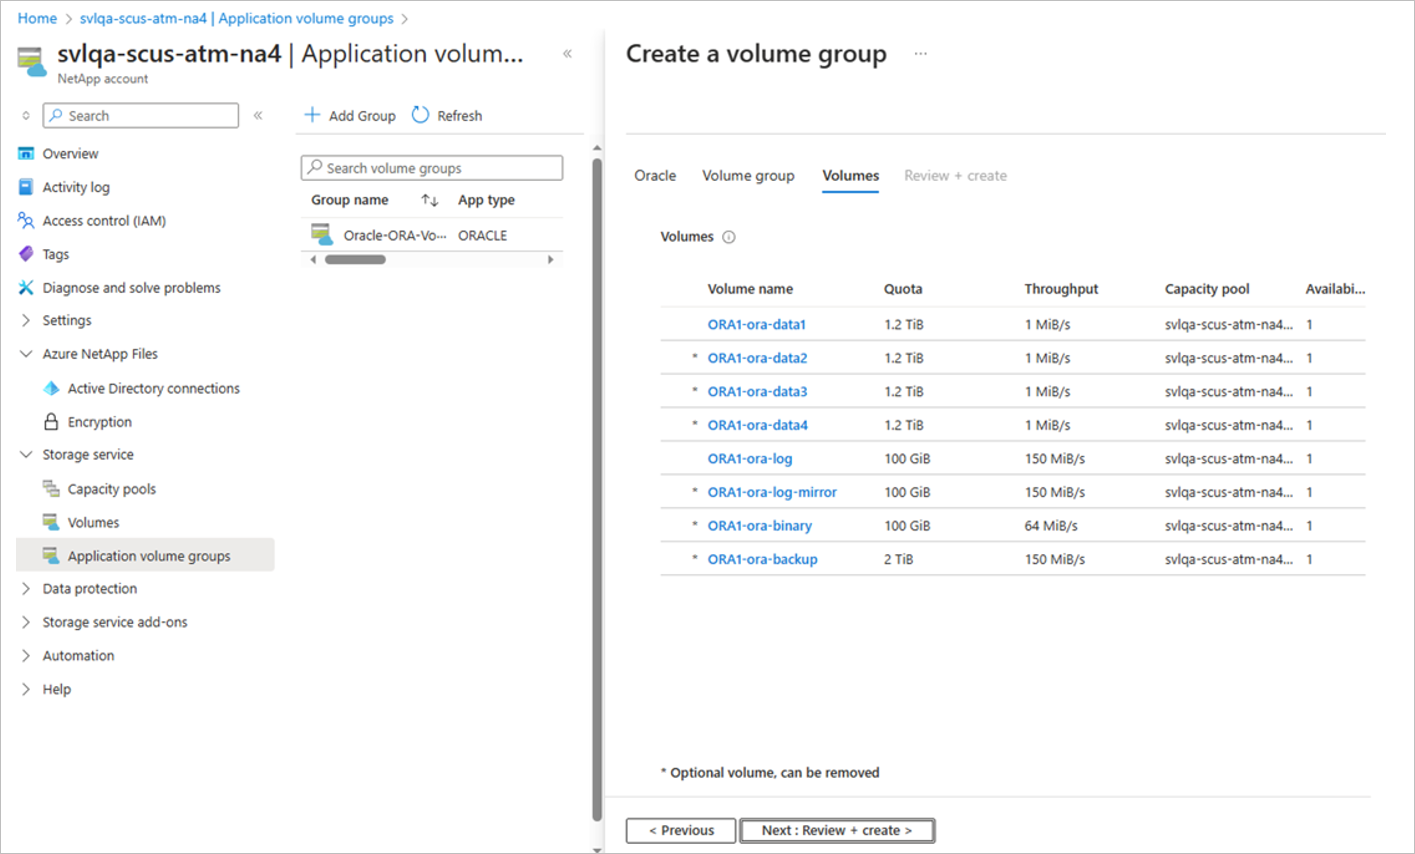
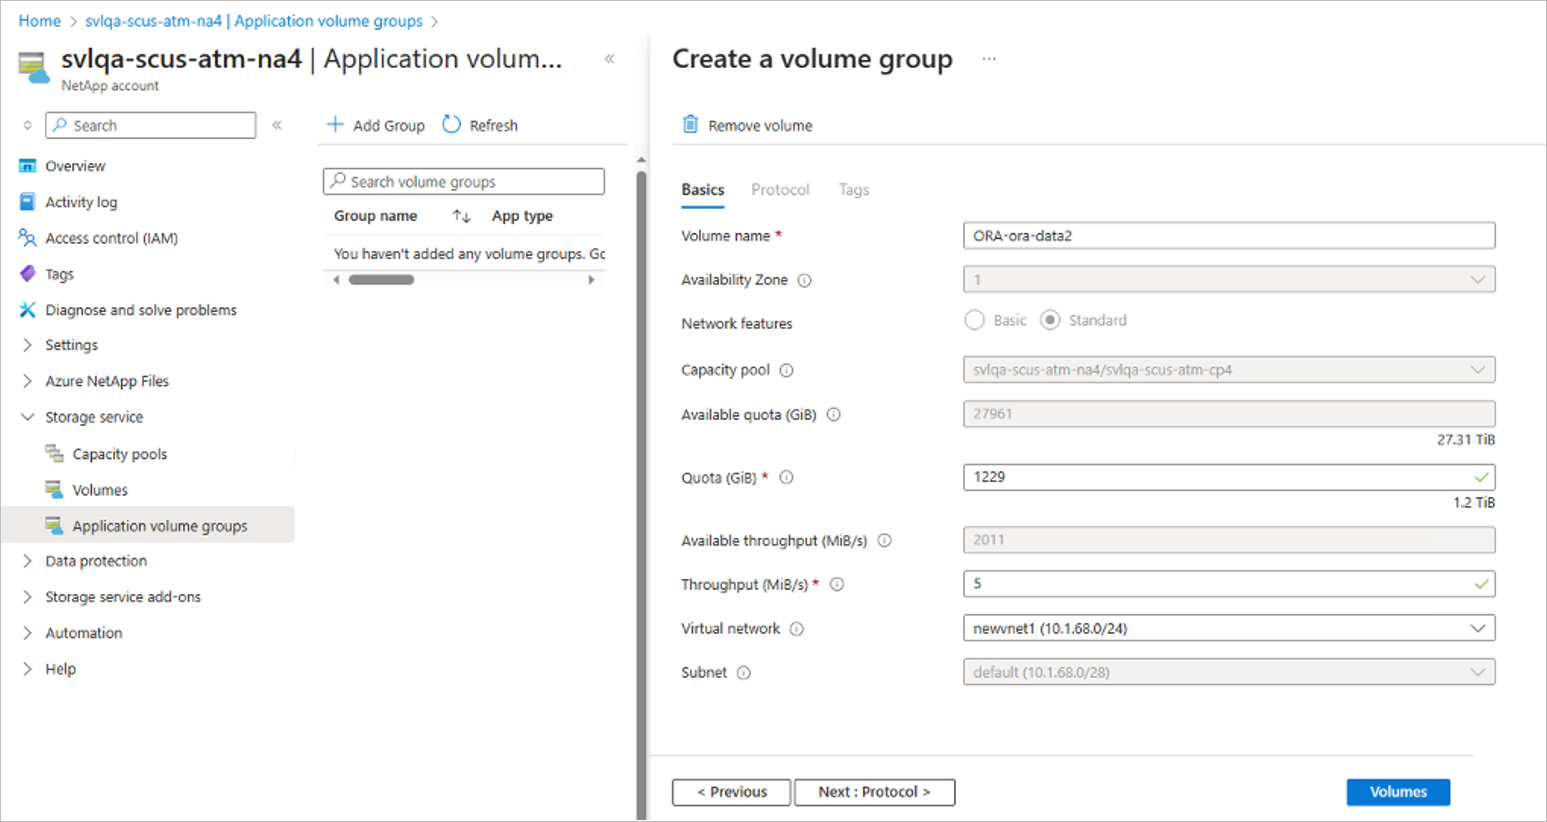
In the Volumes tab, you can select each volume to view or change the volume details.
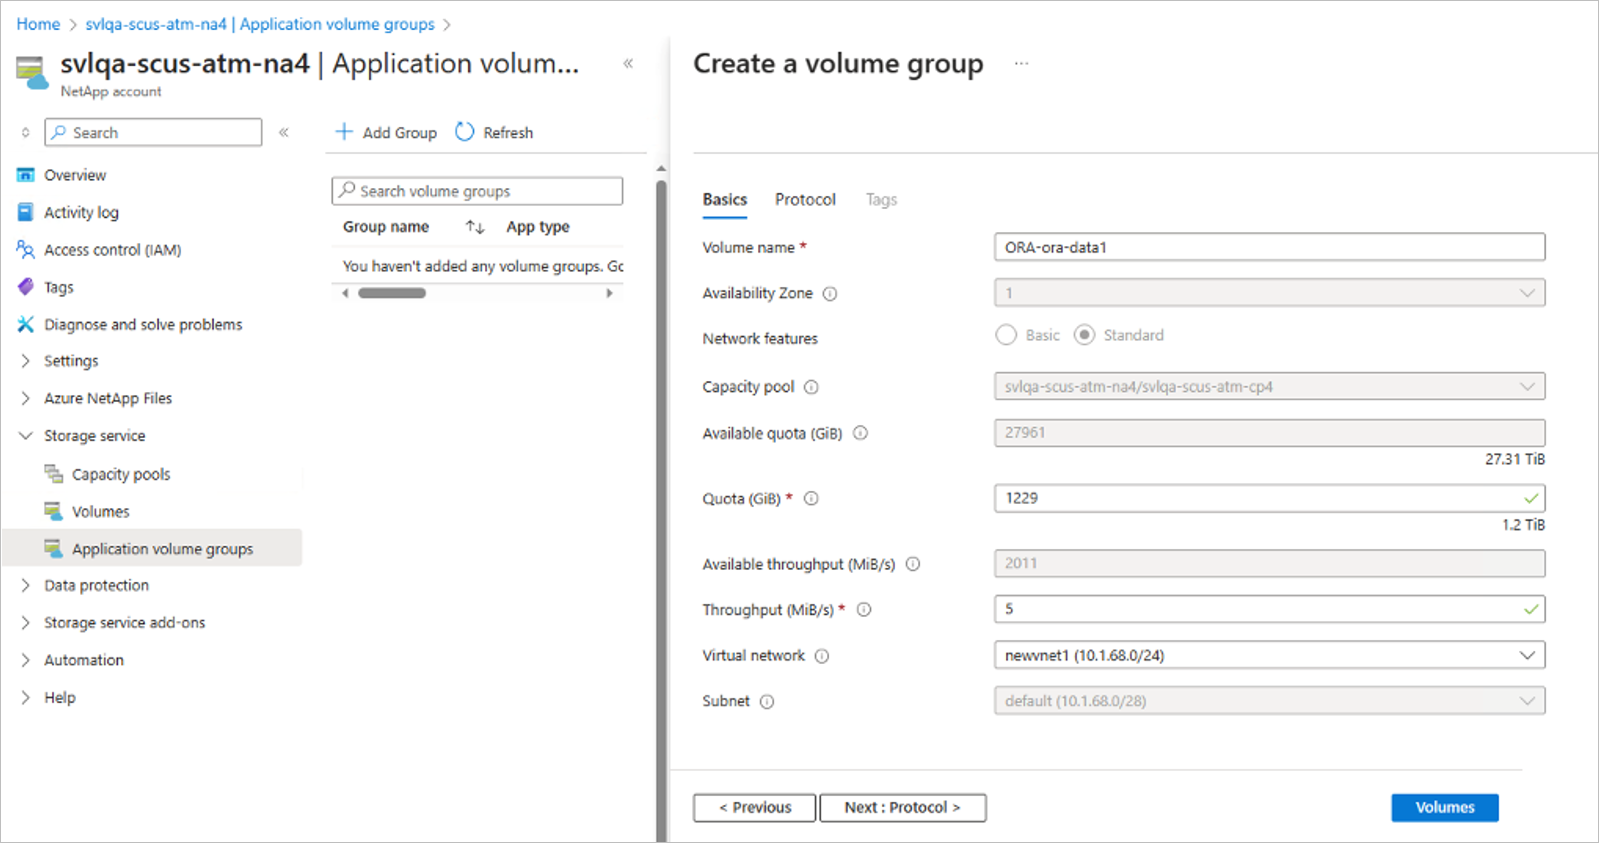
When you select a volume, you can change the following values in the Volume-Detail-Basics tab:
- Volume Name:
It's recommended that you retain the suggested naming conventions. - Quota:
The size of the volume. - Throughput:
You can edit the proposed throughput requirements for the selected volume.
Select Next: Protocol to review the protocol settings.
- Volume Name:
In the Volume Details - Protocol tab of a volume, the defaults are based on the volume group input you provided previously. You can adjust the file path that is used for mounting the volume, as well as the export policy.
Note
For consistency, consider keeping volume name and file path identical.
Select Next: Tags to review the tags settings.
In the Volume Detail – Tags tab of a volume, the defaults are based on the volume group input you provided previously. You can adjust volume specific tags here.
Select Volumes to return to the Volumes tab.
The Volumes Tab enables you to remove optional volumes.
Provide an Encryption key source. Select Customer Managed Key or Microsoft Managed Key. If you choose Customer Managed Key, provide the key vault private endpoint.
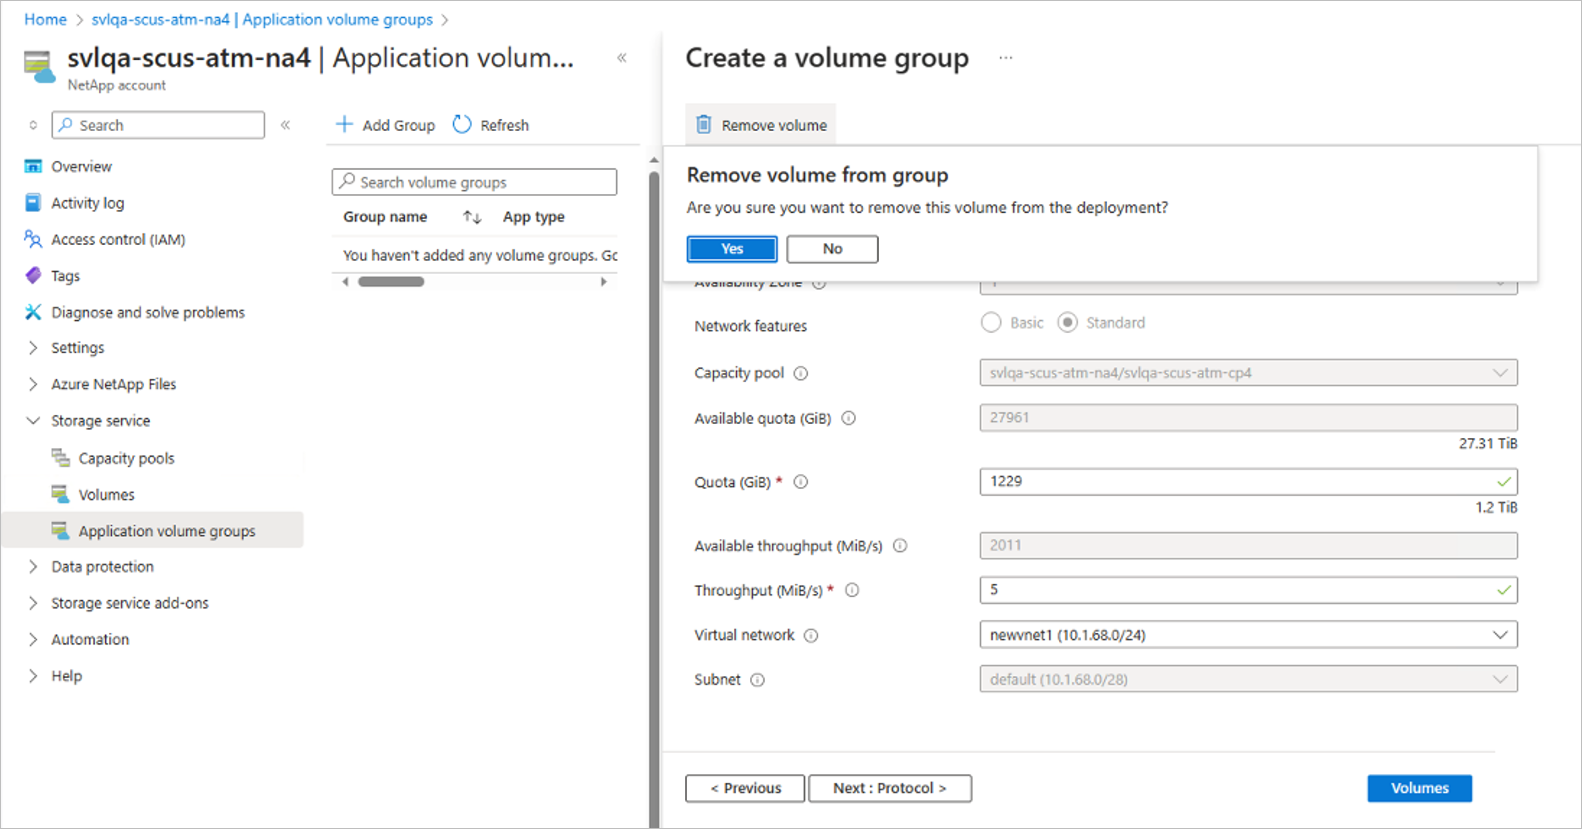
On the Volumes tab, optional volumes are marked with an asterisk (
*) in front of the name.
If you want to remove the optional volumes such asORA1-ora-data4volume orORA1-ora-binaryvolume from the volume group, select the volume then Remove volume. Confirm the removal in the dialog box that appears.Important
You can't add a removed volume back to the volume group again without canceling and restarting the application volume group workflow.
Select Volumes after completing the changes of volumes.
Select Next: Review + Create.
The Review + Create tab lists all the volumes to be created. The process also validates the creation.
Select Create Volume Group to start the volume group creation.

The Volume Groups deployment workflow starts, and the progress is displayed. This process can take a few minutes to complete.

Creating a volume group is an "all-or-none" operation. If one volume can't be created, the operation is canceled, and all remaining volumes are also removed.
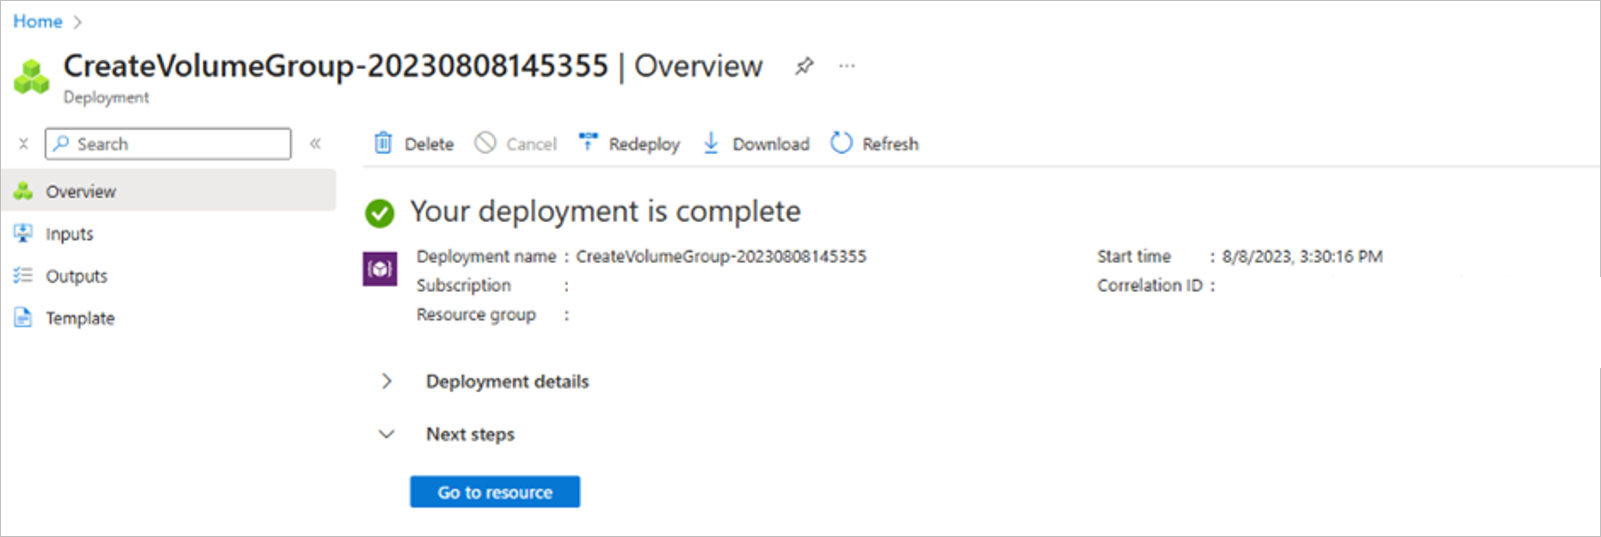
Following completion, in Volumes you can display the list of volume groups to see the new volume group. Select the new volume group to see the details and status of each of the volumes being created.


Next steps
- Understand application volume group for Oracle
- Requirements and considerations for application volume group for Oracle
- Manage volumes in an application volume group for Oracle
- Configure application volume group for Oracle using REST API
- Deploy application volume group for Oracle using Azure Resource Manager
- Troubleshoot application volume group errors
- Delete an application volume group
- Application volume group FAQs