Note
Access to this page requires authorization. You can try signing in or changing directories.
Access to this page requires authorization. You can try changing directories.
Applies to: ![]() Azure SQL Managed Instance
Azure SQL Managed Instance
This quickstart teaches you how to connect to Azure SQL Managed Instance by using SQL Server Management Studio (SSMS) from an on-premises client computer over a point-to-site connection. For information about point-to-site connections, see About Point-to-Site VPN.
Considerations
This quickstart demonstrates a quick and easy way to connect to Azure SQL Managed Instance. Consider the following:
- The steps in this article are for demonstration purposes only, and not intended for Enterprise solutions. For production workloads, use a site-to-site, or ExpressRoute connection instead of a point-to-site connection.
- The procedure to attach the VPN gateway in this quickstart is intended for a single user to get started with Azure SQL Managed Instance quickly. This VPN uses a certificate-based authentication method tied to the user that establishes the VPN connection. A different user is unable to use the same VPN gateway to connect to SQL Managed Instance without first installing the client certificate that was generated by the first user, which is out of scope for this quickstart, but documented in Azure point-to-site VPN. Additional users following the steps in this quickstart for the same SQL managed instance invalidate the previous user's VPN connection, which prevents them from connecting to the instance.
Prerequisites
This quickstart:
- Uses the resources created in Create a managed instance as its starting point.
- Requires PowerShell 5.1 and Azure PowerShell 1.4.0 or later on your on-premises client computer. If necessary, see the instructions to install the Azure PowerShell module.
- Requires the newest version of SQL Server Management Studio on your on-premises client computer.
Attach a VPN gateway to a virtual network
Open PowerShell on your on-premises client computer.
Copy the following PowerShell script to attach a VPN gateway to the SQL Managed Instance virtual network that you created in the Create a managed instance quickstart. This script uses the Azure PowerShell Az Module and does the following for either Windows or Linux-based hosts:
Creates and installs certificates on a client machine
Calculates the future VPN gateway subnet IP range
Creates the gateway subnet
Deploys the Azure Resource Manager template that attaches the VPN gateway to the VPN subnet
$scriptUrlBase = 'https://raw.githubusercontent.com/Microsoft/sql-server-samples/master/samples/manage/azure-sql-db-managed-instance/attach-vpn-gateway'

$parameters = @{
  subscriptionId = '<subscriptionId>'
  resourceGroupName = '<resourceGroupName>'
  virtualNetworkName = '<virtualNetworkName>'
  certificateNamePrefix  = '<certificateNamePrefix>'
  }

Invoke-Command -ScriptBlock ([Scriptblock]::Create((iwr ($scriptUrlBase+'/attachVPNGateway.ps1?t='+ [DateTime]::Now.Ticks)).Content)) -ArgumentList $parameters, $scriptUrlBase
Paste the script in your PowerShell window and provide the required parameters. The values for
<subscriptionId>,<resourceGroup>, and<virtualNetworkName>should match the ones that you used for the Create a managed instance quickstart. The value for<certificateNamePrefix>can be a string of your choice.Note
If you get an error about parsing the Internet Explorer engine, either launch Internet Explorer to complete the initial setup or upgrade to a newer version of PowerShell.
Execute the PowerShell script.
Important
Do not continue until the PowerShell script completes.
Create a VPN connection
Sign in to the Azure portal.
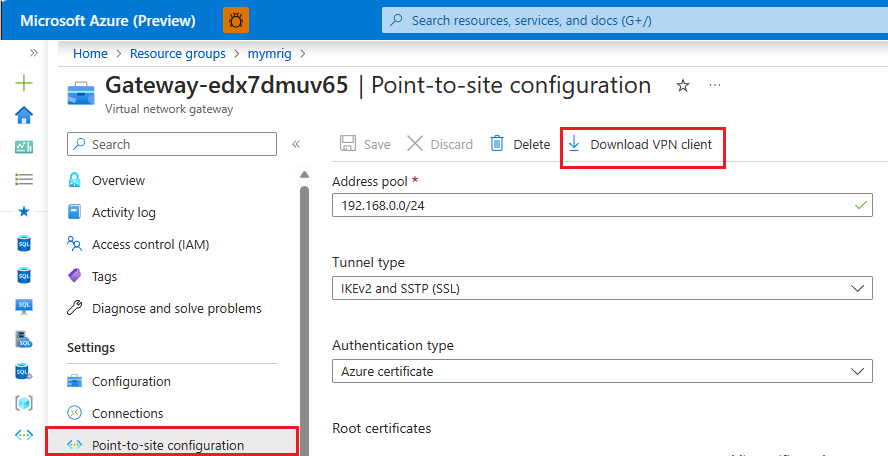
Open the resource group where you created the virtual network gateway, and then open the virtual network gateway resource.
Select Point-to-site configuration and then select Download VPN client.
On your on-premises client computer, extract the files from the zip file and then open the folder with the extracted files.
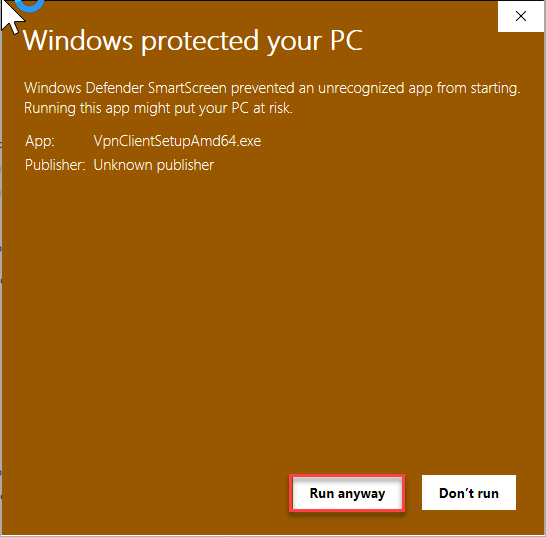
Open the WindowsAmd64 folder and open the VpnClientSetupAmd64.exe file.
If you receive a Windows protected your PC message, select More info and then select Run anyway.
In the User Account Control dialog box, select Yes to continue.
In the dialog box referencing your virtual network, select Yes to install the VPN client for your virtual network.

Connect to the VPN connection
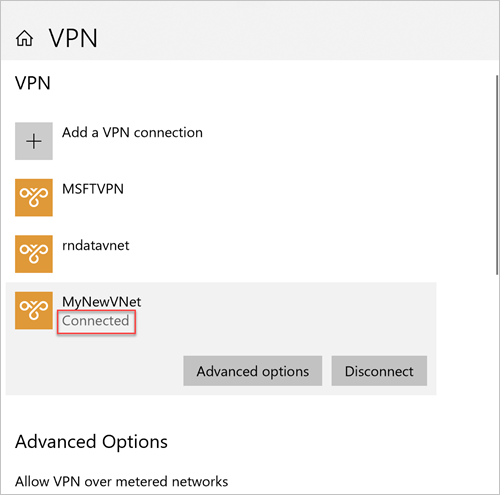
Go to VPN in Network & Internet on your on-premises client computer and select your SQL managed instance virtual network to establish a connection to this VNet. In the following image, the VNet is named MyNewVNet:
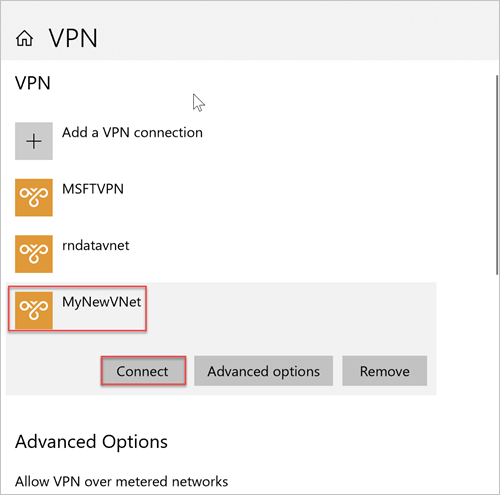
Select Connect.
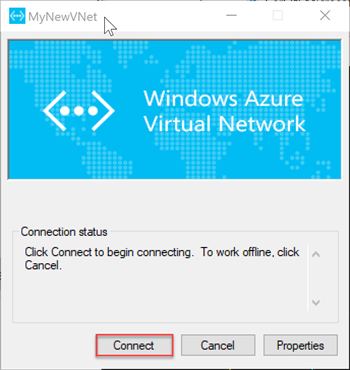
In the dialog box, select Connect.
When you're prompted that Connection Manager needs elevated privileges to update your route table, choose Continue.
Select Yes in the User Account Control dialog box to continue.
You've established a VPN connection to your SQL managed instance VNet.
Connect with SSMS
On the on-premises client computer, open SQL Server Management Studio (SSMS).
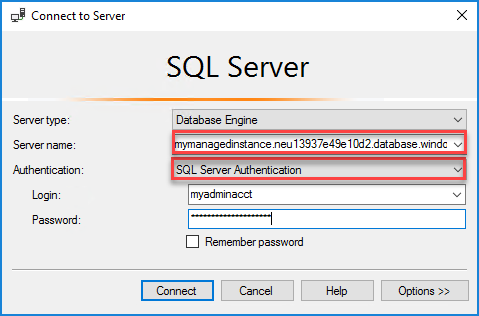
In the Connect to Server dialog box, enter the fully qualified host name for your SQL managed instance in the Server name box.
Select SQL Server Authentication, provide your username and password, and then select Connect.
After you connect, you can view your system and user databases in the Databases node. You can also view various objects in the Security, Server Objects, Replication, Management, SQL Server Agent, and XEvent Profiler nodes.
Connection could not be established
If your connection works initially but after some time, you see the error The connection could not be established when you try to connect to the VPN, follow these steps:
- Open your Windows VPN Settings.
- Remove the VPN connection.
- Repeat the steps in Create a VPN connection to download the VPN client and install it again.
- Connect to the VPN.
Next steps
- For a quickstart showing how to connect from an Azure virtual machine, see Configure a point-to-site connection.
- For an overview of the connection options for applications, see Connect your applications to SQL Managed Instance.
- To restore an existing SQL Server database from on-premises to a managed instance, you can use Azure Database Migration Service for migration or the T-SQL RESTORE command to restore from a database backup file.