Note
Access to this page requires authorization. You can try signing in or changing directories.
Access to this page requires authorization. You can try changing directories.
This tutorial helps you configure dedicated deployment of Azure Bastion to your virtual network from the Azure portal using the settings and SKU of your choice. The SKU determines the features and connections that are available for your deployment. For more information about SKUs and features, see Configuration settings - SKUs. After Bastion is deployed, you can use SSH or RDP to connect to virtual machines (VMs) in the virtual network via Bastion using the private IP addresses of the VMs. When you connect to a VM, it doesn't need a public IP address, client software, an agent, or a special configuration.
The following diagram shows the Azure Bastion dedicated deployment architecture for this tutorial. Unlike the Bastion Developer architecture, a dedicated deployment architecture deploys a dedicated bastion host directly to your virtual network.

The steps in this tutorial deploy Bastion using the Standard SKU via the Dedicated Deployment Option Configure Manually. In this tutorial, you adjust host scaling (instance count), which the Standard SKU supports. If you use a lower SKU for the deployment, you can't adjust host scaling. You can also select an availability zone, depending on the region to which you want to deploy.
After the deployment is complete, you connect to your VM via private IP address. If your VM has a public IP address that you don't need for anything else, you can remove it.
In this tutorial, you learn how to:
- Deploy Bastion to your virtual network.
- Connect to a virtual machine.
- Remove the public IP address from a virtual machine.
Prerequisites
To complete this tutorial, you need these resources:
An Azure subscription. If you don't have one, create a free account before you begin.
A virtual network to which you'll deploy Bastion.
A virtual machine in the virtual network. This VM isn't a part of the Bastion configuration and doesn't become a bastion host. You connect to this VM later in this tutorial via Bastion. If you don't have a VM, create one by using Quickstart: Create a Windows VM or Quickstart: Create a Linux VM.
Required VM roles:
- Reader role on the virtual machine
- Reader role on the network adapter (NIC) with the private IP of the virtual machine
Required inbound ports:
- For Windows VMs: RDP (3389)
- For Linux VMs: SSH (22)
Note
The use of Azure Bastion with Azure Private DNS zones is supported. However, there are restrictions. For more information, see the Azure Bastion FAQ.
Deploy Bastion
This section helps you deploy Bastion to your virtual network. After Bastion is deployed, you can connect securely to any VM in the virtual network using its private IP address.
Important
Hourly pricing starts from the moment that Bastion is deployed, regardless of outbound data usage. For more information, see Pricing and SKUs. If you're deploying Bastion as part of a tutorial or test, we recommend that you delete this resource after you finish using it.
Sign in to the Azure portal.
Go to your virtual network. On the page for your virtual network, in the left pane, select Bastion. These instructions will also work if you're configuring Bastion from your virtual machine's page in the portal.
On the Bastion pane, expand Dedicated Deployment Options to show the Configure manually button. You might need to scroll to see the option to expand.
Select Configure manually. This option lets you configure specific additional settings (such as the SKU) when you're deploying Bastion to your virtual network.
On the Create a Bastion pane, configure the settings for your bastion host. Project details are populated from your virtual network values. Under Instance details, configure these values:
Setting Value Name Specify the name that you want to use for your Bastion resource. For example, VNet1-bastion. Region Select the region where your virtual network resides. Availability zone Select the zone(s) from the dropdown, if desired. Only certain regions are supported. For more information, see What are availability zones? Tier For this tutorial, select the Standard SKU. For information about the features available for each SKU, see Configuration settings - SKU. Instance count Configure host scaling in scale unit increments. Use the slider or enter a number to configure the instance count that you want, for example, 3. For more information, see Instances and host scaling and Azure Bastion pricing. Configure the Virtual networks settings. Select your virtual network from the dropdown list. If your virtual network isn't in the dropdown list, make sure that you selected the correct Region value in the previous step.
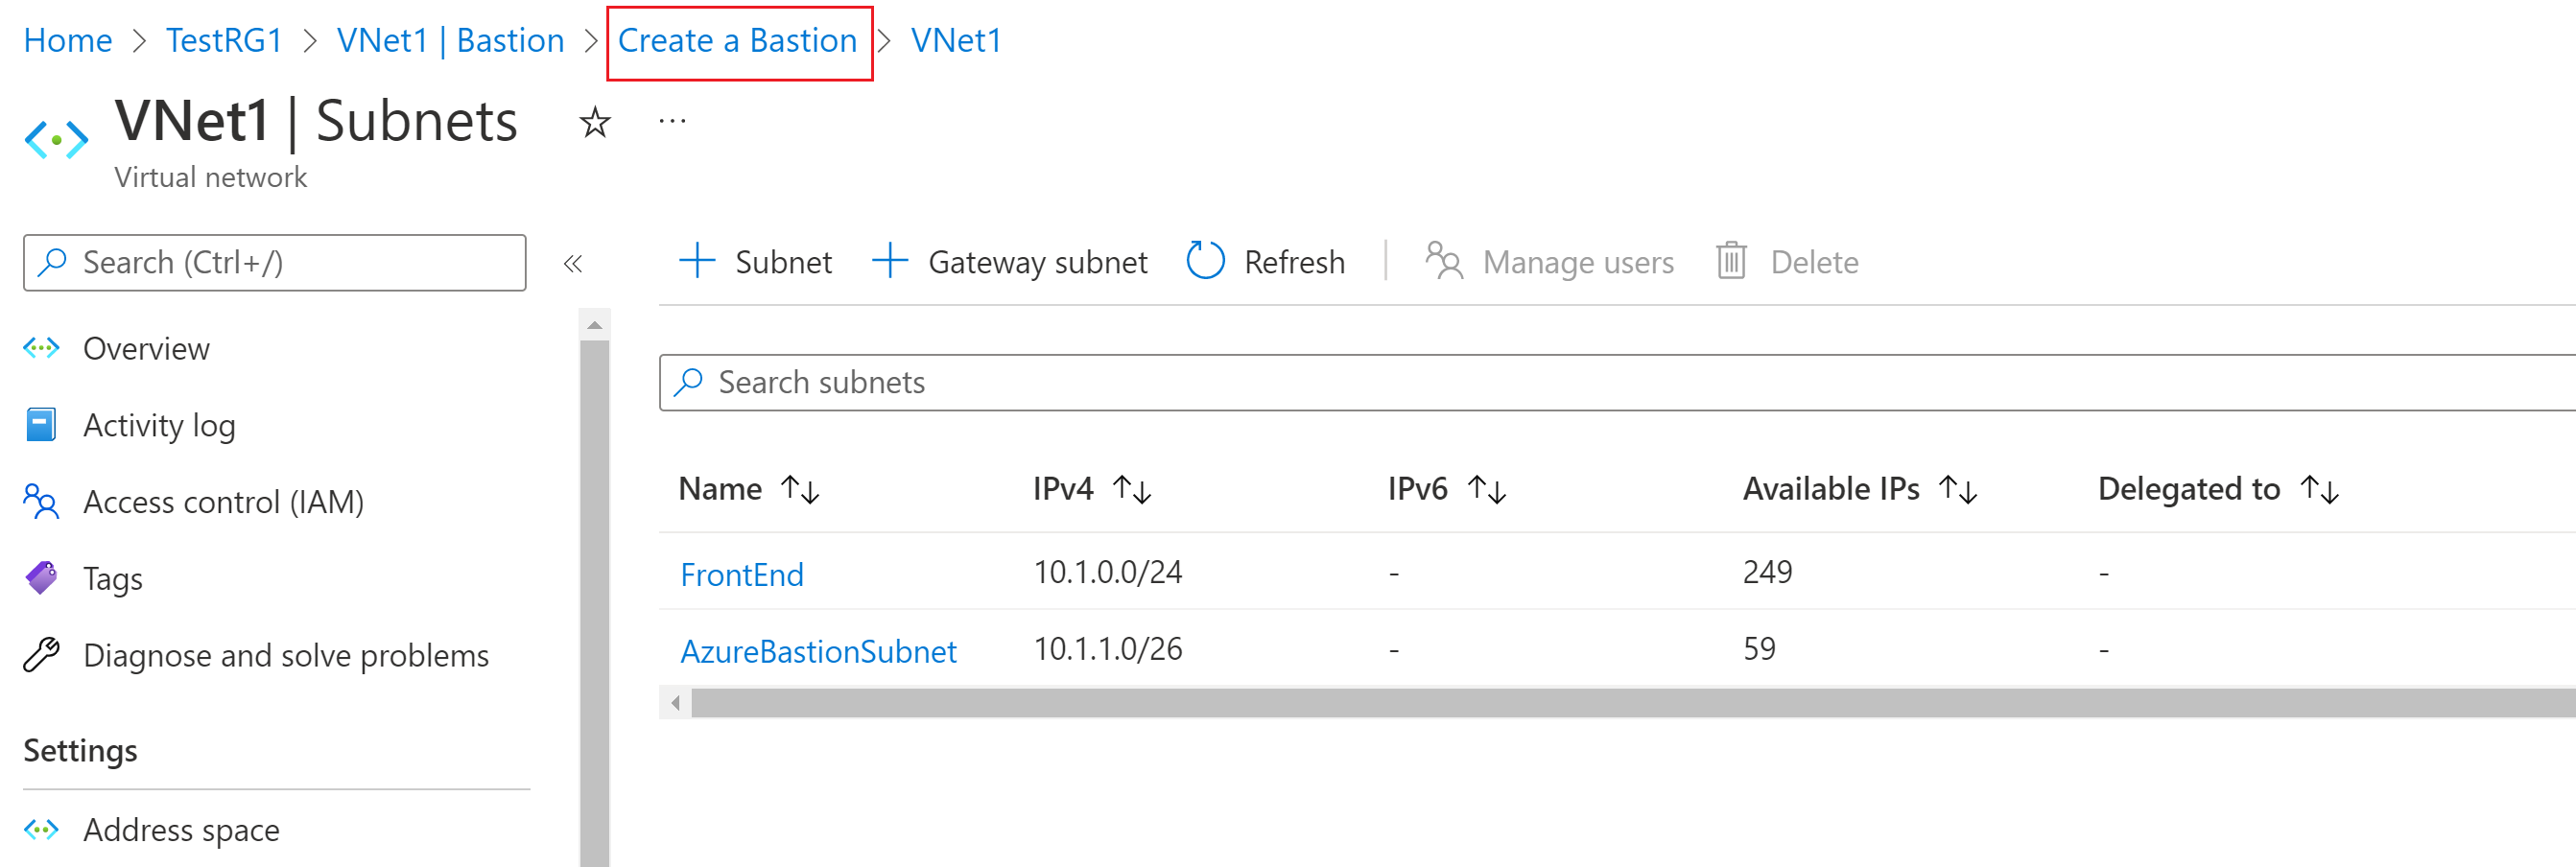
For Subnet, if you already have a subnet configured in your virtual network that is named AzureBastionSubnet, it will automatically select in the portal. If you don't, you can create one. To create the AzureBastionSubnet, select Manage subnet configuration. On the Subnets pane, select +Subnet. Configure the following values, then Add.
Setting Value Subnet purpose Select Azure Bastion from the dropdown. This specifies that the name is AzureBastionSubnet. Starting address Enter the starting address for the subnet. For example, if your address space is 10.1.0.0/16, you could use 10.1.1.0 for the starting address. Size The subnet must be /26 or larger (for example, /26, /25, or /24) to accommodate the features available with the Standard SKU. At the top of the Subnets pane, using the breadcrumb links, select Create a Bastion to return to the Bastion configuration pane.
The Public IP address section is where you configure the public IP address of the bastion host resource on which RDP/SSH will be accessed (over port 443). Configure the following settings:
Setting Value Public IP address Select Create new to create a new public IP address for the Bastion resource. You can also select Use existing and select an existing public IP address from the dropdown list if you already have an IP address created that meets the proper criteria and isn't in already in use. The public IP address must be in the same region as the Bastion resource that you're creating. Public IP address name Specify a name for the public IP address. For example, VNet1-bastion-ip. Public IP address SKU The public IP address must use the Standard SKU. The portal will autofill this value. Assignment Static Availability zone Zone-redundant (if available) When you finish specifying the settings, select Review + Create. This step validates the values.
After the values pass validation, you can deploy Bastion. Select Create.
A message says that your deployment is in process. The status appears on this page as the resources are created. It takes about 10 minutes for the Bastion resource to be created and deployed.

Connect to a VM
You can use any of the following detailed articles to connect to a VM. Some connection types require the Bastion Standard SKU.
- Connect to a Windows VM
- Connect to a Linux VM
- Connect to a scale set
- Connect via IP address
- Connect from a native client
You can also use these basic connection steps to connect to your VM:
In the Azure portal, go to the virtual machine that you want to connect to.
At the top of the pane, select Connect > Bastion to go to the Bastion pane. You can also go to the Bastion pane by using the left menu.
The options available on the Bastion pane depend on the Bastion SKU.
If you're using the Basic SKU, you connect to a Windows computer by using RDP and port 3389. Also for the Basic SKU, you connect to a Linux computer by using SSH and port 22. You don't have options to change the port number or the protocol. However, you can change the keyboard language for RDP by expanding Connection Settings on this pane.
If you're using the Standard SKU, you have more connection protocol and port options available. Expand Connection Settings to see the options. Typically, unless you configure different settings for your VM, you connect to a Windows computer by using RDP and port 3389. You connect to a Linux computer by using SSH and port 22.
For Authentication Type, select the authentication type from the dropdown list. The protocol determines the available authentication types. Complete the required authentication values.
To open the VM session in a new browser tab, leave Open in new browser tab selected.
Select Connect to connect to the VM.
Confirm that the connection to the virtual machine opens directly in the Azure portal (over HTML5) by using port 443 and the Bastion service.
Using keyboard shortcut keys while you're connected to a VM might not result in the same behavior as shortcut keys on a local computer. For example, when you're connected to a Windows VM from a Windows client, Ctrl+Alt+End is the keyboard shortcut for Ctrl+Alt+Delete on a local computer. To do this from a Mac while you're connected to a Windows VM, the keyboard shortcut is fn+control+option+delete.
Enable audio output
You can enable remote audio output for your VM. Some VMs automatically enable this setting, whereas others require you to enable audio settings manually. The settings are changed on the VM itself. Your Bastion deployment doesn't need any special configuration settings to enable remote audio output. Audio input is not supported at the moment.
Note
Audio output uses bandwidth on your internet connection.
To enable remote audio output on a Windows VM:
- After you're connected to the VM, an audio button appears on the lower-right corner of the toolbar. Right-click the audio button, and then select Sounds.
- A pop-up message asks if you want to enable the Windows Audio Service. Select Yes. You can configure more audio options in Sound preferences.
- To verify sound output, hover over the audio button on the toolbar.
Remove a VM's public IP address
When you connect to a VM by using Azure Bastion, you don't need a public IP address for your VM. If you aren't using the public IP address for anything else, you can dissociate it from your VM:
Go to your virtual machine. On the Overview page, click the Public IP address to open the Public IP address page.
On the Public IP address page, go to Overview. You can view the resource that this IP address is Associated to. Select Dissociate at the top of the pane.
Select Yes to dissociate the IP address from the VM network interface. After you dissociate the public IP address from the network interface, verify that it's no longer listed under Associated to.
After you dissociate the IP address, you can delete the public IP address resource. On the Public IP address pane for the VM, at the top of the Overview page, select Delete.
Select Yes to delete the public IP address.
Clean up resources
When you finish using this application, delete your resources:
- Enter the name of your resource group in the Search box at the top of the portal. When your resource group appears in the search results, select it.
- Select Delete resource group.
- Enter the name of your resource group for TYPE THE RESOURCE GROUP NAME, and then select Delete.
Next steps
In this tutorial, you deployed Bastion to a virtual network and connected to a VM. You then removed the public IP address from the VM. Next, learn about and configure additional Bastion features.