Build and push Docker images to Azure Container Registry using Docker templates
Azure DevOps Services
In this step-by-step tutorial, you'll learn how to set up a continuous integration pipeline to build a containerized application. New pull requests trigger the pipeline to build and publish Docker images to Azure Container Registry.
Prerequisites
A GitHub account. Create a free GitHub account, if you don't already have one.
An Azure DevOps organization and a project. Create a new organization and/or a new project, if you don't already have one.
An Azure account. Sign up for a free Azure account, if you don't already have one.
Get the code
Fork or clone the pipeline-javascript-docker sample application:
https://github.com/MicrosoftDocs/pipelines-javascript-docker
Create a container registry
Sign in to Azure, and then select the Azure Cloud Shell button in the upper-right corner.

Run the following commands to create a resource group and an Azure Container Registry using the Azure CLI.
# Create a resource group
az group create --name myapp-rg --location eastus

# Create a container registry
az acr create --resource-group myapp-rg --name mycontainerregistry --sku Basic
Note
A Container Registry name must be lowercase.
You can also use the Azure portal web UI to create your Azure Container Registry. See the Create a container registry for details.
Important
You must enable the admin user account in order for you to deploy a Docker image from an Azure Container Registry. See Container registry authentication for more details.
Create the pipeline
Sign in to your Azure DevOps organization and navigate to your project.
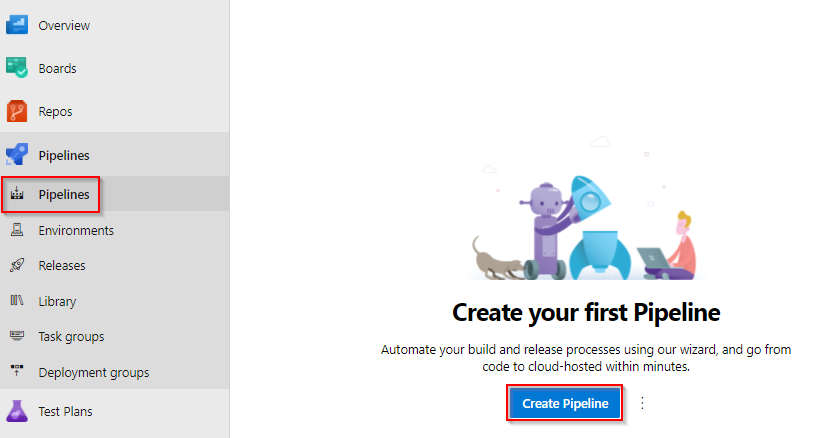
Select Pipelines, and then select New Pipeline to create a new pipeline.
Select GitHub YAML, and then select Authorize Azure Pipelines to provide the appropriate permissions to access your repository.
You might be asked to sign in to GitHub. If so, enter your GitHub credentials, and then select your repository from the list of repositories.
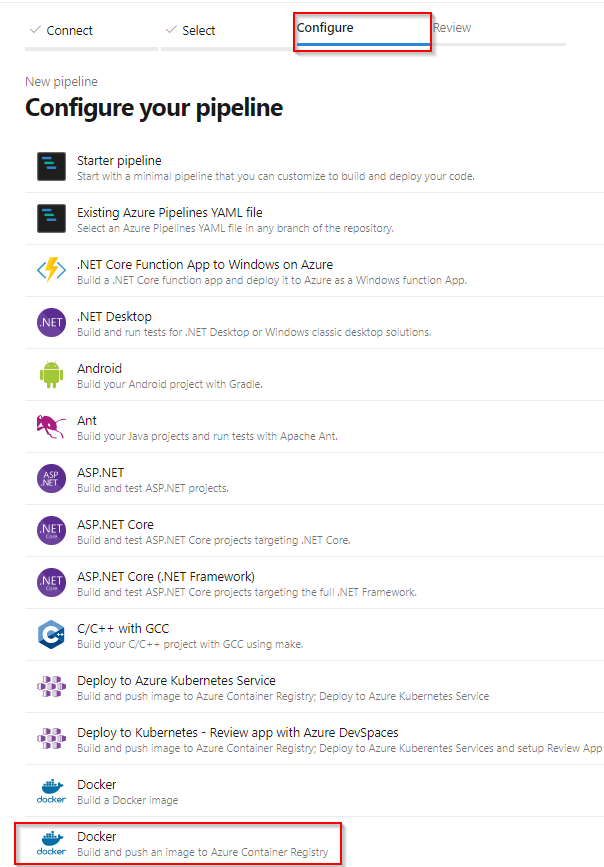
From the Configure tab, select the Docker - Build and push an image to Azure Container Registry task.
Select your Azure Subscription, and then select Continue.
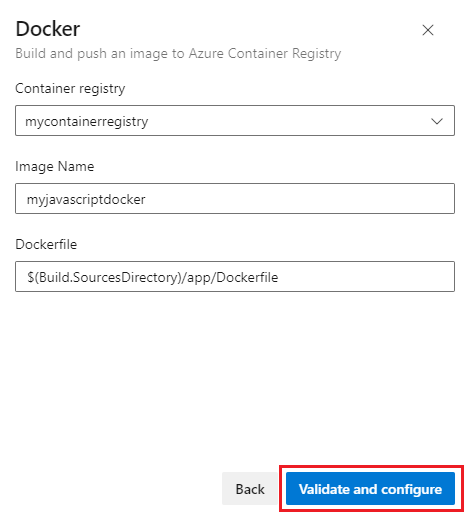
Select your Container registry from the dropdown menu, and then provide an Image Name to your container image.
Select Validate and configure when you are done.
As Azure Pipelines creates your pipeline, it will:
Create a Docker registry service connection to enable your pipeline to push images to your container registry.
Generate an azure-pipelines.yml file, which defines your pipeline.
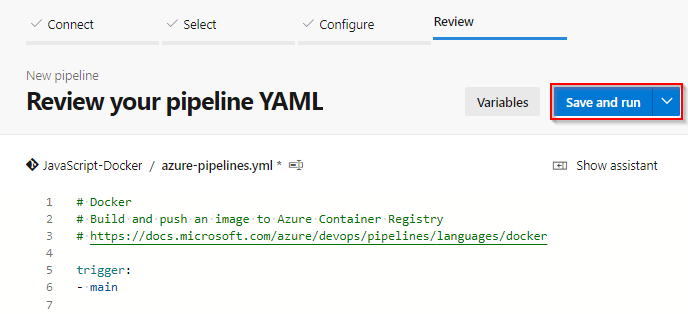
Review your pipeline YAML, and then select Save and run when you are ready.
Add a Commit message, and then select Save and run to commit your changes and run your pipeline.
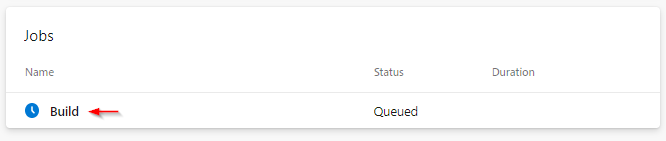
As your pipeline runs, select the build job to watch your pipeline in action.
How we build your pipeline
The pipeline that we just created in the previous section was generated from the Docker container template YAML. The build stage uses the Docker task Docker@2 to build and push your Docker image to the container registry.
- stage: Build
  displayName: Build and push stage
  jobs:
  - job: Build
    displayName: Build job
    pool:
      vmImage: $(vmImageName)
    steps:
    - task: Docker@2
      displayName: Build and push an image to container registry
      inputs:
        command: buildAndPush
        repository: $(imageRepository)
        dockerfile: $(dockerfilePath)
        containerRegistry: $(dockerRegistryServiceConnection)
        tags: |
          $(tag)
Clean up resources
If you are not going to continue to use this application, you can delete the resources you created in this tutorial to avoid incurring ongoing charges. Run the following to delete your resource group.
az group delete --name myapp-rg
Related articles
Feedback
Coming soon: Throughout 2024 we will be phasing out GitHub Issues as the feedback mechanism for content and replacing it with a new feedback system. For more information see: https://aka.ms/ContentUserFeedback.
Submit and view feedback for