Upload content to a course
A Lesson is a single unit of content included in a course and can be a video, PDF, Word or Powerpoint file. You can have one or more lessons for a course, depending on the complexity of the subject.
On the Community Training Portal, there are two ways to upload content for a course:
- Upload the content for each lesson manually.
- Use the bulk upload feature to upload multiple lessons at one go.
In this article, you will learn how to upload content to a course on the management portal.
Permissions Level
The CT management portal provides role-based permission levels. The table below shows which administrative roles can upload content to a course in the portal.
| Access Level | Upload content to a course |
|---|---|
| Global Administrator | Yes |
| Organization Administrator | Yes |
| Learning Path Administrator | Yes |
| Category Administrator | Yes |
| Course Administrator | Yes |
| Group Administrator | No |
Option 1: Manually add content for each lesson in a course
You can manually upload the required content to a course using the New Lesson option on the course details page.
Log in to the Community Training portal and switch to administrator view.
Under the Course tab, select the course from the category you want to upload content to.
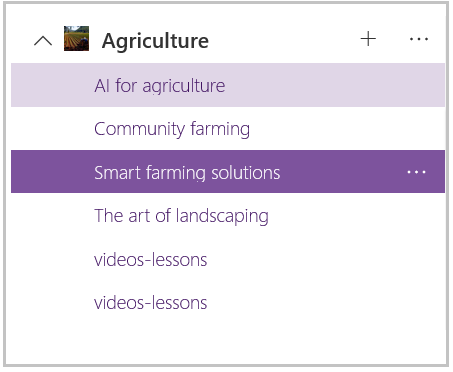
Select New Lesson, to create a new lesson for the course.
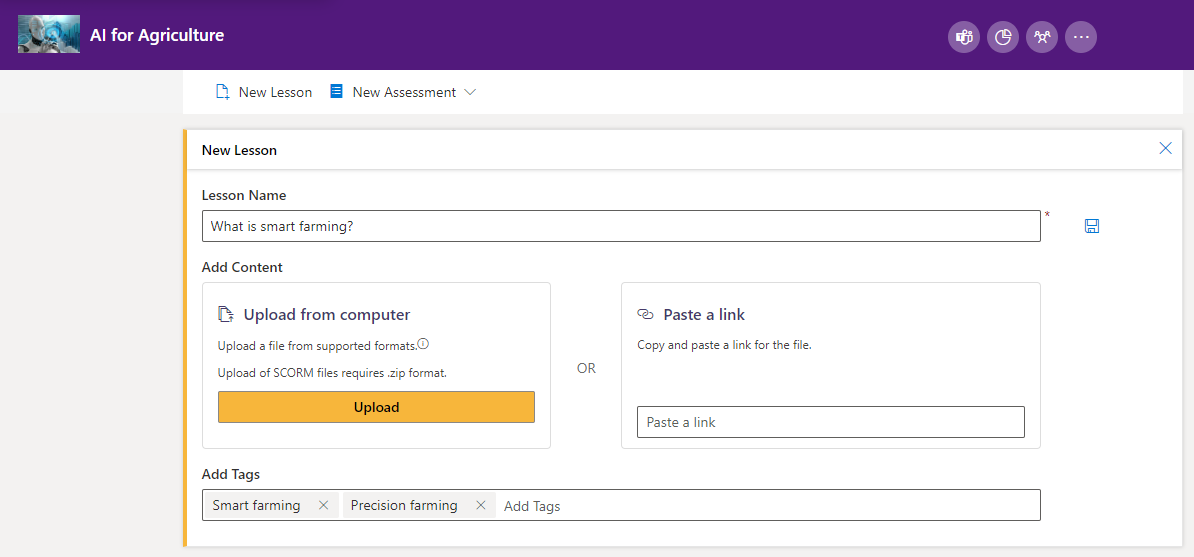
Enter the title of the lesson as the Lesson Name, for example, What is Smart Farming?.
Add content to the lesson either by uploading directly to the portal or embedding an external web link.
- To upload content - Click Upload and choose the content file you want to upload. The format of the content must be Video, Audio, PDF, EPUB, Word, Excel, PowerPoint or HTML.
- For embedding external web link - Paste the URL of the web page in the textbox available. The web page can be a YouTube video link or any other web link. For example: Sample YouTube Video. Learners will not be able to download this content from mobile app.
Note
You can also upload a SCORM file in .zip format. After attaching the zip file for the SCORM content, please mark the check box as well to ensure successful validation of the file.

Enter tags in the Add Tags field to help learners search for the content using relevant keywords. You can add one or more tags for each lesson. For example – Smart Farming, Internet of Things, Precision Farming
If you have uploaded content from your computer, the files would be visible in the Attached files section. You can click on Replace file if you wish to upload another file.

Click or tap Save icon the to upload the content for the lesson.
Important
Click or tap the Save button to complete the add lesson operation. If you perform any other activity before clicking on the Save button, then all your progress will be lost.
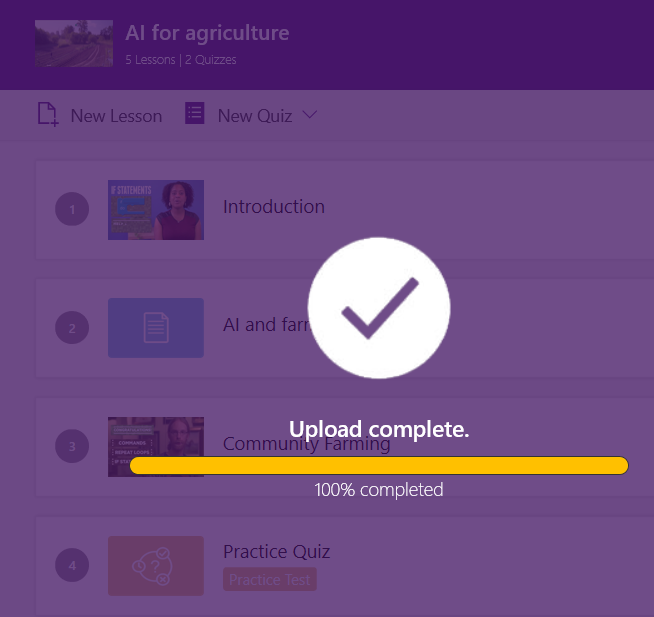
For video content, after upload is completed, the system will start the encoding process to create multiple copies to optimize streaming on different devices and network quality. You can check the encoding status on the course page as shown below.
.png)
Note
Depending upon the video size, it can take upto 20 minutes to complete the encoding process.
Repeat Steps 2 to 6 to add more lessons to the course.
Supported Lesson Content Formats
The following formats are supported:
- Video lessons: MP4, 3GP, 3G2, 3GP2, AVI, MEPG, MPG, WMV, VOB, MKV, FLV, DV, TS, ASF, M4V, MOV Audio Lessons: MP3 & OGG
- Other formats: PDF, PPT, PPTX, DOCX, EPUB, HTML, External Links
- SCORM content: Content compliant to SCORM v1.2 is supported on the platform. Make sure your folder is .zip and it also has
imsmanifest.xmlfile
Community Training does not have file size restrictions on upload for most formats but the App Service plan for your instance might restrict the total upload size (multiple uploads across different devices for the same instance) at a time:
- Standard - maximum upload size is 18GB
- Premium - maximum upload size is 56GB
Refer here for more information.
Note
Rich, Interactive and Dynamic Content
To add rich, dynamic content such as interactive lessons and simulations as either upload HTML content or embed an external web link on the portal.
To add HTML Content as a lesson:
- Upload a ZIP file containing HTML resources such as HTML, CSS and JS files
- There must be an index.html file at the top level (root directory) within the ZIP file
- All resources referenced in the HTML pages must be relative and point to files included in the ZIP file
To include external content as a lesson, add an external web link.
- Paste the external web URL in the textbox in the lesson upload section.
- Learners will not be able to download this content from mobile app.
- Content other than videos (sources: YouTube, Vimeo etc.) will render in a new browser window on the web application.
- Third party hosted content can also be embedded as web link.
Once you have completed uploading lessons, you can Add assessments or publish the course making it available to learners.
Option 2 - Bulk Upload lessons
Similar to the Bulk Upload Courses, you can use the Bulk Upload Lessons feature to save time and upload multiple lessons for a course in one action.
In this topic, you will learn how to add multiple lessons for a course in the management portal.
Prerequisites
The content for the lessons must be structured correctly and available in the required file format on your local machine. The steps below provide information on how to get your content ready for bulk upload lessons:
Copy the content files which you want to upload as lessons for a course on your local machine.
Select all the files you want to upload and compress them into a ZIP file. Right click > Send to > Compressed (zipped) folder.
Ensure there are no folders and unsupported content files inside the ZIP file
Note
Assessments can't be added to the course via bulk upload functionality unless you are exporting courses from one instance to another. You will need to add them via an assessement workflow.
Steps for bulk upload lessons for a course
Login to the CT portal and switch to administrator view.
Select the More (...) icon to the right of the course name to bulk upload lessons for a course.
Select Bulk Upload Lessons (Preview) from the drop-down menu.

Using the file picker, select the ZIP file which contains the content to upload.

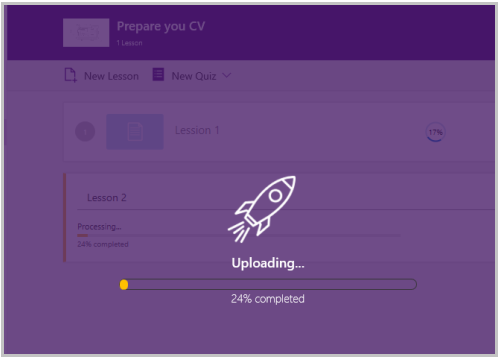
Wait for file upload operation to be completed. Do not close the browser window at this point.
Note
Depending upon your network connectivity and size of the ZIP file, it can take some time to complete the upload operation.
After upload, you will see the following message on the top-right corner which indicates that content file was successfully uploaded to the portal for processing.
Warning
If there are issues with the content format or structure of the ZIP file then the system will throw an error message.
Once the upload is complete, you can enter tags in the Add Tags field to help learners search for the content using relevant keywords. You can add one or more tags for each lesson.
Click the Save icon to update the tags for the lessons in a course.
Once the lessons are uploaded, you can add assessment or publish course for learners to consume the content via the web portal or mobile application.
Note
For video content, processing can take hours depending upon the number of videos, size and configuration of media service end point. This processing is a non-blocking operation and admins are allowed to do other tasks.
Please reach out to us via HelpDesk if you have any further queries.
Feedback
Coming soon: Throughout 2024 we will be phasing out GitHub Issues as the feedback mechanism for content and replacing it with a new feedback system. For more information see: https://aka.ms/ContentUserFeedback.
Submit and view feedback for