Quickstart: Deploy an Azure IoT hub and a storage account using Bicep
Article
In this quickstart, you use Bicep to create an IoT hub, an Azure Storage account, and a route to send messages from the IoT hub to storage. The hub is configured so the messages sent to the hub are automatically routed to the storage account if they meet the routing condition. At the end of this quickstart, you can open the storage account and see the messages sent.
Bicep is a domain-specific language (DSL) that uses declarative syntax to deploy Azure resources. It provides concise syntax, reliable type safety, and support for code reuse. Bicep offers the best authoring experience for your infrastructure-as-code solutions in Azure.
Prerequisites
If you don't have an Azure subscription, create a free Azure account before you begin.
This section provides the steps to deploy the Bicep file.
Download the main.bicep file from the Azure Quickstart Templates repo.
Create the resources by deploying the Bicep file using Azure CLI.
Azure CLI
az group create --name ContosoResourceGrp --location eastus
az deployment group create --resource-group exampleRG --template-file main.bicep
The deployment takes several minutes to complete. When the deployment finishes, you should see output detailing the deployed resources.
Send device-to-cloud messages
In this section, you register a device in your new IoT hub and then send messages from that device to IoT Hub. The route that the Bicep file configured in the IoT hub only sends messages to storage if they contain the message property level=storage. To test that this routing condition works as expected, we'll send some messages with that property and some without.
Tip
This quickstart uses the Azure CLI simulated device for convenience. For a code example of sending device-to-cloud messages with message properties for routing, see HubRoutingSample in the Azure IoT SDK for .NET.
Retrieve the name of the IoT hub that the template created for you.
If you used the default commands in the previous section, your resources were created in the ContosoResourceGrp resource group. If you used a different resource group, update the following command to match.
Azure CLI
az iot hub list --resource-group ContosoResourceGrp --output table
Copy the name of your IoT hub from the output. It should be formatted like contosoHub{randomidentifier}
Add a device to the hub.
Azure CLI
az iot hub device-identity create --device-id contosoDevice --hub-name {YourIoTHubName}
Simulate the device and send device-to-cloud messages.
The --data parameter lets us set the message body.
Azure CLI
az iot device simulate \
--device-id contosoDevice \
--hub-name {YourIoTHubName} \
--data"This message won't be routed."
The simulator sends 100 messages and then disconnects. You don't need to wait for all 100 for the purposes of this quickstart.
Tip
The Azure CLI won't print the messages as it sends them. If you want to watch the messages as the arrive at your hub, you can install the Azure IoT Hub extension for Visual Studio Code and use it to monitor the built-in endpoint.
Send device-to-cloud messages to be routed to storage.
The --properties parameter allows us to add message, application, or system properties to the default message. For this quickstart, the route in your IoT hub is looking for messages that contain the message property level=storage.
Azure CLI
az iot device simulate \
--device-id contosoDevice \
--hub-name {YourIoTHubName} \
--propertieslevel=storage \
--data"This message will be routed to storage."
Review routed messages
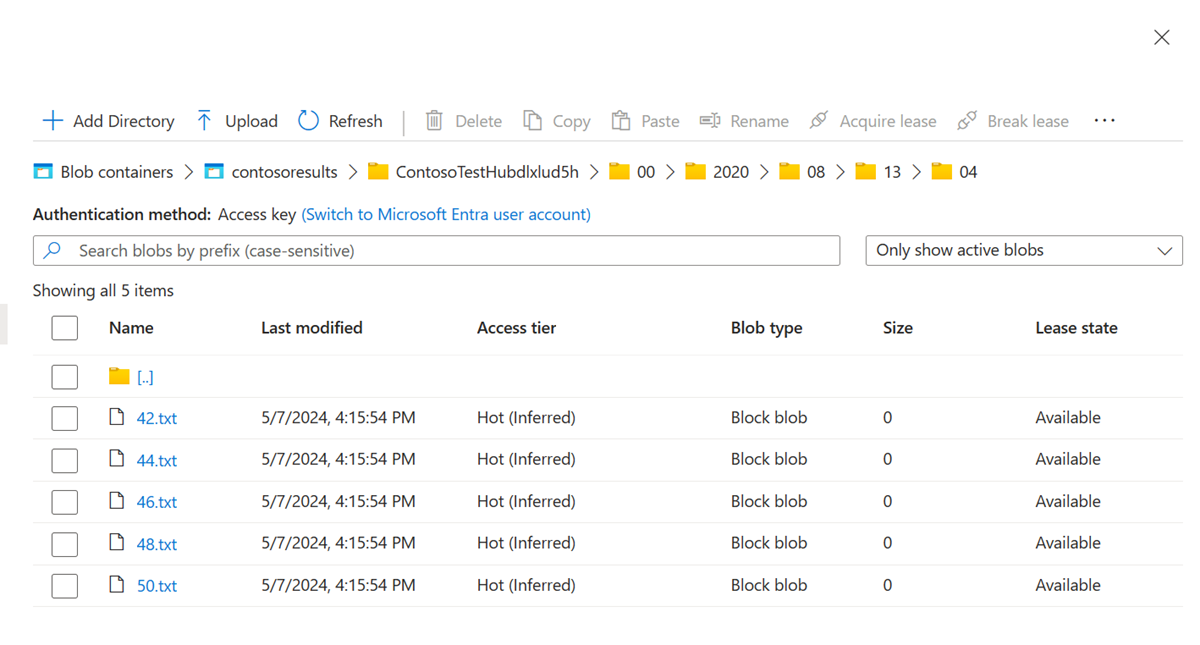
Sign in to the Azure portal and select the resource group, then select the storage account.
Drill down into the storage account until you find files.
Select one of the files and select Download and download the file to a location you can find later. It has a name that's numeric, like 47. Add .txt to the end and then double-click on the file to open it.
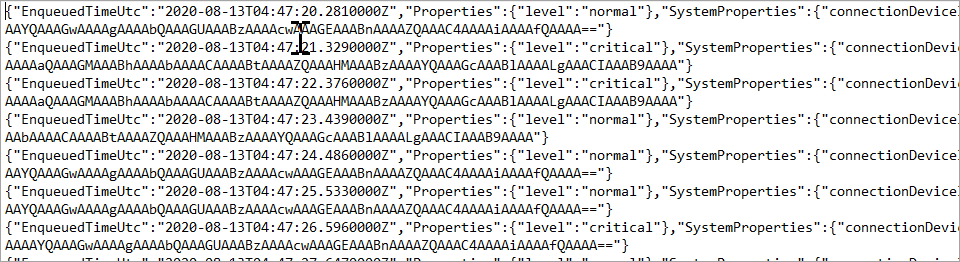
When you open the file, each row is for a different message. The body of each message is also encrypted. It must be in order for you to perform queries against the body of the message.
Note
These messages are encoded in UTF-8 and base64. If you read the message back, you have to decode it from base64 and utf-8 in order to read it as ASCII. If you're interested, you can use the method ReadOneRowFromFile in the Routing Tutorial to read one for from one of these message files and decode it into ASCII. ReadOneRowFromFile is in the IoT C# SDK repository that you unzipped for this quickstart. Here is the path from the top of that folder: ./iothub/device/samples/how to guides/HubRoutingSample/Program.cs Set the boolean readTheFile to true, and hardcode the path to the file on disk, and it will open and translate the first row in the file.
In this quickstart, you deployed a Bicep file to create an IoT hub and a storage account, then run a program to send messages to the hub. The messages are routed based on their message properties and stored in the storage account where they can be viewed.
Clean up resources
When you no longer need the resources that you created, delete the resource group.
This module provides you with experience analyzing and processing IoT device messages using IoT Hub message routing and the Azure Stream Analytics services, and experience configuring Azure Blob Storage for your device data.
Build end-to-end solutions in Microsoft Azure to create Azure Functions, implement and manage web apps, develop solutions utilizing Azure storage, and more.