Schedule and broadcast jobs (.NET)
Use Azure IoT Hub to schedule and track jobs that update millions of devices. Use jobs to:
Update desired properties
Update tags
Invoke direct methods
A job wraps one of these actions and tracks the execution against a set of devices that is defined by a device twin query. For example, a back-end app can use a job to invoke a direct method on 10,000 devices that reboots the devices. You specify the set of devices with a device twin query and schedule the job to run at a future time. The job tracks progress as each of the devices receives and executes the reboot direct method.
To learn more about each of these capabilities, see:
Device twin and properties: Get started with device twins and Understand and use device twins in IoT Hub
Direct methods: IoT Hub developer guide - direct methods
Note
The features described in this article are available only in the standard tier of IoT Hub. For more information about the basic and standard/free IoT Hub tiers, see Choose the right IoT Hub tier for your solution.
This article shows you how to create two .NET (C#) console apps:
A device app, SimulateDeviceMethods, that implements a direct method called LockDoor, which can be called by the back-end app.
A back-end app, ScheduleJob, that creates two jobs. One job calls the lockDoor direct method and another job sends desired property updates to multiple devices.
Note
See Azure IoT SDKs for more information about the SDK tools available to build both device and back-end apps.
Prerequisites
Visual Studio.
An IoT hub. Create one with the CLI or the Azure portal.
A registered device. Register one in the Azure portal.
Make sure that port 8883 is open in your firewall. The device sample in this article uses MQTT protocol, which communicates over port 8883. This port may be blocked in some corporate and educational network environments. For more information and ways to work around this issue, see Connecting to IoT Hub (MQTT).
Create a simulated device app
In this section, you create a .NET console app that responds to a direct method called by the solution back end.
In Visual Studio, select Create a new project, and then choose the Console App (.NET Framework) project template. Select Next to continue.
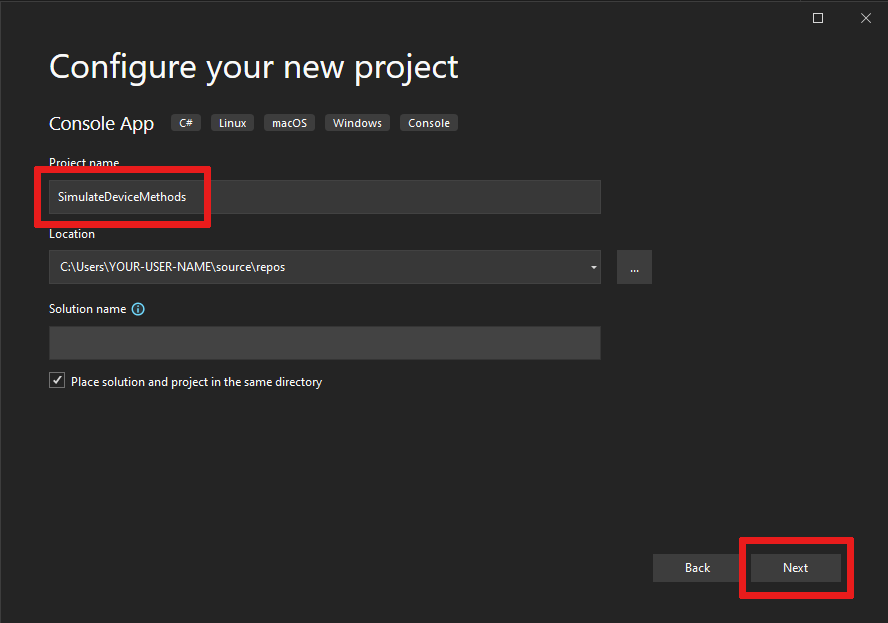
In Configure your new project, name the project SimulateDeviceMethods then select Next.
Accept the default version of the .NET Framework then select Create to create the project.
In Solution Explorer, right-click the SimulateDeviceMethods project then select Manage NuGet Packages.
In NuGet Package Manager, select Browse and search for and choose Microsoft.Azure.Devices.Client. Select Install.
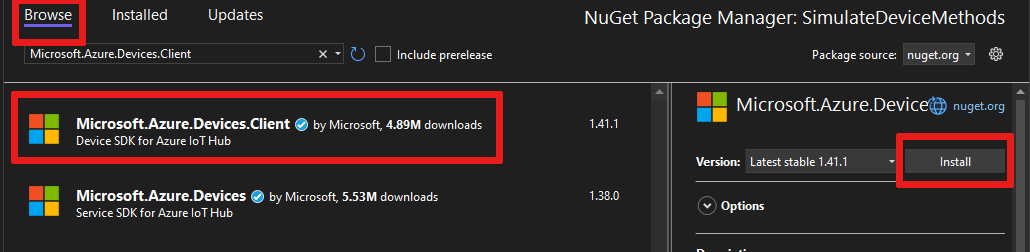
This step downloads, installs, and adds a reference to the Azure IoT device SDK NuGet package and its dependencies.
Add the following
usingstatements at the top of the Program.cs file:using Microsoft.Azure.Devices.Client; using Microsoft.Azure.Devices.Shared; using Newtonsoft.Json; using System.Threading.Tasks; using System.Text;Add the following fields to the Program class. Replace the placeholder value with the device connection string that you noted in the previous section:
static string DeviceConnectionString = "<yourDeviceConnectionString>";
static DeviceClient Client = null;
Add the following code to implement the direct method on the device:
static Task<MethodResponse> LockDoor(MethodRequest methodRequest, object userContext)
{
    Console.WriteLine();
    Console.WriteLine("Locking Door!");
    Console.WriteLine("\nReturning response for method {0}", methodRequest.Name);

    string result = "'Door was locked.'";
    return Task.FromResult(new MethodResponse(Encoding.UTF8.GetBytes(result), 200));
}
Add the following method to implement the device twins listener on the device:
private static async Task OnDesiredPropertyChanged(TwinCollection desiredProperties,
  object userContext)
{
    Console.WriteLine("Desired property change:");
    Console.WriteLine(JsonConvert.SerializeObject(desiredProperties));
}
Finally, add the following code to the Main method to open the connection to your IoT hub and initialize the method listener:
try
{
    Console.WriteLine("Connecting to hub");
    Client = DeviceClient.CreateFromConnectionString(DeviceConnectionString,
      TransportType.Mqtt);

    Client.SetMethodHandlerAsync("LockDoor", LockDoor, null);
    Client.SetDesiredPropertyUpdateCallbackAsync(OnDesiredPropertyChanged, null);

    Console.WriteLine("Waiting for direct method call and device twin update\n Press enter to exit.");
    Console.ReadLine();

    Console.WriteLine("Exiting...");

    Client.SetMethodHandlerAsync("LockDoor", null, null);
    Client.CloseAsync().Wait();
}
catch (Exception ex)
{
    Console.WriteLine();
    Console.WriteLine("Error in sample: {0}", ex.Message);
}
Save your work and build your solution.


Note
To keep things simple, this article does not implement a retry policies. In production code, you should implement retry policies (such as connection retry), as suggested in Transient fault handling.
Get the IoT hub connection string
In this article, you create a back-end service that schedules a job to invoke a direct method on a device, schedules a job to update the device twin, and monitors the progress of each job. To perform these operations, your service needs the registry read and registry write permissions. By default, every IoT hub is created with a shared access policy named registryReadWrite that grants these permissions.
To get the IoT Hub connection string for the registryReadWrite policy, follow these steps:
In the Azure portal, select Resource groups. Select the resource group where your hub is located, and then select your hub from the list of resources.
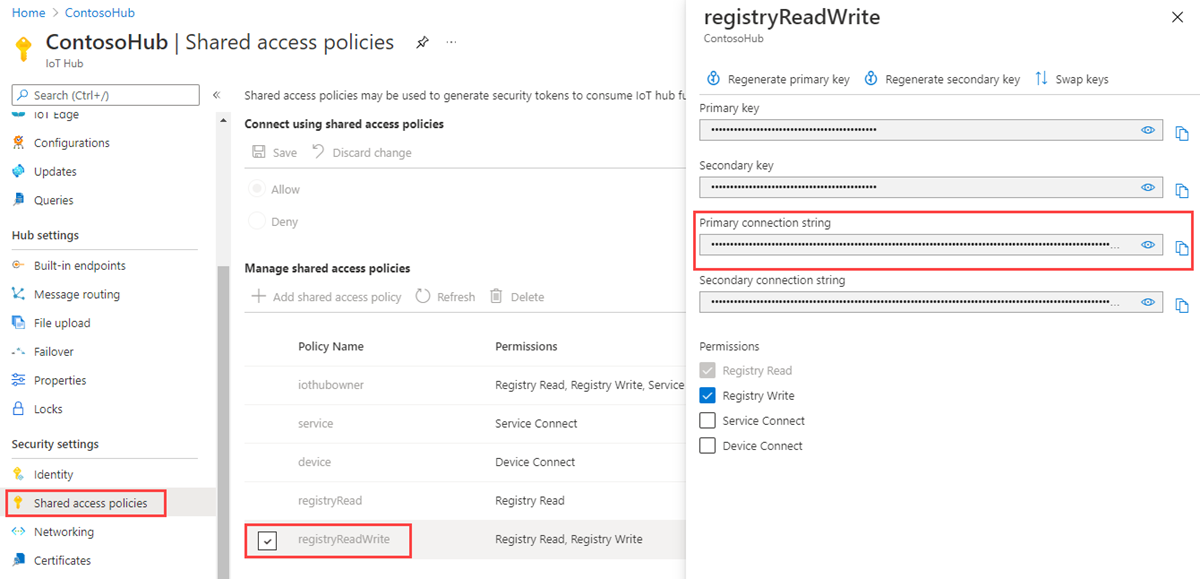
On the left-side pane of your hub, select Shared access policies.
From the list of policies, select the registryReadWrite policy.
Copy the Primary connection string and save the value.

For more information about IoT Hub shared access policies and permissions, see Access control and permissions.
Schedule jobs for calling a direct method and sending device twin updates
In this section, you create a .NET console app (using C#) that uses jobs to call the LockDoor direct method and send desired property updates to multiple devices.
In Visual Studio, select File > New > Project. In Create a new project, choose Console App (.NET Framework), and then select Next.
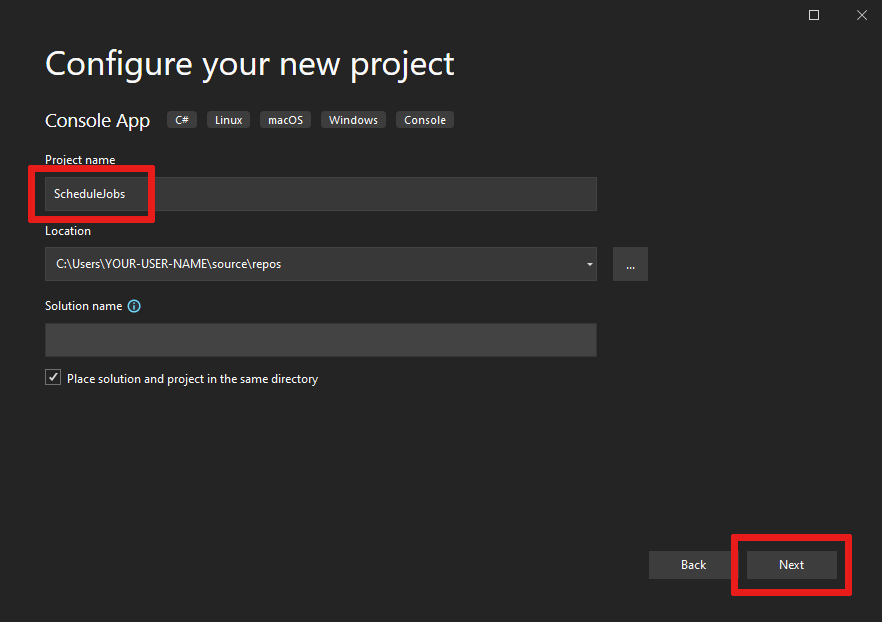
In Configure your new project, name the project ScheduleJob then select Create.
Accept the default version of the .NET Framework then select Create to create the project.
In Solution Explorer, right-click the ScheduleJob project, and then select Manage NuGet Packages.
In the NuGet Package Manager, select Browse, search for and choose Microsoft.Azure.Devices, then select Install.
This step downloads, installs, and adds a reference to the Azure IoT service SDK NuGet package and its dependencies.
Add the following
usingstatements at the top of the Program.cs file:using Microsoft.Azure.Devices; using Microsoft.Azure.Devices.Shared;Add the following
usingstatement if not already present in the default statements.using System.Threading; using System.Threading.Tasks;Add the following fields to the Program class. Replace the placeholders with the IoT Hub connection string that you copied previously in Get the IoT hub connection string and the name of your device.
static JobClient jobClient;
static string connString = "<yourIotHubConnectionString>";
static string deviceId = "<yourDeviceId>";
Add the following method to the Program class:
public static async Task MonitorJob(string jobId)
{
    JobResponse result;
    do
    {
        result = await jobClient.GetJobAsync(jobId);
        Console.WriteLine("Job Status : " + result.Status.ToString());
        Thread.Sleep(2000);
    } while ((result.Status != JobStatus.Completed) &&
      (result.Status != JobStatus.Failed));
}
Add the following method to the Program class:
public static async Task StartMethodJob(string jobId)
{
    CloudToDeviceMethod directMethod =
      new CloudToDeviceMethod("LockDoor", TimeSpan.FromSeconds(5),
      TimeSpan.FromSeconds(5));

    JobResponse result = await jobClient.ScheduleDeviceMethodAsync(jobId,
        $"DeviceId IN ['{deviceId}']",
        directMethod,
        DateTime.UtcNow,
        (long)TimeSpan.FromMinutes(2).TotalSeconds);

    Console.WriteLine("Started Method Job");
}
Add another method to the Program class:
public static async Task StartTwinUpdateJob(string jobId)
{
    Twin twin = new Twin(deviceId);
    twin.Tags = new TwinCollection();
    twin.Tags["Building"] = "43";
    twin.Tags["Floor"] = "3";
    twin.ETag = "*";

    twin.Properties.Desired["LocationUpdate"] = DateTime.UtcNow;

    JobResponse createJobResponse = jobClient.ScheduleTwinUpdateAsync(
        jobId,
        $"DeviceId IN ['{deviceId}']",
        twin,
        DateTime.UtcNow,
        (long)TimeSpan.FromMinutes(2).TotalSeconds).Result;

    Console.WriteLine("Started Twin Update Job");
}
Note
For more information about query syntax, see IoT Hub query language.
Finally, add the following lines to the Main method:
Console.WriteLine("Press ENTER to start running jobs.");
Console.ReadLine();

jobClient = JobClient.CreateFromConnectionString(connString);

string methodJobId = Guid.NewGuid().ToString();

StartMethodJob(methodJobId);
MonitorJob(methodJobId).Wait();
Console.WriteLine("Press ENTER to run the next job.");
Console.ReadLine();

string twinUpdateJobId = Guid.NewGuid().ToString();

StartTwinUpdateJob(twinUpdateJobId);
MonitorJob(twinUpdateJobId).Wait();
Console.WriteLine("Press ENTER to exit.");
Console.ReadLine();
Save your work and build your solution.

Run the apps
You are now ready to run the apps.
In the Visual Studio Solution Explorer, right-click your solution, and then select Set StartUp Projects.
Select Common Properties > Startup Project, and then select Multiple startup projects.
Make sure
SimulateDeviceMethodsis at the top of the list followed byScheduleJob. Set both their actions to Start and select OK.Run the projects by clicking Start or go to the Debug menu and click Start Debugging.
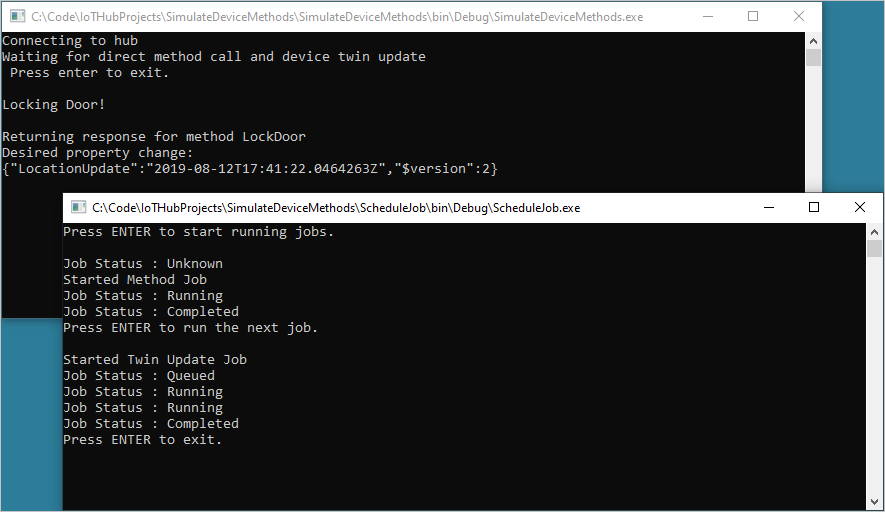
You see the output from both device and back-end apps.
Next steps
In this article, you scheduled jobs to run a direct method and update the device twin's properties.
To continue exploring IoT Hub and device management patterns, update an image in Device Update for Azure IoT Hub tutorial using the Raspberry Pi 3 B+ Reference Image.
Feedback
Coming soon: Throughout 2024 we will be phasing out GitHub Issues as the feedback mechanism for content and replacing it with a new feedback system. For more information see: https://aka.ms/ContentUserFeedback.
Submit and view feedback for