Create a virtual network (classic) by using the Azure portal
Important
Classic Virtual Network is now deprecated for new customers and will be retired on August 31st, 2024 for all customers. New deployments should use the new Azure Resource Manager based deployment model Azure Resource Manager based Virtual Network
An Azure virtual network (VNet) is a representation of your own network in the cloud. You can control your Azure network settings and define DHCP address blocks, DNS settings, security policies, and routing. You can also further segment your VNet into subnets and deploy Azure IaaS virtual machines (VMs) and PaaS role instances, in the same way you can deploy physical and virtual machines to your on-premises datacenter. In essence, you can expand your network to Azure, bringing your own IP address blocks. Read the virtual network overview if you are not familiar with VNets.
Important
Before you work with Azure resources, it's important to understand that Azure currently has two deployment models: Azure Resource Manager and classic. Make sure you understand deployment models and tools before you work with any Azure resource. You can view the documentation for different tools by clicking the tabs at the top of this article.
This document covers creating a VNet by using the classic deployment model. You can also create a virtual network in the Resource Manager deployment model by using the Azure portal.
Scenario
To illustrate how to create a VNet and subnets, this document uses the following scenario:
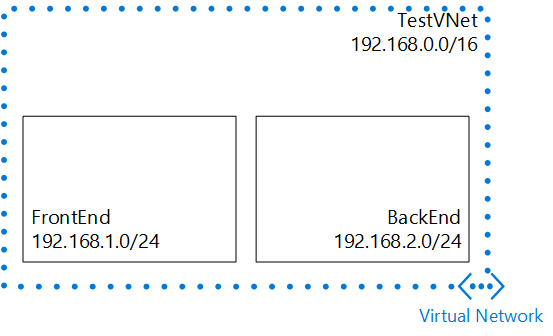
In this scenario you create a VNet named TestVNet, with a reserved CIDR block of 192.168.0.0./16. The VNet contains the following subnets:
- FrontEnd, using 192.168.1.0/24 as its CIDR block.
- BackEnd, using 192.168.2.0/24 as its CIDR block.
How to create a classic VNet in the Azure portal
To create a classic VNet based on the preceding scenario, follow these steps.
From a browser, navigate to https://portal.azure.com and, if necessary, sign in with your Azure account.
Click Create a resource > Networking > Virtual network. Notice that the Select a deployment model list already shows Classic. 3. Click Create as shown in the following figure.
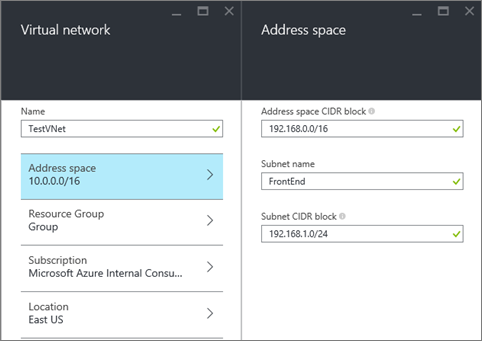
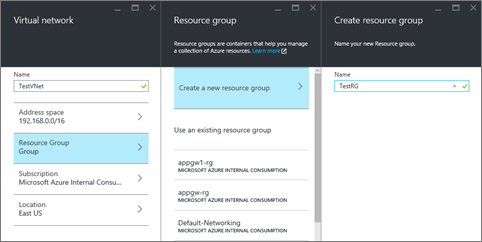
On the Virtual network pane, type the Name of the VNet, and then click Address space. Configure your address space settings for the VNet and its first subnet, then click OK. The following figure shows the CIDR block settings for our scenario.
Click Resource Group and select a resource group to add the VNet to, or click Create new resource group to add the VNet to a new resource group. The following figure shows the resource group settings for a new resource group called TestRG. For more information about resource groups, visit Azure Resource Manager Overview.
If necessary, change the Subscription and Location settings for your VNet.
If you do not want to see the VNet as a tile in the Startboard, disable Pin to Startboard.
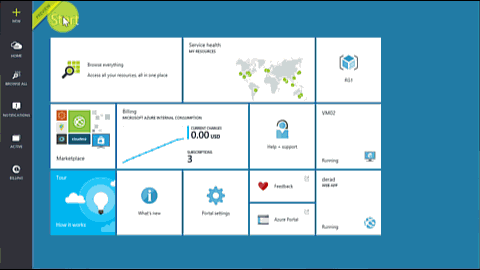
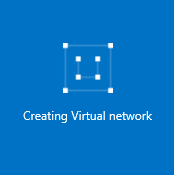
Click Create and notice the tile named Creating Virtual network as shown in the following figure.
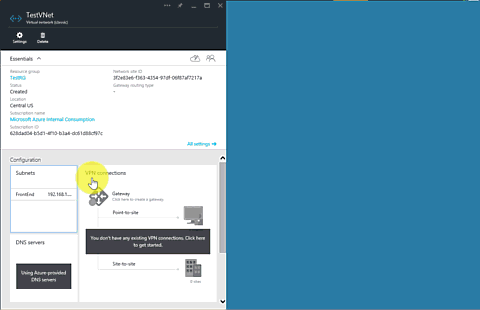
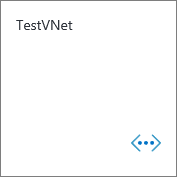
Wait for the VNet to be created, and when you see the tile, click it to add more subnets.
You should see the Configuration for your VNet as shown.
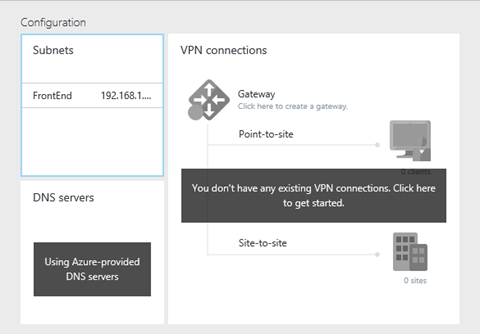
Click Subnets > Add, then type a Name and specify an Address range (CIDR block) for your subnet, and then click OK. The following figure shows the settings for our current scenario.