Note
Access to this page requires authorization. You can try signing in or changing directories.
Access to this page requires authorization. You can try changing directories.
There are a growing number of enterprises adhering to API-first approach for their internal applications, and the number and complexity of security attacks against web applications is constantly evolving. This situation requires enterprises to adopt a strong security strategy to protect APIs from various web application attacks.
Azure Web Application Firewall (WAF) is an Azure Networking product that protects APIs from various OWASP top 10 web attacks, CVE’s, and malicious bot attacks.
This article describes how to use Azure Web Application Firewall on Azure Front Door to protect APIs hosted on Azure API Management
Create an APIM instance and publish an API in APIM that generates a mock API response
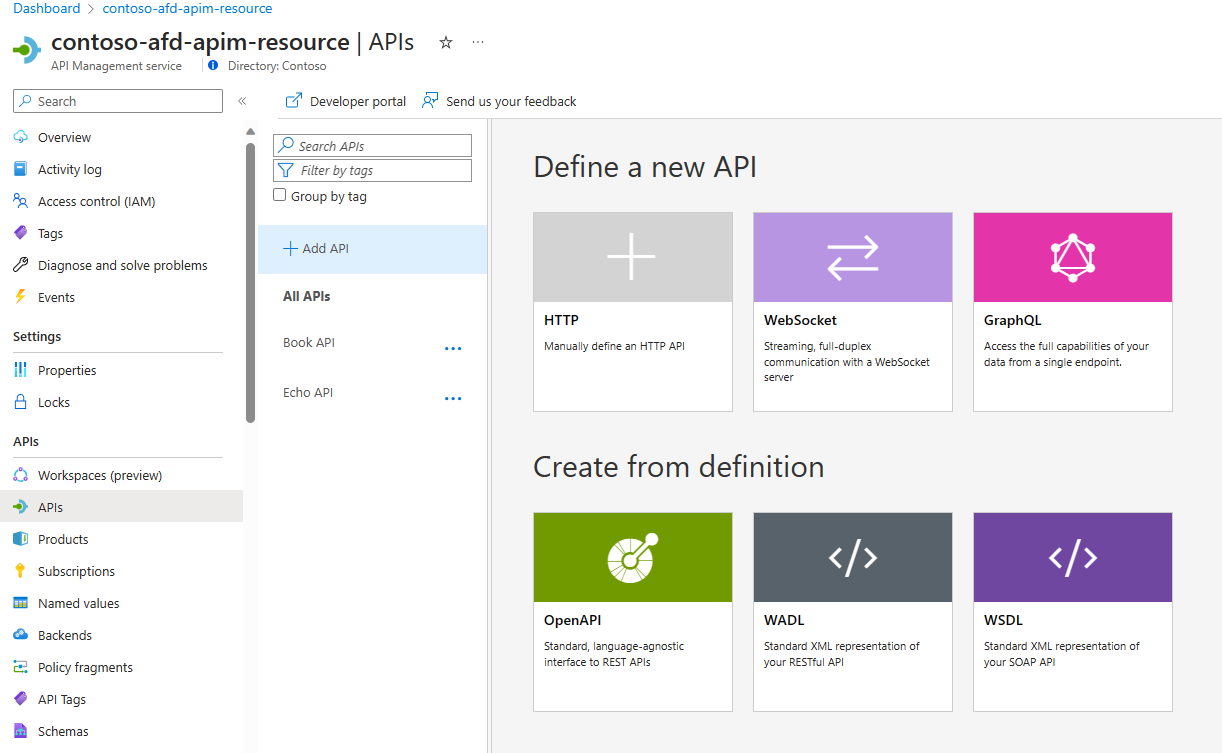
Create an APIM instance. For more information, see Quickstart: Create a new Azure API Management service instance by using the Azure portal.
The following screenshot shows that an APIM instance called contoso-afd-apim-resource has been created. It can take up to 30 to 40 minutes to create and activate an API Management service.
Create an API and generate mock API responses. For more information, see Tutorial: Mock API responses.
Replace the name of API from Test API given in the above tutorial with Book API.
The Book API does a GET operation for
_/test_as the URL path for the API. You can see the response for the API is set as 200 OK with content type as application/json with text as{“Book”:” $100”}.Deselect Subscription required check box under the API settings tab and select Save.
Test the mock responses from the APIM interface. You should receive a 200 OK response.

Now, the Book API has been created. A successful call to this URL returns a 200 OK response and returns the price of a book as $100.
Create an Azure Front Door Premium instance with APIM hosted API as the origin
The Microsoft-managed Default Rule Set is based on the OWASP Core Rule Set and includes Microsoft Threat Intelligence rules.
Note
Managed Rule Set is not available for Azure Front Door Standard SKU. For more information about the different SKUs, see Azure Front Door tier comparison.
Use the steps described in quick create option to create an Azure Front Door Premium profile with an associated WAF security policy in the same resource group:
Quickstart: Create an Azure Front Door profile - Azure portal
Use the following settings when creating the Azure Front Door profile:
- Name: myAzureFrontDoor
- Endpoint Name: bookfrontdoor
- Origin type: API Management
- Origin host name: contoso-afd-apim-resource.azure-api.net(contoso-afd-apim-resource)
- WAF policy: Create a new WAF policy with name bookwafpolicy.
All other settings remain at default values.
Enable Azure Web Application Firewall in prevention mode
Select the "bookwafpolicy" Azure WAF policy and ensure the Policy mode is set to "Prevention" in the overview tab of the policy
Azure WAF detection mode is used for testing and validating the policy. Detection doesn't block the call but logs all threats detected, while prevention mode blocks the call if an attack is detected. Typically, you test the scenario before switching to prevention mode. For this exercise, we switch to prevention mode.
Azure Web Application Firewall on Azure Front Door has more information about various WAF policy modes.
Restrict APIM access through the Azure Front Door only
Requests routed through the Front Door include headers specific to your Front Door configuration. You can configure the check-header policy as an inbound APIM policy to filter incoming requests based on the unique value of the X-Azure-FDID HTTP request header that is sent to API Management. This header value is the Azure Front Door ID, which is available on the AFD Overview page.
Copy the Front Door ID from the AFD overview page.
Access the APIM API page, select the Book API, select Design and All operations. In the Inbound policy, select + Add policy.

Select Other policies
Select “Show snippets" and select Check HTTP header.
Add the following code to the inbound policy for HTTP header
X-Azure-FDID. Replace the{FrontDoorId}with the AFD ID copied in the first step of this section.<check-header name="X-Azure-FDID" failed-check-httpcode="403" failed-check-error-message="Invalid request" ignore-case="false"> <value>{FrontDoorId}</value> </check-header>Select Save.
At this point, APIM access is restricted to the Azure Front Door endpoint only.

Verify the API call is routed through Azure Front Door and protected by Azure Web Application Firewall
Obtain the newly created Azure Front Door endpoint from the Front Door Manager.
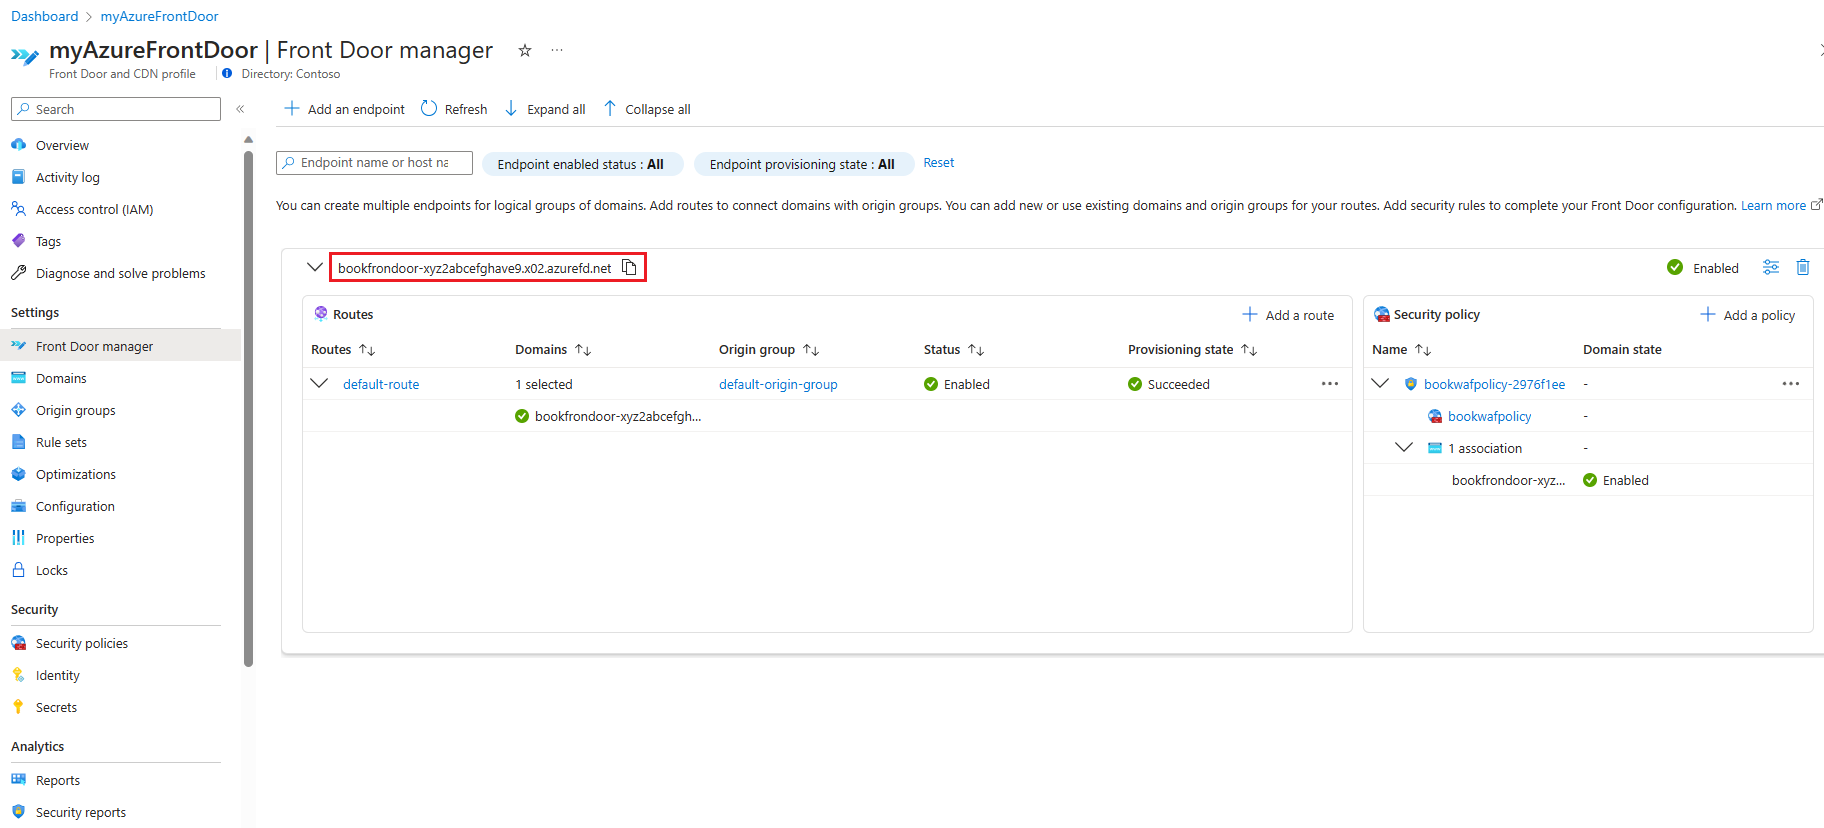
Look at origin groups and confirm that the origin host name is contoso-afd-apim-resource.azure-api.net. This step verifies that the APIM instance is an origin in the newly configured Azure Front Door premium.
Under the Security Policies section, verify that the WAF policy bookwafpolicy is provisioned.
Select bookwafpolicy and verify that the bookwafpolicy has Managed rules provisioned. The latest versions of Microsoft_DefaultRueSet and Microsoft_BotManagerRuleSet is provisioned which protects the origin against OWASP top 10 vulnerabilities and malicious bot attacks.

At this point, the end-to-end call is set up, and the API is protected by Azure Web Application Firewall.
Verify the setup
Access the API through the Azure Front Door endpoint from your browser. The API should return the following response:

Verify that APIM isn't accessible directly over the Internet and accessible only via the AFD:

Now try to invoke the AFD endpoint URL via any OWASP Top 10 attack or bot attack and you should receive
REQUEST IS BLOCKEDmessage and the request is blocked. The API has been protected from web attack by Azure Web Application Firewall.