Note
Access to this page requires authorization. You can try signing in or changing directories.
Access to this page requires authorization. You can try changing directories.
Use this procedure to create an Integrated Security Operations Center (ISOC) workspace in the Microsoft Defender portal for capabilities that require a workspace.
Before you begin, review the eligibility and workspace requirements in ISOC in Microsoft Defender.
Prerequisites
Before you begin, make sure the following requirements are met:
- Your tenant is eligible for ISOC.
- You have an active Azure subscription.
- You have the Security Administrator role in Microsoft Entra ID.
- You have one of the following permission configurations on the Azure subscription:
- Unconditional Owner.
- User Access Administrator and Microsoft Sentinel Contributor.
Create an ISOC workspace
Sign in to the Microsoft Defender portal.
Go to Setup & configuration > Settings > Microsoft Sentinel > SIEM workspaces.
Select + Create workspace.
In Subscription, select the Azure subscription where you want to create the workspace.
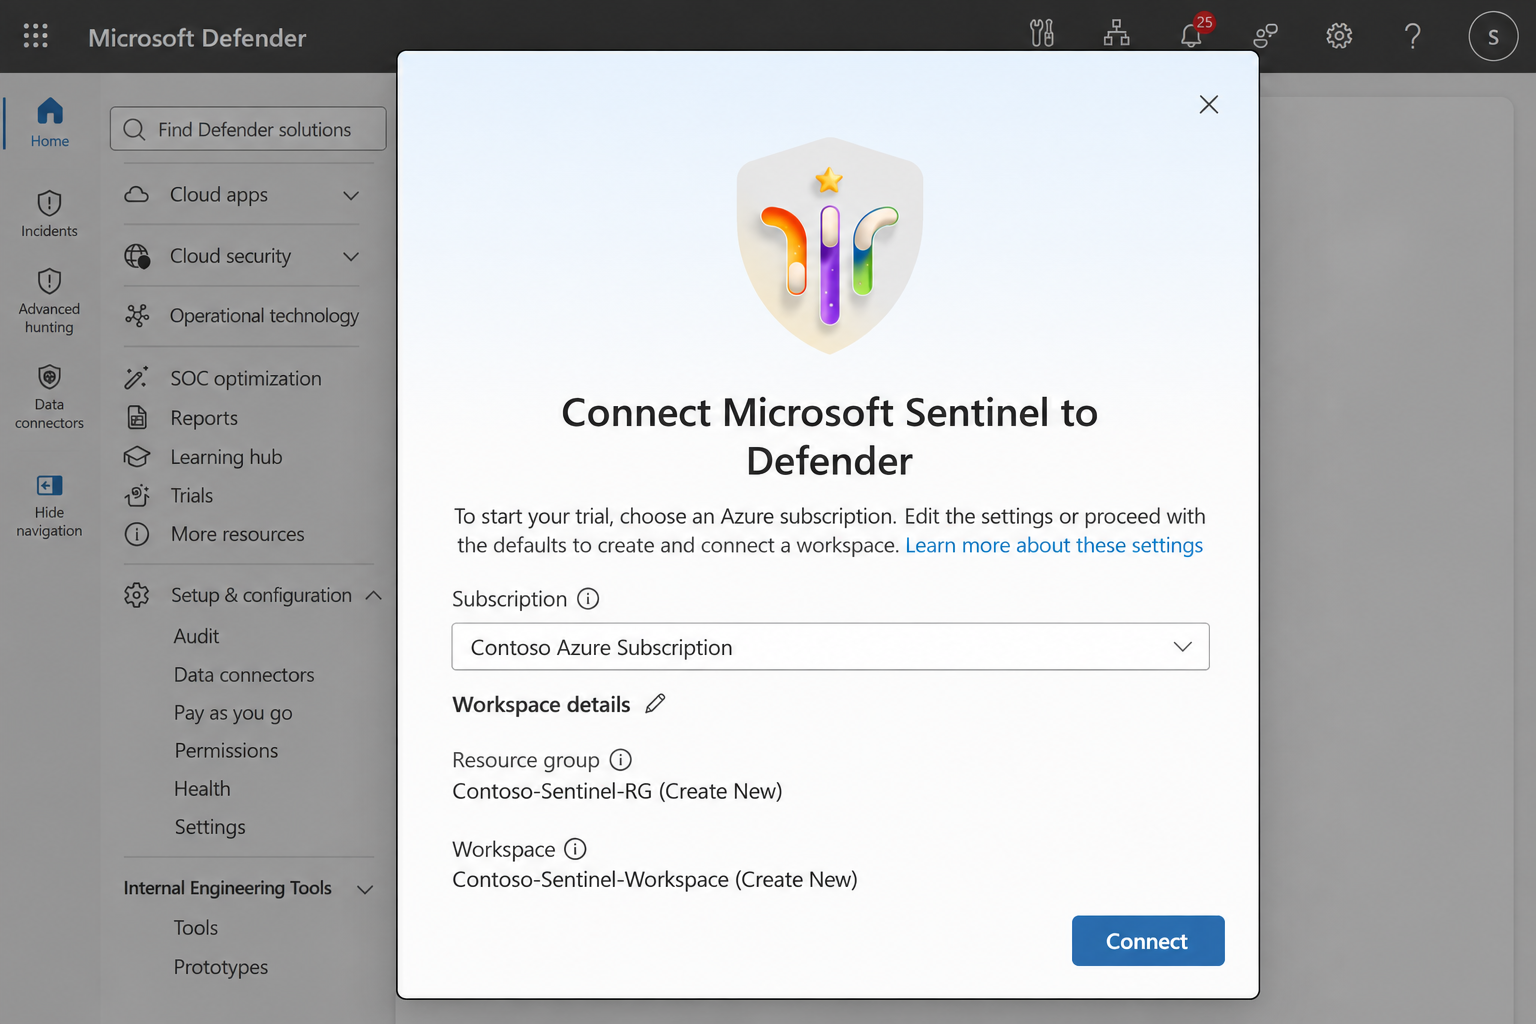
The portal checks whether you have the required permissions on the selected subscription.
After the permissions check succeeds, review the workspace details.
The setup provides values for the resource group, workspace, and region.
To change the workspace configuration, select the edit icon next to Workspace details.
Update the resource group, workspace name, region, or tags as needed.
Select Connect.
The Defender portal creates the required Azure resources and connects the new workspace to the Defender portal.
Provisioning can take several minutes. During provisioning, the setup shows the following states:
- Creating resources - The required Azure resources are being deployed.
- Connecting the workspace - The newly created workspace is being connected to the Defender portal.
When provisioning is complete, a confirmation dialog appears and the workspace is listed on the SIEM workspaces page.
Next steps
After you create the ISOC workspace, configure the capabilities that require it: