Note
Access to this page requires authorization. You can try signing in or changing directories.
Access to this page requires authorization. You can try changing directories.
Go to Data > Data sources to view the name of each ingested data source, its status, and the last time the data was refreshed for that source. You can sort the list of data sources by any column or use the search box to find the data source you want to manage.
Select a data source to view available actions.
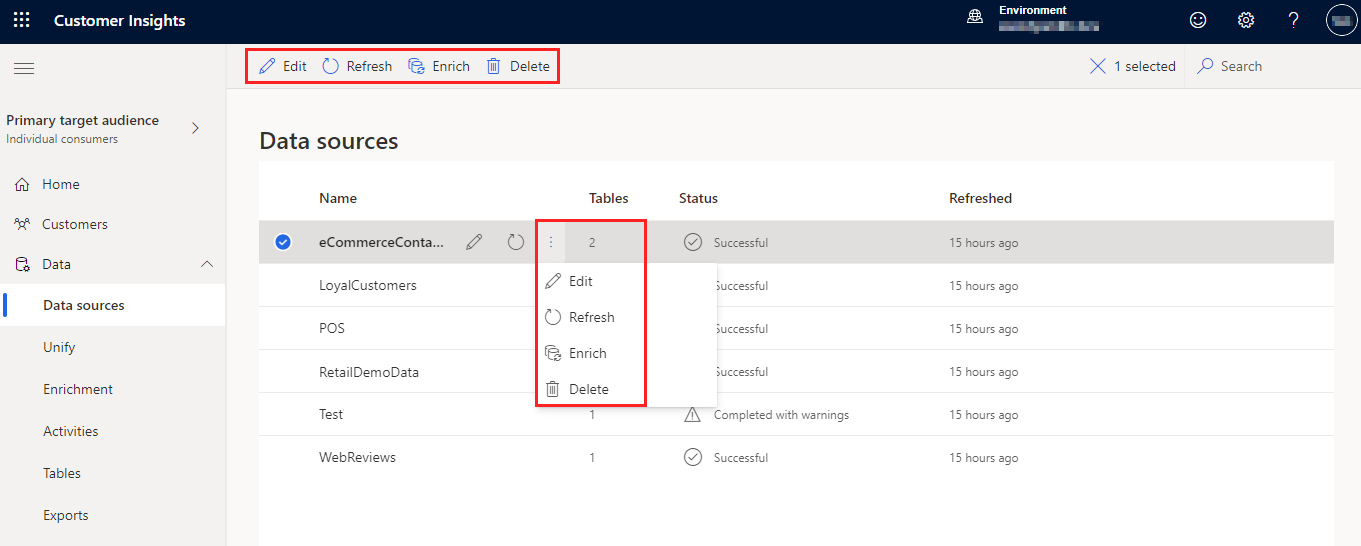
- Edit the data source to change its properties. You can't edit a single CSV data source that was used to automatically generate insights.
- Refresh the data source to include the latest data.
- Enrich the data source before unification to improve the quality and completeness for better results.
- Delete the data source. A data source can be deleted only if the data isn't used in any processing such as unification, insights, activations, or exports. To remove a data source that is unified and is in use, go to Remove a data source in use.
If you have an Azure Data Lake data source with Common Data Model tables, you can update it to use Delta tables.
Refresh data sources
Data sources can be refreshed on an automatic schedule or refreshed manually on demand. Only the owner can manually refresh an on-premises data source.
For attached data sources, data ingestion consumes the latest data available from that data source.
Go to Settings > System > Schedule to configure system-scheduled refreshes of your ingested data sources.
To refresh a data source on demand:
Go to Data > Data sources.
Select the data source you want to refresh and select Refresh. The data source is now triggered for a manual refresh. Refreshing a data source updates both the table schema and data for all the tables specified in the data source.
Select the status to open the Progress details pane and view the progress. To cancel the job, select Cancel job at the bottom of the pane.
Review corrupt data sources
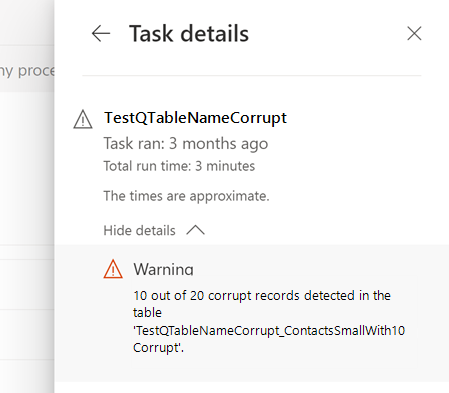
Data being ingested might have corrupt records that can cause the data ingestion process to complete with errors or warnings.
Note
If data ingestion completes with errors, subsequent processing (such as unification or activity creation) that leverages this data source are skipped. If ingestion completed with warnings, subsequent processing continues but some of the records might not be included.
These errors can be seen in the task details.
Corrupt records are shown in system-created tables.
Fix corrupt data
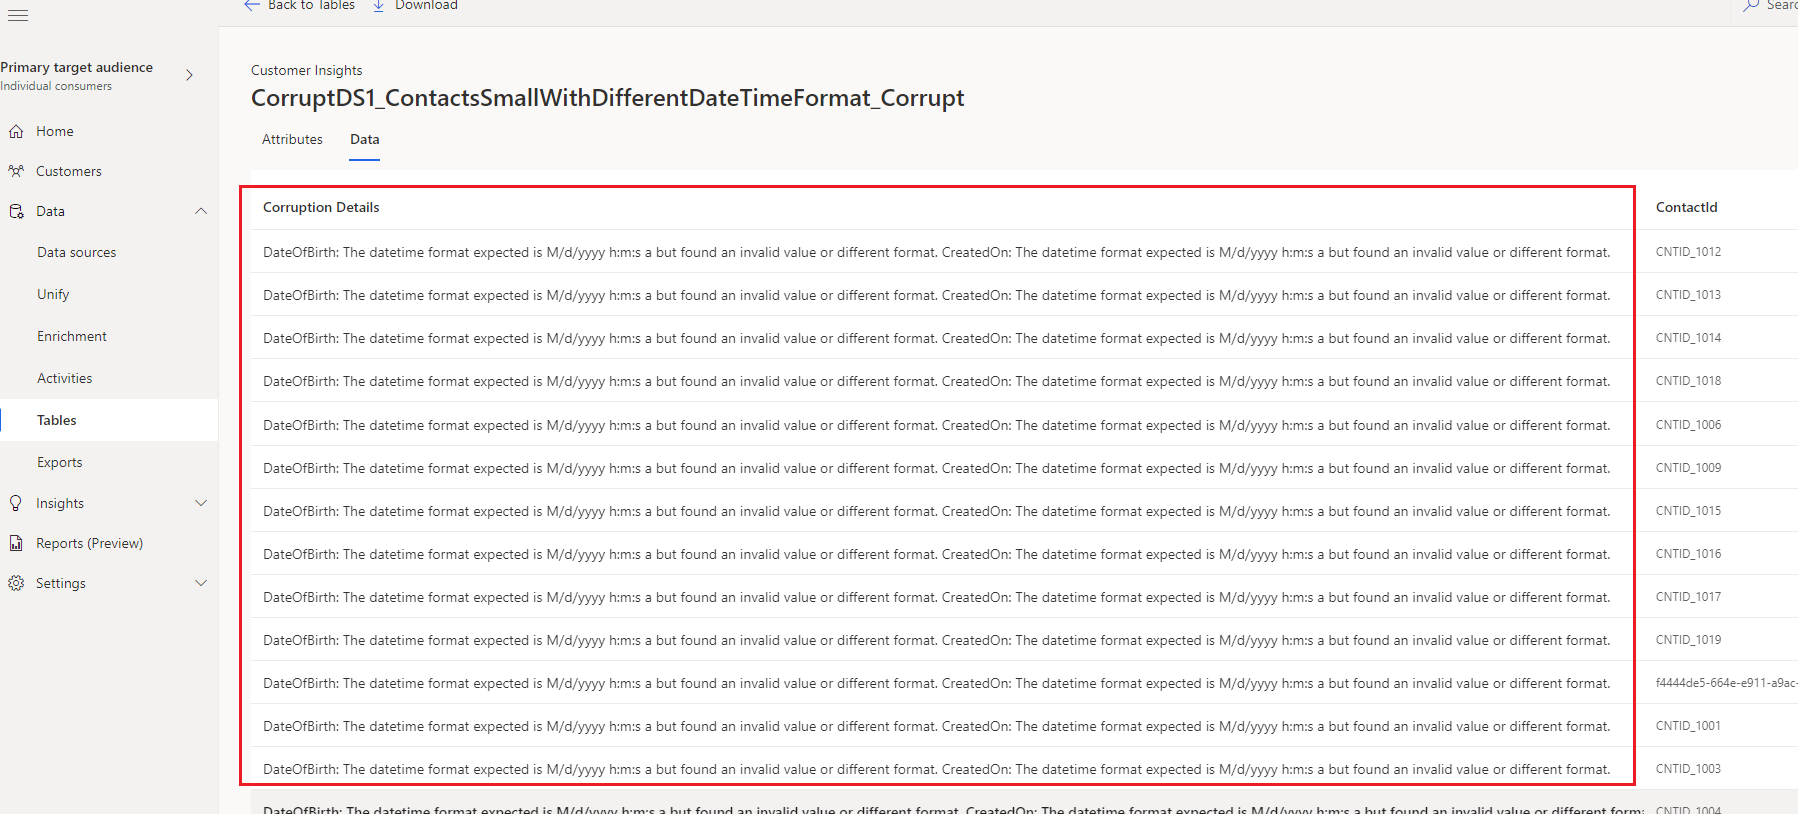
To view the corrupt data, go to Data > Tables and look for the corrupted tables in the System section. The naming schema of corrupted tables: 'DataSourceName_tableName_corrupt'.
Select a corrupt table and then the Data tab.
Identify the corrupt fields in a record and the reason.
Note
Data > Tables only show a portion of the corrupt records. To view all the corrupt records, export the files to a container in the storage account using the export process. If you used your own storage account, you can also look at the Customer Insights folder in your storage account.
Fix the corrupted data. For example, for Azure Data Lake data sources, fix the data in the Data Lake Storage or update the data types in the manifest/model.json file. For Power Query data sources, fix the data in the source file and correct the data type in the transformation step on the Power Query - Edit queries page.

After the next refresh of the data source, the corrected records are ingested to Customer Insights - Data and passed on to downstream processes.
For example, a 'birthday' column has the datatype set as 'date'. A customer record has their birthday entered as '01/01/19777'. The system flags this record as corrupt. Change the birthday in the source system to '1977'. After an automated refresh of data sources, the field now has a valid format and the record is removed from the corrupted table.
Remove a data source in use
If you have a data source that was ingested and unified that you no longer need, you can remove it. For example, if all the tables in the data source are obsolete or being replaced, remove the tables and the data source.
Once all data dependencies are removed and unification has rerun, you can delete the data source. Go to Data > Data sources, select the data source, and then Delete.