Note
Access to this page requires authorization. You can try signing in or changing directories.
Access to this page requires authorization. You can try changing directories.
You can deploy the Dynamics 365 government accelerator by using one of the following methods:
- Deploy with the Package Deployer: Preferred for government community cloud deployment
- Import the solution manually: Doesn't support sample portal deployment
Prerequisites
Before deploying the government accelerator, make sure to have an environment with Power Apps.
If you plan to deploy the sample portal, make sure your environment has a blank portal provisioned before beginning the deployment. Portal provisioning can take 15 minutes to one hour to complete. For more information about provisioning a blank portal, go to Pre-deployment: Set up a new blank portal.
Deploy with the Package Deployer
This deployment method is preferred for government community cloud deployment.
Go to Download tools from NuGet to download the Package Deployer tool. Select the NuGet package link for the Package Deployer tool. Follow the directions to download the Package Deployer tool via Package Manager.
Download the files from GitHub for the following packages to be imported using the package deployer.
- PackageDeployer_GovernmentAcceleratorCDM.zip
- PackageDeployer_GovernmentServicesApp.zip
- PackageDeployer_GovernmentAcceleratorPortal.zip
- PackageDeployer_GovernmentServicesSampleData.zip
Note
Before extracting the file contents, you'll need to unblock the downloaded zip file. Right-click the zip file, select Properties, select Unblock, select Apply, and then select Ok. Repeat these steps for every zip folder.
Extract each file until you're at the files that look like the following image.

Copy the contents of the PackageDeployer_GovernmentAcceleratorCDM folder only to the root of the Package Deployer file.
Note
You can skip any files that are already in the root folder of the Package Deployer root folder:

Run the PackageDeployer.exe script to import the solutions with Package Deployer. For more information about using Package Deployer, go to Use Package Deployer in this article.
The import should be successful, showing green check marks for every step, and then install the solutions.
Repeat the above steps for the following files:
- PackageDeployer_GovernmentServicesApp.zip
- PackageDeployer_GovernmentServicesSampleData.zip
- PackageDeployer_GovernmentAcceleratorPortal.zip
Warning
Ensure the blank portal provisioning is complete before completing this step.
Complete the steps in Post-deployment: Configure your portal to update the portal binding.
You're all set and ready to use the government accelerator.
Import the solution manually
Download the following files from GitHub:
- Government CDM Anchor (GovernmentCDMAnchor__managed.zip)
- Government Common CDM (GovernmentCommonCDM_managed.zip)
- Government Connection Roles (GovernmentConnectionRoles_managed.zip)
- Government Processes (GovernmentProcesses_managed.zip)
- Government Model Apps (GovernmentModelApps_managed.zip)
Note
Before extracting the file contents, you'll need to unblock the downloaded zip file. Right-click the zip file, select Properties, select Unblock, select Apply, and then select Ok. Repeat these steps for every zip folder.
Go to make.powerapps.com. Select your environment, and then select Solutions in left-hand navigation.
Select Import solution in the top menu bar.
Select Browse, and then select the GovernmentCDMAnchor__managed.zip file.

Select Open.
Select Next through all the steps, and then select Import. This process takes two to five minutes to complete. When it's done, you'll see the following message:

Repeat the above steps for the remaining files in the following order:
- GovernmentCommonCDM_managed.zip
- GovernmentConnectionRoles_managed.zip
- GovernmentProcesses_managed.zip
- GovernmentModelApps_managed.zip
You're all set and ready to use the government accelerator.
Use Package Deployer
Copy the files required for the deployment to the folder PackageDeployment. For an installation on your C: drive, you'll find the folder in c:\devtools\Tools\PackageDeployment.
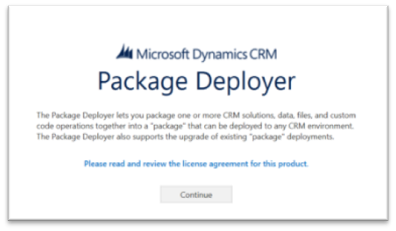
In the PackageDeployment folder, open PackageDeployer.exe.

Select Continue in the first window that pops up.
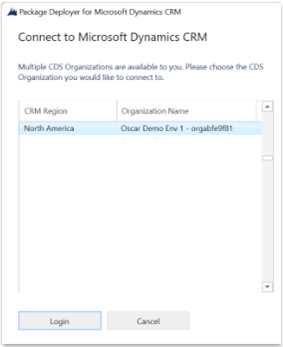
Select the box for Display list of available organizations and sign in with your credentials.

Select the environment where you want to deploy the files, and then select Next.
Select Next in the following screen.

Verify the files to be deployed. They'll have green check marks next to them.

Verify the deployment was successful in the next screen.

Deployment is now complete. Repeat these steps as needed for any other files that require deployment.
See also
Configure Dynamics 365 government accelerator portal
Dynamics 365 government accelerator overview