Deploy Fundraising and Engagement manually
The following instructions guide you through the manual steps to configure Fundraising and Engagement. We recommend using the Microsoft Cloud for Nonprofit installer instead of deploying manually.
If you choose the manual deployment approach, follow the initial steps to configure Azure and download Fundraising and Engagement from Microsoft Cloud Solution Center in Deploy Fundraising and Engagement with the installer (recommended). After completing these steps, you can return here to continue manual deployment.
Record the host part of the URL for your Dynamics 365 Sales instance
The Azure components configuration requires the Dynamics 365 Sales URL. The required value has the following format (your instance name appears instead of <instancenameasdisplayed>):
https://<instancenameasdisplayed>.api.crm.dynamics.com
You can find the URL in your environment under Advanced Settings > Customizations > Developer Resources:
Go to Power Platform Admin Center.
Select Environments from the left navigation.
Select the environment where you have installed Fundraising and Engagement.
Select the Environment URL. The Dynamics 365 environment should open in a new tab.
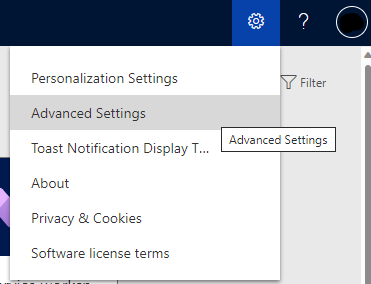
In the Dynamics 365 environment, select the gear icon on the top right and select Advanced Settings. The Advanced Settings page should open in a new tab.
Open the Customizations page.
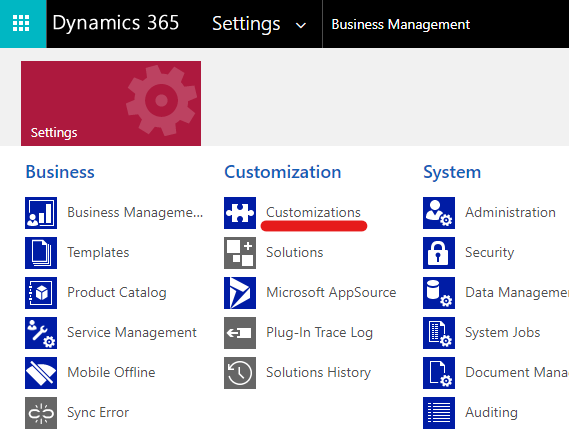
Select Developer Resources. You can find the URL under Instance Web API.
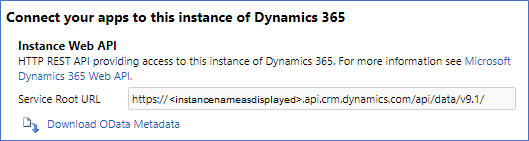
Record the host part (everything up to and including .com).
Verify the Azure environment is in the right tenant
The Azure environment where you create the ARM template components must be in the same Microsoft 365 Microsoft Entra ID controlled tenant. The Azure environment relies on server-to-server authentication using the application record in Microsoft Entra ID, so the user must be visible to your Fundraising and Engagement for Dynamics 365 Sales solution instance.
Install Azure CLI
Azure CLI is required to obtain a Dynamics access token later on. If you don't have Azure CLI already, install Azure CLI on your local computer.
Record managed identity details for communication from Azure to Dataverse
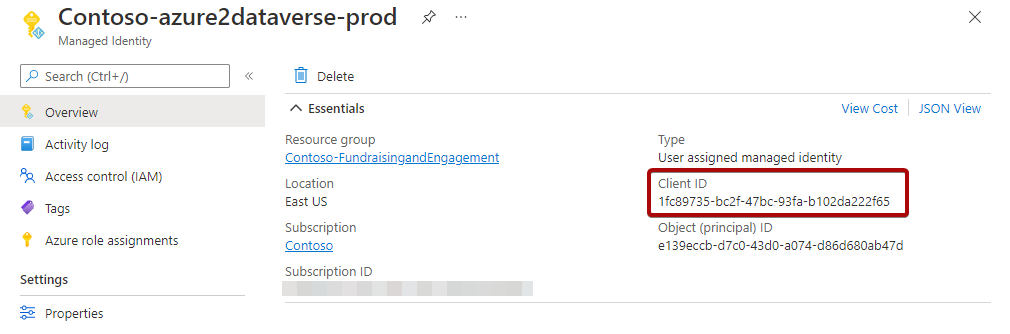
To allow access from Azure services to Dataverse, you need to configure an application user. Before you can do that, you need to record the Client ID of the automatically created managed identity (for example, Contoso-azure2dataverse-prod).
Open the Azure portal. Sign in if prompted.
Open the resource group (the one selected in the Solution Center deployment), and select the managed identity (for example, Contoso-azure2dataverse-prod).
Record the Client ID from the Overview page.
Create application user and assign role
Go to Power Platform Admin Center.
Select Environments from the left navigation.
Select the environment where you have installed Fundraising and Engagement.
Select the Settings button in the command bar.
Expand the section Users + permissions, and then select the option Application users.
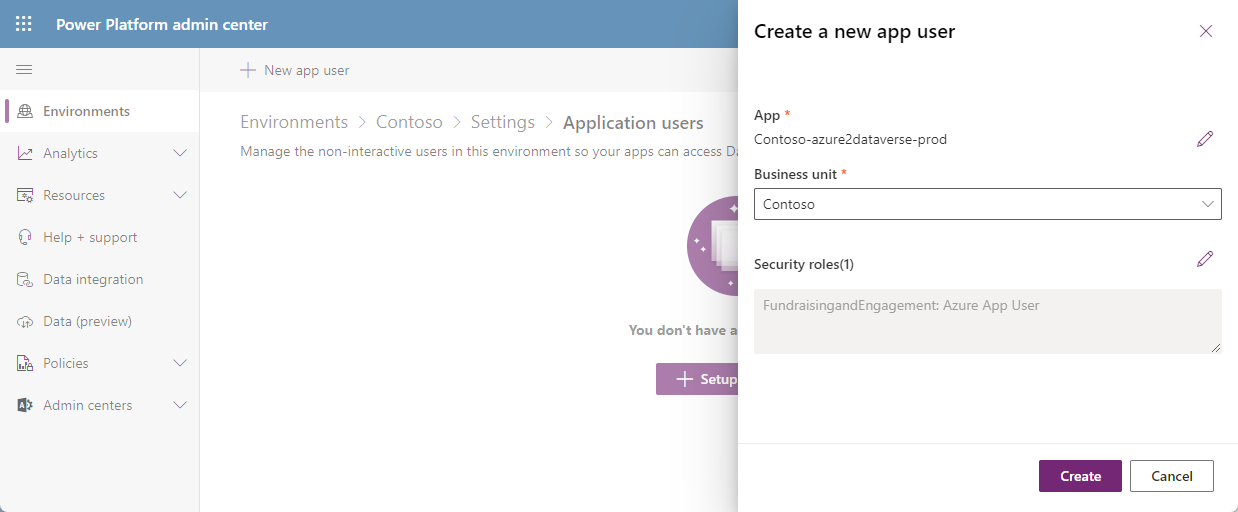
Select New app user from the command bar.
- Select the Application automatically created inside the resource group. You can use the recorded Client ID to help filtering.
- For Business unit, you should use a root business unit. Typically, you use the name of the environment.
- In Security roles, select FundraisingandEngagement: Azure App User.
- Create an application user by selecting Create.
Assign column security profile to the application user
After you create the application user, assign the Fundraising and Engagement Azure App User column security profile to it.
Go to Power Platform Admin Center.
Select Environments from the left navigation.
Select the environment where you have installed Fundraising and Engagement.
Select the Settings button on the command bar.
Expand the section Users + permissions, and then select the option Column Security Profiles.
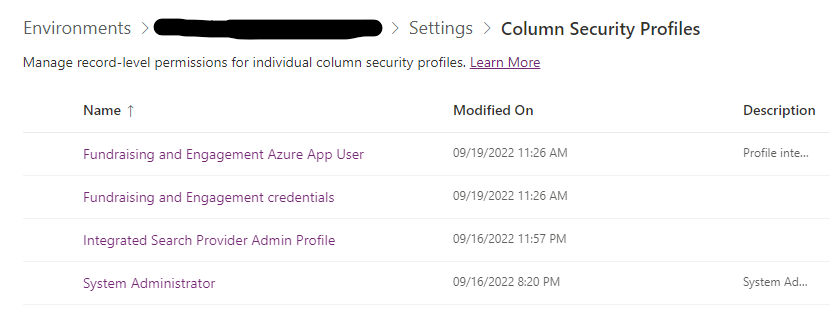
Open the Fundraising and Engagement Azure App User profile and navigate to the Users tab.
Select Add Users.
In the search bar, paste the recorded Client ID and select the application user that you created for Fundraising and Engagement in the previous section.
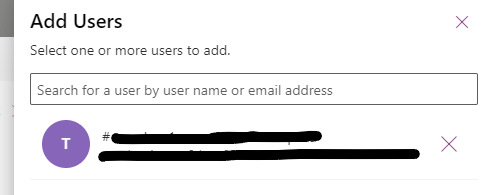
Select the Add button.
Add Azure SQL user accounts
You need to set up the application SQL user account within the Azure SQL database.
Assign application access to Azure SQL Database
Make sure you've initiated Azure Cloud Shell and downloaded all scripts for latest release as specified in the section Configure Azure Cloud Shell.
Open Azure Cloud Shell.
Run the following command in Cloud Shell, but replace <RESOURCE_GROUP> with the name of the resource group where you installed Fundraising and Engagement.
bash ./assign-managed-identity.sh -g <RESOURCE_GROUP>
Populate the Azure SQL Database schema
Open query editor within Azure portal. Locate the editor by navigating to the new database named <client_name>-db-<env> installed within your resource group.
Connect as yourself (Microsoft Entra ID authentication). For more information and troubleshooting, go to Quickstart: Use the Azure portal's query editor (preview) to query an Azure SQL Database.
Download the file named ef-migrations.sql from the provided link.
Paste the contents of the ef-migrations.sql file into the query window and then select Run. The query should finish within about 15 seconds.
Note
You may need to allow your current IP address.
Post-deployment tasks (Dynamics 365)
Follow these steps after you set up the Fundraising and Engagement Dynamics 365 environment. At least one configuration record populated with the Azure information is required. All system users must have a configuration record assigned to their user record before use.
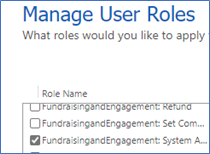
Assign security roles
You need to do some configuration to use all features of Fundraising and Engagement. In particular, you must create the configuration record. If this task isn't done by a user with the system administrator role, the user needs both the appropriate role and column security profile:
The FundraisingandEngagement: System Administrator role.
The Fundraising and Engagement credentials column security profile (managed in the Power Platform admin center in the environment under Settings > Users + permissions > Column Security Profiles).
Create a configuration record in Fundraising and Engagement
Go to Power Platform Admin Center.
Select Environments from the left navigation.
Select the environment where you have installed Fundraising and Engagement.
Select the Environment URL to open the Dynamics 365 environment.
Open Fundraising and Engagement from the tile.
In the navigation pane, select Configuration from the Change area menu.
Under Settings, select Configurations.
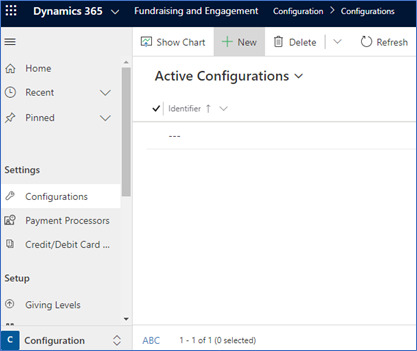
Select New, enter the Display Name, set Default Configuration to On, then select Save to save the new configuration record.
Set up payment service webhook
Connecting to Azure Payment Service requires registration of a webhook in Dynamics 365. To configure the webhook, you must obtain a token for connecting to Dynamics 365, and then run a script in Cloud Shell.
Obtain Dynamics 365 access token
Make sure you have the Azure CLI installed on your computer.
Open a command line (for example, by running PowerShell).
Run the following commands in the shell, using your CRM organization URL instead of <CRM URL>:
az login --output none
az account get-access-token --resource='<CRM URL>' --query accessToken -o tsv
Example output:

Copy the token from the command shell (the part starting with the letters ey). Make note of it for use when you configure the webhook in the next section.
Configure payment service webhook from Azure
To prepare, make note of the following values:
- <RESOURCE_GROUP>: the resource group name where Fundraising and Engagement is deployed.
- <CRM URL>: the URL of your Dynamics 365 environment.
- The access token you obtained in the preceding section.
Make sure you've initiated Azure Cloud Shell and downloaded all scripts for the latest release as specified in Configure Azure Cloud Shell.
Important
Don't skip this step, because it will affect functionality in the app.
Open Azure Cloud Shell.
In the top-left corner, select Bash.
Run the following commands in Cloud Shell, swapping in your values for <RESOURCE_GROUP> and <CRM URL>:
bash ./setup-webhook.sh --group <RESOURCE_GROUP> --url'<CRM URL>'Note
If you don't run this webhook script, you'll get an error when setting up the Azure function YearlyGivingFromEntity.
When the script runs, you might need to Enter your Dynamics Access Token. Enter the token you retrieved in the previous task, Obtain Dynamics 365 access token.
Note
Cloud Shell uses the keyboard shortcut Shift+Insert (not CTRL+V) to paste values from the clipboard.
Configuration record prerequisites
The configuration record requires values for the following Azure-dependent configuration settings before it can be used. Use the steps listed with each setting to get your org's values from the Azure Background Functions app. The labels of the following options match the label of the configuration record in Fundraising and Engagement.
Open the Background Services Configuration tab in your newly created configuration record.
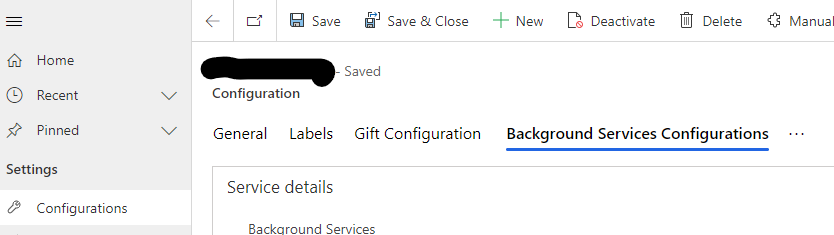
Background Services Web Job URL:

Locate the Azure Background Functions application within your resource group in Azure portal.
Under Overview, view the URL.
Paste the URL into the Background Services Web Job URL field as is. The full URL must read:
https://fundraising-<yourbackgroundservcies>-dev.azurewebsites.net
Bank Run Security Key:

Locate the Azure Background Functions application.
Under Functions, select Functions.
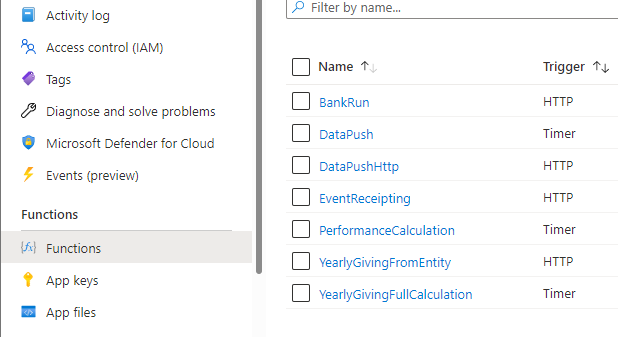
Navigate to and select the BankRun function.
After the function opens in the new window, select Overview.
Select Get Function Url.
Copy the code parameter from the URL that appears (the part of the URL that follows the text "?code=").
Update the Bank Run Security Key value with the copied URL value. The result should resemble the following (your exact value is different):
SdPgNdTKyUMEZe2BCHsdkcmonm4t8ngfnwmc2o5Pu99g78ks7RzuiHnmODbECfPSQ==
For more information, go to Obtaining keys.
Yearly Giving Security Key:

In the Azure Background Functions application, under Functions, select Functions.
Find and select the YearlyGivingFromEntity function.
In the new window where the function opens, select Overview.
Select Get Function Url.
Copy the code parameter from the URL that appears (the part of the URL that follows the text "?code=").
Update the Yearly Giving Security Key value with the code you copied. It should resemble the following (your value is a bit different):
a5RSdPgNdTKyUMEZe2BCHsdkcmonm4t8ngfnwmc2o5Pu99g78ks7RzuiHnmODbECfPSQ==
Note
If you get a Value cannot be null error, it is because the webhook script step was missed. Run the webhook script and try again.
Event Receipting Security Key

In the Azure Background Functions application, under Functions, select Functions.
Find and select the EventReceipting function.
Once the function opens in the new window, select Overview.
Select Get Function Url.
Copy the code parameter from the URL that appears (the part of the URL that follows the text "?code=").
Update the Event Receipting Security Key value with the code you copied. It should resemble the following (your value is a bit different):
a5RSdPgNdTKyUMEZe2BCHsdkcmonm4t8ngfnwmc2o5Pu99g78ks7RzuiHnmODbECfPSQ==
Save the updated configuration record.
Assign configuration settings to Dynamics 365 users
All users who need to interact with the Fundraising and Engagement business logic must have a configuration record assigned, including the application user previously configured. A user can only have one configuration record assigned at any one time. To associate a configuration record to a user in Dynamics 365, sign in to Dynamics 365 as a user who has the System Administrator role and complete the following steps.
Navigate to Advanced Settings.
Navigate to System, and then select Security.
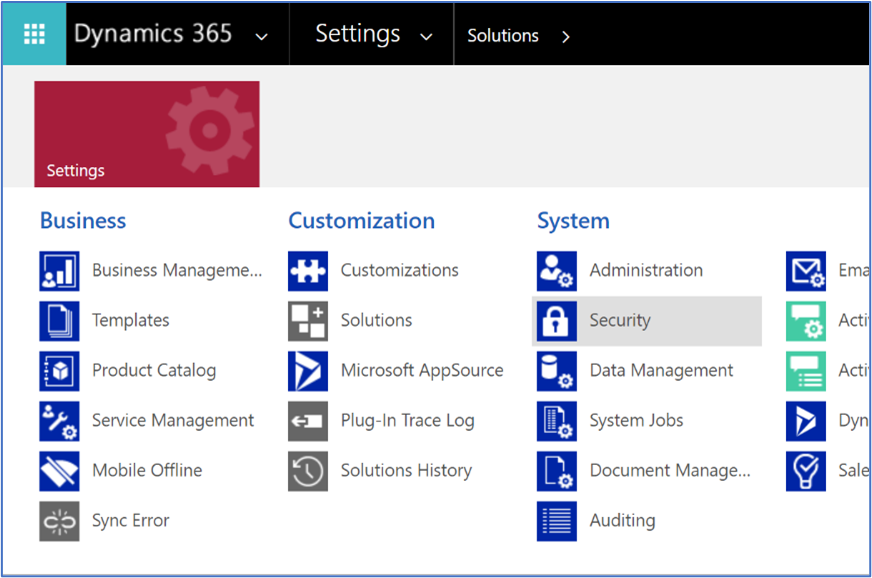
Select Users.

Do these steps for each user who uses Fundraising and Engagement:
Find and open the user record.
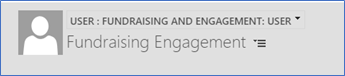
Select the Fundraising and Engagement: User view.
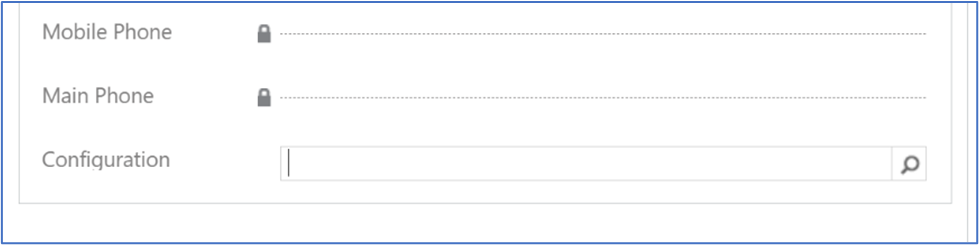
Use the lookup control to set the correct configuration record in the Configuration field, and then select Save and Close.
Set up application version
For the Fundraising and Engagement application to work properly, it must have an Application Version record set in the Organization Settings Dataverse table.
Make sure you've initiated Cloud Shell and downloaded all scripts for the latest release as specified in Configure Azure Cloud Shell.
Open Azure Cloud Shell.
In the top left corner, select Bash.
Run the following commands in Cloud Shell, swapping in your value for <CRM URL>, where <CRM URL> is the URL of your Dynamics 365 environment:
bash ./setup-app-version.sh --url '<CRM URL>'When the script runs, you might need to Enter your Dynamics Access Token. Enter the token you retrieved in the previous task, Obtain Dynamics 365 access token.
Note
Cloud Shell uses the keyboard shortcut Shift+Insert (not CTRL+V) to paste values from the clipboard.
Next steps
After successful deployment and configuration of Fundraising and Engagement, there are optional steps to set up credit card payments and import data. These steps are the same whether you use the Microsoft Cloud for Nonprofit installer or follow the manual steps.
To complete your deployment, go to Post-deployment configuration for Fundraising and Engagement.