Note
Access to this page requires authorization. You can try signing in or changing directories.
Access to this page requires authorization. You can try changing directories.
In this quickstart, you set up a new group, assign members to the group, and review its membership. You can use the user and group you create here in other quickstarts and tutorials.
You can view your organization's existing groups and group members using the Microsoft Entra admin center. Groups are used to manage users that all need the same access and permissions for potentially restricted apps and services.
Prerequisites
Before you begin, you need:
- An Azure subscription. If you don't have one, create a free account.
- Access to a Microsoft Entra tenant. For more information, see Create a new tenant.
Create a new group
Create a new group, named MDM policy - West. For more information about creating a group, see How to create a basic group and add members.
Sign in to the Microsoft Entra admin center as at least a User Administrator.
Browse to Entra ID > Groups > All groups.
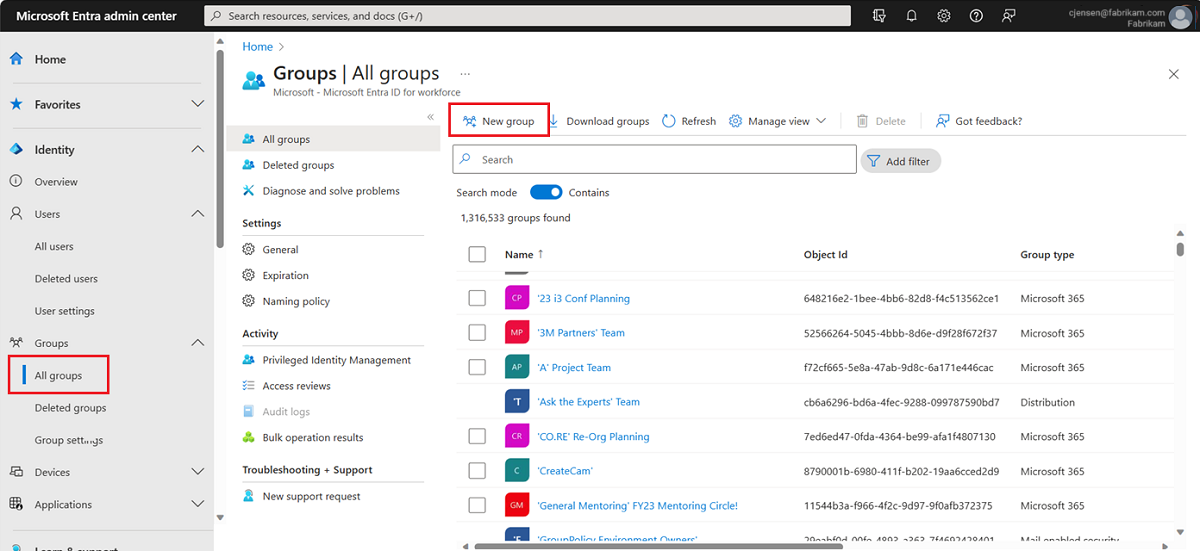
Select New group.
Complete the options in the Group page:
- Group name: Type MDM policy - West
- Membership type: Select Assigned.
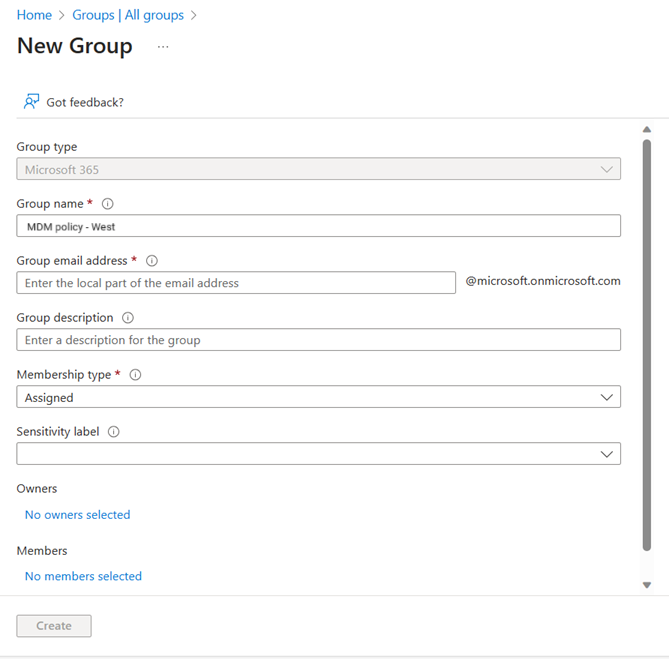
Select Create.

Create a new user
A user must exist before being added as a group member, so you need to create a new user. For this quickstart, we added a user named Alain Charon. Check the "Custom domain names" tab first to get the verified domain name in which to create users. For more information about creating a user, see How to add or delete users.
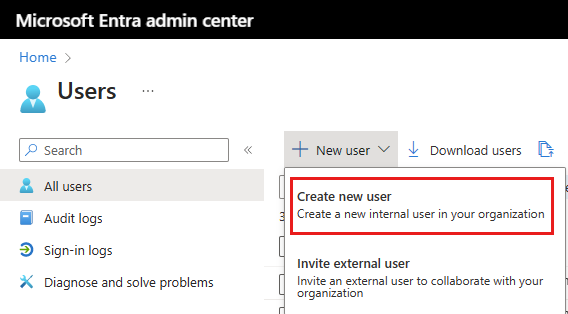
Browse to Entra ID > Users.
Select New user > Create new user.
Complete the User page:
- User principal name: Type alain@contoso.com.
- Display name: Type Alain Charon.
Copy the autogenerated password provided in the Password box and select Create.
Add a group member
Now that you have a group and a user, you can add Alain Charon as a member to the MDM policy - West group. For more information about adding group members, see the Manage groups article.
- Browse to Entra ID > Groups > All groups.
- Select the MDM policy - West group created earlier.
- From the MDM policy - West Overview page, select Members.
- Select Add members, and then search and select Alain Charon.
- Choose Select.
View all groups
You can see all the groups for your organization in the Groups - All groups page.
Browse to Entra ID > Groups > All groups.
The All groups page appears, showing all your active groups.

Search for a group
Search the All groups page to find the MDM policy – West group.
Browse to Entra ID > Groups > All groups.
From the All groups page, type MDM into the Search box.
The search results appear under the Search box, including the MDM policy - West group.
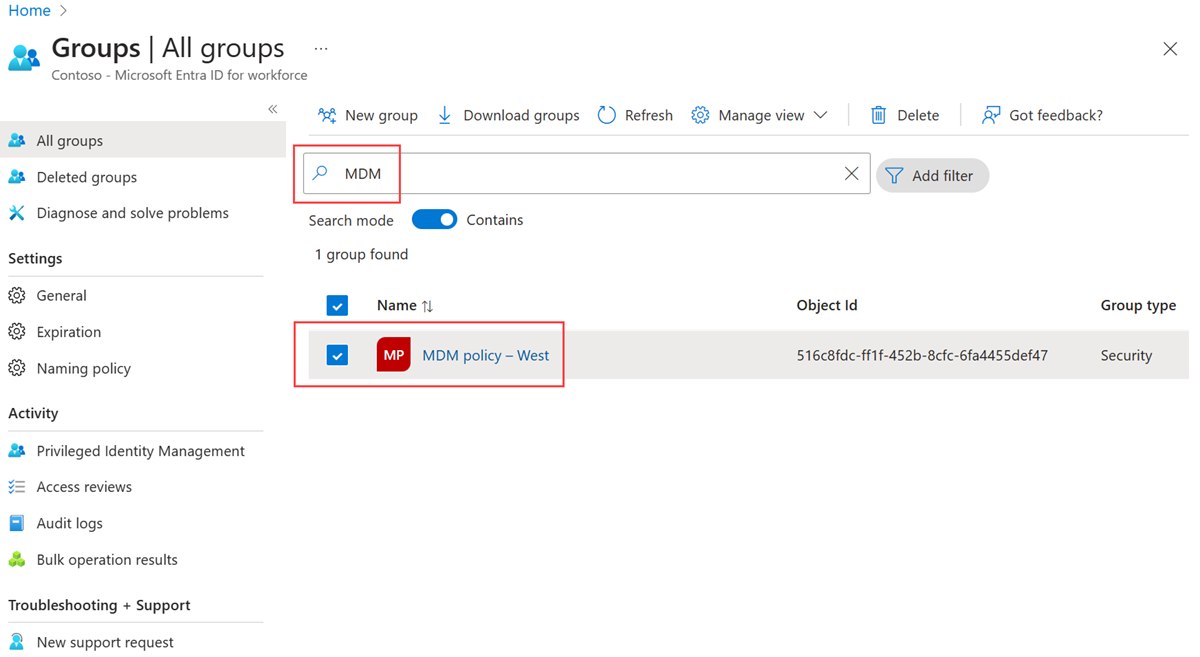
Select the group MDM policy – West.
View the group info on the MDM policy - West Overview page, including the number of members of that group.
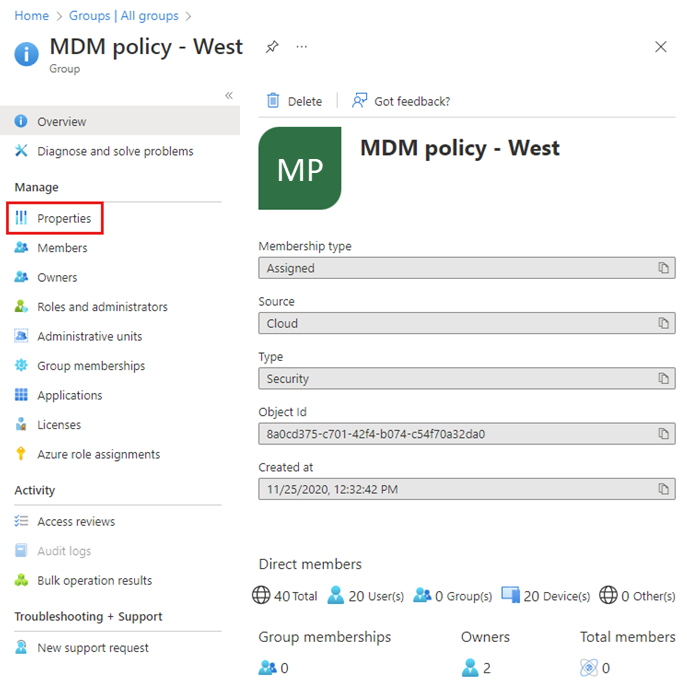
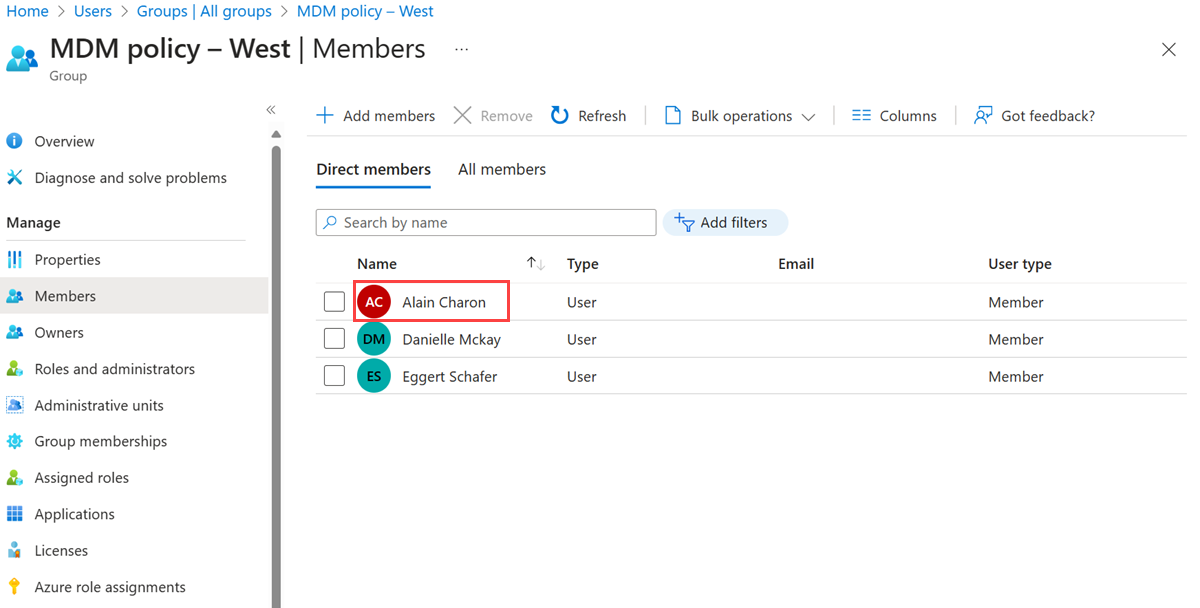
View group members
Now that you found the group, you can view all the assigned members.
Select Members from the Manage area, and then review the complete list of member names assigned to that specific group, including Alain Charon.
Clean up resources
The group you just created is used in other articles in this documentation. If you'd rather not use this group, you can delete it and its assigned members using the following steps:
Browse to Entra ID > Groups > All groups.
On the All groups page, search for the MDM policy - West group.
Select the MDM policy - West group.
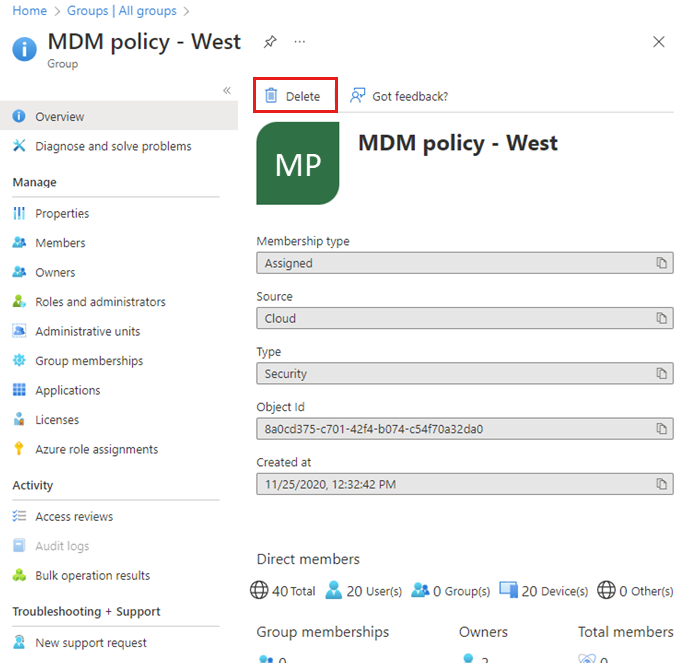
The MDM policy - West Overview page appears.
Select Delete.
The group and its associated members are deleted.
Important
This doesn't delete the user Alain Charon, just his membership in the deleted group.
To delete your test user: Browse to Entra ID > Users select your test user and choose Delete.
Next steps
Advance to the next article to learn how to associate a subscription to your directory.